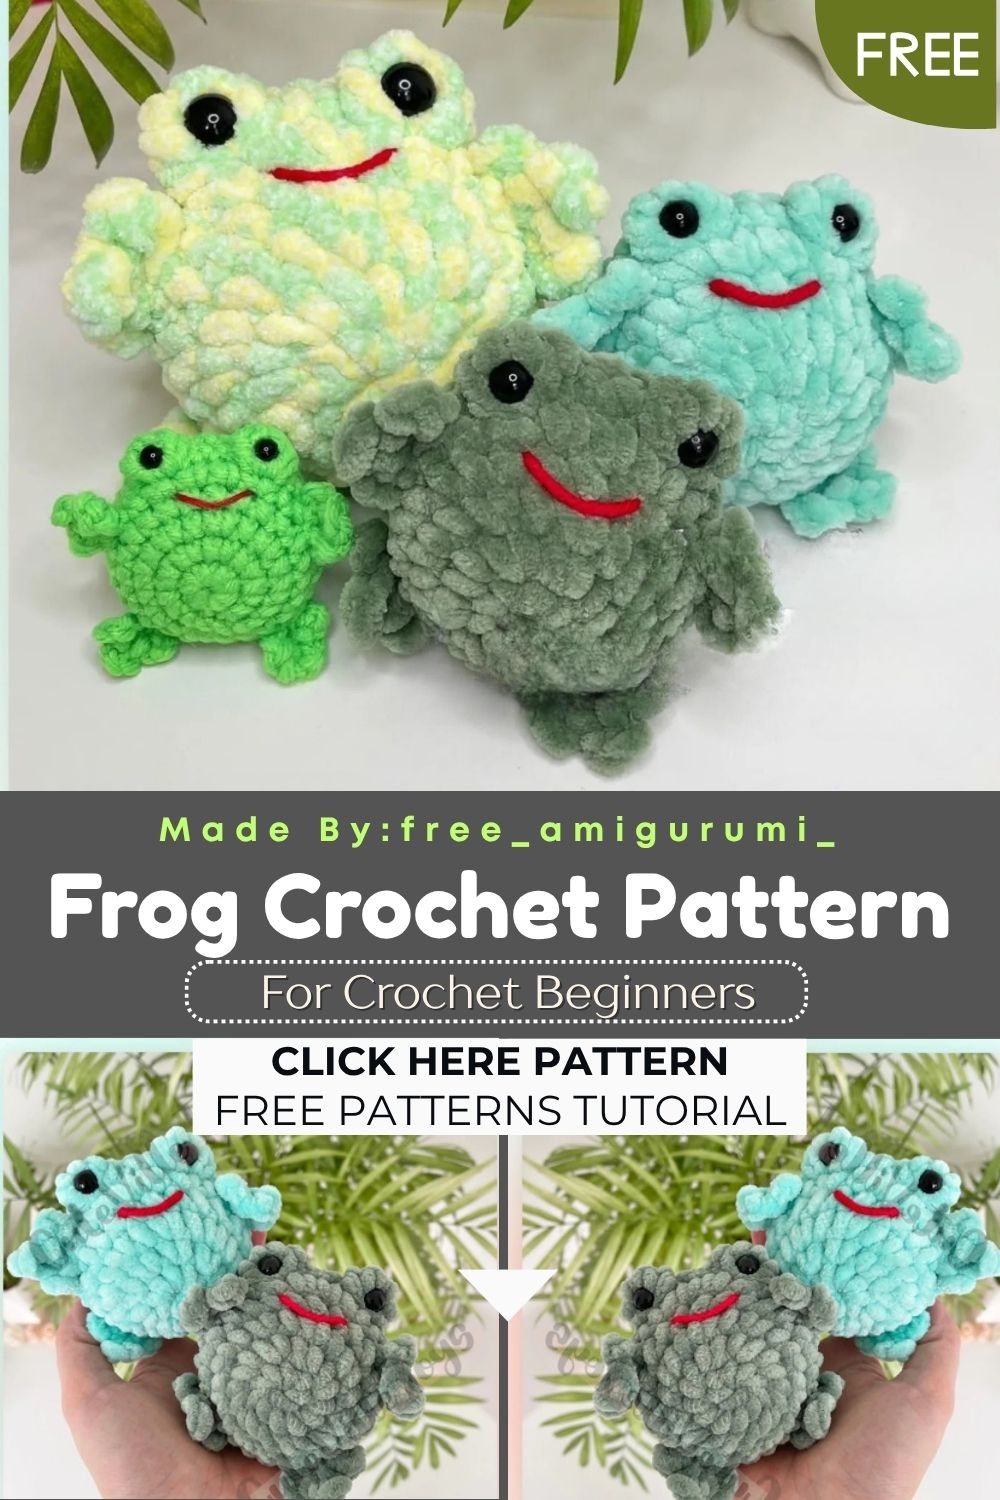
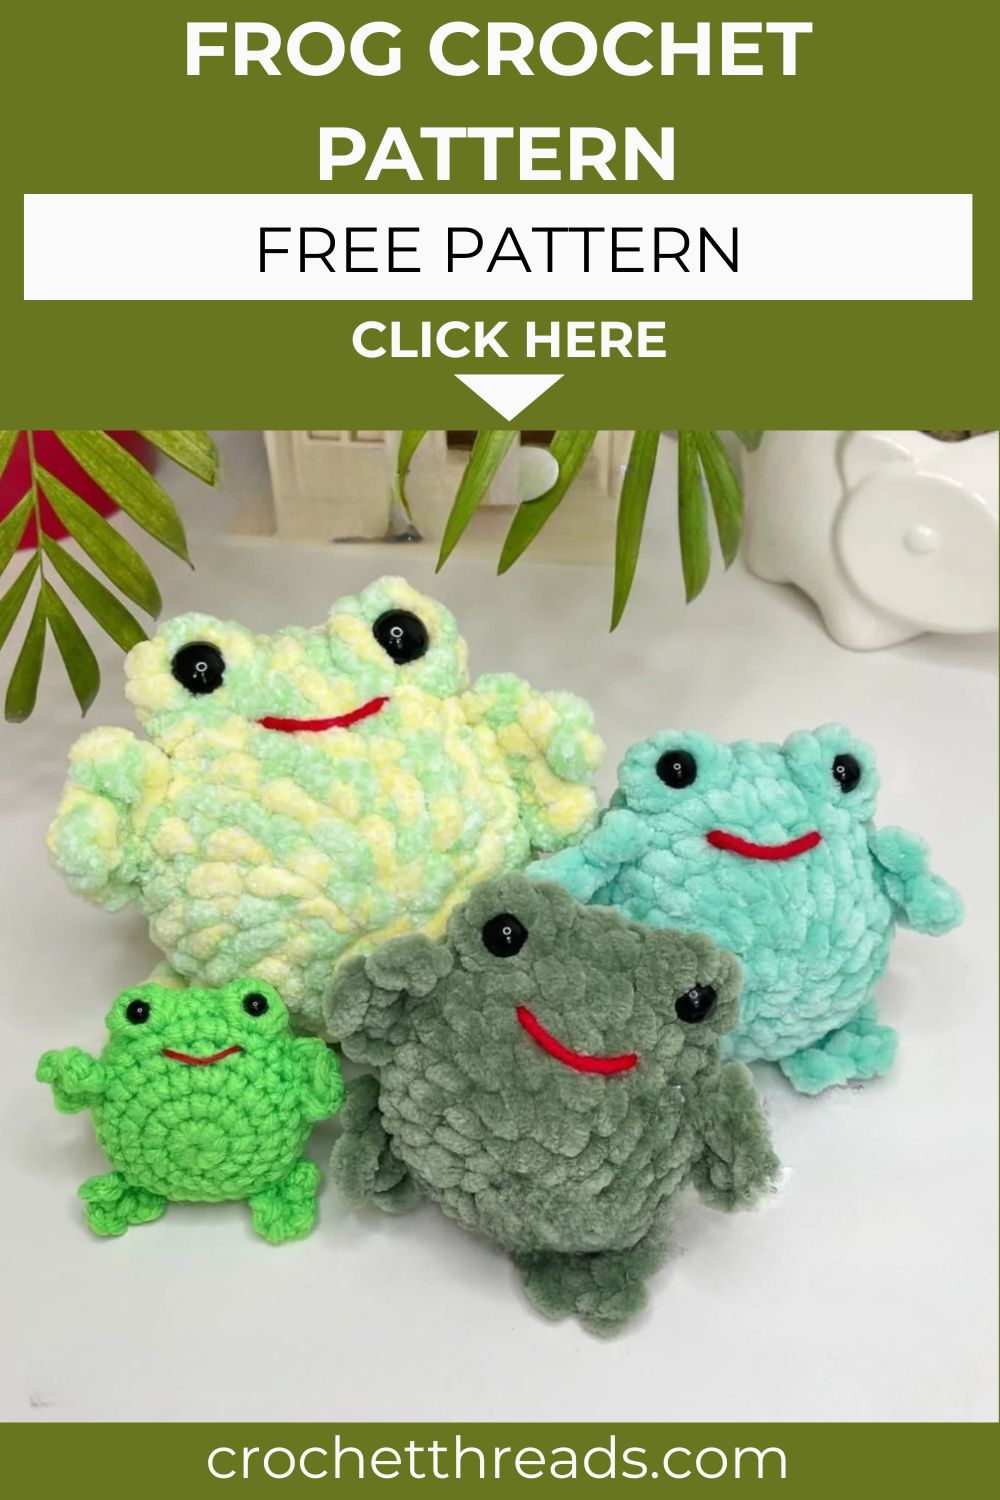
Velvet Frog Crochet Pattern – Free and Quick to Make
Bobble stitch eyes, four crocheted chain paws, and a sweet embroidered mouth. This chubby little frog works up in a single sitting and looks incredible doing it!
Plush yarn and a chunky hook make this frog one of those patterns that feels almost unfairly fast to finish. The entire body is worked from the bottom up in one continuous piece, with the four paws integrated directly into round 4 rather than sewn on separately. Two bobble stitches at round 6 form the signature raised frog eyes, while the real safety eyes are inserted just one round later. The combination gives this frog an immediately recognizable silhouette without requiring any complex construction.
Skill Level
Beginner to intermediate. Standard increases and decreases carry most of the pattern. Additionally, the chain-based paw construction and the bobble stitch eye detail introduce two quick new techniques that both work up in seconds once understood.
Materials You Will Need
Yarn:
- Green plush or chenille yarn for the main body. Sweet Snuggles Lite or Chenille Home Slim by Loops and Threads both work well
- A lighter shade of green for rounds 1 and 2 if a contrasting belly color is desired
- Red acrylic yarn for the embroidered mouth
Other Supplies:
- Crochet hook — 5mm
- Safety eyes — 10mm
- Polyfill stuffing
- Stitch markers
- Yarn needle
- Scissors
Finished size: Approximately 8cm when using the listed materials and hook size.
Abbreviations
- MR — Magic Ring
- SC — Single Crochet
- INC — Increase (2 sc in same stitch)
- DEC — Decrease
- BO — Bobble Stitch (5 dc bobble)
- CH — Chain
- (…) x N — Repeat N times
- SLST — Slip Stitch
- FO — Fasten Off
Pattern: Frog Body
Using green yarn. Switch to a lighter shade for R1 and R2 if you want a contrasting belly.
R1: 8 sc in MR (8) R2: 8 inc (16) R3: (1sc, inc) x8 (24)
Paw Integration R4
R4: 3 sc, [1st paw], 5 sc, [2nd paw], 8 sc, [3rd paw], 5 sc, [4th paw], 3 sc (24)
Each paw is worked in line during this round. To make each paw, follow the construction below before continuing the body stitches.
Frog Paw Construction
Each paw is made directly from the body stitch position using chains and slip stitches.
Finger 1: Chain 4. Slip stitch into the 1st chain from the hook.
Finger 2: Chain 3. Slip stitch into the 1st chain from R1.
Finger 3: Chain 3. Slip stitch into the 1st chain from R1.
The three chain fingers fan out from a single stitch, creating the classic three-toed frog foot shape. No stuffing or separate sewing is needed; each paw sits naturally flat against the body.
R5: 10 sc, 4 inc, 10 sc (28) R6: 11 sc, BO, 4 sc, BO, 11 sc (28)
The two bobble stitches in R6 form the raised dome eye shapes. Each BO is worked as 5 double crochet pulled through together into one stitch. Keep the tension slightly relaxed on each bobble so the finished stitch sits fully rounded rather than flat.
R7: 28 sc around (28)
Insert safety eyes now. Place them directly above each bobble stitch from R6. The combination of the bobble dome beneath and the safety eye on top creates the full, bulging frog eye effect.
R8: (2sc, dec) x7 (21) R9: (1sc, dec) x7 (14)
Stuff the frog firmly at this point.
R10: 7 dec (7)
Fasten off. Sew the remaining hole closed and weave in all ends.
Embroider the mouth in the round directly below the eyes using red acrylic yarn. A simple curved stitch or a small V-shape both work well and give the frog its characteristic friendly expression.
Customization and Variation Ideas
- First, make the belly yellow or cream instead of light green for a more realistic poison dart frog coloring that looks striking against the darker main body.
- Additionally, try the entire frog in bright blue or teal for a fantasy color variation that still reads unmistakably as a frog.
- Moreover, add tiny embroidered nostrils above the mouth using a single straight stitch in dark thread for extra face detail without any additional construction.
- Furthermore, make a pair of frogs in different shades and set them beside each other for a matching display that looks charming on any natural surface.
- Also, embroider closed sleepy eyes with curved lashes instead of using safety eyes for a softer kawaii-style frog expression.
- Finally, try the same body base in orange with black spots for a playful salamander variation using the same pattern and hook.
Common Mistakes to Avoid
- First, working the bobbles too tightly at R6: Each bobble must sit raised and rounded on the surface. Tight tension flattens the bobble, and the eye detail loses its three-dimensional character completely.
- Additionally, inserting safety eyes before R7: The eyes go in during R7, directly above the R6 bobbles. Inserting them earlier places them in the wrong position relative to the bobble dome below.
- Also, forgetting to stitch the chain fingers from the correct anchor point: Each new finger chains from the first chain of the previous finger, not from the body stitch. Reading the paw construction once through before starting R4 makes the sequence much clearer.
- Furthermore, making all four paws before checking body stitch count: Each paw is worked in lines at specific stitch positions within R4. Losing track of the body stitches between paws throws off the total count for the rest of the pattern.
- Moreover, stuffing after R10 instead of at R9: The hole after R10 is too small to add stuffing through comfortably. Stuff firmly during R9 while the opening is still workable.
- Finally, embroidering the mouth too high: The mouth sits one full round below the eyes, not directly beneath them. Count carefully before placing the first embroidery stitch.
Finishing Tips
- First, when sewing the remaining hole after R10, use the yarn tail to weave through each of the 7 remaining stitches before pulling tight. This creates the flattest, most invisible closure.
- Additionally, after inserting the safety eyes, press each one firmly from behind to make sure the washer is fully seated before the body is closed.
- Moreover, use a single strand of red acrylic yarn for the mouth embroidery. A full strand is too thick against the plush body yarn at this scale.
- Furthermore, give the finished frog a gentle all-over squeeze after closing to distribute the stuffing evenly and encourage the rounded body shape to settle naturally.
- Also, if the paw fingers feel loose after construction, run a small stitch through the base of each chain group to anchor them more firmly against the body surface.
- Finally, photograph the finished frog from directly above to show off all four paws and the dual bobble-plus-safety-eye face detail together in one clear, appealing image.
Gifting Ideas
- First, place the frog inside a small terrarium jar with faux moss and a handful of tiny pebbles for a display gift that looks like a miniature habitat scene.
- Additionally, pair with a handmade lily pad worked as a flat green circle, and gift them together as a complete pond-themed set.
- Moreover, these frogs make wonderful children’s gifts and are soft enough for younger recipients when safety eyes are replaced with embroidered alternatives.
- Furthermore, make a small collection of five frogs in different greens and display them together in a shallow wooden bowl at a craft market for a display that draws immediate attention.
- Also, attach a small keyring to the top of the frog’s head for a bag charm version that frog lovers will genuinely use and appreciate.
- Finally, gift a frog alongside a small illustrated card about the character’s name, favorite food, and best quality for a personal touch that makes the finished toy feel like a complete character rather than just a plush.
Conclusion
For such a small pattern, this little frog delivers a genuinely impressive amount of personality. The integrated paws, the bobble-plus-safety-eye combination, and the embroidered red mouth together create a face that people immediately respond to. Therefore, work the R4 paws carefully and read the construction once before starting. Additionally, keep those R6 bobbles relaxed so they sit fully rounded. In conclusion, this frog is fast, fun, and worth every chain stitch it takes to bring it to life.