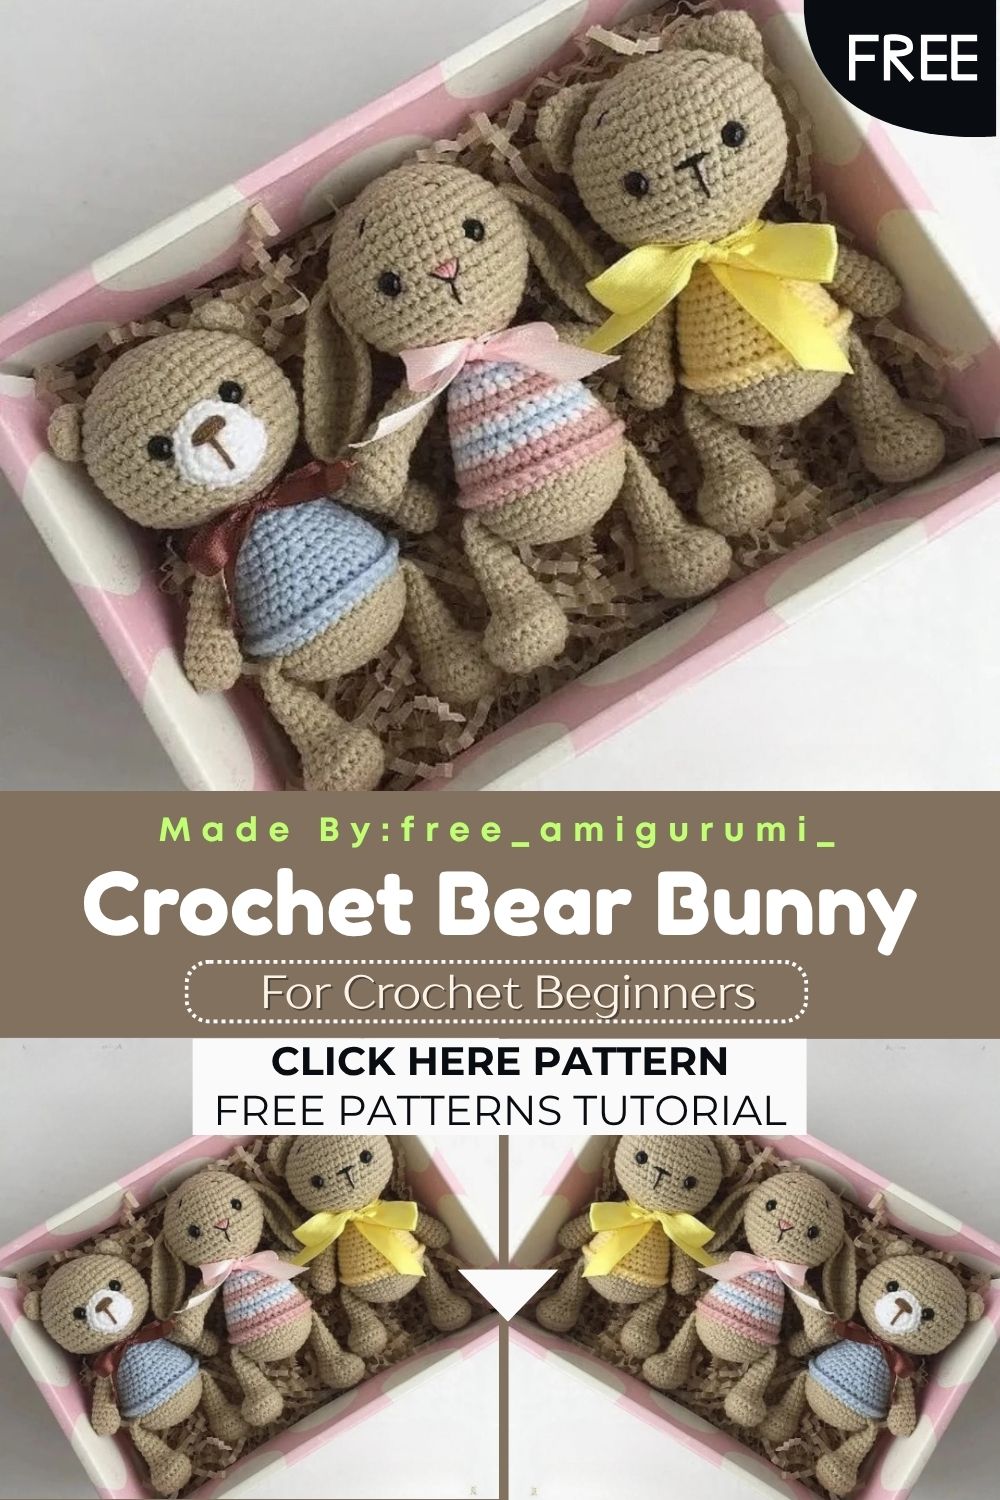
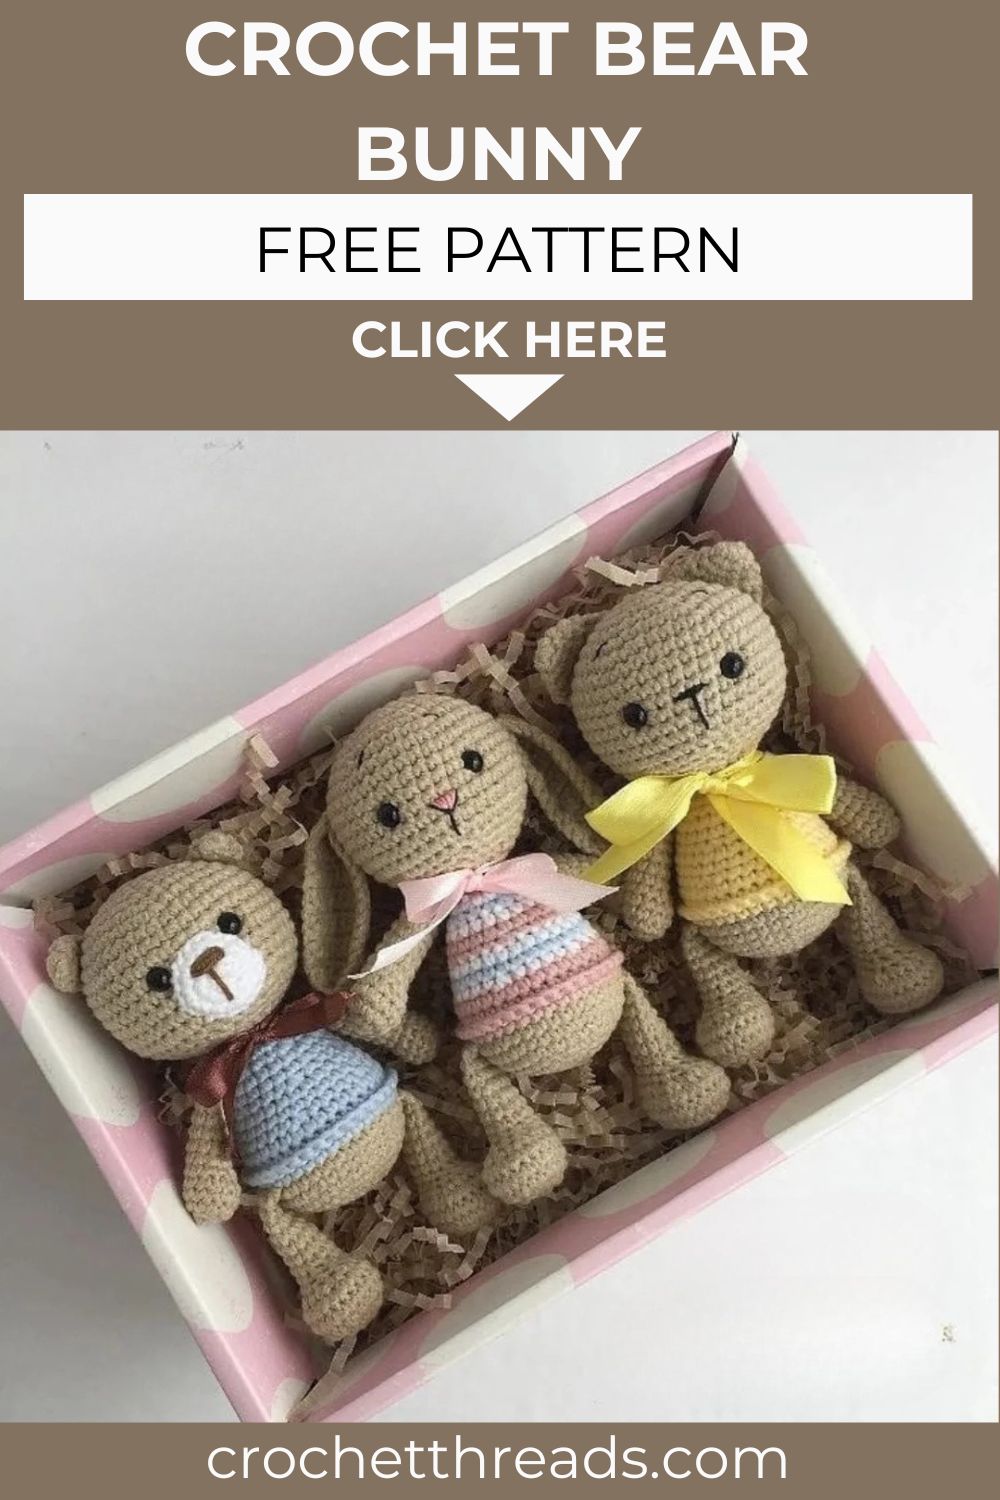
Adorable Crochet Bear Bunny and Cat Set – Free Pattern
One base pattern, three completely different characters, pick your favorite or stitch all three for the most charming handmade trio on any shelf!
This is the kind of pattern every amigurumi maker needs in their collection. The head, body, arms, and legs are identical across all three characters. What changes are just the ears, the final head and body closing round, and a small muzzle for the bear? That means once you learn the construction for one, the other two take a fraction of the time. The sweater detail is genuinely clever, worked in back loops only at round 10, then returned to the saved front loops for a clean decorative edging that looks like a ribbed sweater hem without any complicated stitch work.
Skill Level
Beginner to intermediate. Standard increases and decreases in continuous rounds carry the whole pattern. The back loop sweater hem technique and the flat-folded arm and leg construction are both easy to follow once worked through.
Materials You Will Need
Yarn:
- Main color in your chosen weight for the head and body base
- Sweater color for the body from round 9 onward
- Contrasting yarn for ears, muzzle, and any detail embroidery
Other Supplies:
- Crochet hook sized to your yarn
- Safety eyes
- Polyfill stuffing
- Tapestry needle
- Scissors
Abbreviations
- MR — Magic Ring
- SC — Single Crochet
- INC — Increase (2 sc in same stitch)
- DEC — Decrease
- SLST — Slip Stitch
- CH — Chain
- BLO — Back Loop Only
Pattern: Head
Using the main color yarn
R1: 6 sc in MR (6) R2: 6 inc (12) R3: (1sc, inc) x6 (18) R4: (2sc, inc) x6 (24) R5: (3sc, inc) x6 (30) R6: (4sc, inc) x6 (36) R7: (5sc, inc) x6 (42) R8–15: 42 sc for 8 rounds (42) R16: (5sc, dec) x6 (36) R17: (4sc, dec) x6 (30) R18: (3sc, dec) x6 (24) R19: (2sc, dec) x6 (18)
Insert safety eyes between rounds 11 and 12, with 6 to 7 stitches apart between them.
R20 for Bunny: (1sc, dec) x6 (12) R20 for Bear and Cat: (4sc, dec) x3 (15)
Fasten off and close the head.
Pattern: Body
Starting with the main color yarn
R1: 6 sc in MR (6) R2: 6 inc (12) R3: (1sc, inc) x6 (18) R4: (2sc, inc) x6 (24) R5: (3sc, inc) x6 (30) R6: (4sc, inc) x6 (36) R7–8: 36 sc for 2 rounds (36)
Switch to sweater color yarn.
R9: 36 sc (36)
R10: BLO 36 sc (36)
This back loop-only round is the key to the sweater hem detail. The front loops saved here are returned to after the body is complete.
R11: 36 sc (36) R12: (4sc, dec) x6 (30) R13–14: 30 sc for 2 rounds (30) R15: (3sc, dec) x6 (24) R16–17: 24 sc for 2 rounds (24) R18: (2sc, dec) x6 (18) R19: 18 sc (18)
R20 for Bunny: (1sc, dec) x6 (12), slst R20 for Bear and Cat: (4sc, dec) x3 (15), slst
Fasten off the body.
Sweater Hem Edging
Attach yarn to the remaining front loops of round 10. Work 36 sc around the entire front loop row to create the clean ribbed sweater hem edge. Fasten off and weave in ends.
Pattern: Arms Make 2
Using the main color yarn
R1: 6 sc in MR (6) R2: 6 inc (12) R3–4: 12 sc for 2 rounds (12) R5: 4sc, 2 dec, 4sc (10)
Stuff the bottom section of the arm tightly at this point.
R6–11: 10 sc for 6 rounds (10) R12: (3sc, dec) x2 (8) R13: 8 sc (8)
Stuff the upper two-thirds of the arm with lighter stuffing than the bottom section.
Fold the arm flat and close with 4 sc through both layers. Leave a long tail for sewing.
Pattern: Legs Make 2
Using the main color yarn
R1: 8 sc in MR (8) R2: 8 inc (16) R3: 5sc, 6 inc, 5sc (22) R4–5: 22 sc for 2 rounds (22) R6: 5sc, 6 dec, 5sc (16) R7: 5sc, 3 dec, 5sc (13) R8: 6sc, 1 dec, 5sc (12) R9–14: 12 sc for 6 rounds (12)
Stuff legs the same way as the arms, about two-thirds full, so they lie flat rather than sticking outward when sewn.
Work 2 additional sc to reach the midpoint of the leg. Fold flat and close with 6 sc through both layers. Leave a long tail for sewing.
Pattern: Bear Ears Make 2
Using the main color yarn
R1: 8 sc in MR (8) R2–3: 8 sc for 2 rounds (8)
Fold flat and close with 4 sc. Leave a long tail for sewing.
Pattern: Cat Ears Make 2
Using the main color yarn
R1: 6 sc in MR (6) R2: (1sc, inc) x3 (9) R3: (2sc, inc) x3 (12) R4: (3sc, inc) x3 (15)
Fold flat and close with 7 sc. Leave a long tail for sewing.
Pattern: Bunny Ears Make 2
Using the main color yarn
Row 1: Ch 3, turn (3) Row 2: 2 inc (4), ch, turn Row 3: 1 inc, 2sc, 1 inc, ch, turn (6) Row 4: 6 sc, ch, turn (6) Row 5: 1 inc, 4sc, 1 inc, ch, turn (8) Row 6–11: 8 sc, ch, turn for 6 rows (8) Row 12: 3sc, 1 dec, 3sc, ch, turn (7) Row 13–15: 7 sc for 3 rows (7)
Crochet 29 sc evenly around the entire edge of the ear. Fold and close with 3 sc through both layers. Leave a long tail for sewing.
Sew the bunny ears between rounds 9 and 10 of the head.
Pattern: Bear Muzzle
Using a slightly lighter or contrasting yarn
R1: 6 sc in MR (6) R2: 6 inc (12) R3: (1sc, inc) x6 (18), slst
Sew the muzzle onto the face, centered between rounds 10 to 11 horizontally and rounds 16 to 17 vertically. Embroider a small nose and mouth in dark thread.
Assembly
Sew the head onto the body. Attach both arms to the sides of the body at approximately round 3 to 4 of the third to fourth body section. Sew both legs onto the base of the body, evenly spaced apart, checking symmetry from the front before finishing the final stitches.
Add the appropriate ears for your chosen character and any face embroidery details to complete the expression.
Customization and Variation Ideas
- Use the same base for a panda by making the body white and the ears black for a completely different character without changing a single stitch count.
- Try making all three characters in matching sweater colors for a coordinated trio gift set that looks intentional and polished together.
- Add a tiny crochet bow or flower between the ears of the bunny for a sweet, feminine character variation.
- Use a marled or heathered yarn for the sweater section for a more realistic knitwear effect without any extra technique.
- Make a mini version of each character using thinner yarn and a smaller hook for keychain companions that match the full-size figures.
- Embroider tiny paw prints onto the feet of the bear version for an extra detail that elevates the finished piece without adding any extra construction.
Common Mistakes to Avoid
- Working R10 of the body in both loops instead of back loops only: The entire sweater hem edging depends on this round being BLO. Missing it means no front loops remain for the decorative edge later.
- Using the same closing round for all three characters: The bunny closes differently from the bear and cat at R20 of both the head and body. Using the wrong closing count changes the head and body proportions noticeably.
- Returning to the wrong loop on R10: After completing the body, always reattach yarn specifically to the front loops of R10. Attaching to any other round places the sweater hem in the wrong position.
- Overstuffing the legs: Legs stuffed too firmly stick outward from the body rather than hanging naturally. Two-thirds full is the correct amount for a natural sitting or standing pose.
- Sewing bunny ears before working the edge stitches: Always complete the 29 sc edge round and the folding close before sewing bunny ears onto the head for the cleanest possible attachment.
- Positioning the bear muzzle off-center: Pin the muzzle in place and check from directly in front before sewing. Even a slight off-center placement is immediately visible on the finished face.
Finishing Tips
- When folding and closing arms and legs, make sure both layers are fully aligned before working the closing stitches, since a misaligned fold creates an uneven finished limb shape.
- Use the same yarn for all joining stitches as the surrounding area, so seams disappear naturally into the body surface.
- After attaching the legs, check that both sit at the same height on the body from the front view before weaving in the tails permanently.
- For the cat ears, pinch the base of each ear slightly before sewing to create a subtle, natural forward curve that gives the cat a more lifelike expression.
- Press the bunny ears lightly between your fingers after sewing to encourage them to stand upright rather than flopping forward over the face.
- Photograph all three characters together for a complete set reveal. The coordinated sweater color across all three is what makes the trio look like a genuine handmade collection rather than three separate pieces.
Gifting Ideas
- Gift the complete set of all three together in a small basket lined with tissue paper for a handmade collection that feels genuinely complete and considered.
- Make a single character in the recipient’s favorite animal and pair it with a matching color scheme for a personalized gift that shows real thought.
- These three characters sell beautifully as a bundle at craft markets, especially when displayed together with coordinating sweater colors that make the trio look like a designed set.
- A single bear in soft neutral tones makes a wonderful newborn gift that works for any nursery color scheme without any adjustment needed.
- Attach a small handwritten tag naming each animal for a charming personal touch when gifting the complete trio.
- Consider making seasonal versions of each character with holiday-themed sweater colors for Valentine’s Day, Easter, or Christmas gift sets that reuse the same base pattern throughout the year.
Conclusion
For real, this is one of those patterns you will come back to again and again because the base construction is so solid. Learn it once, and you have three characters ready to go whenever you need a quick, reliable, crowd-pleasing amigurumi. The sweater hem technique alone is worth studying for the way it adds visual interest without complicating anything. Work your BLO row carefully, match your closing round to the correct character, and take your time on the ears; they are what make each character immediately recognizable. In conclusion, your bear, bunny, and cat are ready to find their homes.