Crochet Cat Glasses Holder Amigurumi Pattern
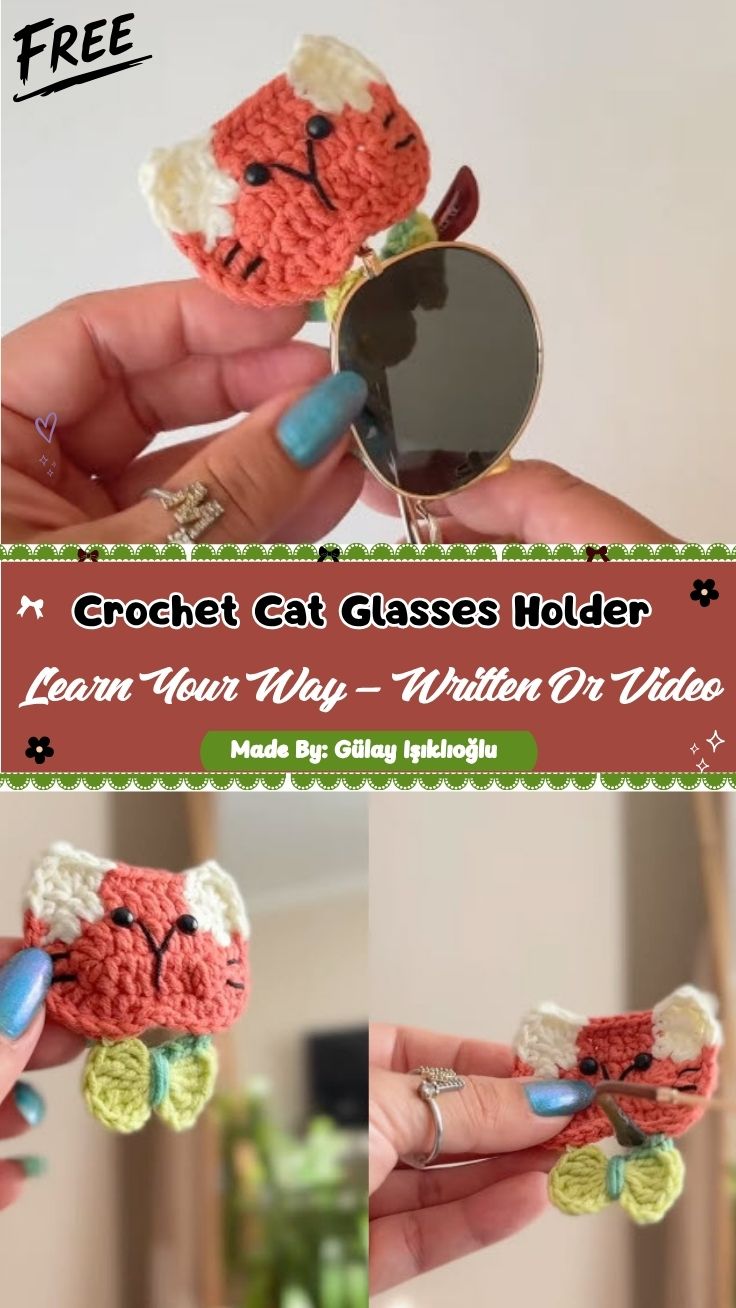
Small amigurumi projects offer such a lovely way to bring charm and joy into everyday items, and this Crochet Cat Glasses Holder Amigurumi proves that beautifully. Inspired by an adorable cat face, this holder keeps your glasses safely tucked on a desk or nightstand, while its handmade look adds a charming decorative touch too.
The finished piece is both functional and decorative, making it a fun quick project for gifting or personal use.
Skill Level
This pattern is rated beginner-friendly. If you know how to start a magic ring, work single crochet stitches, and add simple embroidery details, you can complete this project with ease.
Materials You Will Need
- A small amount of worsted weight yarn in your main colour (such as terracotta or orange)
- A small amount of white or cream yarn for the ear accents
- Black yarn or embroidery thread for the face details
- A small crochet hook sized to match your yarn (3mm or 3.5mm is a common choice)
- A yarn needle for weaving in ends and embroidering the face
- Stuffing (fiberfill), optional depending on your design
- Scissors
- Stitch markers to track your rounds
Key Features and Techniques
Understanding these core techniques will help your amigurumi glasses holder come together smoothly:
Magic Ring
The project begins with a magic ring, which creates a tight, adjustable centre for the first round of stitches.
Amigurumi Rounds
Continuous rounds of single crochet stitches build the rounded shape of the cat’s head without any noticeable seam.
Color Changes for Ears
A contrast color is added at the ear sections to give the cat a distinct, two-tone look.
Embroidered Face Details
Simple embroidery stitches are used to add the eyes, nose, and whiskers, giving the amigurumi its expressive character.
Functional Shaping
The finished piece is shaped with a slight curve or opening so it can securely hold a pair of glasses in place.
Step-by-Step Instructions
Step 1: Start Your Magic Ring
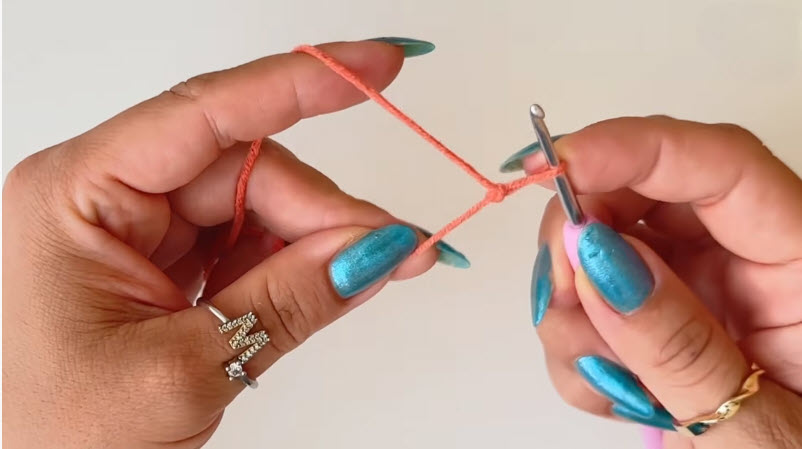
Begin by wrapping your yarn around your fingers to form a magic ring, then insert your hook and pull up a loop to secure it. Work your first round of stitches directly into this ring, keeping the center snug so it can be pulled tight once your first round is complete.
Step 2: Work the First Round of Stitches
Continue working stitches evenly around the magic ring, then pull the starting tail to close the center gap. At this stage, your piece will look like a small, tightly gathered circle, forming the very base of the cat’s head.
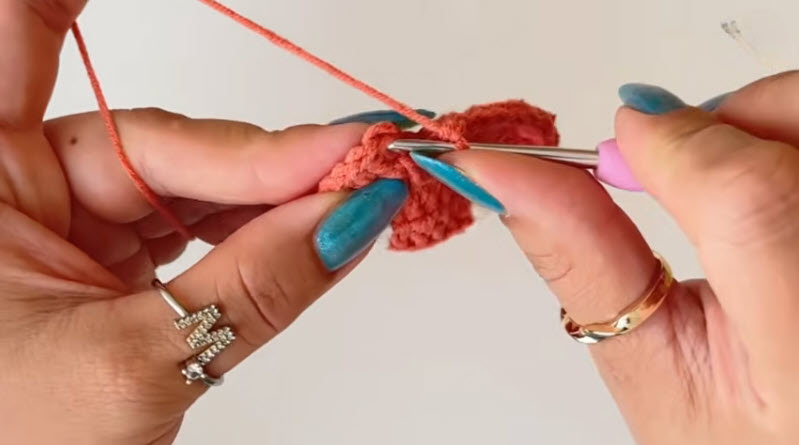
Step 3: Build the Head Shape
Keep working rounds outward, increasing where needed to grow the circle into a rounded shape. As you continue, the piece will begin to look like a small, plump ball, which forms the main body of the cat’s face. Keep your stitch count consistent in each round to keep the shape smooth and even.
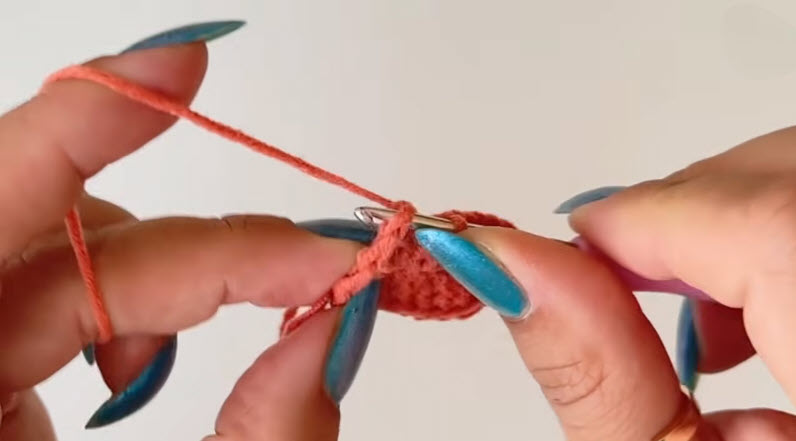
Step 4: Add the Ears and Shape the Face
Switch to your contrast color to work the two ear sections, shaping each one into a small triangle or rounded point at the top of the head. Once the ears are complete, flatten and shape the piece slightly so it has a soft, cushioned form ready for the face details.
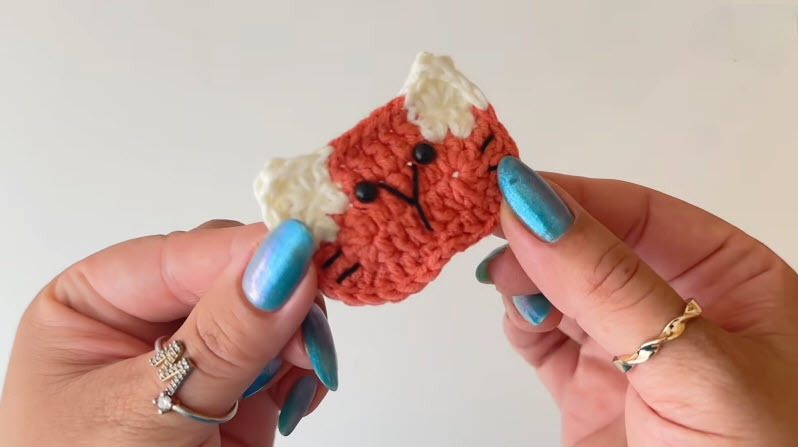
Step 5: Embroider the Face
Using black yarn or embroidery thread and your yarn needle, stitch on the eyes, nose, and a few simple whisker lines to bring the cat’s expression to life. Take your time with this step, since the placement of these details gives your amigurumi its personality.
Step 6: Stuff and Close the Piece
If your design calls for stuffing, add a small amount evenly throughout the head before closing the final round. Stitch the opening closed neatly with your yarn needle, making sure the shape stays smooth and rounded.
Step 7: Finish and Attach as a Glasses Holder
Weave in all remaining yarn tails securely, then shape the finished piece into a gentle curve or stand so it can hold a pair of glasses across the front. Adjust the base slightly if needed for stability on a flat surface like a desk or nightstand.
Helpful Tips for Beginners
- Use a hook one size smaller than recommended for your yarn to keep stitches tight and prevent stuffing from showing through.
- Count your stitches at the end of every round to keep the shape symmetrical.
- Use stitch markers to track where each round begins and ends.
- Practice your embroidery placement on scrap fabric first if you are new to adding facial details.
- Keep your stuffing light and even to avoid lumps or an uneven shape.
Common Mistakes to Avoid
- Skipping the stitch marker step, which can make it easy to lose track of your rounds.
- Overstuffing the head, which can distort the rounded cat shape.
- Placing the ears unevenly, which affects the overall symmetry of the face.
- Rushing the embroidery step, resulting in a face that looks uneven or off-center.
- Forgetting to weave in ends securely, which can cause the piece to unravel with handling.
Customization Ideas
- Change the main yarn color to create different cat breeds or color patterns.
- Add a small bow or flower accent near the ears for extra charm.
- Make a matching set with a few different colors for a fun collection.
- Adjust the size slightly to create a larger holder for wider glasses frames.
- Add a tiny loop for hanging the holder instead of a flat desk stand.
Frequently Asked Questions
Is this Crochet Cat Glasses Holder pattern suitable for a first project?
Yes, this pattern uses simple rounds and basic shaping, making it a great choice for those trying amigurumi for the first time.
How much yarn do I need for this project?
This is a small project, so a partial skein of your main color and a tiny amount of contrast color is usually enough.
Do I need to stuff this piece?
Stuffing is optional and depends on your design, though a light amount helps the glasses holder keep its shape.
What size hook works best for this pattern?
A 3mm to 3.5mm hook typically works well for amigurumi weight yarn, giving you tight, even stitches.
Can I make this without embroidering the face?
Yes, you can use safety eyes or simple felt details instead of embroidery if you prefer a different look.
How do I make sure the glasses stay secure on the holder?
Shaping the base with a slight curve or notch helps the glasses rest securely without slipping off.
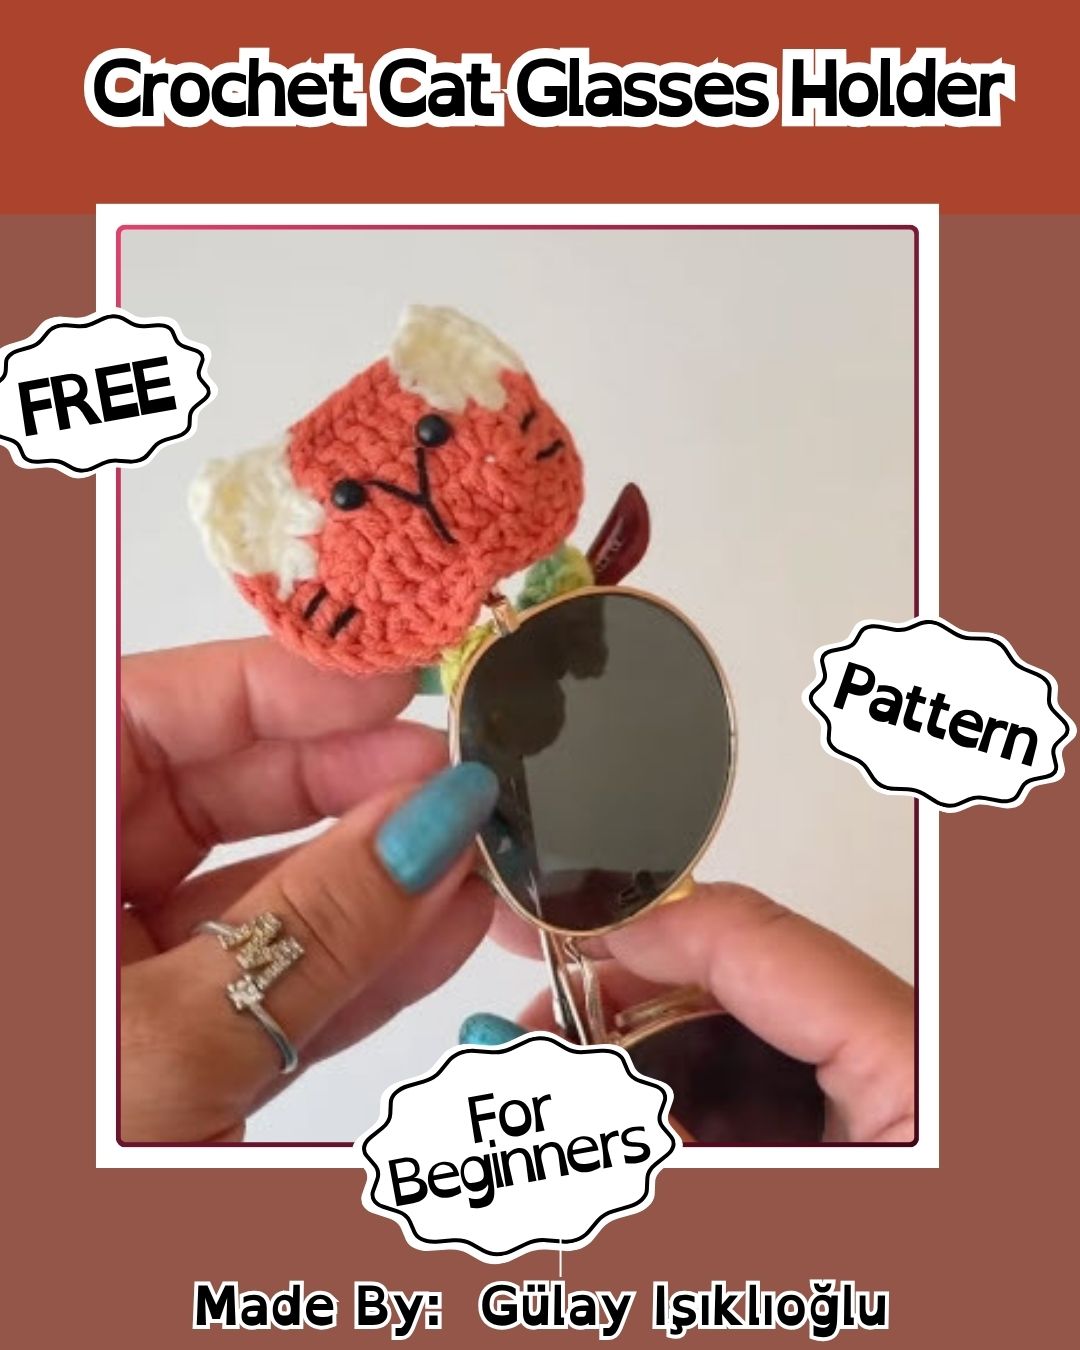
Conclusion
This crochet cat glasses holder amigurumi pattern is a delightful little project that brings both function and charm to your everyday routine. From the very first magic ring to the finishing embroidered whiskers, every step builds toward a piece that is as practical as it is cute. With simple techniques and a quick finish time, this pattern is perfect for beginners and a lovely gift idea for any cat lover. Give it a try, personalize the colors, and enjoy having a handmade cat glasses holder brightening up your desk.