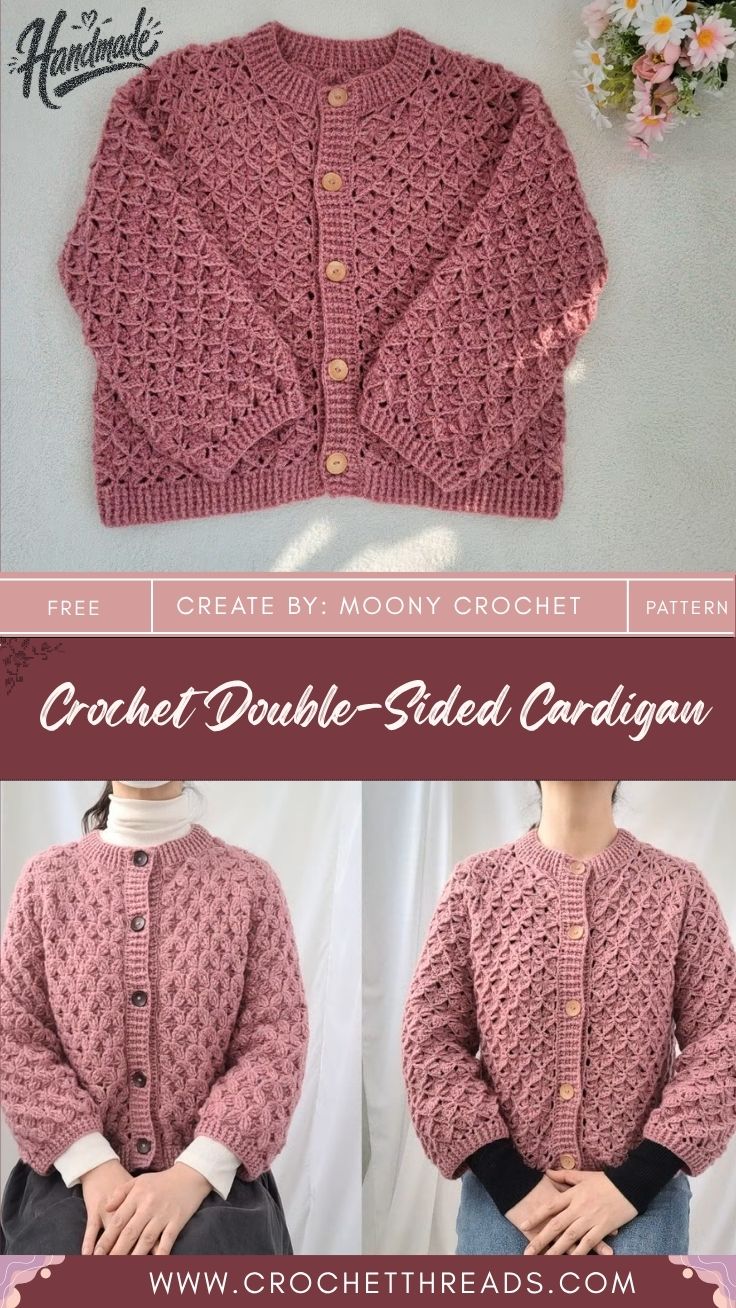
Crochet Double-Sided Cardigan Pattern
Two matching rows of dusty-pink shells interlock stitch by stitch as hook and yarn build the Crochet Double-Sided Cardigan Pattern showing reversible stitch pattern, leaving no wrong side just even lacy texture, symmetrical scallops, and finished-looking fabric on both faces.
Built from two shell rows joined as you go, the guide walks through the reversible stitch pattern technique behind a genuine Crochet Double-Sided Cardigan, where front-post and back-post connections lock two layers into one fabric. Readers gain clear direction on stitch placement, tension, and joining rhythm so the finished double-sided crochet garment drapes evenly and looks intentional from either side.
Pattern Overview
A double-sided cardigan grows from two shell rows worked in tandem: one row builds clusters of double crochets, the next chains loops that anchor into the previous cluster’s center. Instead of stitching a single fabric and seaming a lining behind it, the two layers form simultaneously, joined stitch by stitch. The result reads as fully finished from the outside and the inside, so a flipped-open front band or a rolled cuff never exposes a messy underside.
Materials
- Worsted weight yarn, roughly 900–1,300 yards depending on size (quantity should be confirmed against actual gauge and finished measurements before publishing)
- Crochet hook, US H/8 (5mm), plus a spare hook one size smaller for the joining chains if tension runs loose
- Stitch markers (locking style works best on open shell fabric)
- Tapestry needle for ends
- Buttons, if the design includes a front closure
Yarn Selection
Worsted weight cotton-acrylic blends hold shell shape without collapsing under the extra bulk of a doubled fabric, while a wool blend gives softer drape for a garment meant to hang open. Slippery or very fuzzy yarns make the joining stitches harder to track, so a yarn with clear stitch definition helps beginners see where each loop anchors.
Hook Size / Gauge
A hook one size larger than the yarn label suggests (H/8 for worsted, for example) keeps the shell openings visible and prevents the doubled fabric from stiffening. Gauge should be swatched with both layers joined, not with a single shell row alone, since the fabric behaves differently once two layers lock together. Exact gauge and hook size need confirming against the yarn actually used before the pattern is published as final.
Abbreviations
ch = chain | sc = single crochet | dc = double crochet | sl st = slip stitch | rep = repeat | sk = skip
Important Stitches
The pattern alternates two row types. A shell row works 2 dc, ch 1, 2 dc into a single anchor point, building the clustered scallop look. A chain-loop row alternates sc and ch 5 across, and each ch-5 loop becomes the anchor for the next layer’s shell. Joining happens the moment a shell is worked directly into a loop from the opposite layer, locking the two fabrics together in real time.
Before You Start
Swatch a small reversible square first and check both faces look genuinely identical before starting the full cardigan. Confirm the loop length stays consistent a loop even one chain longer than its neighbors throws off symmetry across a full row.
Time Box
Prep and swatching: 20–30 minutes. Body and sleeve panels: several evenings of steady stitching, since joining two layers takes roughly twice the time of single-layer crochet. Finishing and blocking: 1–2 hours.
Construction and Instructions
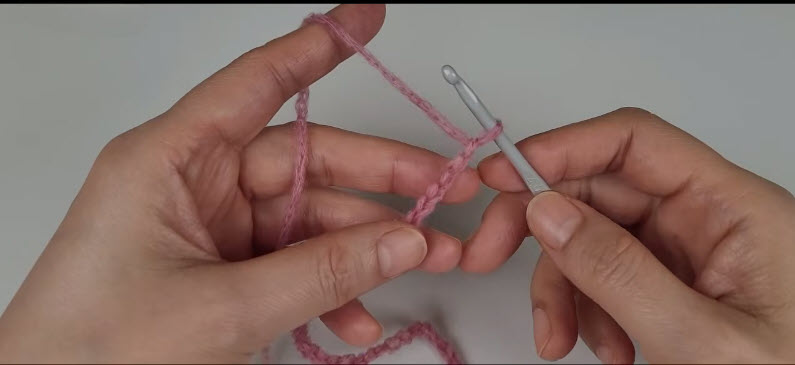
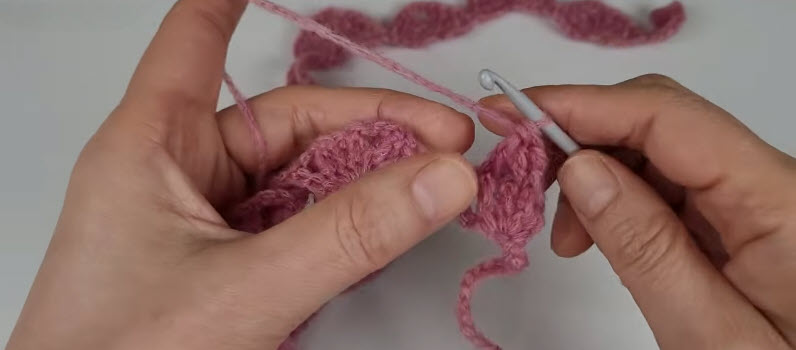
- Step 1 – Starting the chain : With the pink working yarn tensioned across the fingers, insert the hook into the starting chain stitch as shown, keeping the loop on the hook loose enough to move freely. The photo shows the yarn tail draped over the middle finger for tension while the left hand pinches the base of the chain to keep it from twisting.
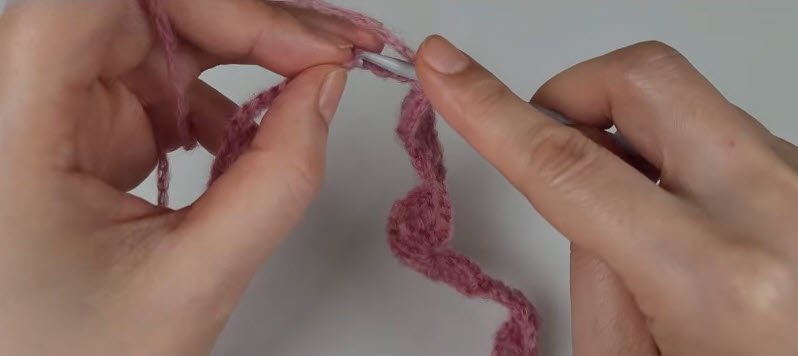
Step 2 – Building the foundation (Photo 2): Continue chaining along, drawing each new loop through cleanly. The zigzag chain visible below the hook in this photo shows the even spacing needed before shells are worked into it uneven chain tension here is what causes lopsided scallops later.
Step 3 – First shell cluster:
With a small motif already forming, the hook inserts into the next anchor point to begin the shell cluster. The textured bumps visible on the left side of the photo are the completed shells from the previous repeat use them as a spacing guide for how tightly each new cluster should sit.
Step 4 – Joining into a ring :
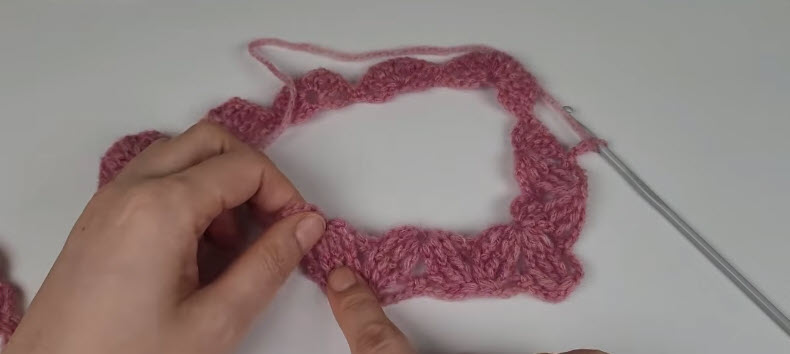
The piece has now opened into a full round, with the scalloped shell edge visible all the way around and the hook resting to the side, ready for the next join. This is the point where the round is checked for symmetry before continuing count the shells around the ring and confirm they match on both sides.
Step 5 -Checking the shell texture :
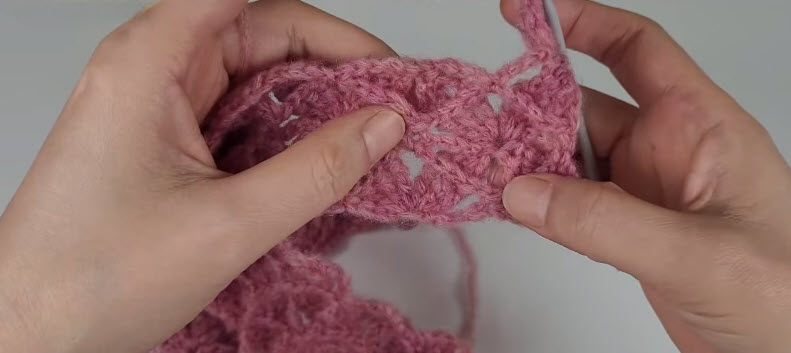
Fingers pinch the worked fabric to show the raised, clustered shell texture close up. Use this same pinch-and-check motion on your own work after every few rounds to confirm the stitches are staying open and even rather than tightening up.
Step 6 – Joining the second layer :
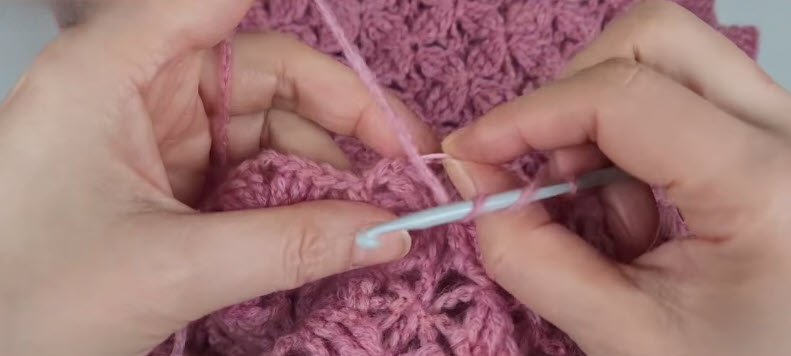
A second strand is brought in and worked directly into the existing shell fabric, which is the exact join point that makes the piece reversible. The hook picks up both the new working yarn and the anchor stitch at once, locking the second layer against the first so no gap shows on either face.
Pro-Tip: Matching the photo sequence above, pause at the same point shown in right after the ring closes to lay the piece flat and check both faces before moving into the second layer. Catching an uneven shell at this stage is far easier than unpicking it once Photo 6’s join is in place.
Sizing / Fit Guidance
Because the fabric carries two layers, a cardigan that measures correctly flat can still sit slightly firmer across the shoulders than a single-layer garment of the same gauge. Measure bust, length, and sleeve width against a well-fitting existing cardigan before finalizing row counts.
Common Mistakes
Uneven chain-5 loops are the most frequent issue, throwing shell spacing out of alignment a few rows later. Joining into the wrong loop skipping ahead instead of using the next available chain space creates a visible pull on one face only. Working the second shell row too tightly flattens the reversible texture instead of letting both layers breathe.
Troubleshooting
A looser face usually means the joining tension tightened partway through a row. Frog back to the last even repeat instead of tugging the fabric to compensate. Puckering along a seam often means the shell and loop rows drifted out of their stitch multiple. Count back to the last verified row before continuing.
Stitch check: count shells across the row before starting the next chain-loop row, comparing against the previous repeat.
Measure now: lay the growing panel flat and check width every few inches, since doubled fabric can pull narrower than expected.
Size Modification
Add or subtract shell repeats in multiples of the pattern’s foundation chain to widen or narrow the body, and lengthen sleeves in full shell-row increments so the scalloped edge stays intact rather than cutting a repeat mid-motif.
Color Variations
Working the two joined layers in contrasting colors creates a true two-toned garment. One color shows when worn open, while the other appears when the collar or cuffs fold back. A single tonal colorway keeps the texture as the main focus.
Assembly
Seam the side panels and sleeve caps using a matching join method. Slip stitch or mattress stitch through both layers so the seam stays flat instead of forming a visible ridge on either face.
Fit check: Pin the sleeves in place and try on the piece before permanent seaming. A doubled-fabric sleeve can sit differently once attached.
Finishing
Weave in the ends between the two layers rather than along a single visible strand. Tuck the tails into the space between the layers so they stay hidden from both faces. Block gently with steam instead of heavy wet blocking. This helps protect the shell texture on the doubled fabric.
Care Instructions
Hand wash in cool water and lay flat to dry. The joined double layer holds more moisture than single-layer crochet. Machine drying can also mat the texture.
Personalization Ideas
Contrast Trim
Work the outer chain-loop row in a contrasting shade for a defined edge on both faces.
Statement Buttons
Oversized buttons stand out against the open shell texture. They also work well because there is no hidden wrong side to disguise a bulky back.
Cropped Length
Shorten the body panel by a few shell repeats for a cropped silhouette. The full reversible effect will still remain visible.
FAQs
Is the fabric actually identical on both sides?
Yes. The joining method locks two matching shell layers together as they are worked. No lining or backing fabric is needed.
Can any shell stitch be made reversible?
Most cluster-based shell or V-stitch patterns can be adapted with practice. The anchor points must line up cleanly between rows so the join stays flat.
Why does my fabric feel stiff?
Tight joining tension or an undersized hook usually causes stiffness. Try a larger hook or loosen the chain-5 loops to create a softer drape.
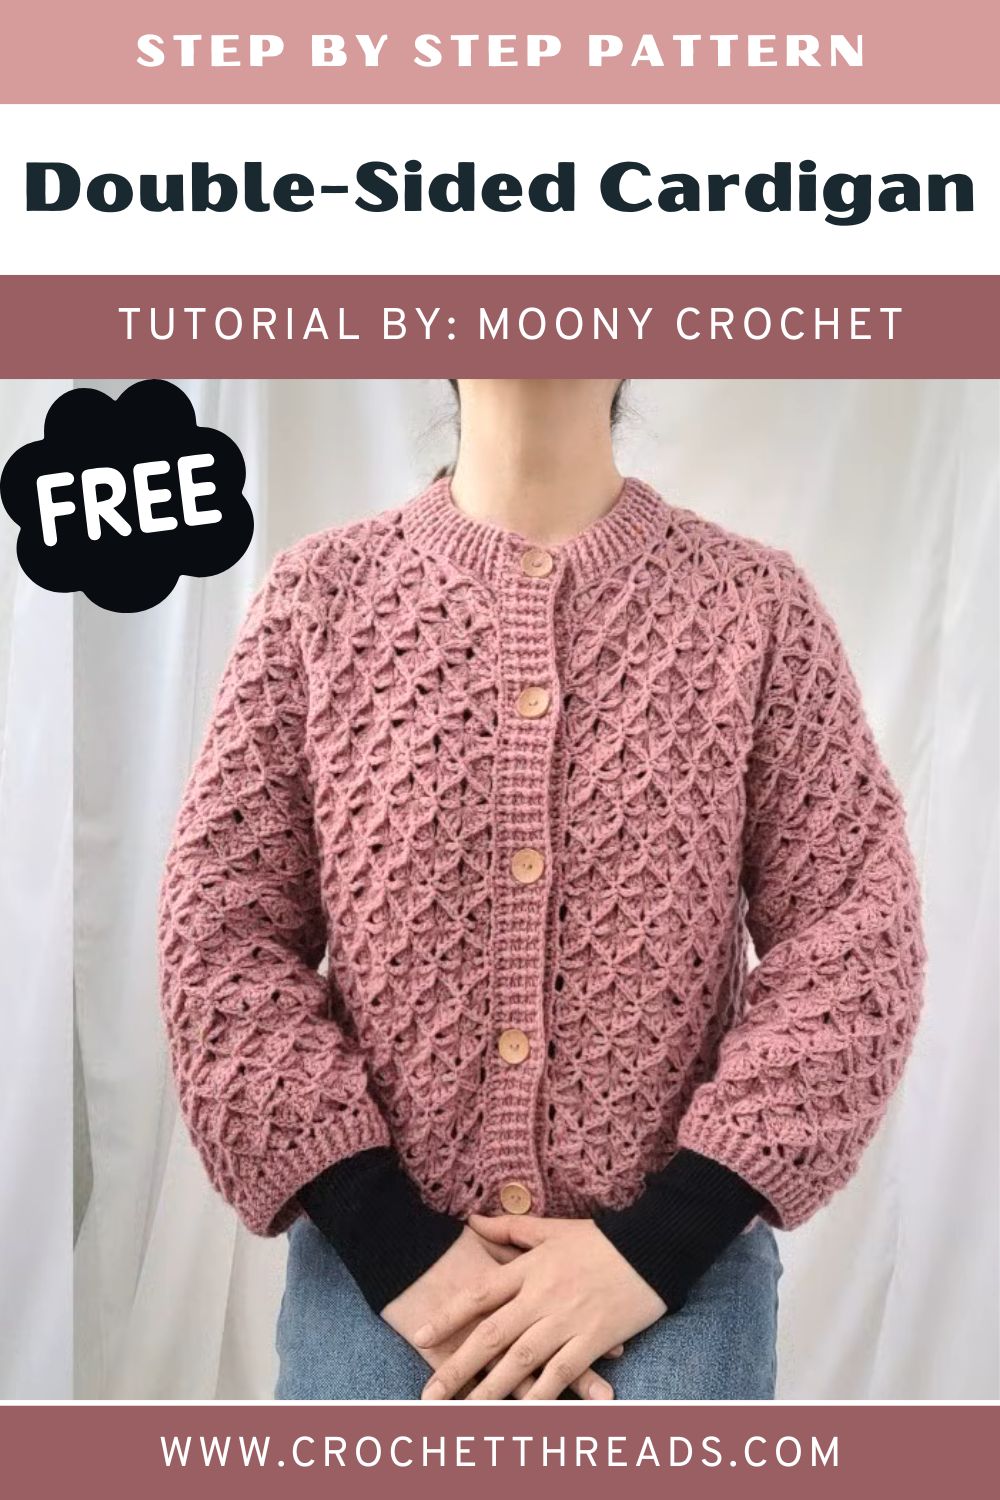
Checking Fit Before Finishing
Before seaming the sleeves or adding the final border, try on the open panels. Check how the doubled fabric moves across the shoulders and drapes at the hem. A doubled layer holds its shape more firmly than single-layer crochet, so a flat panel may feel snug when worn. Adjust a repeat or two before finishing to avoid unpicking a completed seam later.