Crochet Tooth and Toothbrush Keychain Amigurumi Pattern
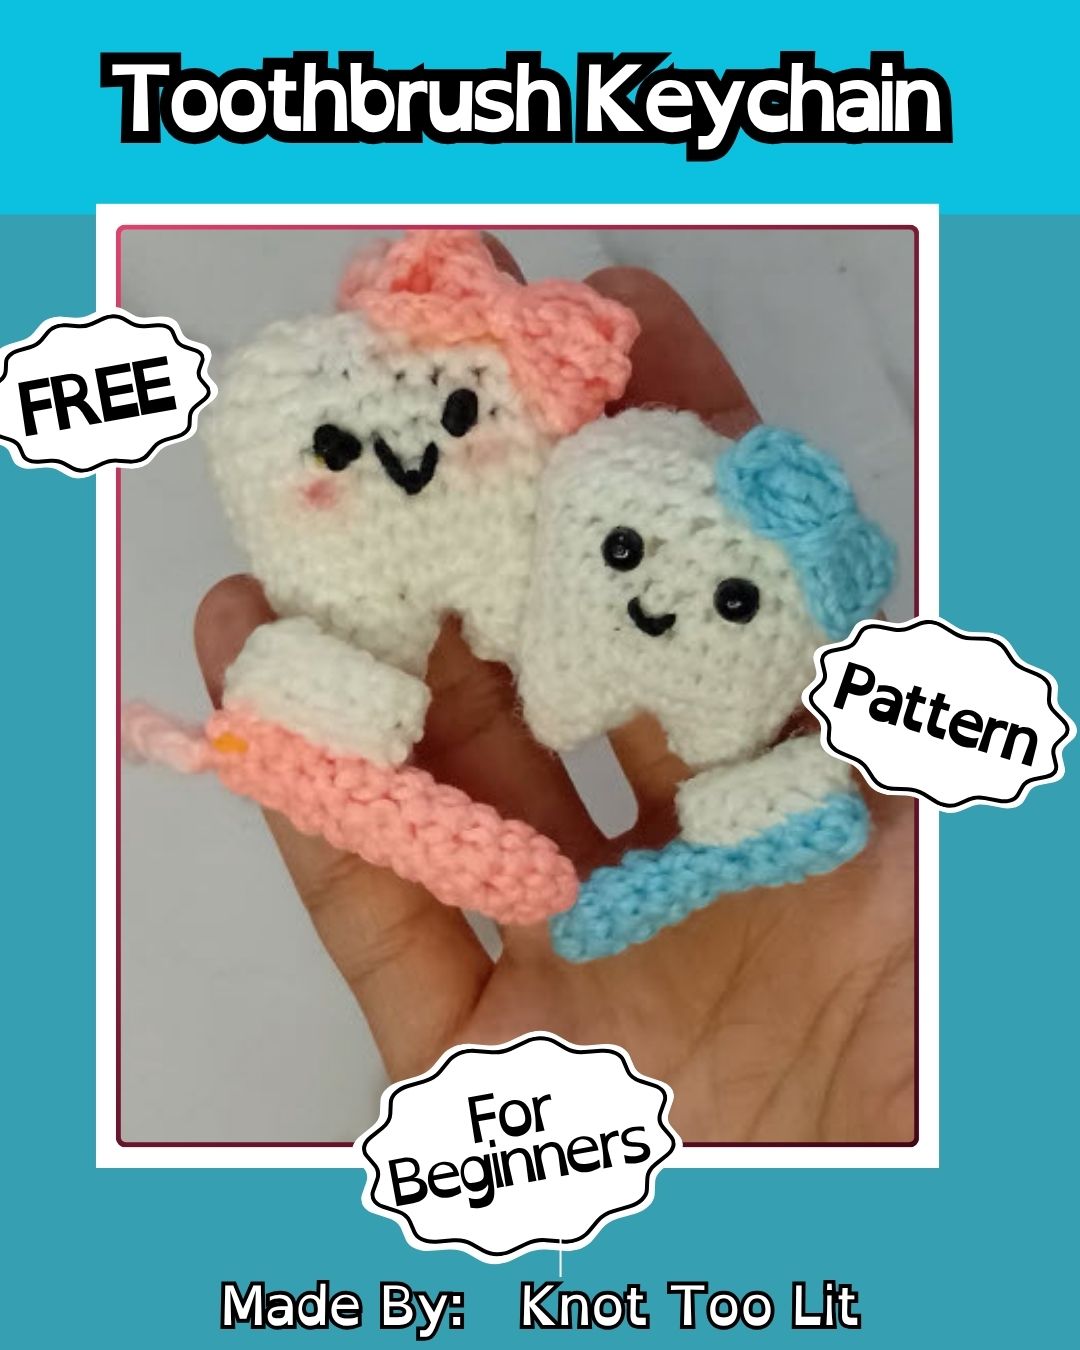
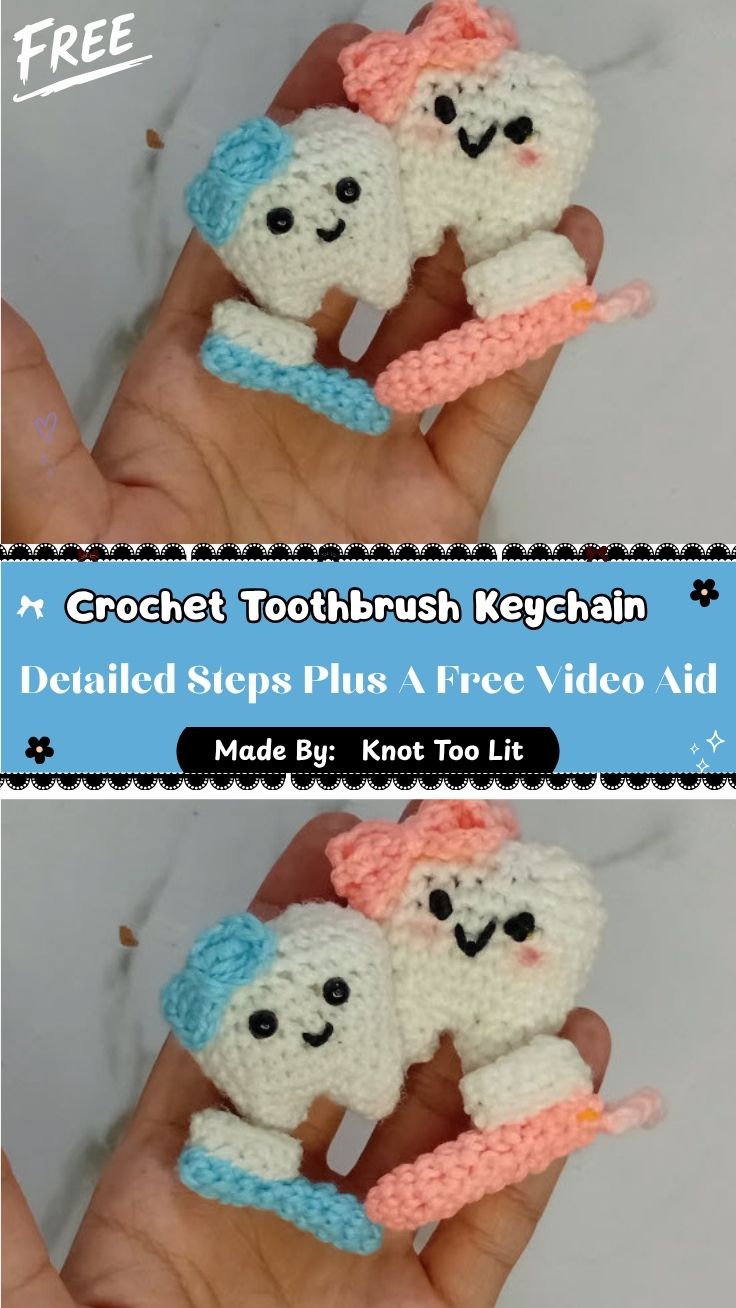
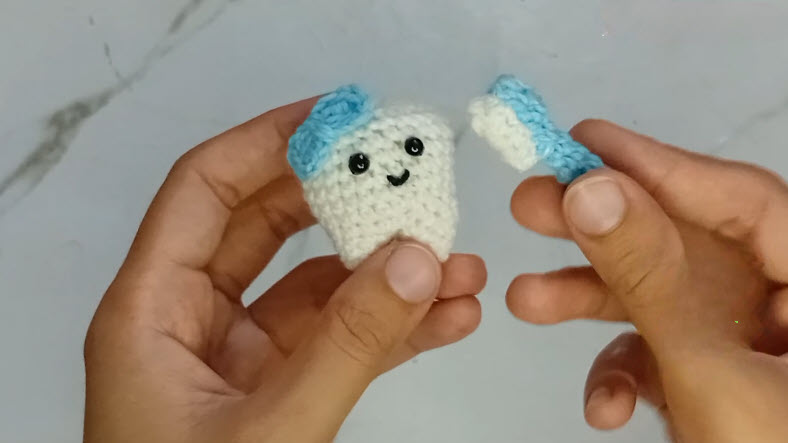
Soft white cotton puffs into a smiling molar with two rounded roots, and a pocket-sized blue brush dangles right beside it in the Crochet Tooth and Toothbrush Keychain Amigurumi Pattern, a playful pair made for keys, bags, or lanyards.
Both pieces of the amigurumi keychain work up fast in cotton yarn: the tooth grows from two joined roots into a stuffed crown, while the brush is a flat strip with a sewn-on bristle block. The crochet tooth and toothbrush keychain guide below covers round counts, stuffing, face placement, and hardware, plus dental gift ideas.
Pattern Overview
The set has two parts:
- The tooth: worked in continuous rounds, starting with two small roots that join into one body. The body is then decreased and closed at the crown.
- The brush: a flat blue handle worked in rows, with a small white bristle rectangle sewn to one end.
Both pieces hang from one keyring. The tooth finishes at roughly 2 inches tall and the brush at about 2.5 inches long. Yarn weight and tension will shift those numbers slightly.
Materials
- Light worsted (DK) cotton yarn in white, about 15 yards
- Light worsted (DK) cotton yarn in light blue, about 8 yards
- A short length of black yarn or embroidery floss for the smile
- 2.5 mm crochet hook
- Two 6 mm safety eyes, or black yarn for embroidered eyes
- A small handful of polyester fiberfill
- A locking stitch marker
- A yarn needle and scissors
- A keyring with a jump ring
Yarn Selection and Hook Size
Cotton is the better choice for a keychain. It resists fuzzing from pocket friction, holds its shape, and shows the smile embroidery crisply.
Acrylic works too, but it pills faster with daily handling.
Pair DK cotton with a 2.5 mm hook. That size is smaller than the label suggests, and it gives the tight fabric amigurumi needs. If you can see fiberfill between stitches, drop down half a size.
Stuffing and Safety
Stuff firmly but not to bursting. An overstuffed crown stretches the stitches and lets white fiberfill peek through.
Safety eyes must be locked with their washers before the crown closes. For a keychain going to a child under three, embroider the eyes instead.
Abbreviations (US Terms)
- MR: magic ring
- ch: chain
- sc: single crochet
- inc: 2 sc in the same stitch
- dec: invisible decrease
- sl st: slip stitch
- st(s): stitch(es)
- FO: fasten off
Time Box
- Prep: about 10 minutes to gather materials and wind yarn
- Stitching: about 60–75 minutes for the tooth, handle, and bristles
- Finishing: about 20 minutes for the face, sewing, and hardware
Construction and Instructions
Part 1: Roots (make 2, white)
- R1: 6 sc in MR (6)
- R2: [sc, inc] x3 (9)
- R3–R4: sc in each st around (9)
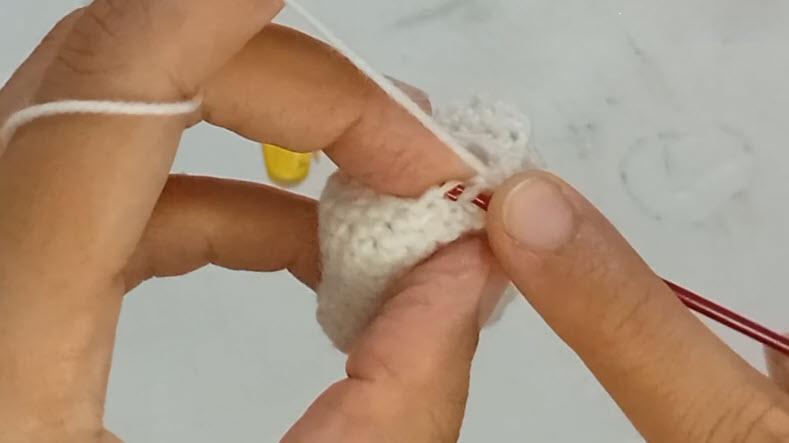
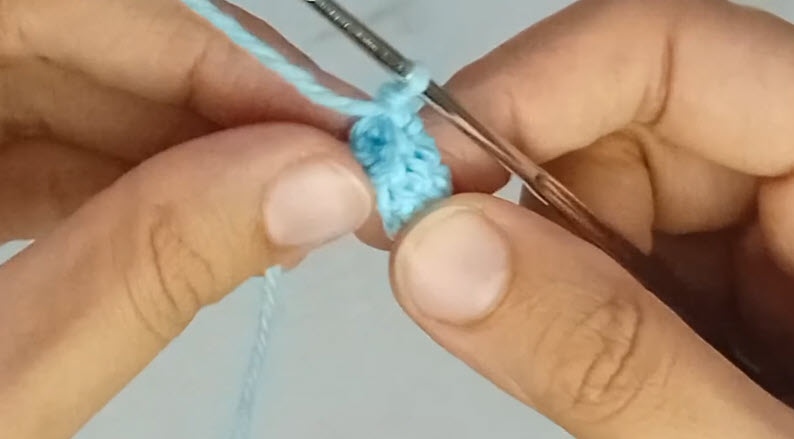
- FO the first root and leave a short tail. Keep the second root on the hook.
shows a root at about R3. The yellow marker belongs in the first stitch of every round.
2: Joining the Roots and Building the Body
- R5 (join): On the second root, sc 9 around the first root. Then continue with sc 9 around the second root (18).
- R6: [2 sc, inc] x6 (24)
- R7–R11: sc in each st around (24)
- Lightly stuff both roots now, while the openings are still easy to reach.
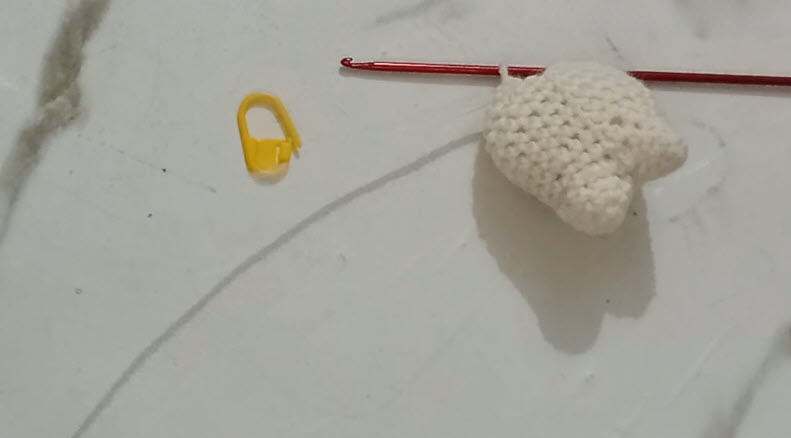
Count check: you should have 24 stitches before R12. Most miscounts happen right at the root join, so move your marker to the new first stitch after R5.
A small gap will open between the roots at the join. Close it later with the starting tail. Photo 2 shows the body at about R11, with both roots visible at the base.
3: Face and Crown Closing
- Insert the safety eyes between R9 and R10, with 3 stitches between them. Lock the washers.
- R12: [2 sc, dec] x6 (18)
- Stuff the body and crown firmly. Shape it with your fingers so the crown stays wide.
- R13: [sc, dec] x6 (12)
- R14: dec x6 (6)
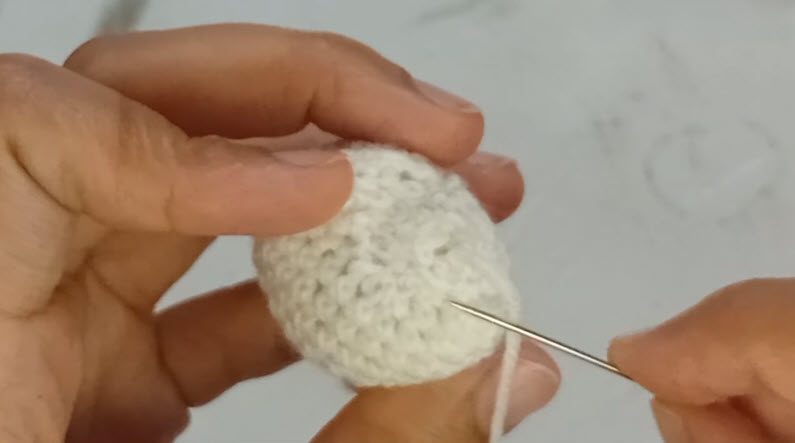
- FO. Thread the tail through the front loops of the last round and pull the opening closed, as in Photo 3.
Pro-Tip: Before R13, press the tooth flat between your palms and check that both eyes sit at the same height. Once the crown closes, you can’t reposition the washers.
4: Toothbrush Handle (blue, worked flat)
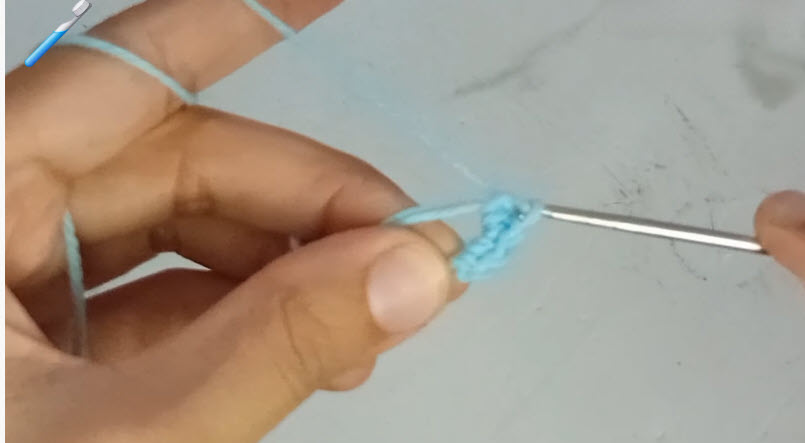
- Row 1: ch 16, then sc in the 2nd ch from the hook and across (15)
- Rows 2–4: ch 1, turn, sc across (15)
- FO and leave a 10-inch tail for sewing.
5: Bristles (white)
- Row 1: ch 6, then sc in the 2nd ch from the hook and across (5)
- Rows 2–3: ch 1, turn, sc across (5)
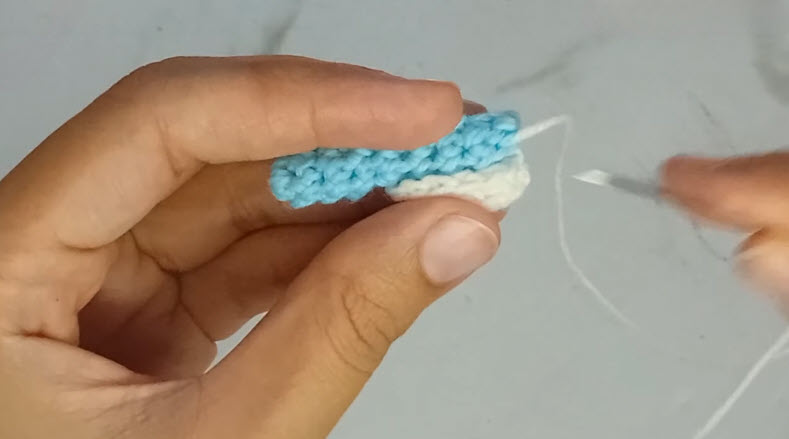
- FO and leave a tail. Sew the bristle block onto one end of the handle.
6: Blue Crown Accent (optional)
- Row 1: ch 7, then sc in the 2nd ch from the hook and across (6)
- Row 2: ch 1, turn, sc across (6)
- Drape it over the top corner of the crown and sew it down,
Facial Features
Embroider a small smile with black yarn, one round below the eyes and centered between them. Make it about 2 stitches wide. Bring the needle out and back in through the same stitch holes on both sides so the curve stays even.
Assembly
- Close the gap between the roots with the tail left from the first root.
- Thread a sturdy yarn loop through the top of the crown and attach the jump ring.
- With blue yarn, ch 10 at the free end of the handle. Attach the chain to the same jump ring so the brush can dangle freely beside the tooth.
Common Mistakes
- Losing count at the join: moving the marker late throws off every round after R5.
- Stuffing the roots last: once the body is built, the openings are too narrow to reach.
- Placing eyes after closing: safety eyes can’t be locked on a closed piece.
- A tight starting chain on the handle: it bends the strip into a curve.
Troubleshooting
- Fiberfill showing through: use a smaller hook, or stuff less densely.
- Lopsided crown: massage the stuffing toward the flat side and roll the piece between your palms.
- Handle curling: steam it lightly (no iron contact) and let it dry flat under a book.
Size Modification
For a bigger version, work the same counts in worsted yarn with a 3.5 mm hook. The tooth will grow to about 3 inches. Keep the brush at the same yarn weight as the tooth so the pair stays in proportion.
Color Variations
- Mint, pink, or lavender handles work as well as blue.
- A pale ivory tooth looks softer than bright white.
- A pastel-rainbow set works well for party favors.
Personalization Ideas
Tiny Initials
Stitch one letter onto the handle in a contrasting color.
Cheek Blush
Add two pink stitches just outside the smile.
Tooth Fairy Version
Skip the keyring and add a small pocket on the back for a coin.
Dental Office Batch
Make every brush a different color to hand out to each staff member.
Care Instructions
Spot-clean with mild soap and a damp cloth. For a deeper clean, hand-wash in cool water, squeeze gently in a towel, and air-dry. Avoid the dryer, because heat can loosen safety eyes and flatten the stuffing.
FAQs
Is the pattern beginner-friendly?
Yes, if you know the magic ring, single crochet, and decreases. The root join is the only step that feels new.
Can the set be made without a keychain?
Yes. Leave off the ring and use the pair as a small shelf plush or a tooth fairy gift.
Which yarn weight works best?
DK cotton with a 2.5 mm hook gives firm, compact stitches for everyday handling.
How long does the set take?
Plan on about an hour and a half from start to finish.
Making the Keychain Last Through Daily Use
A keychain gets tugged, dropped, and squeezed far more than a shelf toy. A few habits keep yours intact:
- Anchor the hanging loop through two rounds of the crown, not just one, so it doesn’t rip through a single stitch.
- Knot the loop tails inside the tooth before closing, then hide them in the stuffing.
- Use a split ring instead of a thin jump ring, because jump rings pry open under weight.
- Sew the bristle block with small whipstitches all the way around, not only at the corners.
- Check the hardware every few weeks and retie any loosened loop before it fails.