
Free Crochet Fox Pencil Topper Amigurumi Pattern for Kids
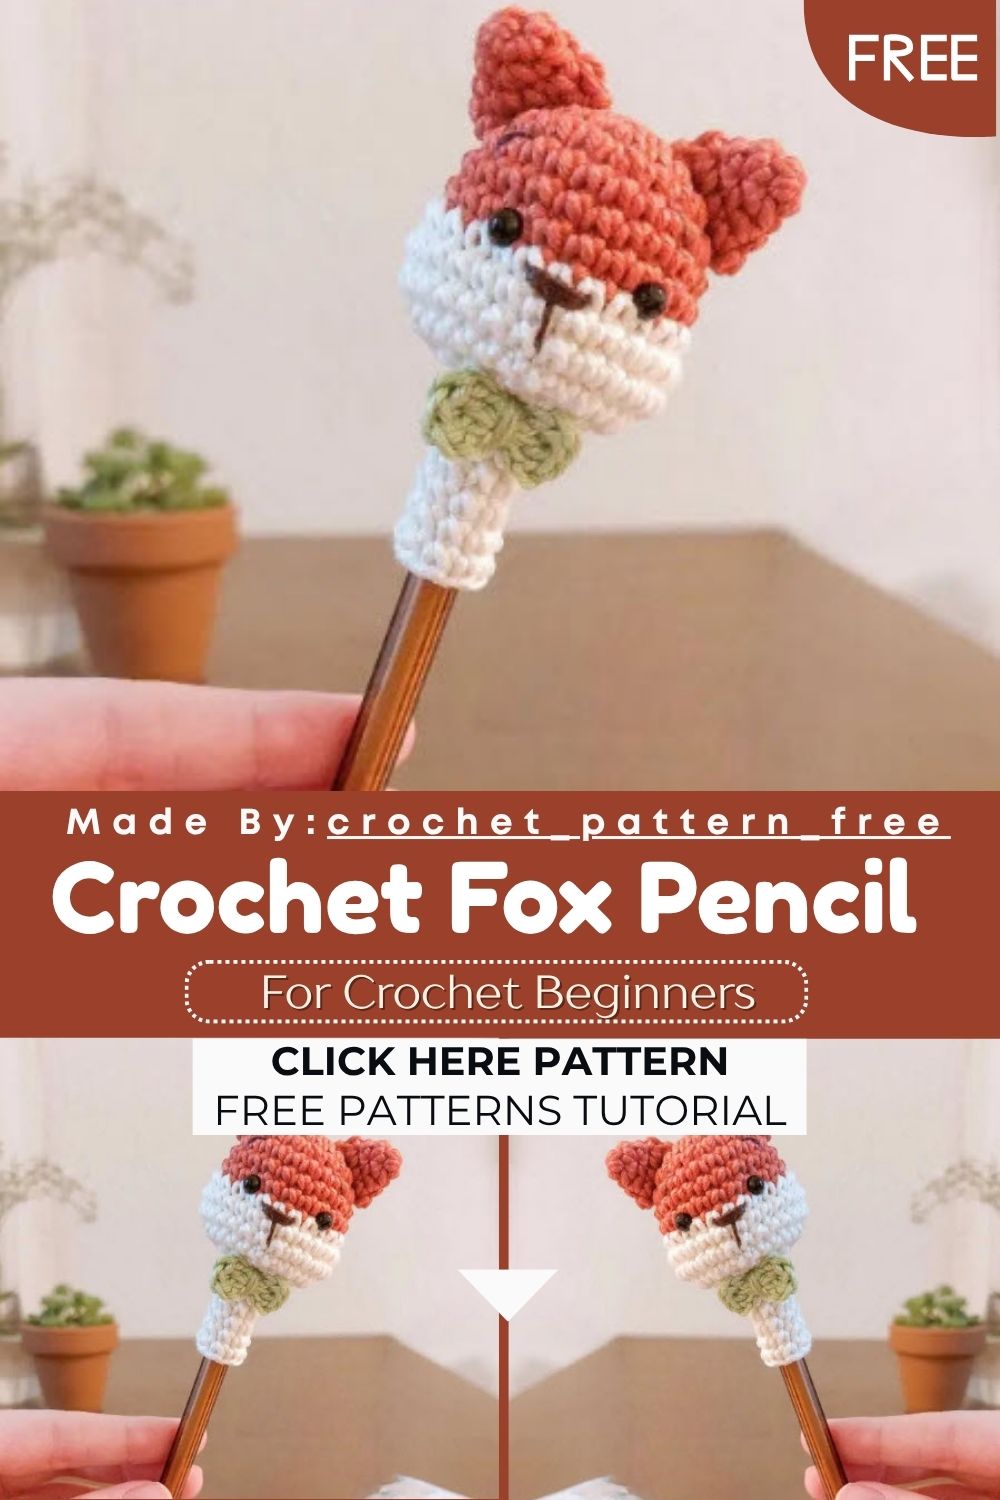
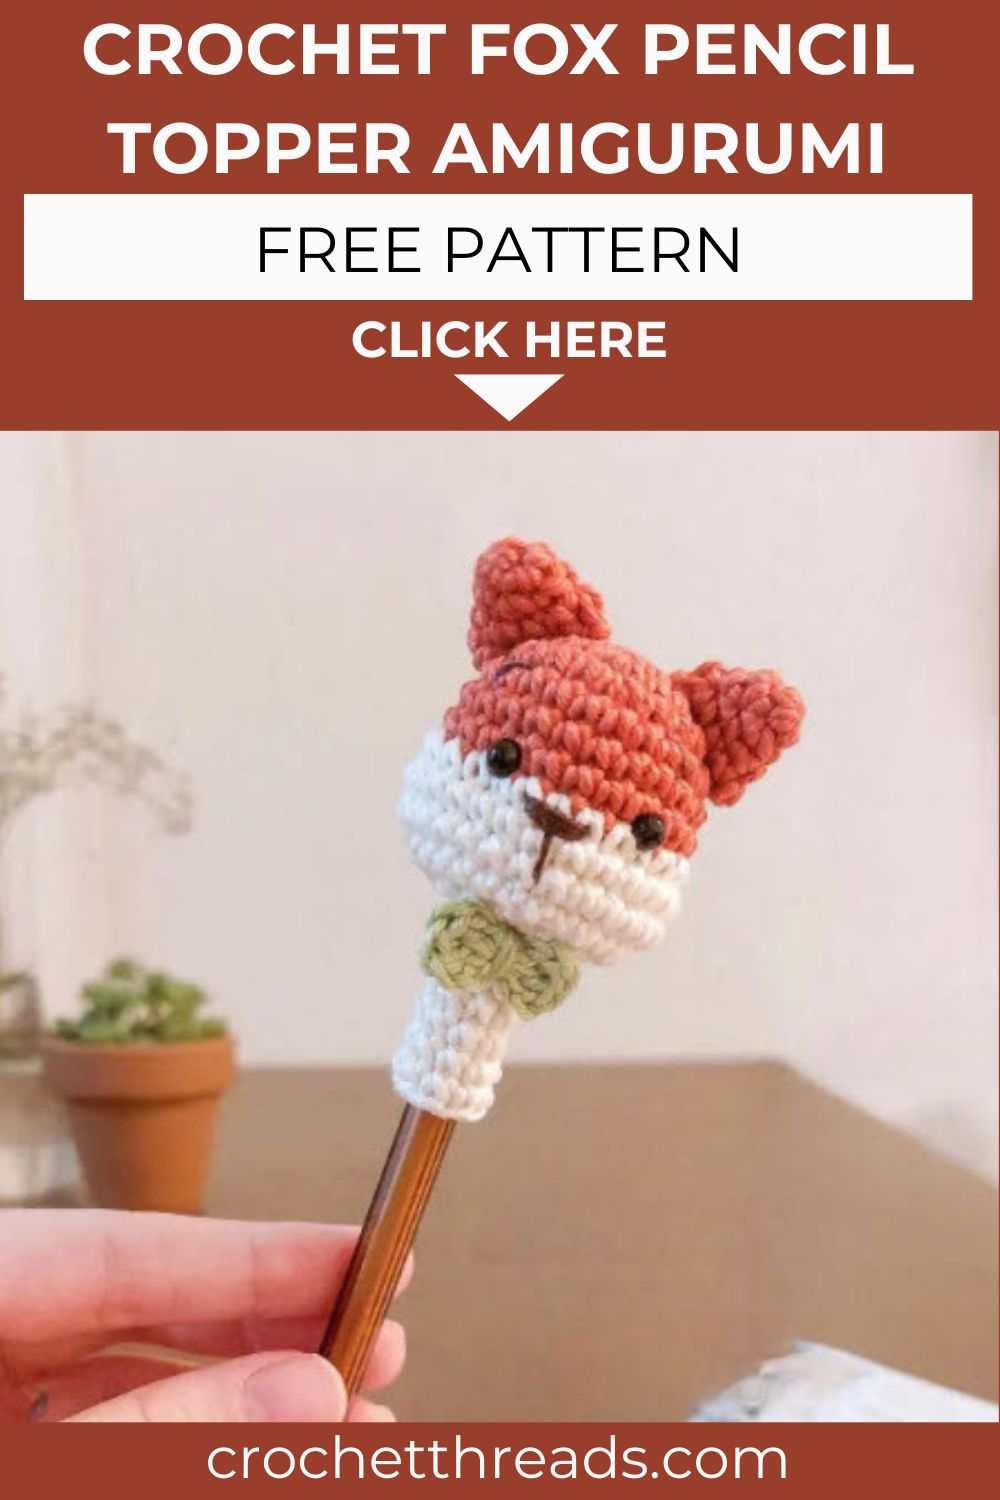
A tiny fox with pointy ears and a fluffy tail sits perfectly on top of any pencil. This free Free Crochet Fox Pencil amigurumi pattern turns leftover cotton yarn into a pencil topper kids want to use for school, gifts, or quiet-time crochet projects.
Fox amigurumi patterns rarely come this compact, and that’s what makes this Free Crochet Fox Pencil topper special. Standing at just 8 cm tall, this fox uses basic single crochet and increase stitches, so beginners finish quickly. Off white and dark orange yarn build classic fox coloring, while a light green bow adds a playful touch. Grab a 2.0mm hook and safety eyes, and this project makes a lovely handmade gift for crochet fans everywhere.
Skill Level
This Free Crochet Fox Pencil pattern suits confident beginners already comfortable with magic rings, single crochet, and basic increases. No complex shaping is involved, which makes it a relaxed, enjoyable weekend project overall.
Pattern Overview
- Finished size: approximately 8 cm tall, ideal for slipping onto a standard pencil
- Worked in continuous rounds using 100% cotton yarn (254m/125g), no joining slip stitches needed
- Color palette: off white, dark orange, and light green for the bow accent
- Uses a 2.0mm crochet hook for tight, neat stitches that hide stuffing well
- Requires 5mm safety eyes and soft stuffing for a firm, huggable head shape
- Brown embroidery yarn adds the snout detail after the main pieces are assembled
- Two ears and one bow are worked separately, then sewn onto the finished head
- Front loop only technique shapes the neck taper naturally near the final rounds
- The entire body sits inside the head piece, so no separate torso is needed
- Beginners can realistically complete the whole project in one relaxed evening session
- No sewing machine or special tools required beyond a basic sewing needle and scissors
- Works up quickly enough to make several as a matching set for siblings or classmates
Special Techniques
- Magic Ring (MR): Keeps the base tight with no visible starting hole in the fabric
- Front Loop Only (FLO): Creates a clean ridge that narrows the neck naturally without extra shaping
- Increase (inc) and Decrease (dec): Shape the rounded head and tapered tip smoothly across rounds
- Embroidery over crochet: The T-shaped snout is stitched directly onto finished rounds, not crocheted separately
- Center-wrapped bow: The bow’s magic ring is closed and wrapped at the center for a bunched, fabric-like look
- Color changing mid-round: Switching from dark orange to off white on round 8 keeps the transition invisible when done on the first stitch
Materials
- 100% cotton yarn, 254m/125g in off white, dark orange, and light green
- Brown yarn for embroidering the snout
- 2.0mm crochet hook
- Sewing needle
- Soft stuffing
- 5mm safety eyes
Abbreviations
- ch = chain
- MR = magic ring
- sc = single crochet
- inc = increase
- dec = decrease
- dc = double crochet
- slst = slip stitch
- FLO = front loop only
pattern
Head and Tip
With dark orange yarn:
- 6sc in MR (6)
- 6inc (12)
- (1sc, 1inc) x6 (18)
- (2sc, 1inc) x6 (24) 5–7. 24sc, 3 rounds even
Change color to off white:
- (5sc, 2inc, 5sc) x2 (28) 9–10. 28sc, 2 rounds even
- (5sc, 2dec, 5sc) x2 (24)
Place the safety eyes between rounds 7 and 8, leaving 4sc of distance between them.
- 12dec (12)
Stuff the head firmly before closing.
- 6dec (6)
- FLO (1sc, 1inc) x3 (9) 15–19. 9sc, 5 rounds even
Fasten off.
These final rounds form the neck opening, so keep tension consistent throughout to avoid a wobbly, uneven finish. This is also the point where the head begins to feel firm and ready for the ears and bow.
Ear (make 2)
With dark orange yarn:
- 4sc in MR (4)
- (1inc, 1sc) x2 (6)
- (1inc, 2sc) x2 (8)
- (1inc, 3sc) x2 (10)
Leave a long tail for sewing.
Bow
With light green yarn, in a magic ring:
- ch2, 2dc, ch2, 1slst, ch2, 2dc, ch2, 1slst
Close the magic ring and wrap the yarn tightly around the center to form the bow shape. Leave a tail for sewing. This small accessory takes only a few minutes but adds real personality, so feel free to make an extra one in a different shade if you want two matching foxes with slightly different accents.
Assembly
- Stuff the head evenly before closing the final rounds, keeping the shape rounded rather than lumpy
- Embroider a T-shaped snout between rounds 8 and 10, centered directly on the face
- Position both ears starting from the first round at the top of the head
- Sew the ears with a slight forward tilt for a more alert, lifelike expression
- Attach the bow just under the chin or angled to one side of the head
- Check that the safety eyes sit level before locking the backing washers in place
- Weave in every loose yarn tail before sliding the topper onto a standard pencil
- Test the fit on the pencil itself, adjusting stuffing firmness if the topper feels loose
- Trim any stray fibers around the snout embroidery for a cleaner, tidier finish
- Double-check the ear placement is symmetrical by comparing both sides before sewing them down
- Give the finished topper a gentle squeeze test to confirm the stuffing feels even throughout
Common Mistakes
- Skipping the stitch count check after each increase round, which throws off shaping later
- Placing the safety eyes too close together instead of leaving 4sc between them
- Under-stuffing the head, which leaves the pencil topper looking flat instead of round
- Forgetting to switch to front loop only on round 14, which skips the neck taper
- Sewing ears flat against the head instead of angling them slightly forward
- Leaving yarn tails too short, making them hard to weave in securely later
- Pulling the bow’s center wrap too loose, causing the shape to sag over time
- Using a hook larger than 2.0mm, which leaves visible gaps between stitches
- Rushing the color change on round 8, resulting in a messy transition line
- Forgetting to count rounds during the plain sections, which shifts the overall proportions
- Overstuffing near the neck, which makes the FLO taper look bulky instead of neat
Important Remarks
- Adjust hook size slightly if your stitches feel too loose or too tight
- Swap yarn colors freely to create different fox variations or matching topper sets
- Credit the designer if you share finished projects publicly, per standard crochet etiquette
- Store finished toppers away from small pets, since safety eyes can be a choking hazard
- Consider embroidered eyes instead of safety eyes for very young children, for extra safety
- Block the finished piece lightly if stitches look uneven after stuffing and assembly
- Keep a small notebook of round counts handy if you plan to resize this pattern later
Conclusion
This little Free Crochet Fox Pencil proves that a big dose of charm can come from a small project. With basic stitches, minimal yarn, and one evening of crochet, kids get a pencil topper worth showing off at school. Whether it becomes a classroom gift, a party favor, or a weekend craft session with your own kids, this pattern delivers a sweet, low-effort win for beginner and experienced crocheters alike. Once you master the shaping here, try swapping colors to build a whole set of woodland friends for pencils, backpacks, or bookshelves. Keep this pattern handy for last-minute gifts, since a finished topper comes together faster than most other amigurumi projects around the same size.


