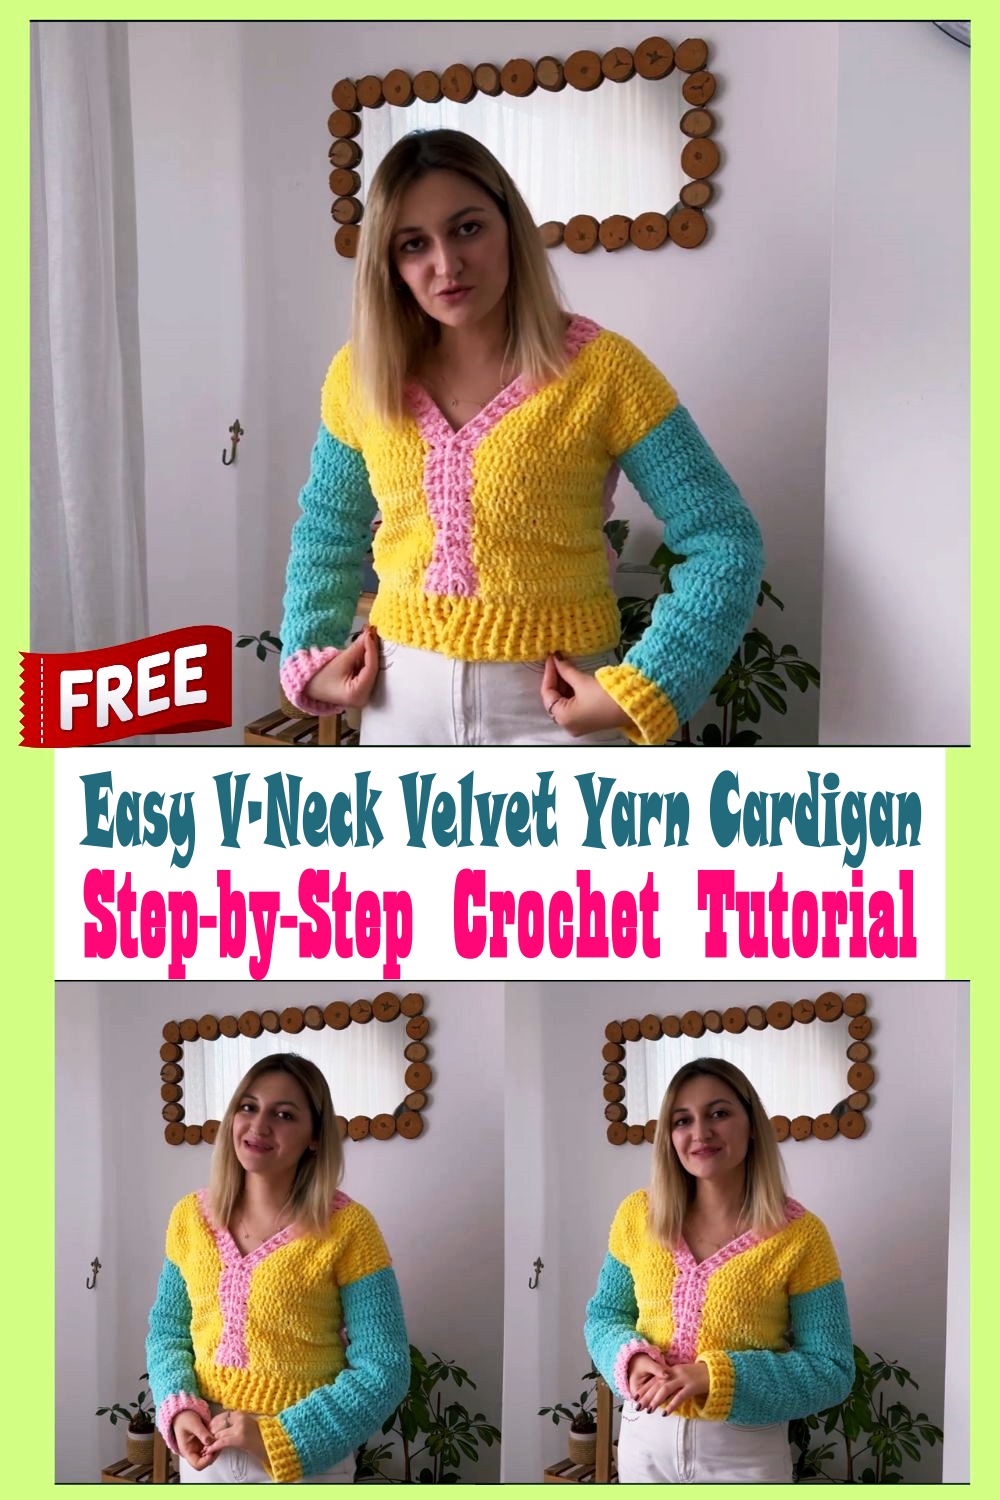
Easy Crochet V-Neck Velvet Yarn Cardigan Step-by-Step Tutorial
Embrace the comfort and style of a handmade creation with our Easy Crochet V-Neck Velvet Yarn Cardigan tutorial. This delightful cardigan is your go-to choice for cozy wear, perfectly suited for all seasons but especially wonderful during the crisp months of fall and the chilly days of winter. The luxurious velvet yarn not only adds a rich texture but also elevates the cardigan’s overall aesthetic, giving it a soft and elegant appeal that’s hard to resist. Whether you’re new to crocheting or have some experience, our tutorial breaks down the process into simple, easy-to-follow steps that will guide you through the project with ease and confidence.
Crafting this cardigan is more than just a DIY project; it’s an opportunity to create a fashionable piece for yourself or a heartfelt handmade gift for a loved one. So why not dive into this project and enjoy the satisfaction of making your own velvet yarn cardigan? With a little patience and enthusiasm, you’ll be wearing your own stylish creation in no time!
Why Velvet Yarn?
Velvet yarn isn’t just about luxury it’s also about comfort. The rich texture and gentle sheen give this cardigan a high-end look while keeping it super cozy. The softness of velvet yarn feels amazing on the skin, making it perfect for garments like sweaters and cardigans. When paired with a simple V-neck design, the result is a wearable piece that feels as good as it looks.
Perfect for Beginners
Don’t worry if you’re new to crochet. This tutorial breaks down every step in a simple and clear way so that even beginners can confidently complete the project. You’ll work with basic stitches like single crochet and half double crochet, along with easy shaping techniques to form the panels and sleeves. With a little patience and excitement, you’ll be amazed at what you can create with your own hands!
🎁 Great for Gifting
What makes this project even more special is its gifting potential. Handmade clothing carries a personal touch, and this velvet cardigan makes a heartfelt gift for birthdays, holidays, or just because. You can customize the color, size, and even add your own flair with borders, buttons, or pockets.
🧵 Step-by-Step Pattern
📋 Materials Needed:
Velvet yarn (600–800g depending on size)
6.5 mm crochet hook
Stitch markers
Yarn needle
Scissors
Measuring tape
Step 1: Create the Back Panel
Foundation Chain: Chain the width of your desired back panel (usually 60–70 chains for M size).
Row 1: Single crochet (SC) into second chain from hook and across. Turn.
Rows 2–X: Repeat single crochet rows until the back panel reaches desired length (hip or waist-length, usually 40–50 rows). Fasten off.
🔹 Step 2: Make the Front Panels (Make 2)
Foundation Chain: Chain half the width of back panel (usually 30–35 chains).
Rows: Work single crochet back and forth until the front panels match the back panel in length.
For V-neck shaping, decrease 1 stitch at the neck edge every few rows (optional for beginners).
🔹 Step 3: Crochet the Sleeves
Foundation Chain: Chain 40–50 depending on arm size.
Rows: Single crochet or half double crochet back and forth until the piece measures arm length (approx. 40–45 rows).
Increase 1 stitch at each edge every 4th row for slight sleeve taper.
🔹 Step 4: Assembly
Lay all panels flat.
Sew front panels to back panel at shoulders using yarn needle.
Sew sleeves to armholes.
Fold cardigan and sew along the sides and sleeve seams.
🔹 Step 5: Add Edging (Optional)
Attach yarn at bottom edge, and work single crochet all around the front opening and neckline for a clean finish.
You can also add a row of slip stitches or ribbing for extra detail.