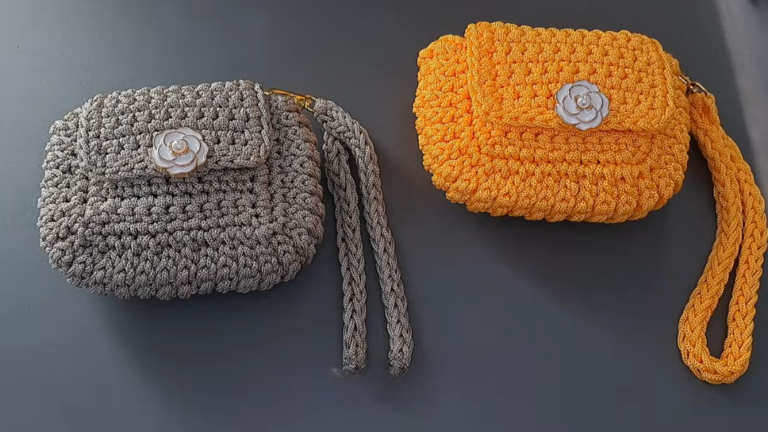
Chunky Crochet Shoulder Bag Trendy Purse Pattern
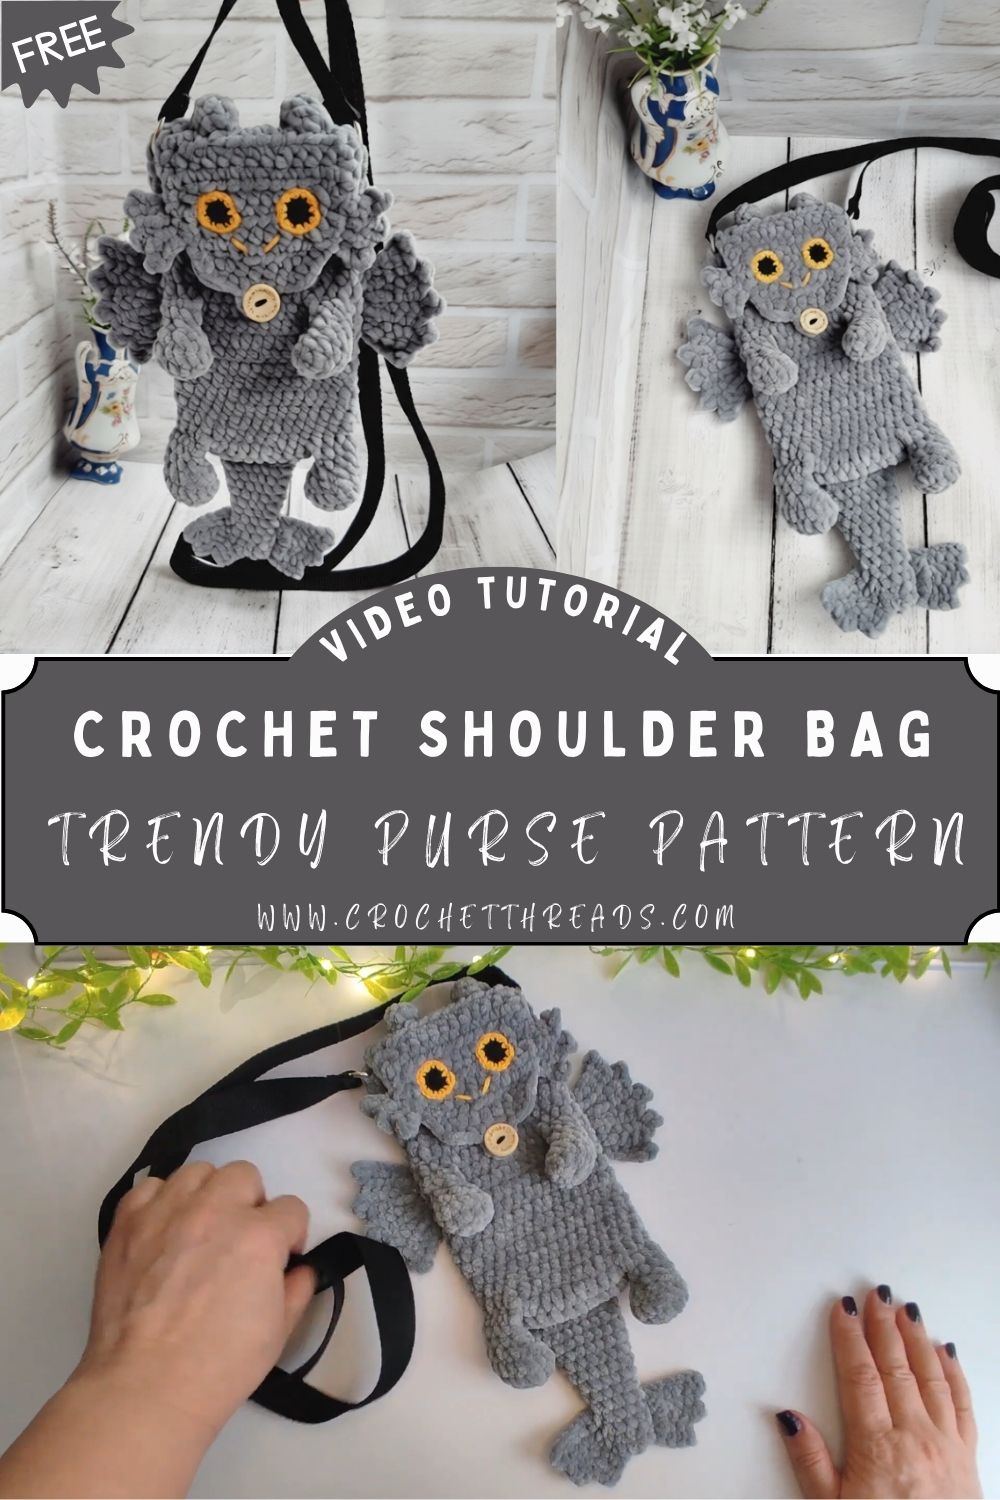
Project Details
- Skill Level: Beginner to Advanced Beginner
- Finished Size: Approximately 12 inches wide x 10 inches tall (excluding strap)
- Estimated Time Required: 4–6 hours
- Recommended Yarn Weight: Super Bulky (Category 6) or Jumbo (Category 7)
- Crochet Hook Size: 10mm–12mm hook (adjust based on yarn thickness and desired drape)
Materials Needed
- Chunky or super bulky yarn (roughly 200–300 yards, depending on bag size)
- 10mm or 12mm crochet hook
- Tapestry needle for weaving in ends
- Stitch markers
- Scissors
- Optional: fabric lining, magnetic snap closure, or a decorative button for extra polish
- Optional: leather or chain strap as an alternative to a crocheted one
Crochet Stitches & Techniques
This project stays approachable by relying on a small handful of core techniques rather than anything overly technical.
- Chain Stitch (ch): Forms the foundation row and sets the bag’s starting width.
- Single Crochet (sc): Builds a dense, sturdy fabric ideal for holding the bag’s shape.
- Half Double Crochet (hdc): Adds a bit more height and softness where needed.
- Slip Stitch (sl st): Used for joining rounds and moving between sections cleanly.
- Increase: Widens the base to create the bag’s rounded or rectangular shape.
- Fastening Off: Secures the final stitch once each piece is complete.
- Sewing Pieces Together: Joins the front, back, and strap into one finished bag.
Pattern Instructions
Creating the Base
Start by chaining the desired base width, then work single crochet stitches across the row to establish a firm foundation. A tight, even tension at this stage matters more than in most other parts of the project, since the base determines how well the finished bag stands on its own.
Building the Body Panels
Once the base is set, continue working rows of single crochet (or a mix of single and half double crochet, depending on the texture you’re after) until each panel reaches your target height. Keeping stitch counts consistent row to row prevents the sides from flaring or pulling inward, so a quick stitch count every few rows saves frustration later.
Shaping the Sides
Some versions of this bag call for a rounded silhouette rather than a flat rectangle. Achieving that curve involves gradual increases along the sides of the panel, spaced evenly so the shape grows smoothly instead of in noticeable jumps. Stitch markers come in handy here to flag exactly where each increase should land.
Crocheting the Strap
A long, sturdy strap can be made using rows of single crochet folded and seamed for extra thickness, or by working several rows joined together for added width. The length is really a matter of personal preference, so measure it against your body before finishing off. This helps ensure it sits where you want it, whether you prefer a cross-body drop or a shorter shoulder carry.
Joining All Pieces
With the front, back, and strap complete, line up the panels and use a tapestry needle to whip stitch them together along the sides and bottom, leaving the top open. Attaching the strap securely at both sides distributes weight evenly and keeps the bag from sagging once it’s loaded with everyday items.
Final Assembly
Weave in any remaining yarn ends and give the bag a light steam or shape with your hands to help it settle into its final form. Adding a lining fabric at this stage is optional, but it does give the interior a cleaner finish and helps smaller items stay put.
Tips for Success
- Keep tension consistent throughout, since chunky yarn shows uneven stitches far more obviously than finer weights.
- Count stitches at the end of every few rows to catch mistakes early rather than unraveling later.
- Use stitch markers to track increase points and round starts, especially on rounded panels.
- Steam-block the finished piece lightly to even out the stitch definition.
- Tuck yarn ends through several stitches rather than just knotting them, so they stay hidden through regular use.
Personalization Ideas
- Swap in a neutral tone like oatmeal or stone for an everyday, wear-with-anything look, or go bold with a rust or forest green for a statement piece.
- Try a seasonal palette pastel shades for spring, deep jewel tones for winter gifting.
- Add fringe, tassels, or pom-poms along the bottom edge for extra movement.
- Swap the crocheted strap for a chain or leather one for a different aesthetic entirely.
- Scale the pattern down for a mini crossbody version, or size it up into an oversized tote for beach trips.
- A smaller version also works nicely as a phone bag or a thoughtful handmade gift.
Common Mistakes to Avoid
Loose or inconsistent tension tends to be the most common issue with chunky crochet, since the thickness of the yarn can mask small errors until several rows later. Checking your work every so often, rather than only at the end, catches problems while they’re still easy to fix.
Skipping stitch counts is another frequent trip-up, particularly during increase rounds where it’s easy to lose track. A quick count after each round takes only seconds and prevents lopsided panels down the line.
Choosing a hook that’s mismatched to the yarn weight can also throw off the whole project too small a hook creates a stiff, hard-to-work fabric, while too large a hook leaves gaps between stitches. Testing a small swatch first helps confirm the right pairing before committing to the full bag.
Frequently Asked Questions
What yarn works best for this bag? Super bulky or jumbo weight yarn gives the bag its signature chunky texture and helps it hold shape without stiffening or interfacing.
Can I make this Chunky Crochet Shoulder Bag pattern with a smaller hook?
Yes, though the fabric will be denser and the finished bag slightly smaller. Adjust your base chain length accordingly if you go this route.
Does the bag need a lining?
Not strictly, but a fabric lining does help smaller items from slipping through gaps between stitches and adds a more finished interior.
How much yarn do I actually need?
Most versions use between 200 and 300 yards, though exact amounts depend on your finished size and strap length.
Is this pattern good for absolute beginners?
It’s a great project for newer crocheters, since it relies mainly on single crochet and basic shaping rather than intricate stitch combinations.
Can I add a closure to the Chunky Crochet Shoulder Bag?
A magnetic snap, button, or drawstring closure all work well and are easy to add during final assembly.
How long does this project usually take?
Most makers finish within 4 to 6 hours, though total time varies based on experience level and how large you make the finished piece.
Conclusion
Few projects deliver such a stylish result for a relatively small time investment, making this chunky crochet shoulder bag worth adding to your queue. Grab your favorite bulky yarn and settle in for an afternoon. Enjoy watching a functional, fashionable accessory take shape stitch by stitch. Once it’s finished, share a photo of your version. Seeing how other makers put their own spin on this pattern is always half the fun.