How to Crochet a fish-shaped bag Pattern for kids
Bright yellow yarn curls into a tight magic ring, and a few rounds later a scaled little pouch takes shape the first step in learning how to crochet a Fish-Shaped Bag for Kids, a fun project for playful beginners.
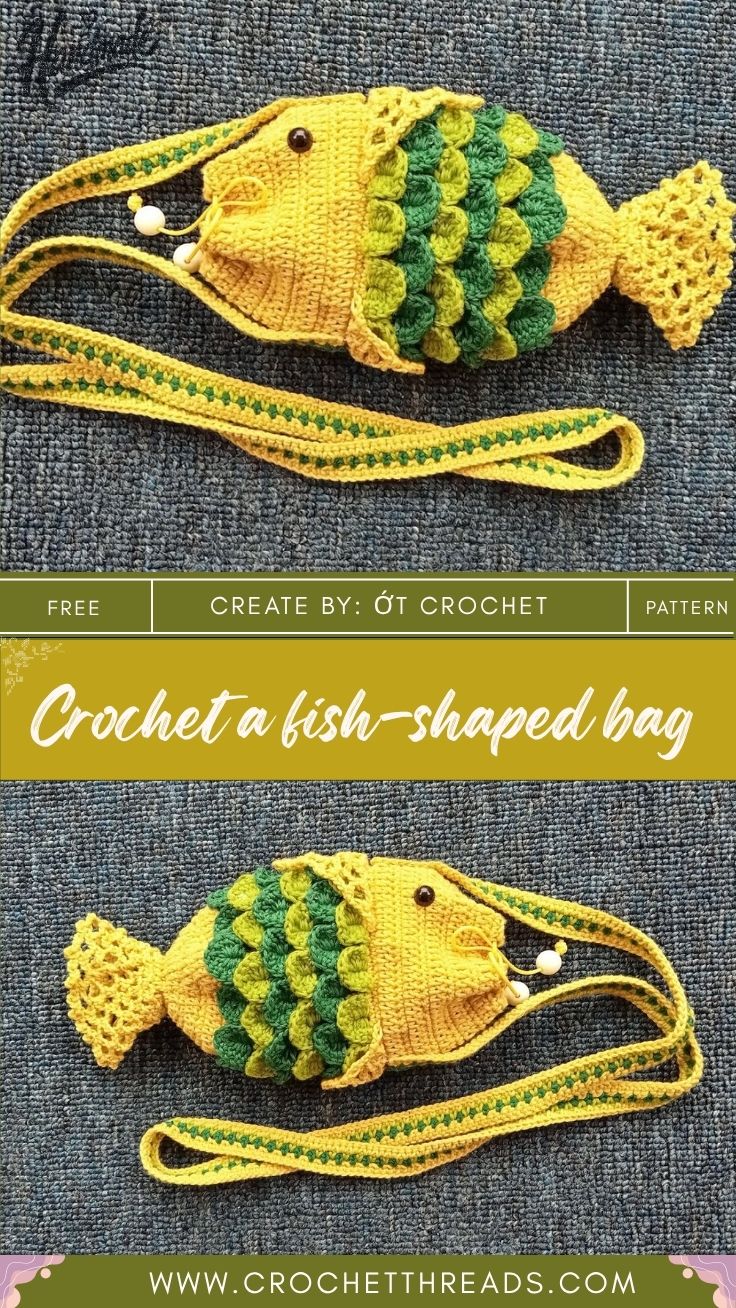
Scaled sides in two shades of green wrap around a smooth yellow base, and a soft drawstring closure cinches the bag shut instead of leaving a plain pouch look. Crocodile stitch, the technique behind every scale, turns a beginner-friendly project into something that photographs beautifully, giving kids a handmade bag small enough to carry snacks or tiny treasures.
About This Crochet a fish-shaped bag Pattern
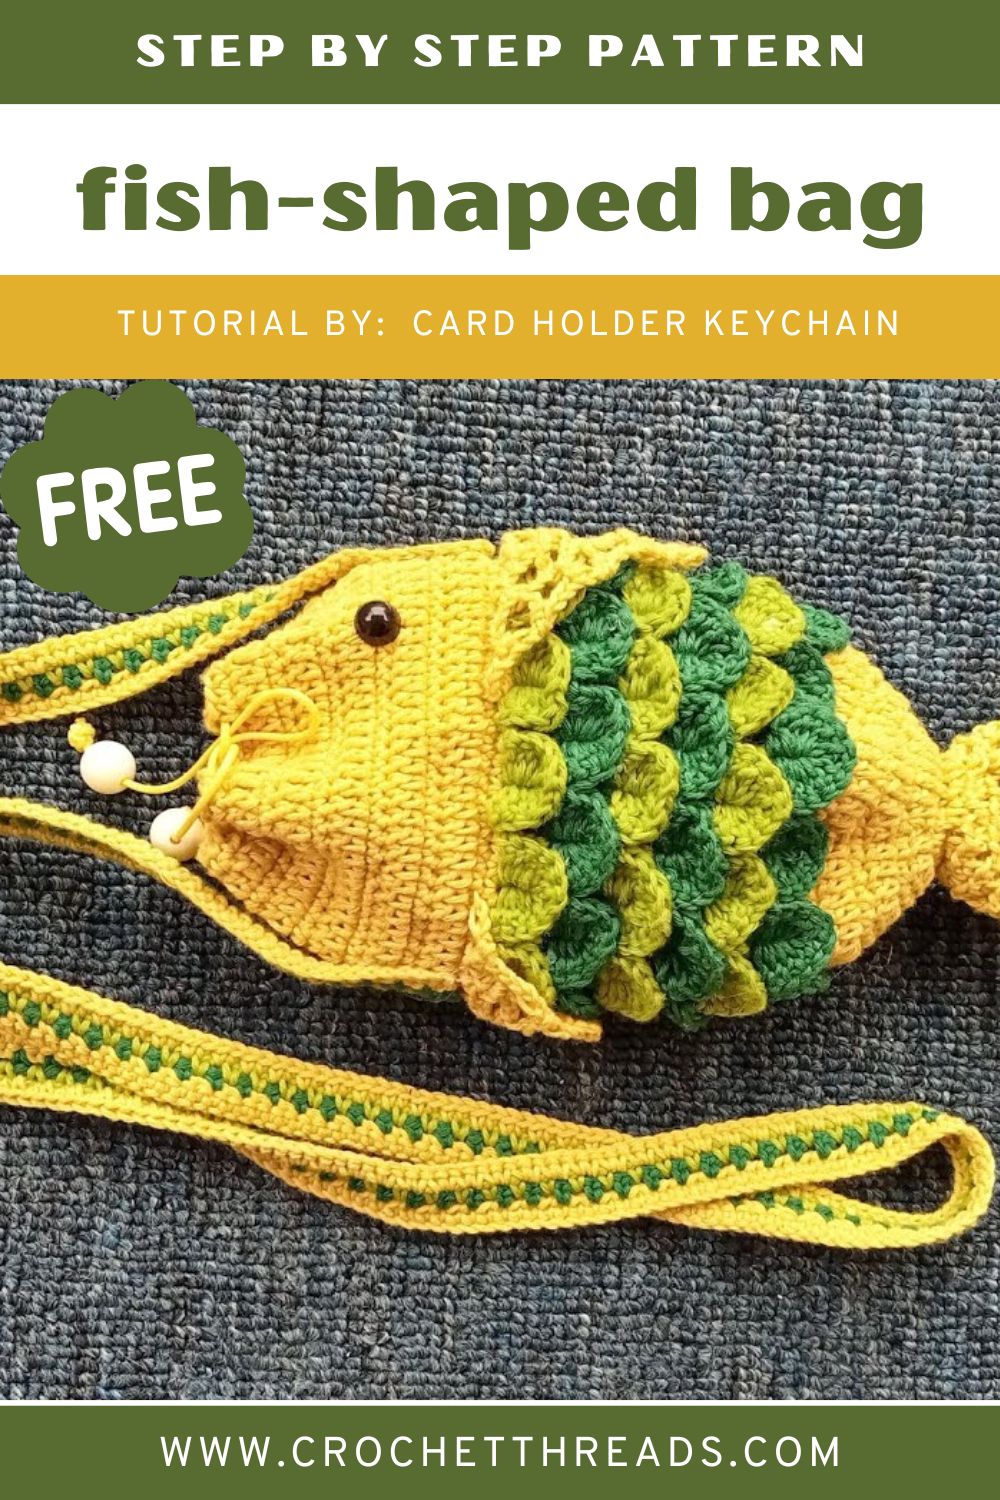
Picture a plump little pouch sitting in your palm. A smooth yellow base curves up into rows of overlapping scales in two shades of green. It then narrows into a soft yellow neck topped with a drawstring cord.
Each layer of scales catches the light a little differently. As a result, even a small project looks surprisingly textured and dimensional once finished.
Difficulty sits right in the sweet spot between “easy weekend project” and “skill-building challenge.” Basic single crochet carries most of the piece, and the only technique that demands real focus is the crocodile stitch band that forms the body; once that rhythm clicks, rows fly by fast. Scrap yarn works beautifully here, making the pattern a favorite for using up leftover cotton in ocean-inspired colors.
Project Details
- Skill Level: Confident beginner to intermediate (crocodile stitch takes a little practice, though every other stitch used stays basic)
- Finished Size: approximately 4 inches (10 cm) tall and 3.5 inches (9 cm) wide, not counting the drawstring a comfortable size for little hands
- Estimated Time Required: roughly 3–4 hours total, easily split across two or three short sittings
- Recommended Yarn Weight: fine or lace-weight cotton crochet thread (similar to a size 3 pearl cotton) for crisp, delicate scales; DK or worsted cotton also works nicely for a sturdier, slightly larger bag
- Crochet Hook Size: 1.5mm steel or fine bamboo hook for thread weight, or a 3.5–4mm hook if working with worsted yarn
Materials Needed
- Yellow cotton yarn or thread for the base, neck, and head
- Two contrasting greens: one deeper teal or emerald, one lighter lime or apple green for the scaled body
- Small amount of black yarn or embroidery floss for the eyes and mouth (or 6mm safety eyes as an alternative)
- 1.5mm crochet hook, or a size matched to your chosen yarn
- Tapestry needle for weaving ends and embroidering facial details
- Stitch marker to track the start of each round
- Sharp scissors
- Optional: a scrap of fiberfill for the head, a small pom-pom or wooden bead for the drawstring ends, extra yarn for a crossbody strap
Crochet Stitches & Techniques
- Magic Ring
- Chain Stitch (ch)
- Slip Stitch (sl st)
- Single Crochet (sc)
- Double Crochet (dc)
- Crocodile Stitch (scale stitch) – the signature technique
- Increase (inc)
- Invisible Decrease (dec)
- Color Changes
- Fastening Off
- Weaving in Ends & Sewing on Details
Pattern Instructions
Creating the Base
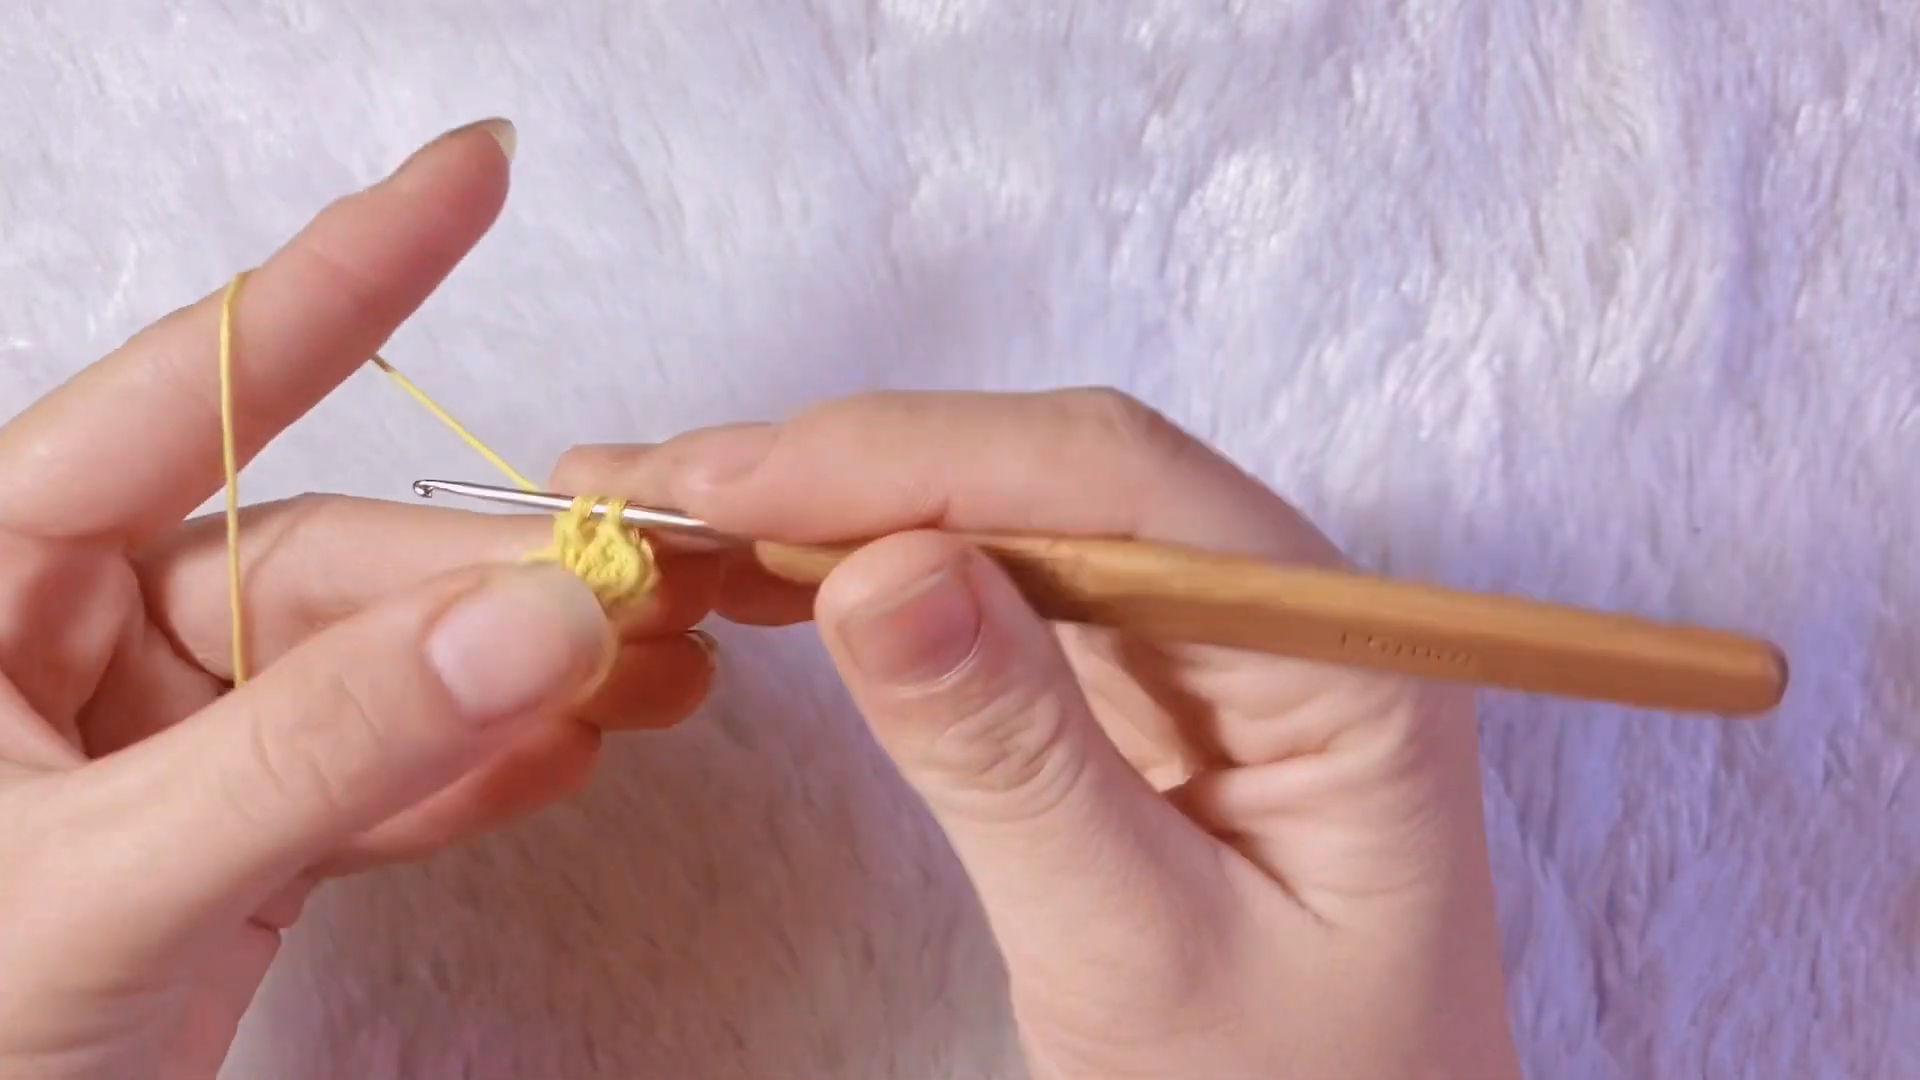
Start with a magic ring in yellow, keeping the tail looped loosely over your index finger so tension stays consistent, exactly the grip shown when the hook first catches the yarn to form that opening loop. Work 6 sc into the ring and pull the tail snug to close the circle.
- Round 1: 6 sc in magic ring (6 sts)
- Round 2: 2 sc in each st around (12 sts)
- Round 3: sc 1, 2 sc in next st, repeat around (18 sts)
- Round 4: sc 2, 2 sc in next st, repeat around (24 sts)
Pro tip: slide a stitch marker into the first stitch of every round before moving on — crocodile stitch rows get busy fast, and losing track of round starts is the easiest way to end up with a lopsided base.
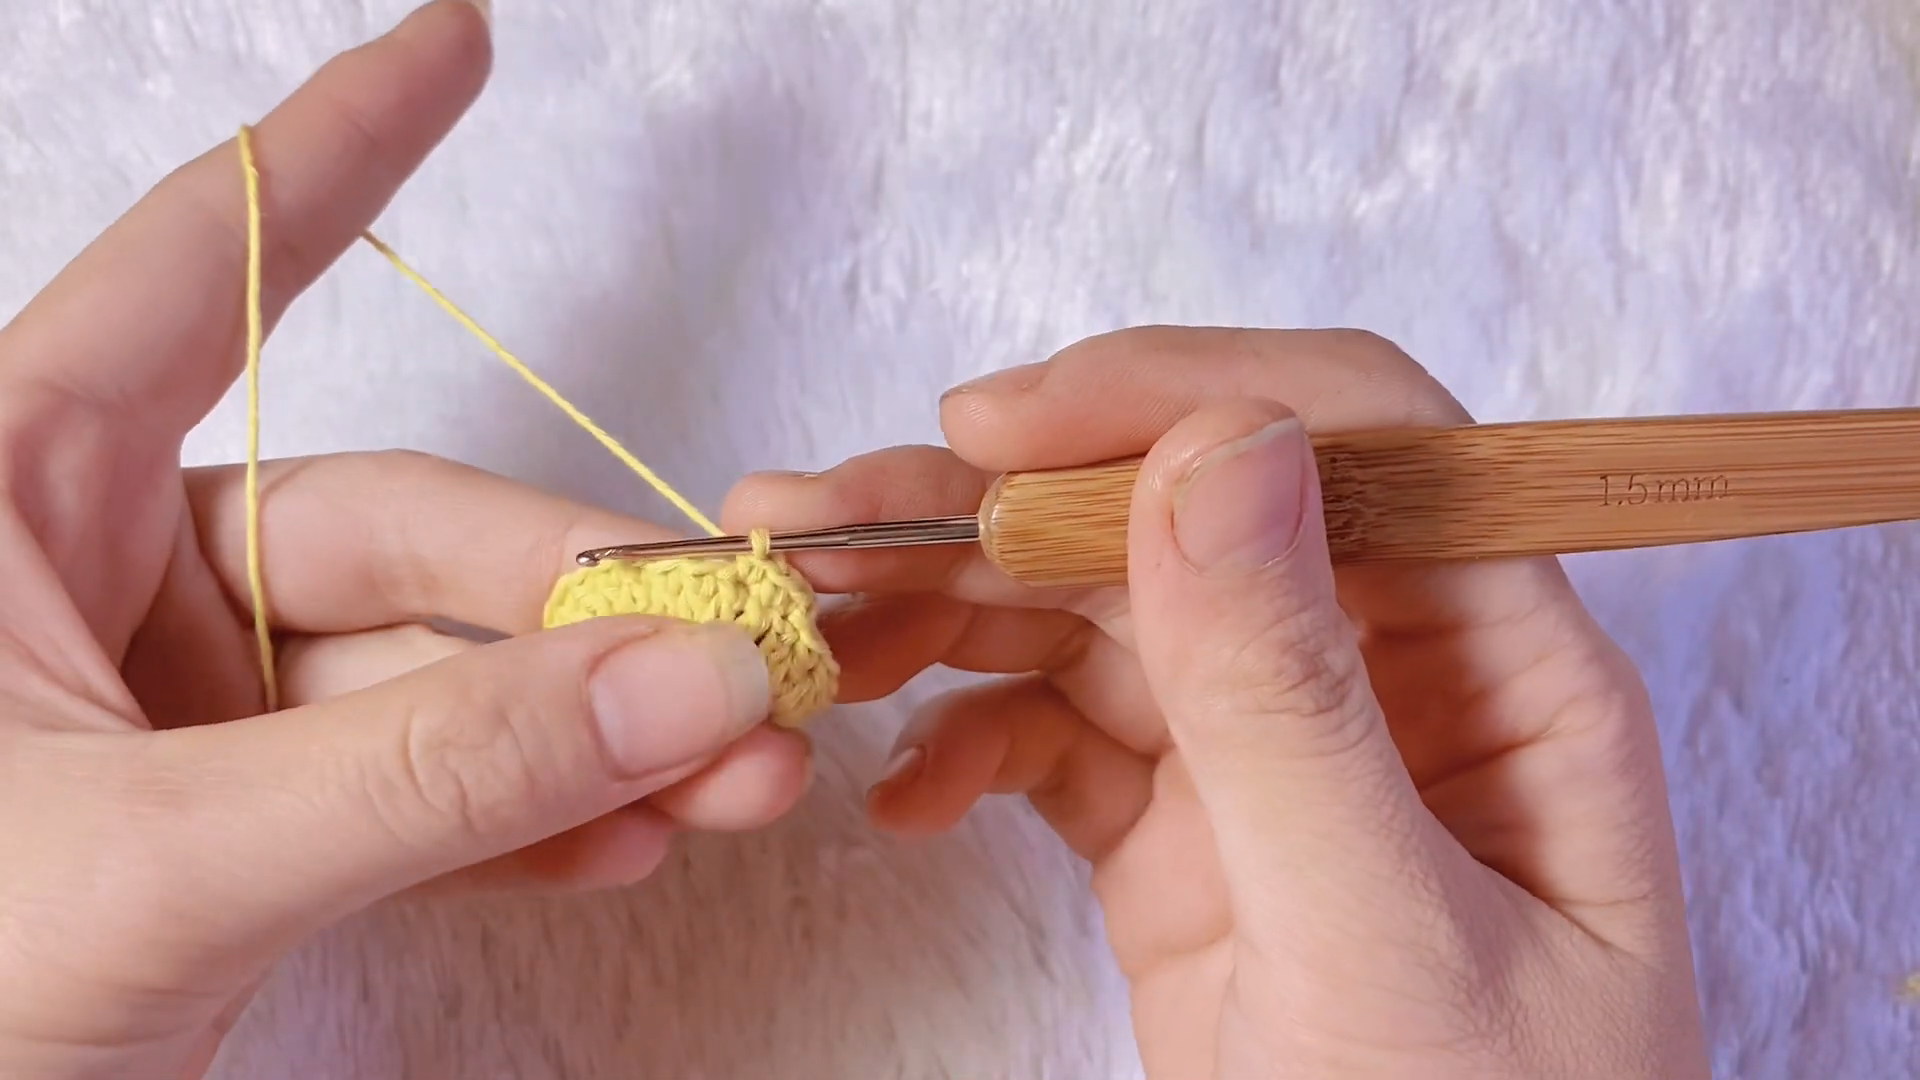
Keep increasing evenly until the yellow disc measures roughly 3.5 inches across (24–30 sts depending on yarn weight), then stop increasing; that flat golden circle becomes the bottom of the fish’s belly.
Setting Up the Fan Stitches
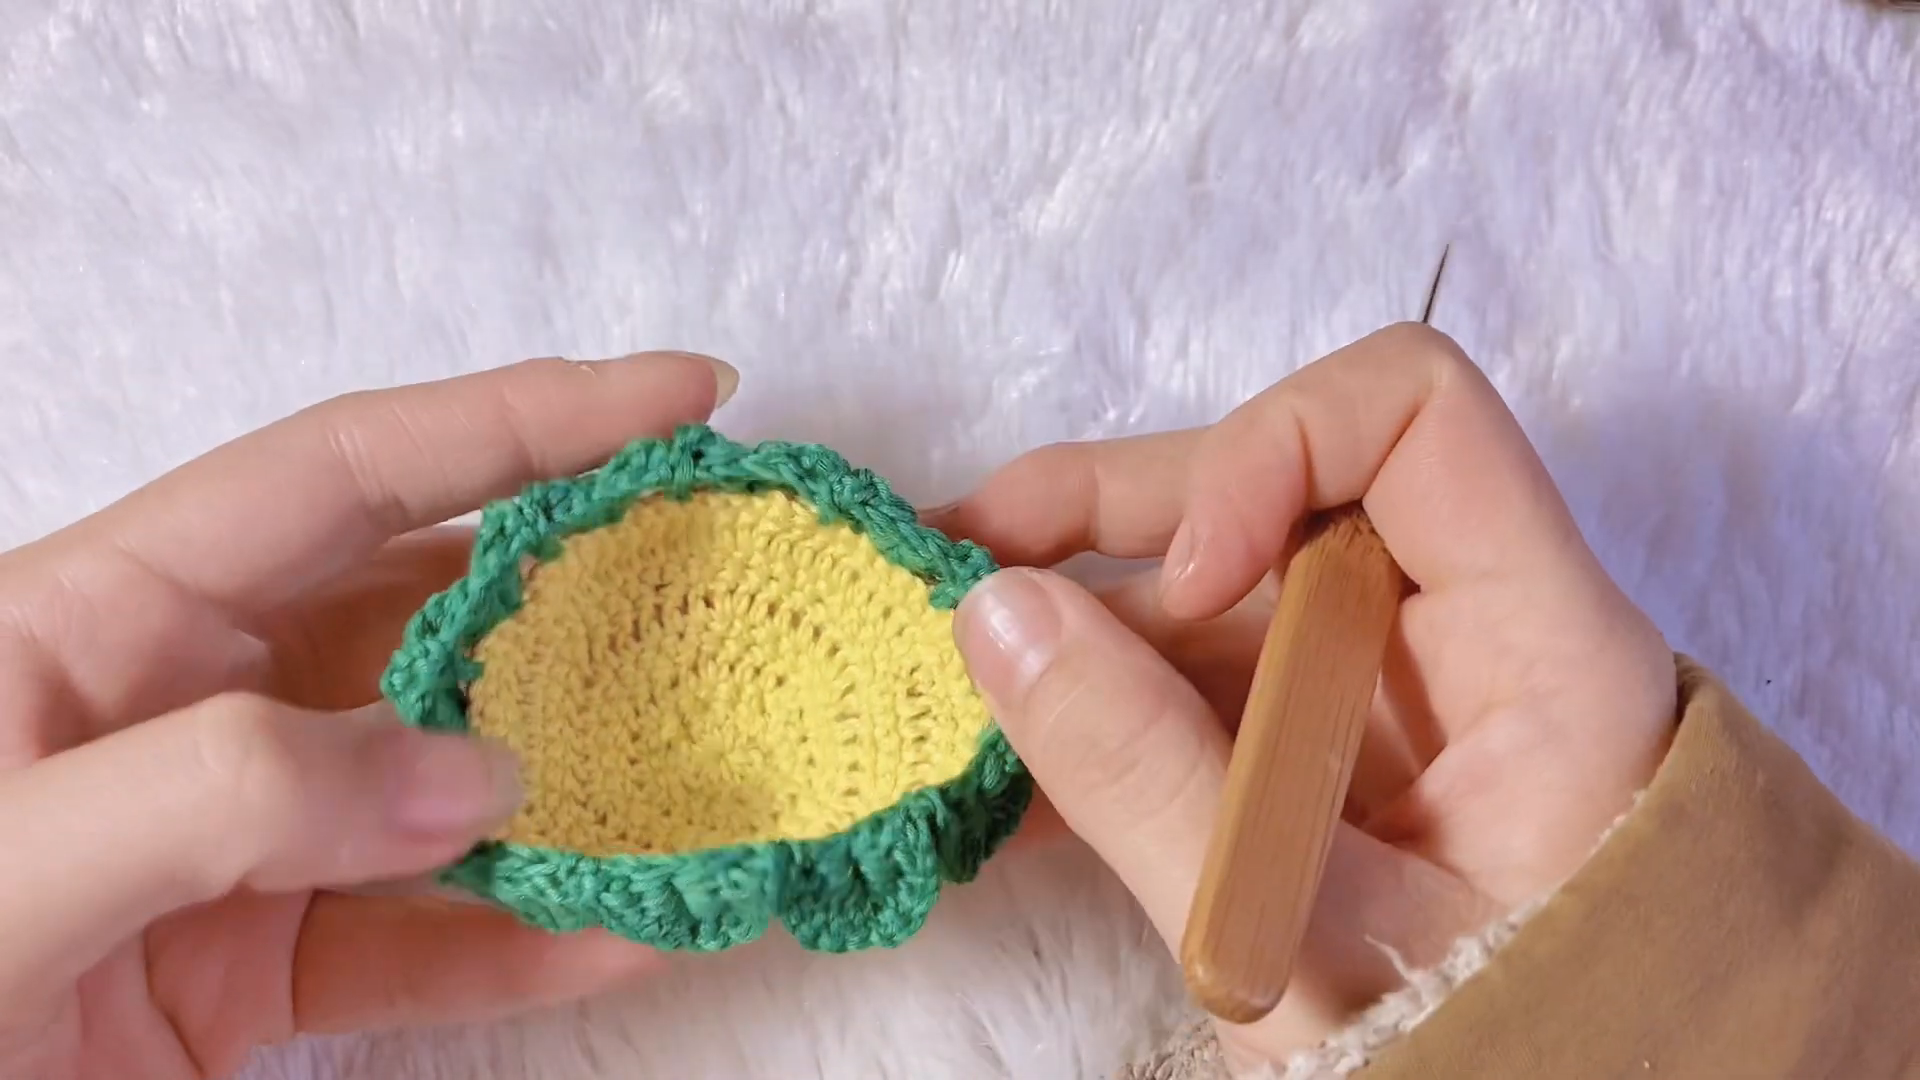
Working directly into the last round without adding more stitches, crochet a foundation row of “fan” posts: skip 2 sts, work 5 dc into the next stitch, skip 2 sts, slip stitch into the following stitch, then repeat around. Once complete, the base takes on the scalloped, ruffled look seen when the pouch is viewed from above a pale yellow center ringed by a raised, wavy edge of green-ready posts.
Building the Scaled Body
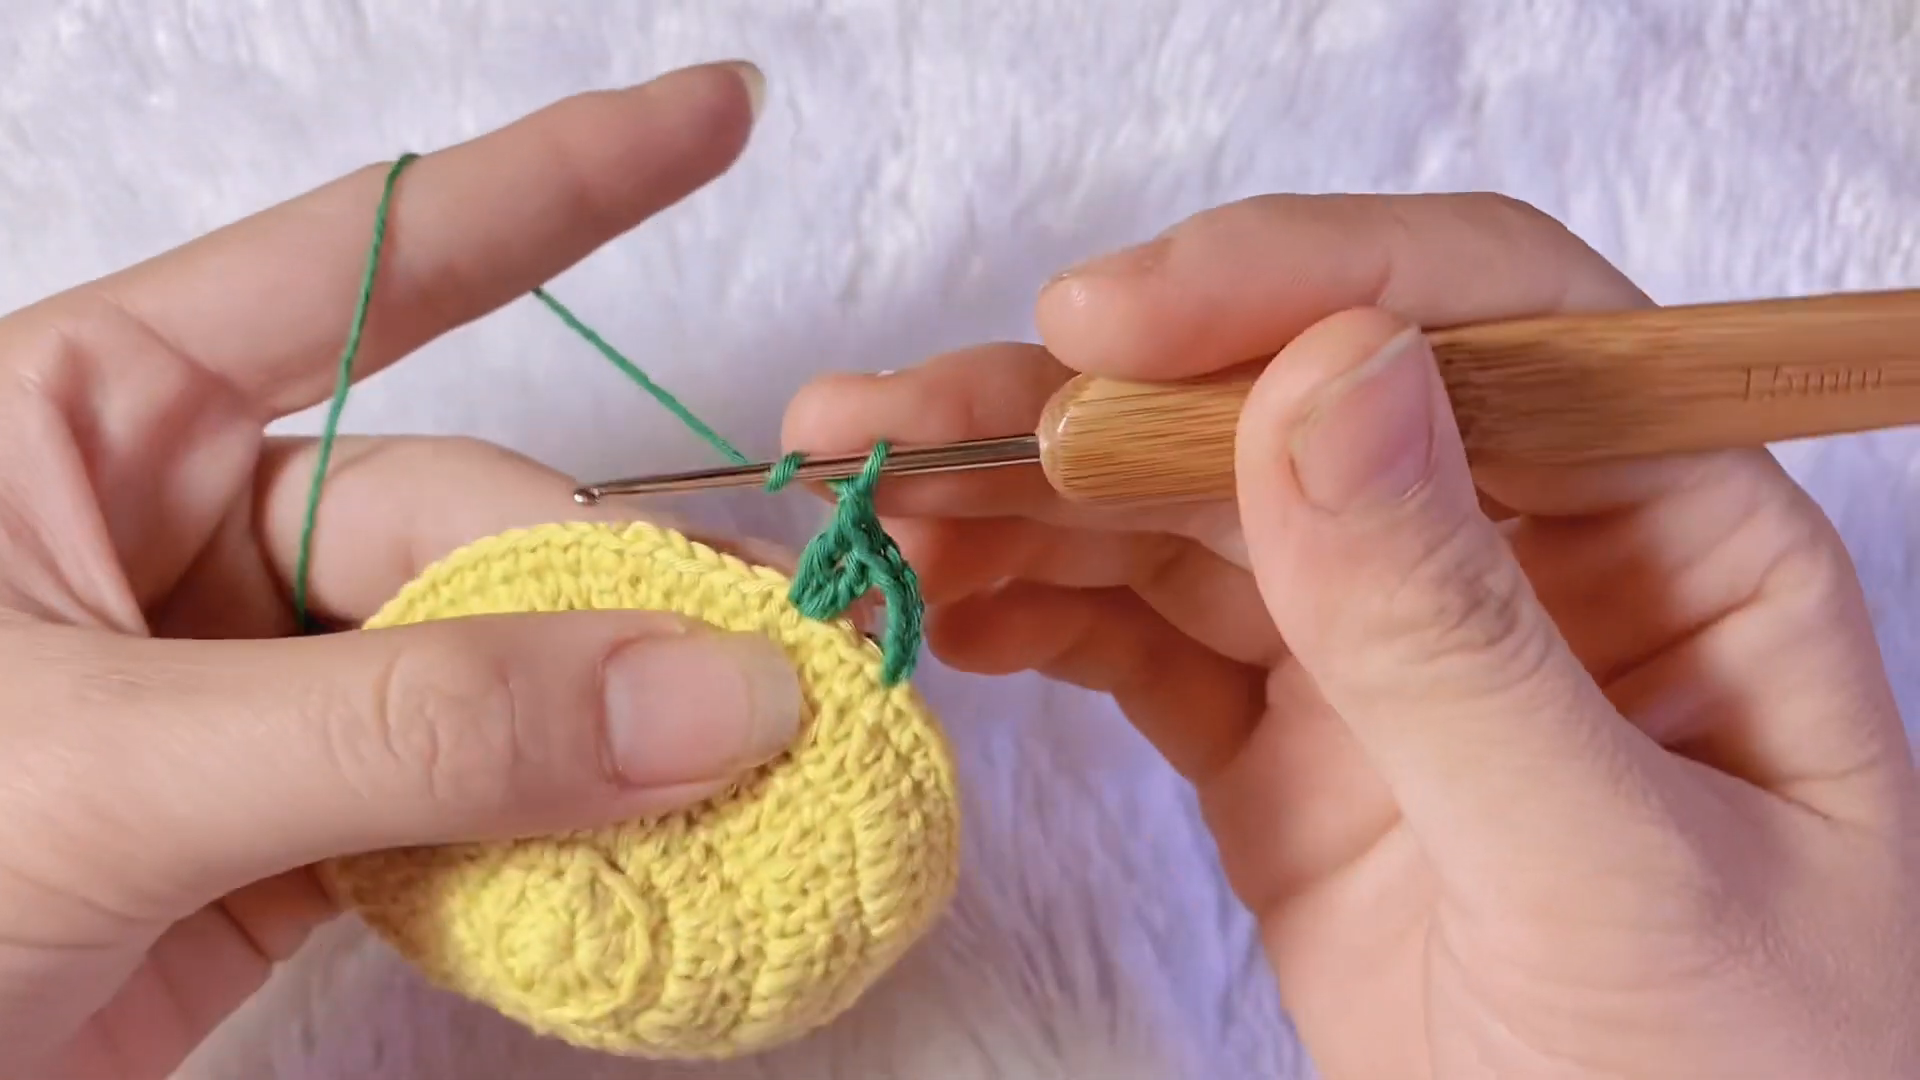
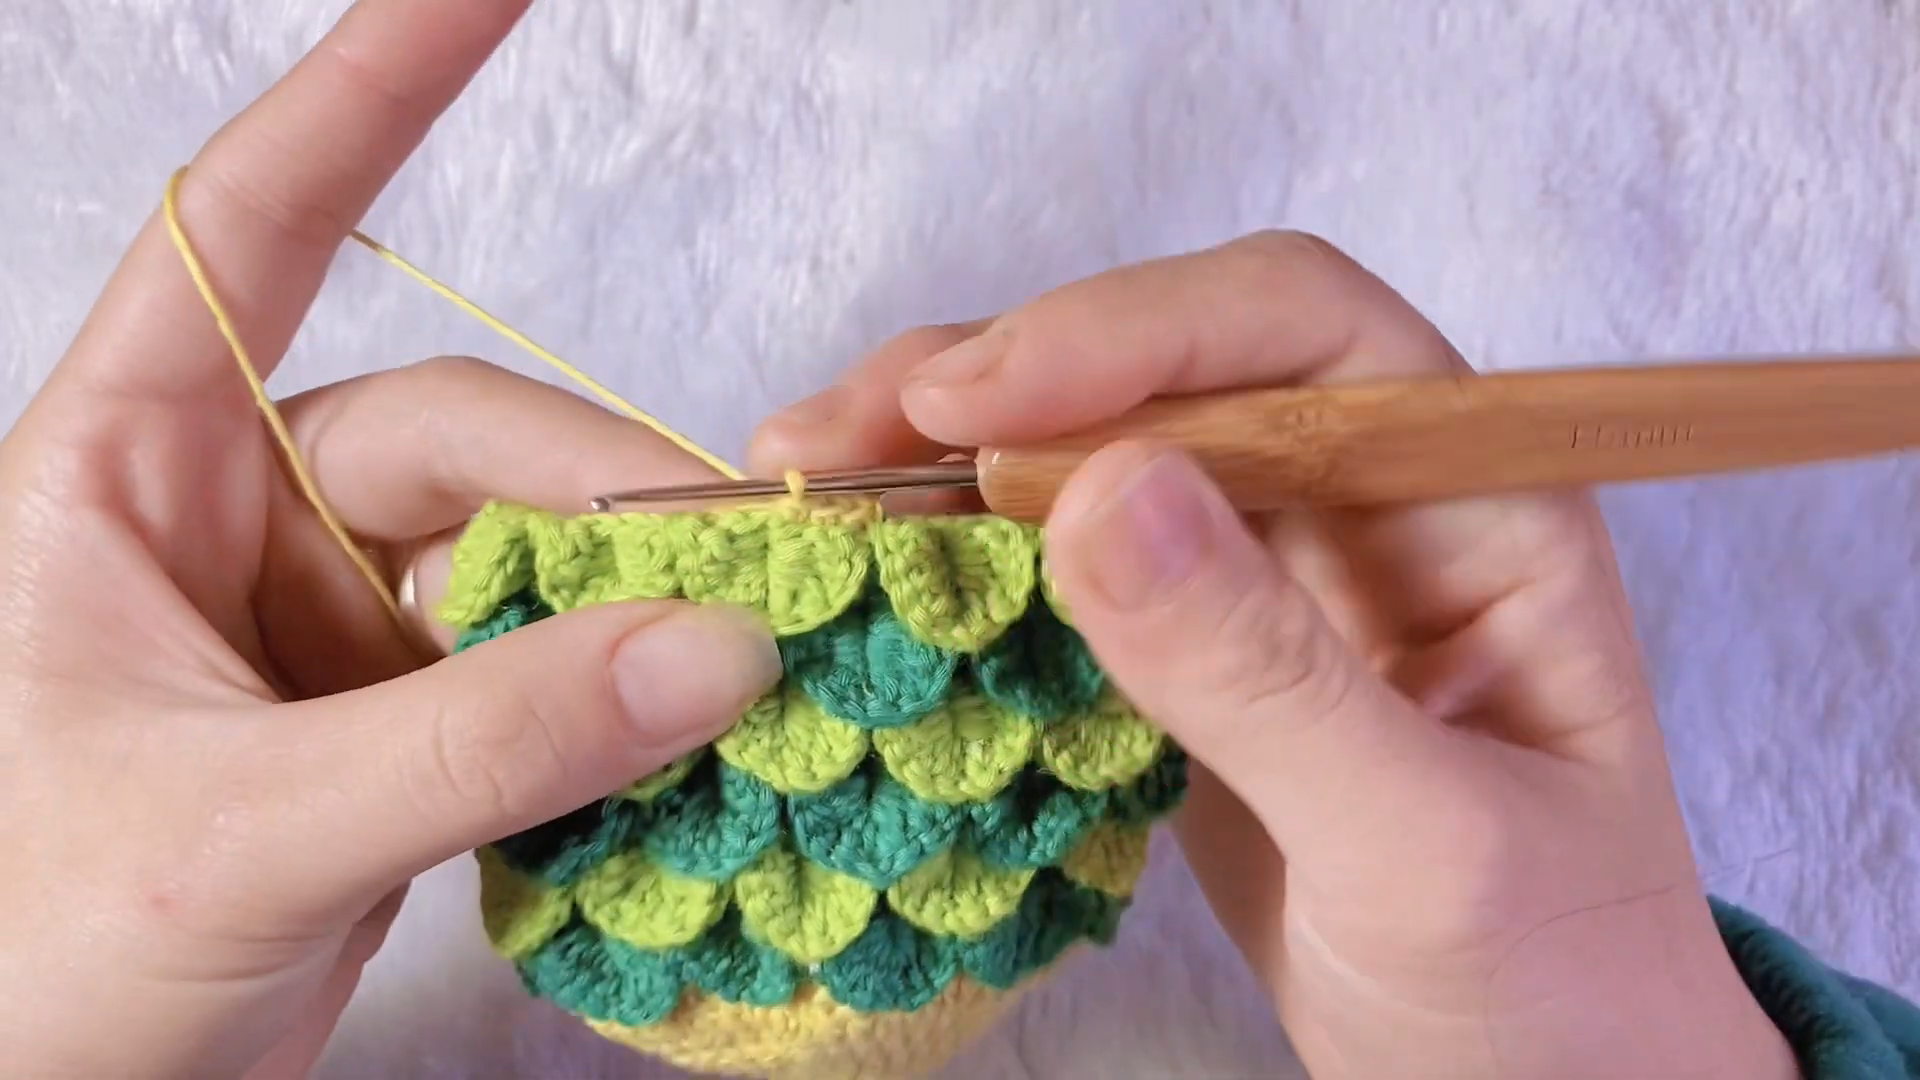
Join the darker green yarn at the base of the first fan and begin the true crocodile stitch: work 2–3 dc around the left “leg” of the fan post, then 2–3 dc around the right leg, forming a single overlapping scale. Repeat around the row to complete one full ring of scales. In this close-up moment of green yarn wrapping snugly around a golden post is where the fish skin texture truly begins to take shape.
Fasten off the dark green, join the lighter lime green, and work a second scale row into the gaps between the tips of the previous round’s scales. Alternate colors dark teal, then lime, then teal again for four to five rounds total, until the scaled body measures about 2.5–3 inches tall. Held up mid-project, the piece should resemble a small, layered pinecone with the yellow base peeking out at the bottom.
Shaping the Head and Neck
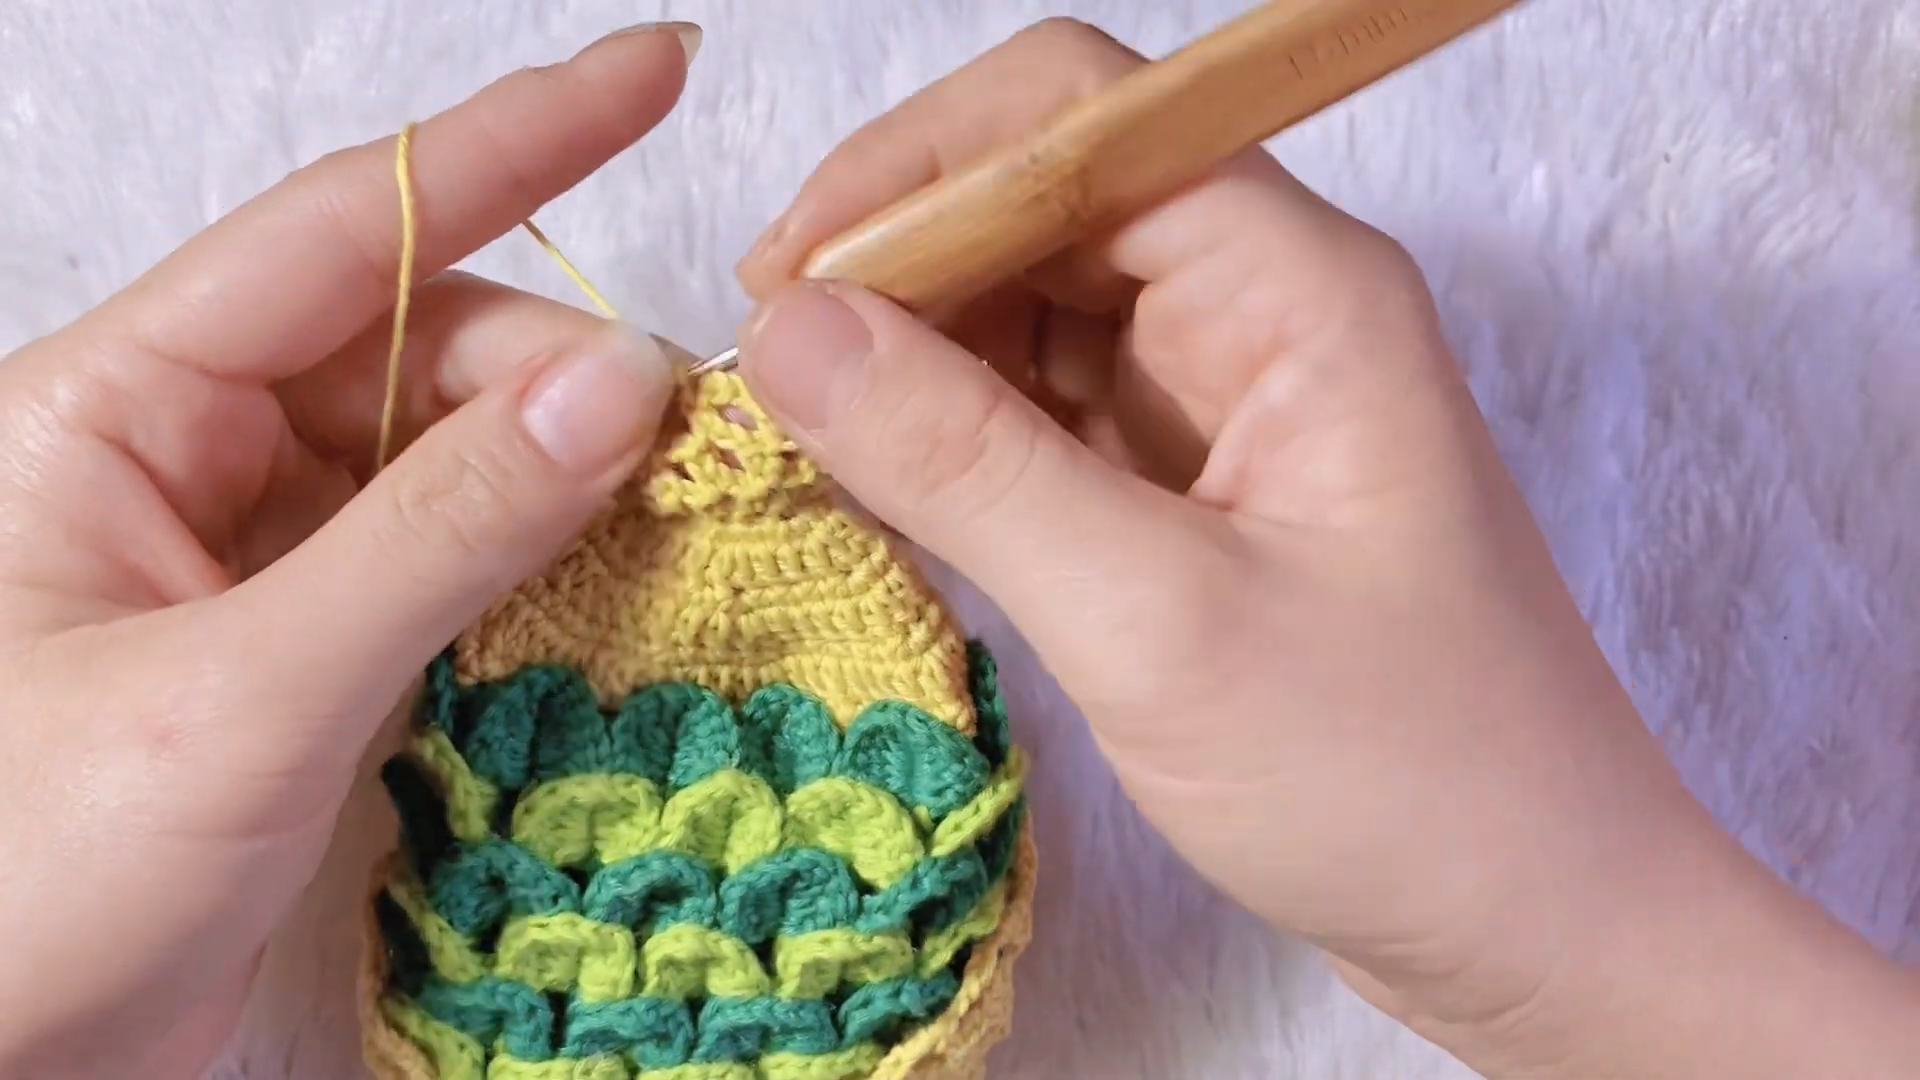
Switch back to yellow once the last scale round is complete. Work one plain sc round evenly into the tops of the final scale row, matching the stitch count as closely as possible, then continue for 2–3 more rounds in plain sc to build a smooth yellow neck. For a slightly cinched opening, work an invisible decrease every fourth stitch over the final round the hook chaining at the very top of the yellow head marks the transition into the drawstring stage.
Adding the Face
Thread black yarn onto a tapestry needle and stitch two small eyes onto the yellow head using a few tight satin stitches. Alternatively, press in a pair of 6mm safety eyes before the head closes too far to reach inside.
Add a gentle curved mouth beneath the eyes using the same black thread. Then stitch a few short green lines along the sides of the neck for subtle gill details.
Crocheting the Tail Fin
Chain 6 in green or yellow and work back across in sc, decreasing a stitch at the end of each of the next 4–5 rows until the piece tapers to a point, forming a simple triangular tail. Sew the tail to the center-back base of the pouch. Two smaller matching triangles stitched near the neck make quick side fins if a little extra flair is wanted.
Making the Drawstring and Strap
Chain a cord roughly 20–24 inches long in yellow, fasten off, and weave it in and out through the stitches of the top yellow round so both ends hang free at the front. Knot the ends or thread on a small pom-pom or bead so kids can grip and pull the closure easily. For a wearable version, chain a second cord around 40 inches long and stitch each end securely to opposite sides of the neck to form a crossbody strap.
Final Assembly
Weave every loose end from the color changes, tail, and facial details through the backs of nearby stitches with a tapestry needle. Tuck a small pinch of fiberfill into the head if a rounder, sturdier shape is desired.
Thread the drawstring cord through the opening and knot it securely. Give the finished piece a light steam to help the scales settle flat. Once complete, the fish-shaped bag is ready for play.
Tips for Success
- Count stitches at the end of every plain round, not just the increase rounds; crocodile stitch hides mistakes well until several rows later
- Keep the same tension across both greens so the scale rows sit evenly against each other
- Pin or clip a stitch marker into round one every single time a color change happens, since crocodile stitch rounds are easy to lose track of mid-row
- Stuff the head lightly and evenly, a small pinch at a time, rather than cramming fiberfill in all at once
- Weave in ends along the inside of the scales rather than the flat base, so nothing pokes through on the smooth panel
- Block the finished scales gently with a warm iron held an inch above the fabric (never direct heat on the yarn) for a crisp, professional finish
Personalization Ideas
Rainbow Scale Version
Swap the two greens for a gradient of blues, purples, and teals to turn the pouch into more of a rainbow fish than a literal one.
Mermaid-Inspired Palette
Add a strand of sparkly or metallic thread alongside the green yarn while working the scale rounds for a shimmering, mermaid-tail effect.
Seasonal Fish
Swap in orange and black for Halloween, or red and white for a candy-cane-striped holiday version that still keeps the same fish silhouette.
Different Faces
Try sleepy half-closed eyes, a surprised open mouth, or a wide toothy grin to change the whole personality of the finished bag.
Mini Keychain or Jumbo Beach Bag
Drop down to a 1mm hook and embroidery floss for a tiny keychain charm, or size up to bulky yarn and a 6mm hook for an oversized beach tote version.
Ornament or Gift Tag
Skip the drawstring closure, stitch a small loop to the top instead, and the same shape works as a stuffed holiday ornament or a handmade gift tag.
Bonus Section: Care & Storage Tips for the Finished Bag
Hand wash the finished piece in lukewarm water with a mild detergent whenever it needs freshening. Machine washing can flatten the raised scale texture over time.
Lay the bag flat on a towel to dry rather than hanging it. This helps the drawstring neck keep its shape and prevents stretching under the weight of damp yarn.
Store the bag with a little tissue paper inside between uses. This helps the scales maintain their dimensional look season after season.
Common Mistakes to Avoid
- Rushing the foundation fans: skipping stitches unevenly at the setup stage throws off every scale row built on top, so double-check spacing before moving forward
- Mismatched tension between colors: pulling the second green tighter than the first creates a puckered, uneven scale line aim for the same relaxed grip across both yarns
- Losing the round marker: working crocodile stitch without a stitch marker makes it nearly impossible to spot where a round began, leading to spiral drift
- Overstuffing the head: packing in too much fiberfill stretches the yellow neck stitches and distorts the smooth transition from scales to head
- Threading too thin a drawstring: a cord that’s too fine slips loose easily and frustrates small hands trying to open and close the bag
Frequently Asked Questions
What yarn works best for a Crochet a fish-shaped bag?
Fine cotton crochet thread paired with a small hook gives the crispest, most defined scales, though worsted weight cotton on a larger hook still produces a lovely, slightly puffier finish for a bigger bag.
Can beginners crochet a fish-shaped bag the crocodile stitch?
Absolutely, the fan foundation and scale rows use only chains and double crochet, so anyone comfortable with basic stitches can pick up the rhythm within a row or two of practice.
How long does the fish bag take to finish?
Most crocheters finish the whole project in around 3–4 hours, though working the scale rounds a little slower on the first attempt is perfectly normal.
Can the Crochet a fish-shaped bag scale up to an adult-sized bag?
Switching to bulky yarn and a 6mm hook, then adding a few extra increase and scale rounds, turns the same construction into a full-sized market or beach bag.
What is the best way to keep the scales lying flat?
Gentle steam blocking after the piece is finished, combined with even tension while stitching, keeps the scale rows sitting neatly against each other instead of curling.
Does the Crochet a fish-shaped bag need stuffing?
Only the head benefits from a light pinch of fiberfill for shape; the scaled body and base stay unstuffed so the pouch keeps its soft, usable interior.
How is the drawstring closure added?
A simple crocheted chain gets woven through the final yellow round at the neck, then knotted or beaded at both ends so pulling the cord cinches the opening shut.
The Bottom Line
Few small projects pack in as much texture and personality as this scaled little pouch. Working through a magic ring, fan foundation, and layered crocodile stitch rounds helps build confidence for larger amigurumi projects.
Grab a couple of leftover green skeins and a bit of yellow. Settle in for an evening or two and watch a simple ring of stitches turn into a bag worth showing off. Sharing a finished photo with fellow crocheters afterward can be half the fun.