Crochet Baby Flip Flops Pattern for Summer
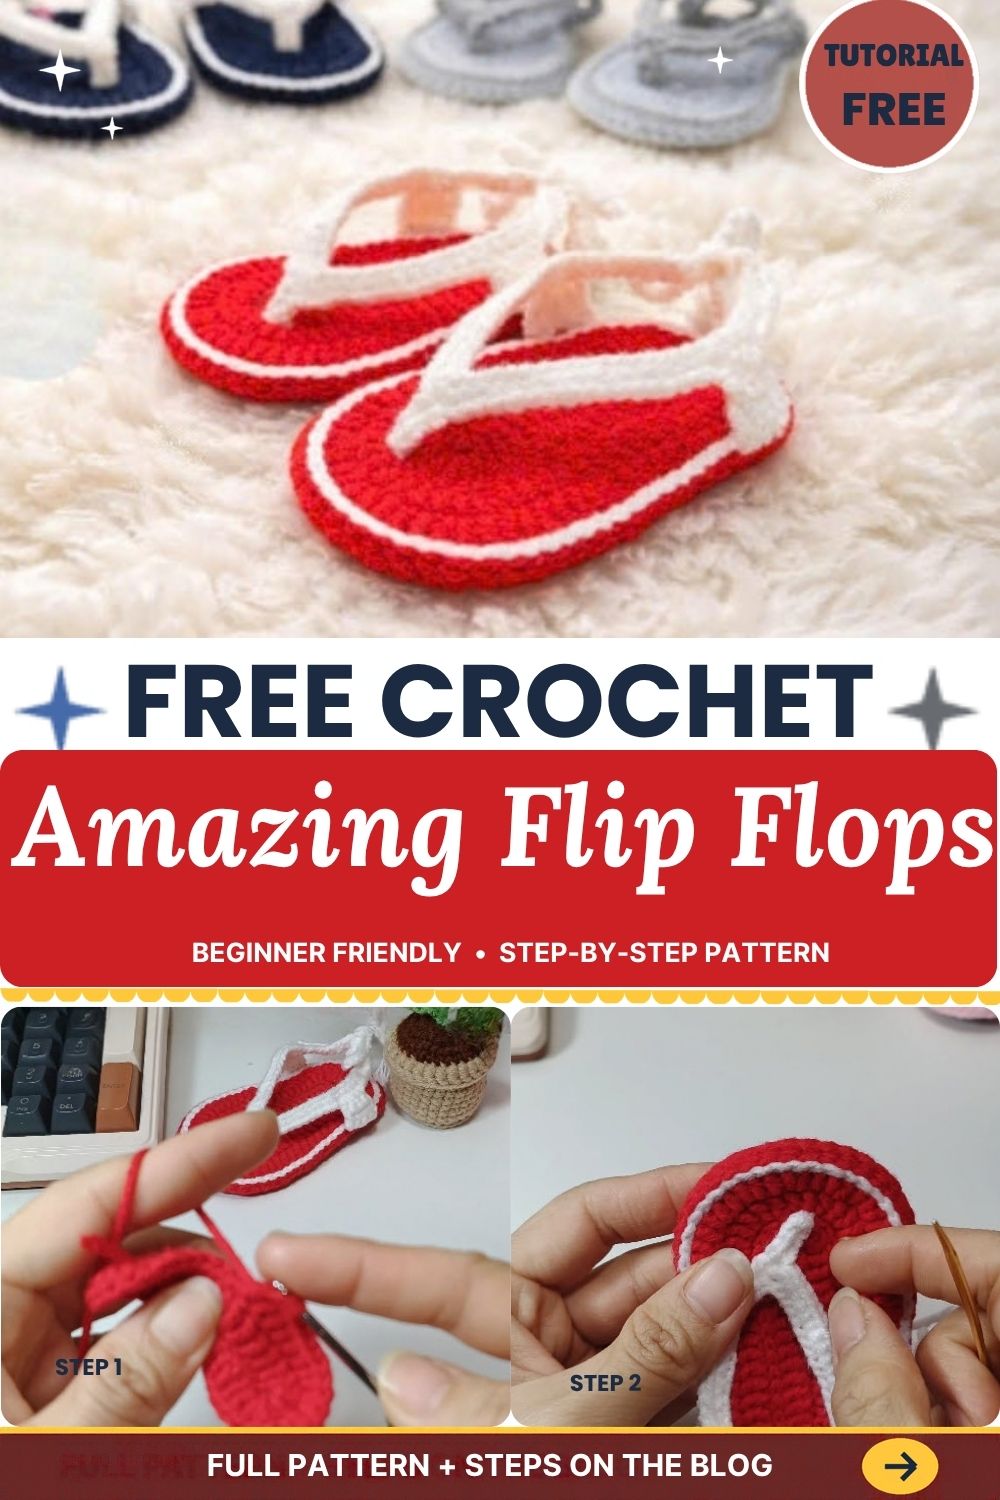
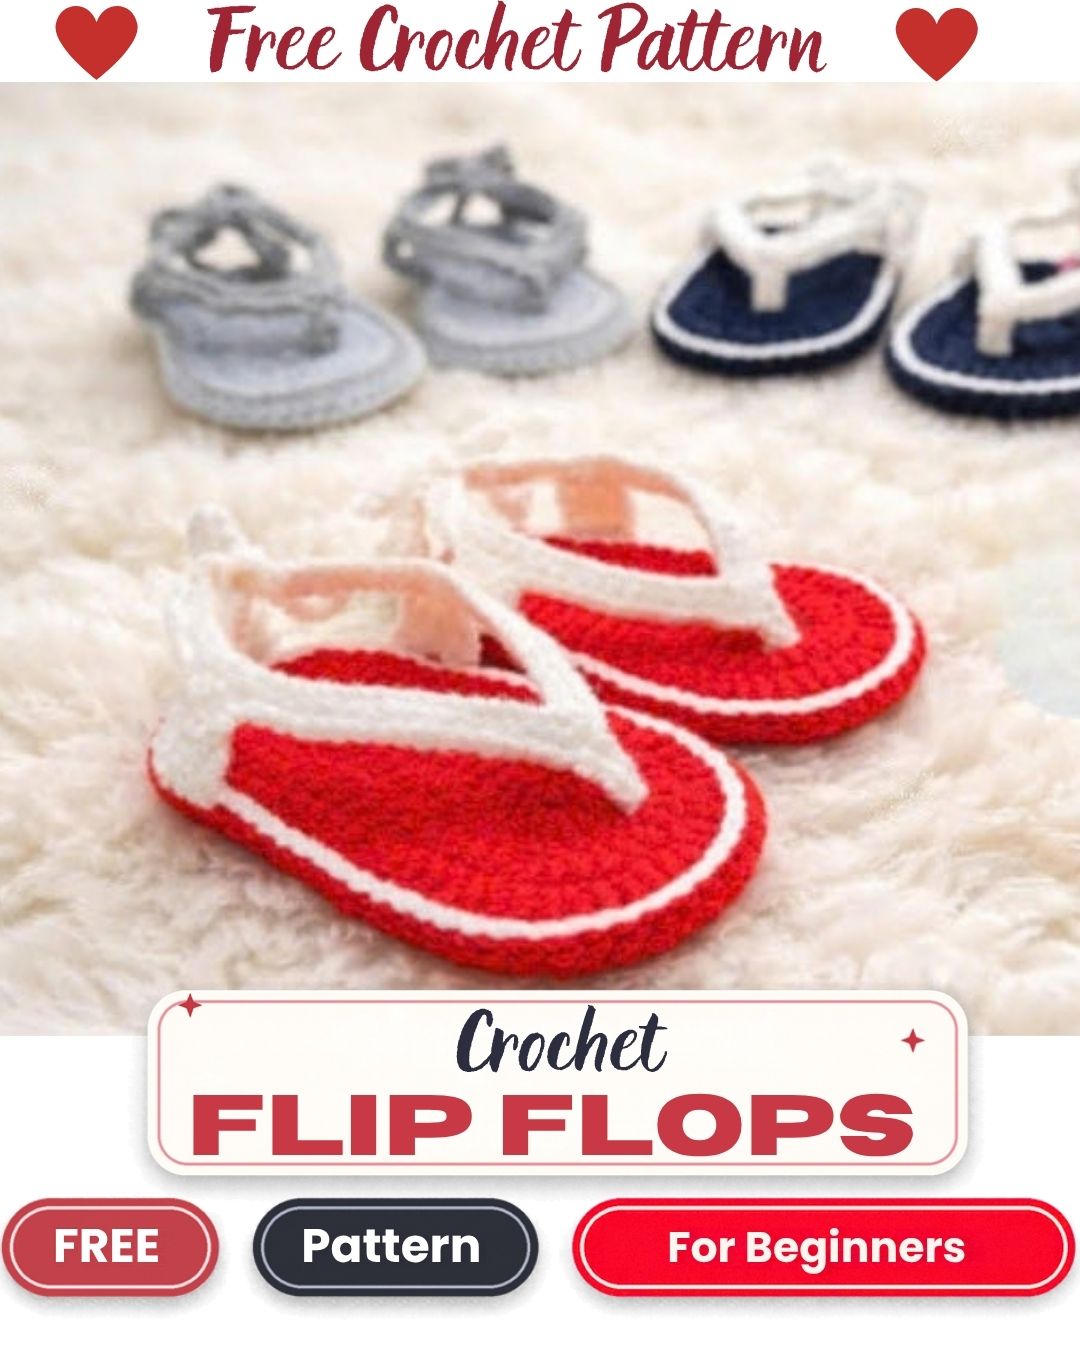
Baby sandals this small are hard to resist. This crochet baby flip flops pattern makes a pair with a red oval sole, a crisp white edge, and a white toe strap that ties at the ankle. They work up fast, use very little yarn, and make a sweet gift for a summer baby shower or a first-birthday outfit.
The construction is simple. First, you crochet an oval sole in rounds, then you border it in white and add a thin strap and tie cord. If you have worked a flat oval before, you already know most of what you need.
What You Will Make in This Crochet Baby Flip Flops Pattern
Each flip flop has three parts:
- Thick, snug red sole worked in rounds from a starting chain
- One round of white border that gives the sole a clean outline
- Finally, a white strap that runs from the center of the toe area to both sides of the sole, finished with a small ball at the toe and a tie cord for the ankle
The red sole stitches are dense and slightly ridged, so the shape stays firm enough to hold its form without any stiffener.
Materials for the Crochet Baby Flip Flops Pattern
- Red yarn for the soles
- White yarn for the edging, strap, and ties
- A small crochet hook that suits your yarn (a hook slightly smaller than the yarn label suggests gives a tighter fabric, which suits a sole)
- A yarn needle for weaving in ends
- Scissors
- A stitch marker (optional but helpful when working in rounds)
Soft, smooth yarn is best, since these will sit near baby skin. Choose a washable fiber and avoid anything fuzzy or loosely plied. The Craft Yarn Council yarn weight chart can also help if you want to compare yarns.
Abbreviations (US Terms)
- ch: chain
- sl st: slip stitch
- sc: single crochet
- inc: increase (two sc in the same stitch)
- st(s): stitch(es)
Before You Start
The exact stitch counts depend on your yarn, your hook, and the foot you are making for, so measure first. Chain a length slightly shorter than the foot you want to cover, since the rounds you work around it will add length. After that, build the sole until it matches the foot, then add the border.
For a baby sole, aim to work the stitches tightly, because a loose sole will stretch and sag the first time it is worn.
Step-by-Step Crochet Baby Flip Flops Pattern
Step 1: Start the Sole
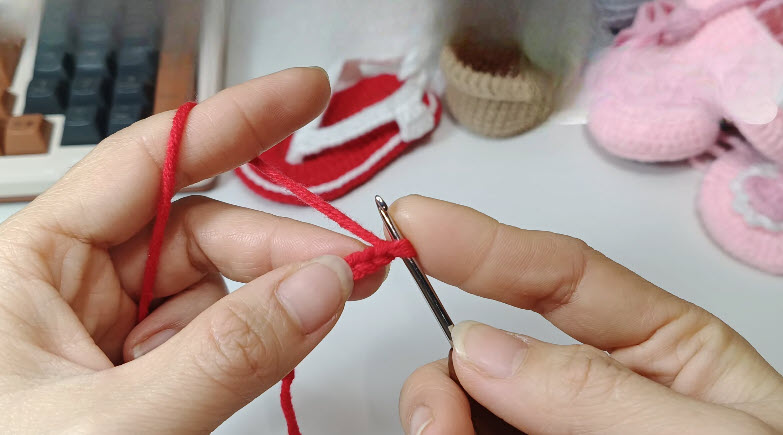
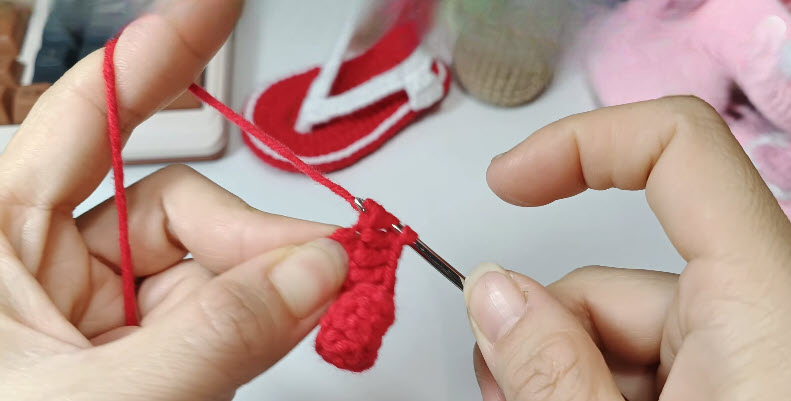
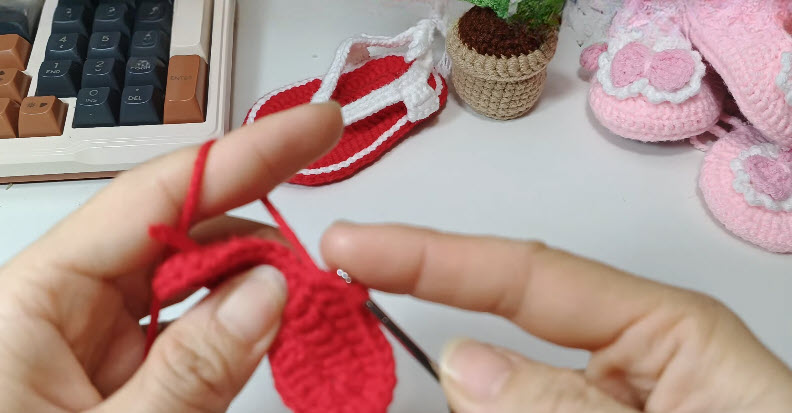
Using red yarn, make a slip knot and chain the length you need for the foot. Then work your first stitch into the second chain from the hook, and continue single crochet along the chain.
At the far end, put several stitches into the last chain so the work curves around the tip. Next, turn and work back along the opposite side of the foundation chain, putting stitches into the unworked loops. Finally, add a few stitches in the final chain to round off the heel end, and join to the first stitch, or keep working in a spiral if you prefer.
Step 2: Build the Oval
Keep working single crochet in rounds. Place increases at the two curved ends only, and leave the long straight sides plain, because this is what pushes the oval outward without letting it ruffle.
Check the shape as you go. The sole should lie flat on a table. If the edges curl upward, you have too many increases, but if the center bulges or ripples, you need a few more at the ends.
Stop when the oval is about the right length and width for the foot. Then fasten off the red yarn when the sole is a hair smaller than the finished size you want, since the white border adds a little extra all around.
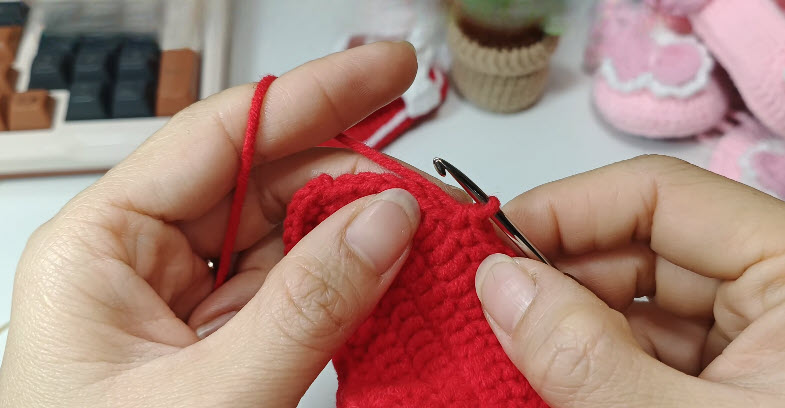
Step 3: Add the White Border
Join the white yarn anywhere along the edge. Work one round of single crochet around the entire oval, placing your hook through both loops at the outer edge of the red sole. Also work extra stitches around the curved ends so the border lies flat instead of pulling inward.
Join, fasten off, and weave in the ends. The white outline gives the sole a neat, finished look, and it also strengthens the edge.

Step 4: Make the Strap Cord
Flip-flops hold on at the toe, so the strap is the key piece. With white yarn, make a slip knot and chain a short length. Then work single crochet back along the chain to make a firm, narrow cord, which holds its shape better than a plain chain.
You need cord pieces long enough to travel from the center of the toe area down both sides of the foot and up to the ankle. Make them a little longer than you think necessary, because extra length can be trimmed, but a short strap cannot be stretched.
Step 5: Attach the Strap
First, mark the center point near the front of the sole, roughly where a baby’s big toe and second toe would meet. Then sew or crochet the strap cord to this point so the two ends hang out on either side.
Next, take each end along the side of the sole and secure it at the edge near the arch. Check that the strap is not too tight, because tiny toes need room to move and the strap should never press or pinch.
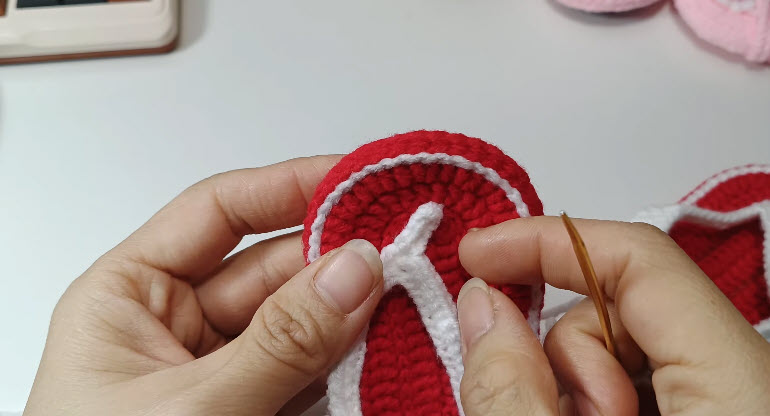
Step 6: Finish the Toe Post and Ties
At the center where the strap pieces meet, wrap a short length of white yarn around the join to hide any bulk. Then add a small round ball over the center, made with a few stitches worked in a magic ring, closed up tightly and stuffed lightly, or with a tiny pom-pom.
Sew the ball over the center point where the two strap cords cross. Stitch it down firmly through the strap so the join is hidden, and let the cord ends hang free for tying at the ankle.
After that, run the remaining cord ends up toward the ankle so they can tie in a bow. Cut them to a comfortable length, weave in any loose ends, and tie a small bow to test the length. Trim if needed.
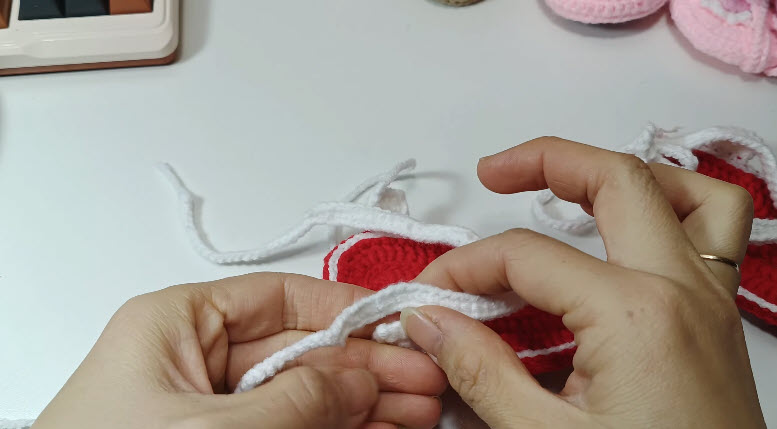
Step 7: Make the Second Flip Flop
Repeat every step, taking care to match the strap placement so both sandals look the same. Hold the finished pair side by side to compare them before you weave in the last ends.

Crochet Baby Flip Flops Pattern Tips
- Keep the stitches tight. A dense fabric holds its shape better and wears longer.
- Use a marker. Because spiral rounds make it easy to lose your place at the oval ends, a marker saves time.
- Test the strap before sewing. Pin it in place, then slip it over a doll’s foot or hold it against a sole to check the position.
- Weave ends in securely. Baby items get chewed and pulled, so tuck each tail through several stitches and trim it neatly.
- Skip small beads or buttons. The ball at the toe should be yarn only for safety.
Sizing Up or Down Without Rewriting the Pattern
Because the sole starts from a foundation chain, resizing is easy. For a longer foot, add more chain stitches at the start and work extra rounds to match, while for a smaller foot, shorten the chain and stop sooner. The border and strap steps stay exactly the same, and only the strap length changes with the size.
If you want a proportionate result, keep the oval about twice as long as it is wide. Also compare it with a shoe or sandal the baby already wears as you go.
Color Ideas
The red-and-white pairing gives these a classic summer look, but the pattern works with any two colors. Pale pink with white looks soft for a newborn, while navy with cream gives a more nautical feel. Try a bright strap against a neutral sole for a playful contrast. Just pick colors with enough difference that the border still reads clearly.
Care Instructions
Wash gently by hand in cool water and reshape while damp. Then lay flat to dry away from direct heat. Also follow the care label on your yarn, since fibers vary.
Bonus: Gift-Ready Packaging
Once both sandals are finished, tie the cords into small bows and tuck the pair into a small gift box or bag with tissue paper. Then add a handwritten card for the baby shower or first birthday, and the gift is ready to give.
Crochet Baby Flip Flops Pattern FAQs
Are these suitable for walking babies?
They are best for decoration, photos, and pre-walkers. The soles are soft and have no grip, so they are not meant for outdoor walking.
How do I stop the strap from slipping?
Secure the ends firmly at the sole edge and sew them in two or three places. The ankle tie then keeps everything in place.
Can I use cotton yarn for this crochet baby flip flops pattern?
Yes, and it is a good option for summer. Cotton has less stretch, so the sole stays firm, but make sure the strap cord is not too tight.
What if my oval curls up at the edges?
You have too many increases. Remove the last round and rework it with fewer increases at the ends.
A Tiny Pair for Sunny Days
Once you have made one pair, the second goes quickly, and you will probably want a few more in other colors. Because they take only a small amount of yarn, they are an easy way to use up leftovers. Then tie the bows, set them beside a sun hat, and you have a finished summer baby set with this crochet baby flip flops pattern.