Crochet Ballerina Bunny Doll Amigurumi Pattern with Pink Dress
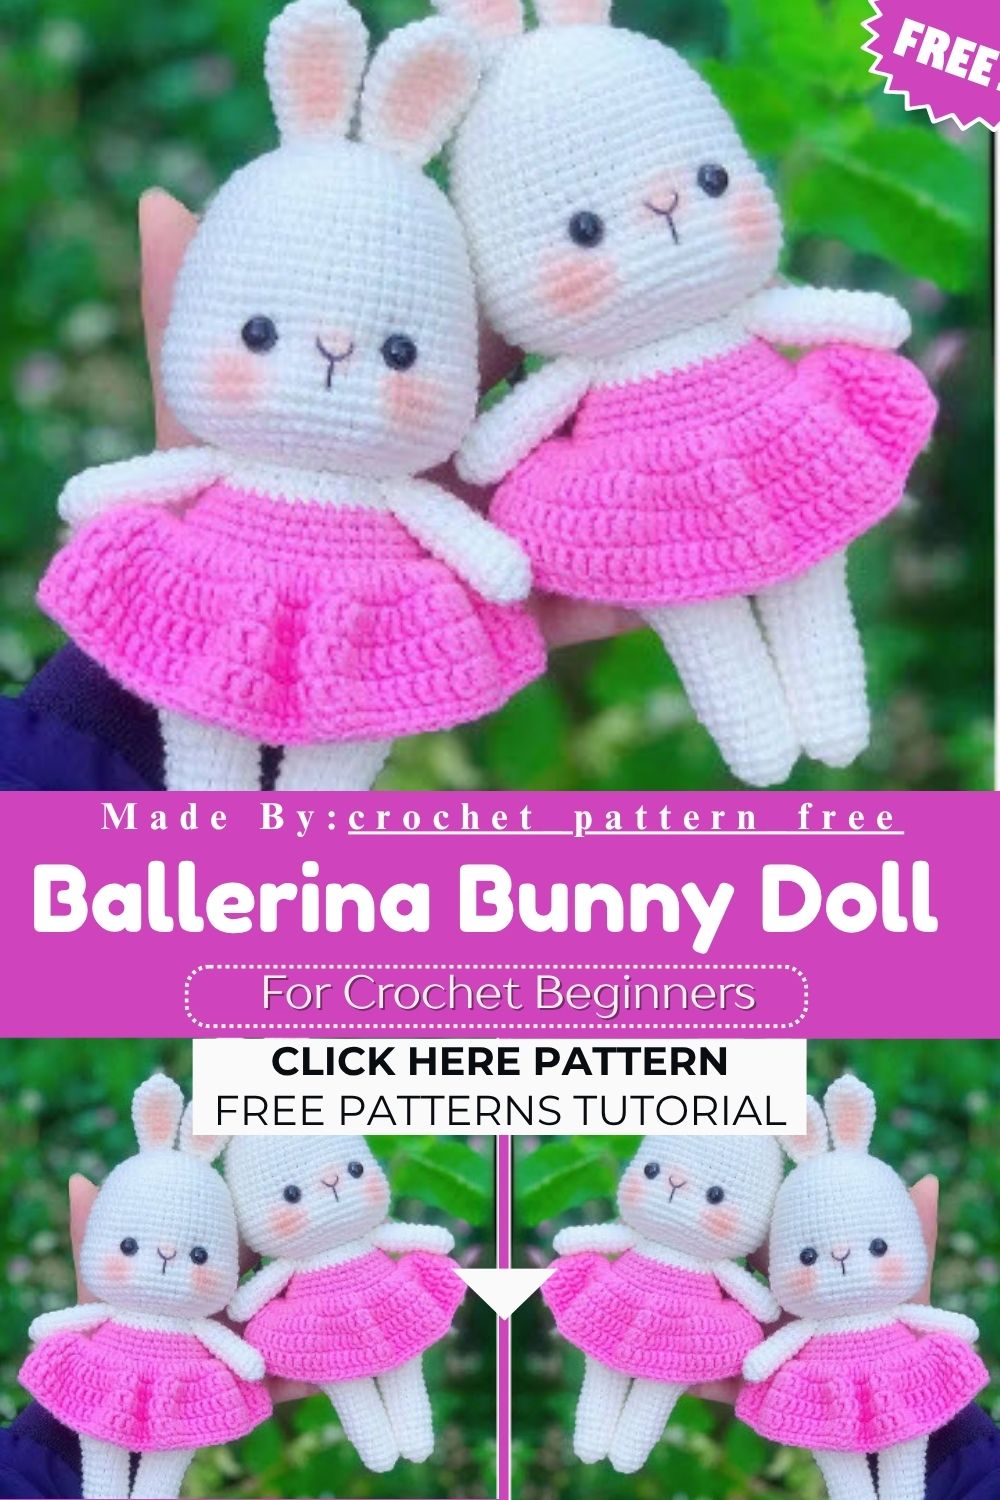
Soft, sweet, and dressed in a tiny ballerina outfit, this bunny is a charming amigurumi project that holds a special appeal for every crochet lover. Its lovely design and easy pattern make it approachable for beginners too, and once finished, it can become a sweet gift or a beautiful addition to a handmade collection.
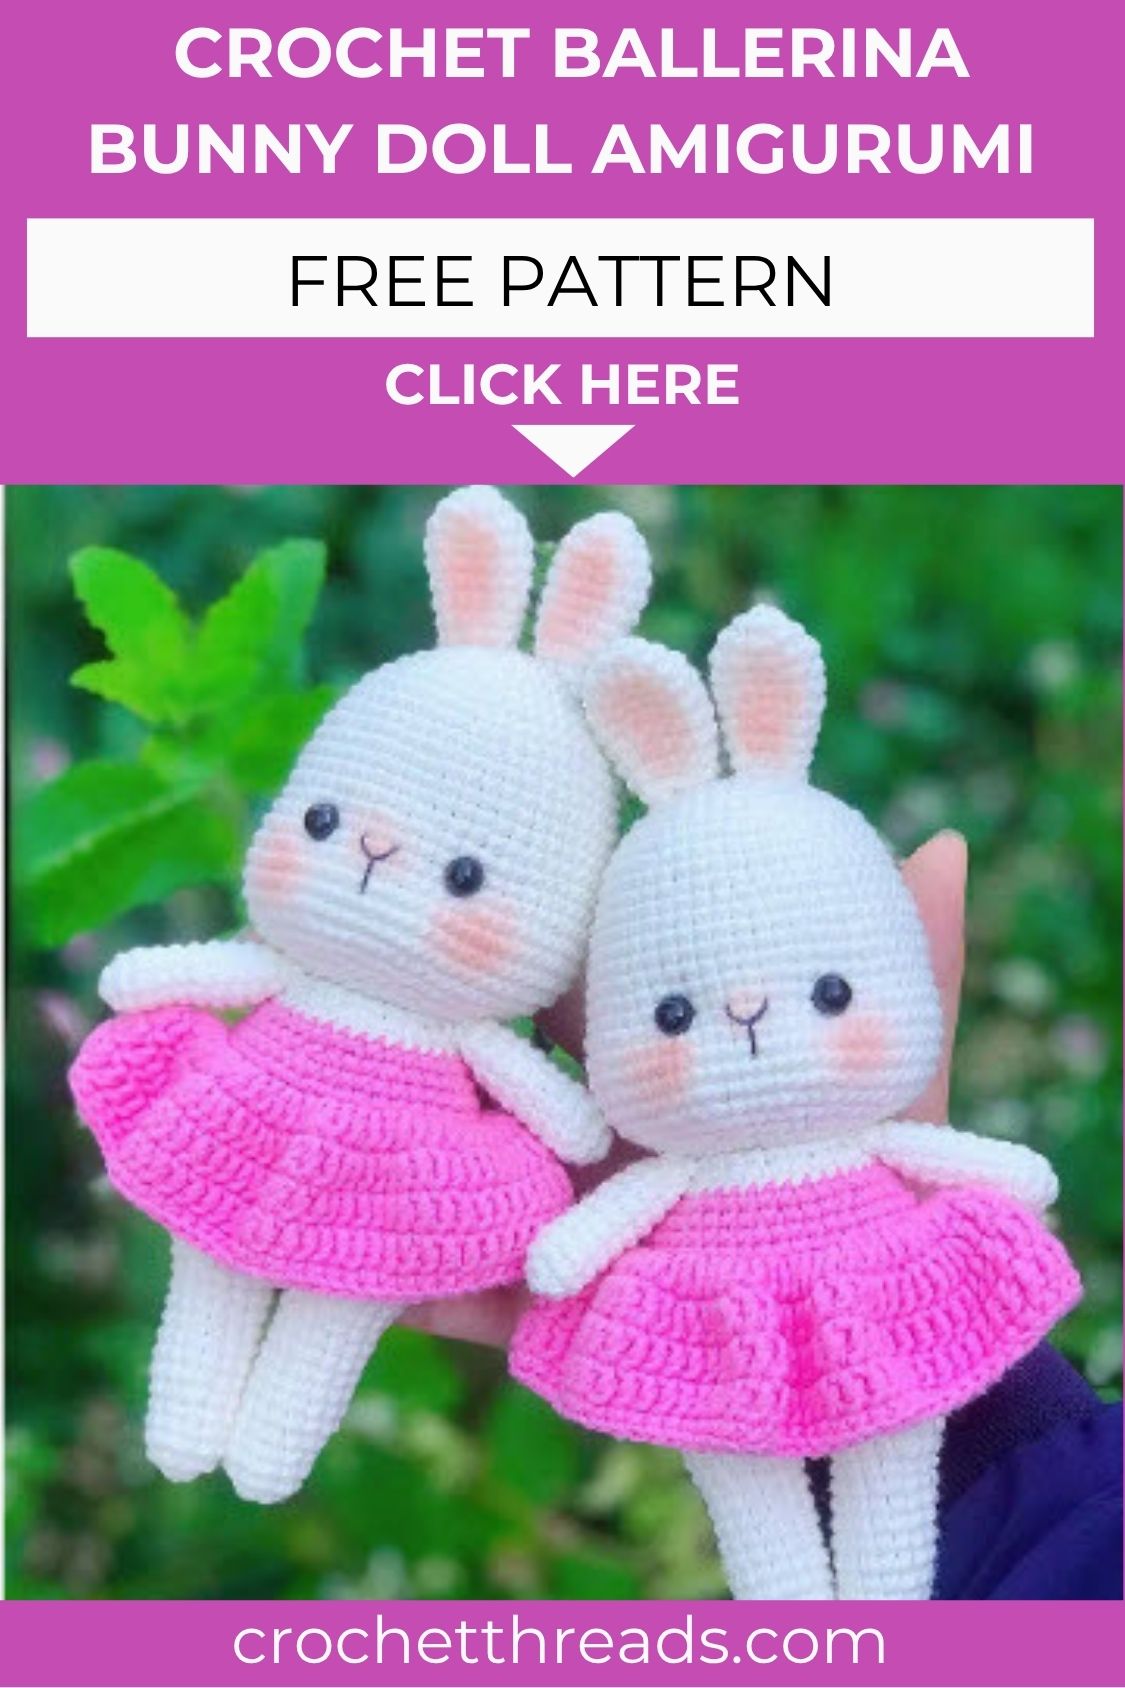
This ballerina bunny doll is a special and charming project for amigurumi enthusiasts. With floppy ears, a tiny outfit, and an adorable style, this bunny makes a wonderful choice for kids, gifts, and handmade collections. Making it requires simple materials like basic crochet yarn, a hook, fiberfill, and safety eyes. Its simple pattern and easy steps make it suitable for beginners too, and once finished, it becomes a beautiful, one-of-a-kind amigurumi doll.
Skill Level
This pattern suits confident beginners and intermediate crocheters comfortable with magic rings, increases, decreases, and basic shaping. Some experience with amigurumi construction helps, though clear round-by-round counts make each section easy to follow without guesswork.
Pattern Overview
Picture a bunny built from six main parts: head, body (which connects directly to the legs), ears, arms, and a crocheted dress that forms right onto the body. Working the legs and body as one continuous piece keeps seams to a minimum, giving the finished doll a cleaner silhouette. The dress builds directly from the body’s front-loop stitches, so there’s no separate sewing step for that piece.
Materials Needed
Before diving into the rounds, gather these supplies:
- Jeans yarn (Yarn Art), color 03, for the head and body
- 2.0mm crochet hook
- One pair of 8mm black safety eyes
- Fiberfill stuffing
- Stitch marker
- Scissors
- Yarn needle
- Black embroidery thread for the mouth
Yarn Art’s Jeans yarn gives amigurumi a smooth, slightly matte finish that holds stitch definition well, which matters a lot for a face this detailed.
Special Techniques Used in This Pattern
A few techniques show up throughout the piece and deserve a quick explanation:
- BLO (Back Loop Only): Working into only the back loop of each stitch creates a visible ridge, marking where the dress begins on the body.
- FLO (Front Loop Only): The dress starts by crocheting into the front loops left open from the BLO round, giving a neat transition between doll and outfit.
- Increase and decrease shaping: Standard amigurumi increases (2sc in one stitch) and decreases (sc2tog) shape the rounded head, tapering body, and curved limbs.
- Continuous joining for legs and body: Rather than sewing two separate legs to a body, this pattern joins them with a small chain, forming the body directly from both legs in one motion.
Step-by-Step Guide
Head
Start the head with a magic ring and build outward in gradual increases, which keeps the shape rounded rather than pointed.
Materials for this section: Jeans yarn, 2.0mm hook, stitch marker for eye placement.
Rnd 1: 6sc into MR (6) Rnd 2: 6inc (12) Rnd 3: (sc, inc) x6 (18) Rnd 4: (sc, inc, sc) x6 (24) Rnd 5: (3sc, inc) x6 (30) Rnd 6: (2sc, inc, 2sc) x6 (36) Rnd 8: (3sc, inc, 3sc) x6 (48) Rnd 9-11: (3 rnds) 48sc Rnd 12: (11sc, inc) x4 (52) Rnd 13-15: (3 rnds) 52sc Rnd 16: (6sc, inc, 6sc) x4 (56) Rnd 17: 56sc Rnd 18: 23sc, place marker for first eye, 9sc, place marker for second eye, 24sc Rnd 19: 12sc, (2sc, inc) x4, 8sc, (inc, 2sc) x4, 12sc (64) Rnd 20-23: (4 rnds) 64sc Rnd 24: (3sc, dec, sc) x8 (56) Rnd 25: (5sc, dec) x8 (48) Rnd 26: (2sc, dec, 2sc) x8 (40) Rnd 27: (3sc, dec) x8 (32) Rnd 28: (sc, dec, sc) x8 (24)
Fasten off, leaving a long tail for sewing. Insert the safety eyes at the marked spots before closing up the head, then stuff firmly with fiberfill.
Note: The pattern data moves from Round 6 straight to Round 8, so Round 7 appears to be missing from the original notes. The stitch count still progresses logically from 36 to 48, so this hasn’t been altered just flagging it for verification in case a round was dropped during data collection.
Legs (Make 2)
The legs work up individually first, then join to form the body in one continuous piece.
First leg: Rnd 1: 6sc into MR (6) Rnd 2: 6inc (12) Rnd 3-5: (3 rnds) 12sc Rnd 6: 3sc, (sc, inc) x3, 3sc (15) Rnd 7-13: (7 rnds) 15sc Rnd 14: 3sc, (sc, inc, sc) x3, 3sc (18) Rnd 15-16: 18sc Change to dress color yarn: Rnd 17-18: 18sc, slst. Fasten off.
Repeat rounds 1 through 18 for the second leg, but this time, don’t cut the yarn — it carries straight into the body round. Stuff both legs firmly before joining.
Note: A stray line reading “Ngoc Linh” appeared in the middle of this section in the original notes, likely a leftover credit or source name from the original pattern file. It’s been left out of the instructions here, but worth double-checking on your end in case it’s meant to appear as a designer credit.
Body
From the second leg, chain 1. Rnd 19: 18sc across the first leg’s 18 stitches (starting from the slip stitch), sc into the chain, 18sc across the second leg’s 18 stitches, sc into the other side of the chain (38) Rnd 20: (5sc, inc) x3, sc, (5sc, inc) x3, sc (44) Rnd 21: (3sc, inc, 3sc) x3, sc, (3sc, inc, 3sc) x3, sc (50) Rnd 22-24: (3 rnds) 50sc Rnd 25: sc, (2sc, dec, 2sc) x8, sc (42) Rnd 26: 42sc Rnd 27: BLO 42sc Rnd 28: 42sc Rnd 29: sc, (3sc, dec) x8, sc (34) Rnd 30-31: (2 rnds) 34sc Rnd 32: 2sc, (sc, dec) x10, 2sc (24) Rnd 33: 24sc, slst.
Fasten off, leaving a long tail for sewing, and stuff the body firmly before closing.
Ears (Make 2)
Rnd 1: 5sc into MR (5) Rnd 2: 5inc (10) Rnd 3: (sc, inc) x5 (15) Rnd 4-6: (3 rnds) 15sc Rnd 7: (3sc, dec) x3 (12) Rnd 8-9: (2 rnds) 12sc Rnd 10: (sc, dec) x4 (8)
Leave the ears unstuffed. Flatten the top and sew the two opposite stitches closed. Fasten off, leaving a long tail for attaching to the head later.
Dress
The dress builds directly onto the body’s front loops, right where the BLO round left them open.
Rnd 1: Working into the front loops at Round 27 of the body, chain 3, then (dc, 2dc in one stitch), repeating 21 more times, slst. Rnd 2: Chain 3, (2dc, 2dc in one stitch) x21, slst. Total of 84 stitches. Rnd 3-4: (2 rnds) Chain 3, 84dc, slst. Rnd 5: Chain 1, 84sc, slst.
This layered double crochet skirt gives the dress its gentle flare, mimicking a tiny tutu shape without any extra sewing.
Arms (Make 2)
Rnd 1: 5sc into MR (5) Rnd 2: 5inc (10) Rnd 3-5: (3 rnds) 10sc Rnd 6: (4sc, inc) x2 (12) Rnd 7-10: (4 rnds) 12sc Rnd 11: (sc, dec) x4 (8)
Leave unstuffed, flatten the top, and sew the two opposite stitches together. Fasten off, keeping a long tail for attaching to the body.
Assembly
Bringing all the pieces together turns flat parts into a finished bunny.
- Attach the ears to the top of the head, spacing them evenly on either side.
- Sew the arms to the upper sides of the dress, just below where the skirt begins to flare.
- Attach the head securely to the neckline of the body, positioning it so the face lines up with the front of the dress.
- Embroider the mouth using black embroidery thread, keeping stitches small and centered below the eyes.
- Weave in every loose end before giving the finished doll a final shape check.
.
Common Mistakes to Avoid
A few slip-ups tend to show up with this kind of layered pattern.
- Skipping the stitch markers on Round 18 makes eye placement uneven, so mark both spots before continuing.
- Under-stuffing the head leaves it looking soft and lopsided instead of round.
- Forgetting to switch yarn colors before the leg’s final rounds means the dress won’t sit at the right point on the body.
- Working the dress rounds too tightly flattens the tutu shape instead of letting it flare naturally.
Helpful Tips
Counting stitches after every round saves a lot of frustration later, especially through the head’s increase rounds. A stitch marker moved up round by round also makes it far easier to track where a round starts and ends on a piece this detailed.
Customization & Variations
Swapping the dress yarn color turns this into an entirely different bunny try lavender for a spring look or deep red for a holiday version. A small ribbon or bow at the neckline adds a nice finishing touch, and tiny crocheted ballet slippers on the feet would tie the ballerina theme together even further.
Finishing Tips
Blocking the dress lightly after finishing helps the double crochet rounds sit flatter and more even. A light steam, held a few inches away from the yarn, relaxes the stitches without flattening the texture.
Gifting Ideas
This Crochet Ballerina Bunny Doll works beautifully as a gift for a young ballet enthusiast, a birthday present, or a nursery shelf decoration. Pairing her with a small handwritten note about her “recital debut” adds a playful, personal touch.
Frequently Asked Questions
Can I use a different yarn weight?
Switching yarn weights changes the finished size, so adjusting the hook size accordingly keeps the stitches tight enough for amigurumi shaping.
Do I need safety eyes, or can I embroider them instead?
Embroidered eyes work as an alternative, particularly for anyone making this pattern for a very young child.
Why does the dress attach directly to the body instead of being sewn on?
Building the dress into the BLO round keeps the seam invisible and skips an extra sewing step entirely.
Conclusion
This Crochet Ballerina Bunny Doll pattern combines classic amigurumi shaping with a sweet dress detail that makes the design extra special. The legs are worked directly into the body, which reduces sewing. The front-loop dress technique adds a professional finish with minimal effort. Whether given as a gift or kept as a keepsake, this little dancer brings soft, handmade charm to any space. Grab your jeans yarn and a 2.0 mm hook, then watch this ballerina bunny come together one round at a time.