Crochet Blue Whale Amigurumi Pattern With Detailed Instructions
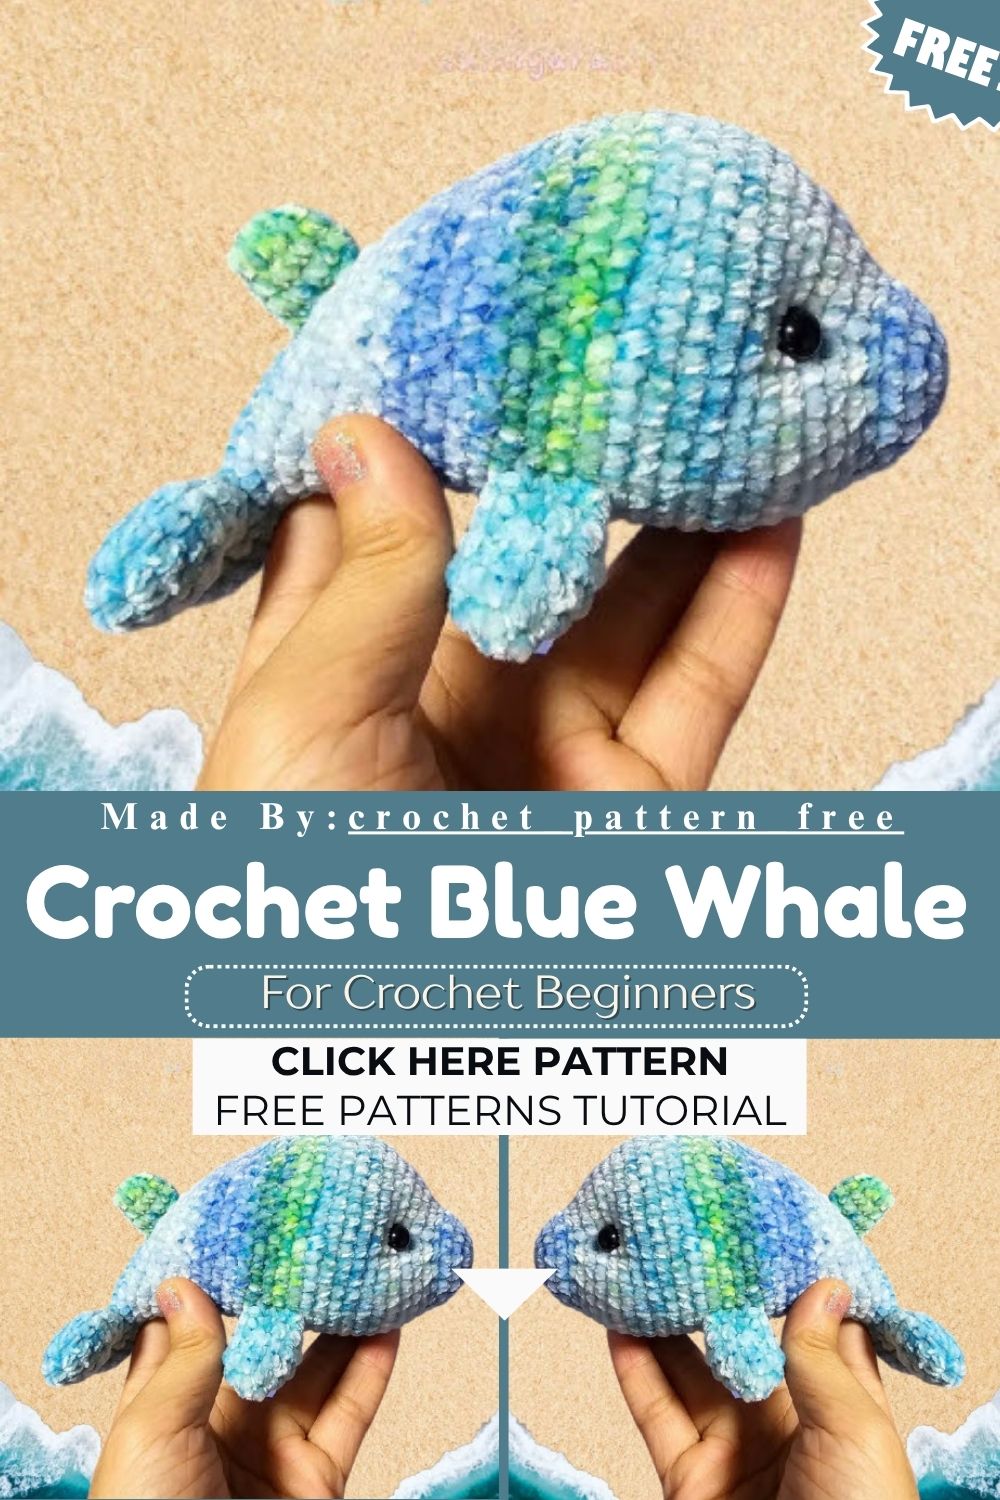
Inspired by the calm world of the sea, this Crochet Blue Whale Amigurumi is a delightful project that’s instantly loved for its simple structure and beautiful design. Made with easy stitches, this pattern is simple enough for beginner crocheters to complete with confidence.
Sea creatures make some of the most charming amigurumi designs thanks to their simple yet lovable shapes, and this Blue Whale Amigurumi is one of those beautiful picks. This project suits kids’ playtime, ocean-themed collections, nursery decor, or any soft amigurumi collection. If you have a grasp of basic single crochet and simple shaping, this pattern can be completed with ease. It requires chenille yarn, a crochet hook, fiberfill, safety eyes, and a few basic amigurumi supplies. Clear step-by-step instructions and simple body construction make it easy to create the whale’s balanced shape, while the soft chenille yarn gives it a beautiful, plush finish.
Skill Level
This Crochet Blue Whale Amigurumi pattern suits confident beginners and intermediate crocheters comfortable with magic rings, increases, and decreases. No joke, if you’ve made a basic amigurumi ball before, you already have every skill this whale needs.
Amigurumi made with chenille yarn has a distinctive soft, fuzzy texture that differs from standard acrylic worsted weight, so stitch definition will look slightly less crisp between rounds. This is expected and actually helps hide minor tension inconsistencies, making chenille a forgiving choice for newer crocheters working on shaping-heavy patterns like this one.
Materials Needed
- Chenille yarn, 3mm weight, in blue and white (or your preferred color combo)
- 3mm crochet hook
- Safety eyes, size 8mm
- Fiberfill stuffing
- Yarn needle
- Stitch marker
- Scissors
Abbreviations
- MR: Magic Ring
- sc: Single Crochet
- inc: Increase
- dec: Decrease
- FO: Fasten Off
- R: Round
Pattern Overview
This Crochet Blue Whale Amigurumi comes together in five main pieces: the body, the tail (made from two linked pieces), two flippers, and the back fin. The body is worked as one continuous shape from nose to tail, so there’s no separate head and body to seam together, which keeps the finished shape smooth and seamless. The flippers and fin are small, quick additions that give the whale its recognizable silhouette. Low-key, this is one of those patterns where the shaping does most of the work, so your stitch count stays manageable throughout.
Each piece is worked in continuous rounds, so a stitch marker is essential for keeping track of where every round begins. Beginners often find the increase and decrease rounds the most satisfying part, since the body visibly rounds out into the whale’s signature bulging shape within just a few rounds. Once all pieces are complete, assembly is straightforward: everything is sewn on rather than crocheted directly onto the body, which gives you room to adjust placement before committing to final stitches.
Body
R1: MR, 6sc R2: 6inc (12) R3: 6(sc, inc) (18) R4-5: 18sc R6: (sc, inc)3, 6inc, (inc, sc)*3 (30) R7: 30sc R8: (sc, inc, sc)*3, (sc, inc)*6, (sc, inc, sc)*3 (42) R9-10: 42sc R11: 11sc, (2sc, inc)*6, 13sc (48) R12-15: 48sc R16: 12sc, dec, 20sc, dec, 12sc (46) R17: 46sc R18: 16sc, dec, 10sc, dec, 16sc (44) R19: 44sc R20: 16sc, dec, 8sc, dec, 16sc (42) R21: 42sc R22: (9sc, dec)*3, 9sc (39) R23: (sc, inc)*2, (9sc, dec)*2, 9sc, (inc, sc)*2 (41) R24: 9sc, dec, (5sc, dec)*3, 9sc (37) R25: (sc, inc)*2, 3sc, dec, (5sc, dec)*3, 3sc, (inc, sc)*2 (37) R26: 10sc, dec, (3sc, dec)*3, 10sc (33) R27: sc, inc, 2sc, dec, 3sc, dec, (4sc, dec)*3, 2sc, inc, sc (30) R28: (sc, inc)2, 4sc, dec, (2sc, dec)3, 4sc, (inc, sc)2 (30) R29: 9sc, (sc, dec)4, 9sc (26) R30: 2inc, 7sc, 4dec, 7sc, 2inc (26) R31: 10sc, 3dec, 10sc (23) FO. Leave a long tail for sewing off.
Tail
Piece 1: R1: MR, 6sc R2: 6*inc (12) R3-4: 12sc Cut off. Make piece 2, then link with piece 1.
R5: 12sc on piece 1 + 12sc on piece 2 (24) R6: (dec, sc)8 (16) R7: 8dec FO. Leave a long tail for sewing.
Flipper (make 2)
R1: MR, 6sc R2: 6*inc (12) R3-4: 12sc R5: (sc, dec)*4 (8) FO. Leave a long tail for sewing.
Fin on the Back
R1: MR, 6sc R2: 3*(sc, inc) (9) R3-4: 9sc FO. Leave a long tail for sewing.
Special Techniques
Working the body as one uninterrupted spiral, rather than in separate segments, keeps the whale’s curves looking natural instead of lumpy at the seams. For real, the trickiest part of this whole pattern is the tail, since it’s made from two separate pieces crocheted individually and then joined mid-round. Line up both tail pieces carefully before working R5, so the stitches sit evenly and the fluke doesn’t twist once stuffed.
Working in a continuous spiral also means the transition from the rounded body into the narrower tail base needs to happen gradually, which is exactly why the pattern uses several small decrease rounds in a row rather than one dramatic drop in stitch count. This keeps the taper smooth instead of pointed. When joining the two tail pieces at R5, hold them with the open edges facing each other and work the stitches straight across both, treating the combined 24 stitches as one continuous round from that point forward.
Finishing Tips
- Use 8mm safety eyes and place them between R9 and R10, spacing them evenly so the whale’s expression looks balanced from the front
- Stuff the main body firmly for a rounded shape, adding small amounts at a time rather than one large clump
- The fins and tail don’t need stuffing, so leave them flat for a more natural, streamlined look
- Sew the flippers on starting from R19 of the body for accurate placement
- Attach the back fin along the top-center seam line, keeping it upright as you stitch
- Weave in all tails securely on the inside before adding the final stuffing to the body
Common Mistakes
- Skipping stitch markers, which makes it easy to lose track of where each round starts
- Rushing the tail assembly and joining piece 1 and piece 2 unevenly, which causes a lopsided fluke
- Overstuffing the tail or fins, which flattens their intended shape
- Placing the safety eyes too early, before confirming spacing looks correct on both sides
- Not counting stitches after each increase or decrease round, letting small errors compound over several rounds
Customization and Variations
- Swap the blue chenille for gray, black, or pastel shades to make an orca, narwhal, or a totally original sea creature
- Add a small embroidered smile or blush for extra personality
- Use a slightly larger hook with the same yarn weight for a softer, looser stitch texture
- Attach a keyring or bag clip loop to the top of the body for a wearable amigurumi accessory
- Felt or embroider small belly-pleat lines along the underside for a more realistic whale look
Care Instructions
- Spot clean with a damp cloth and mild soap for small marks
- Hand wash gently in cool water if a full clean is needed, and reshape while damp
- Air dry flat, away from direct heat or sunlight, to protect the chenille texture
- Avoid machine washing or drying, as tumbling can distort the stuffing and stitching
- Store away from direct sunlight to prevent the yarn color from fading over time
Gifting Ideas
- A sweet baby shower gift paired with a soft blanket in matching ocean tones
- Perfect for kids who love sea animals, especially alongside a whale-themed picture book
- A thoughtful “congratulations” or “new arrival” gift for ocean and marine life lovers
- Bundle it with other sea creature amigurumi for a mini ocean-themed gift set
- A fun desk companion gift for coworkers or friends who need a little whimsy at work
Conclusion
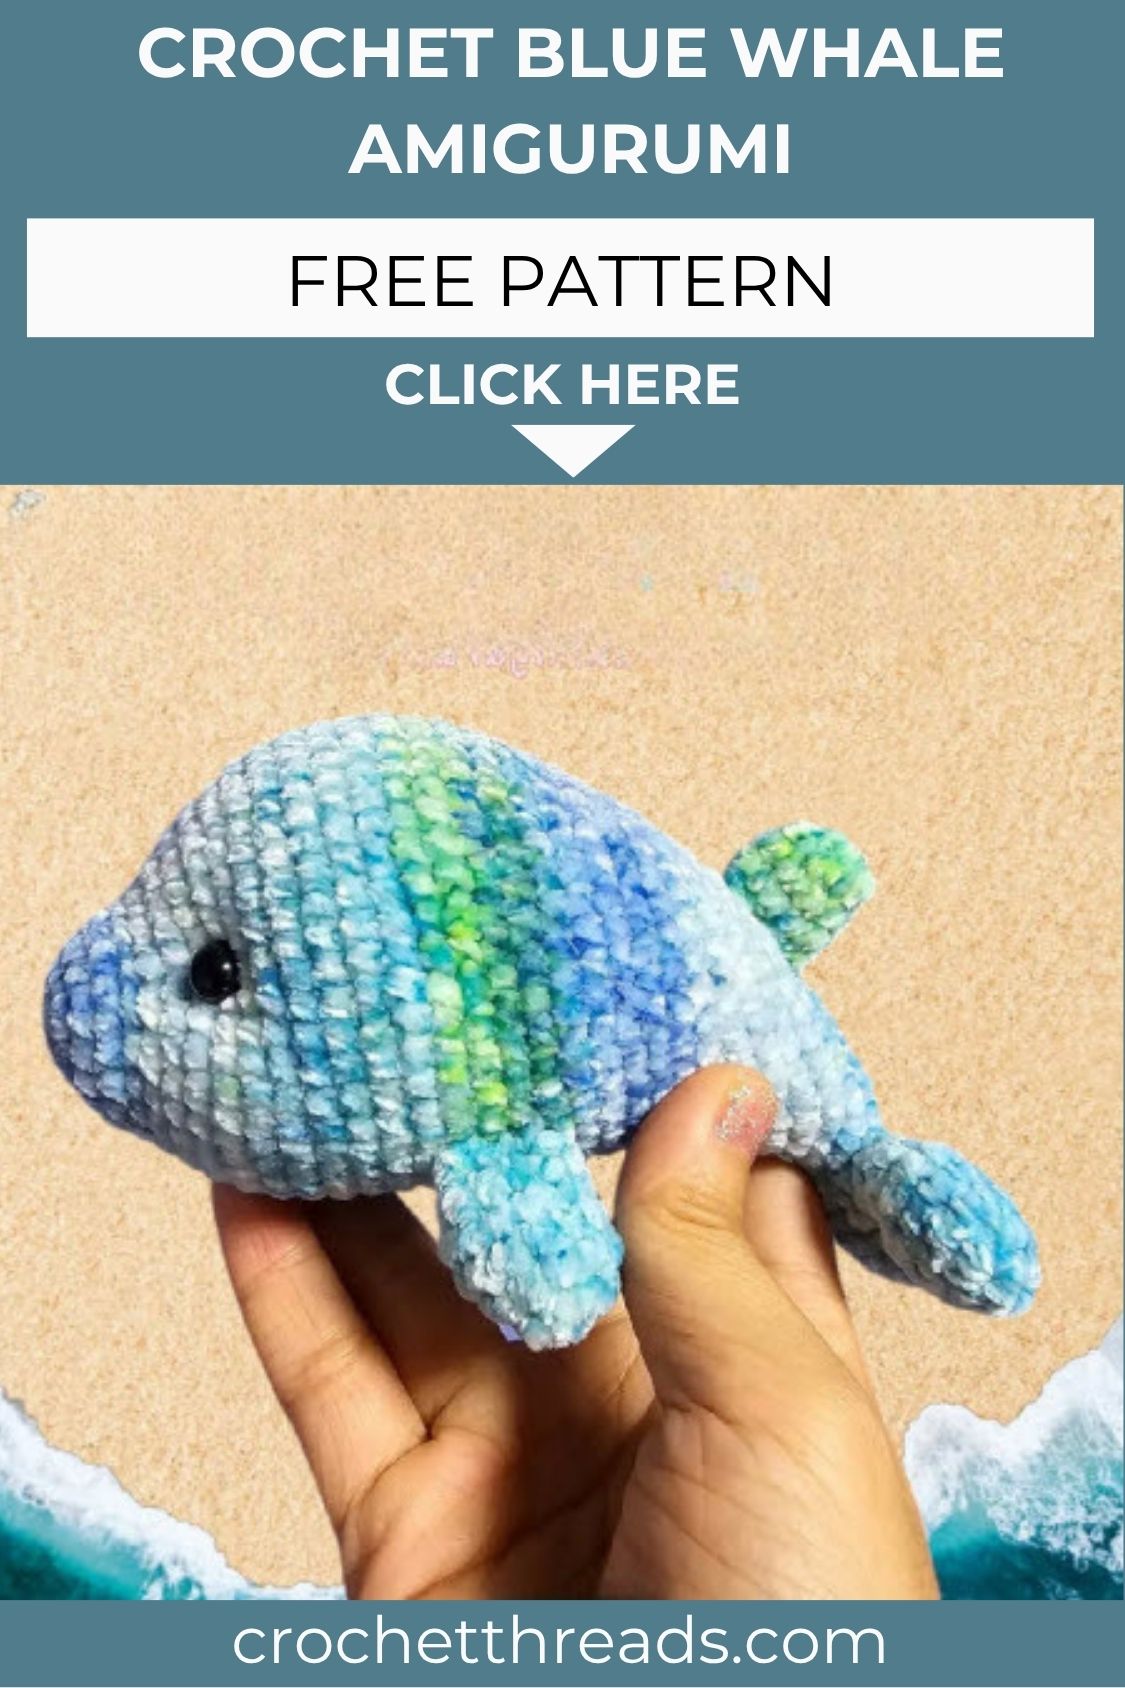
And just like that, your Crochet Blue Whale Amigurumi is ready to make a splash. From the smooth spiral body to the perfectly placed tail fluke, every part of this project comes together into a huggable, giftable little sea creature. Whether you’re making one for a nursery shelf or a whole ocean-themed collection, this pattern is one you’ll want to come back to again and again.