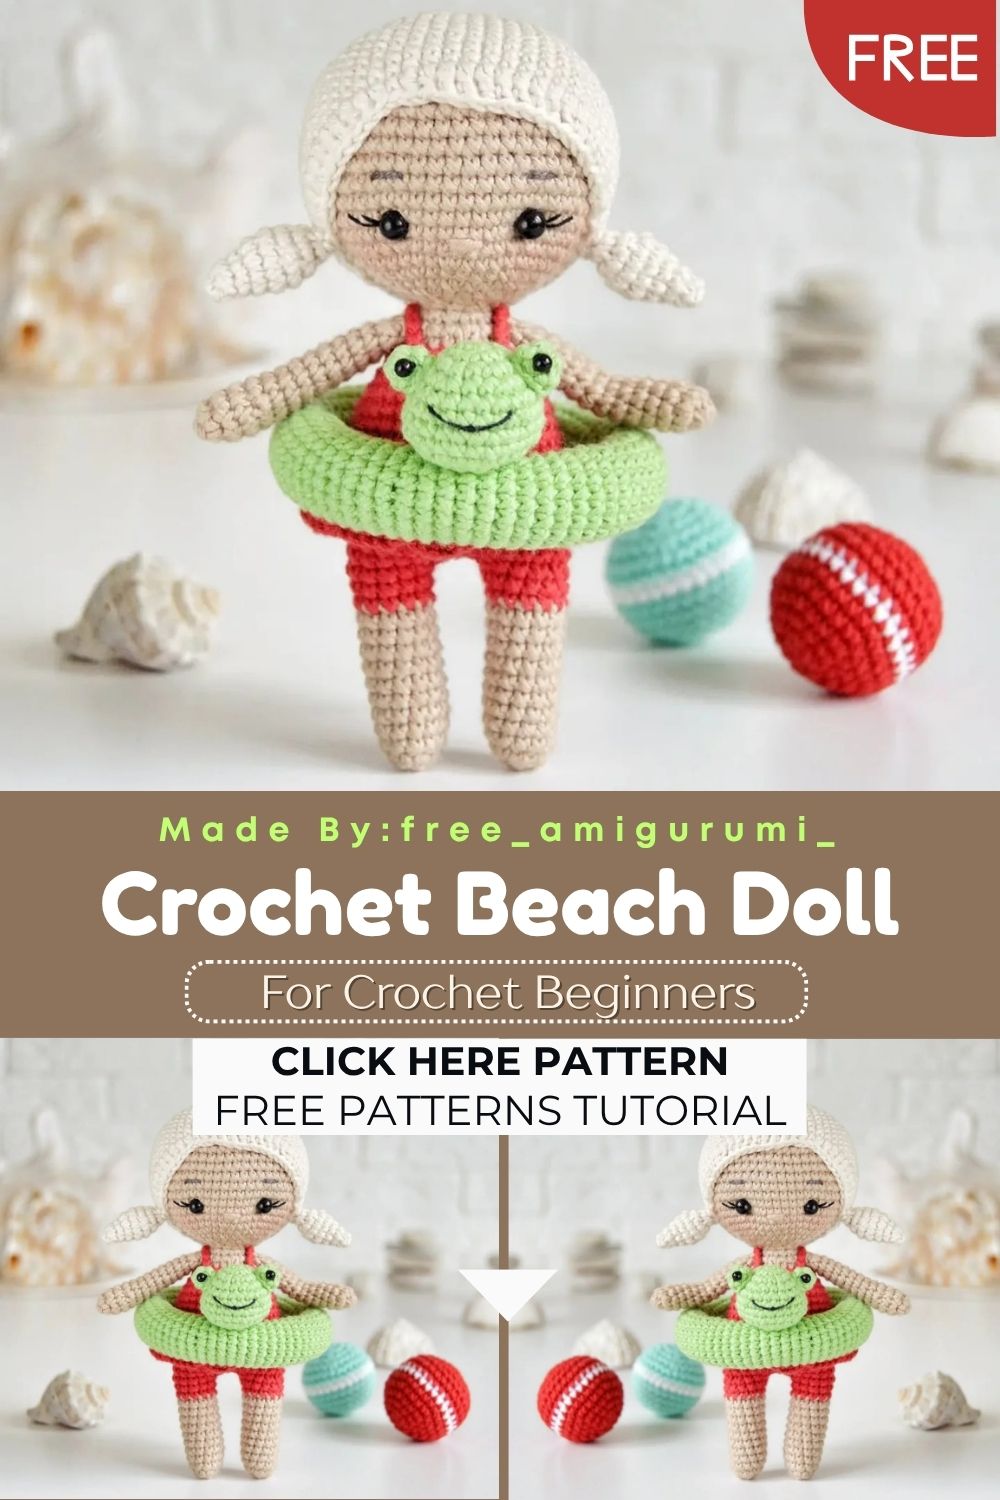
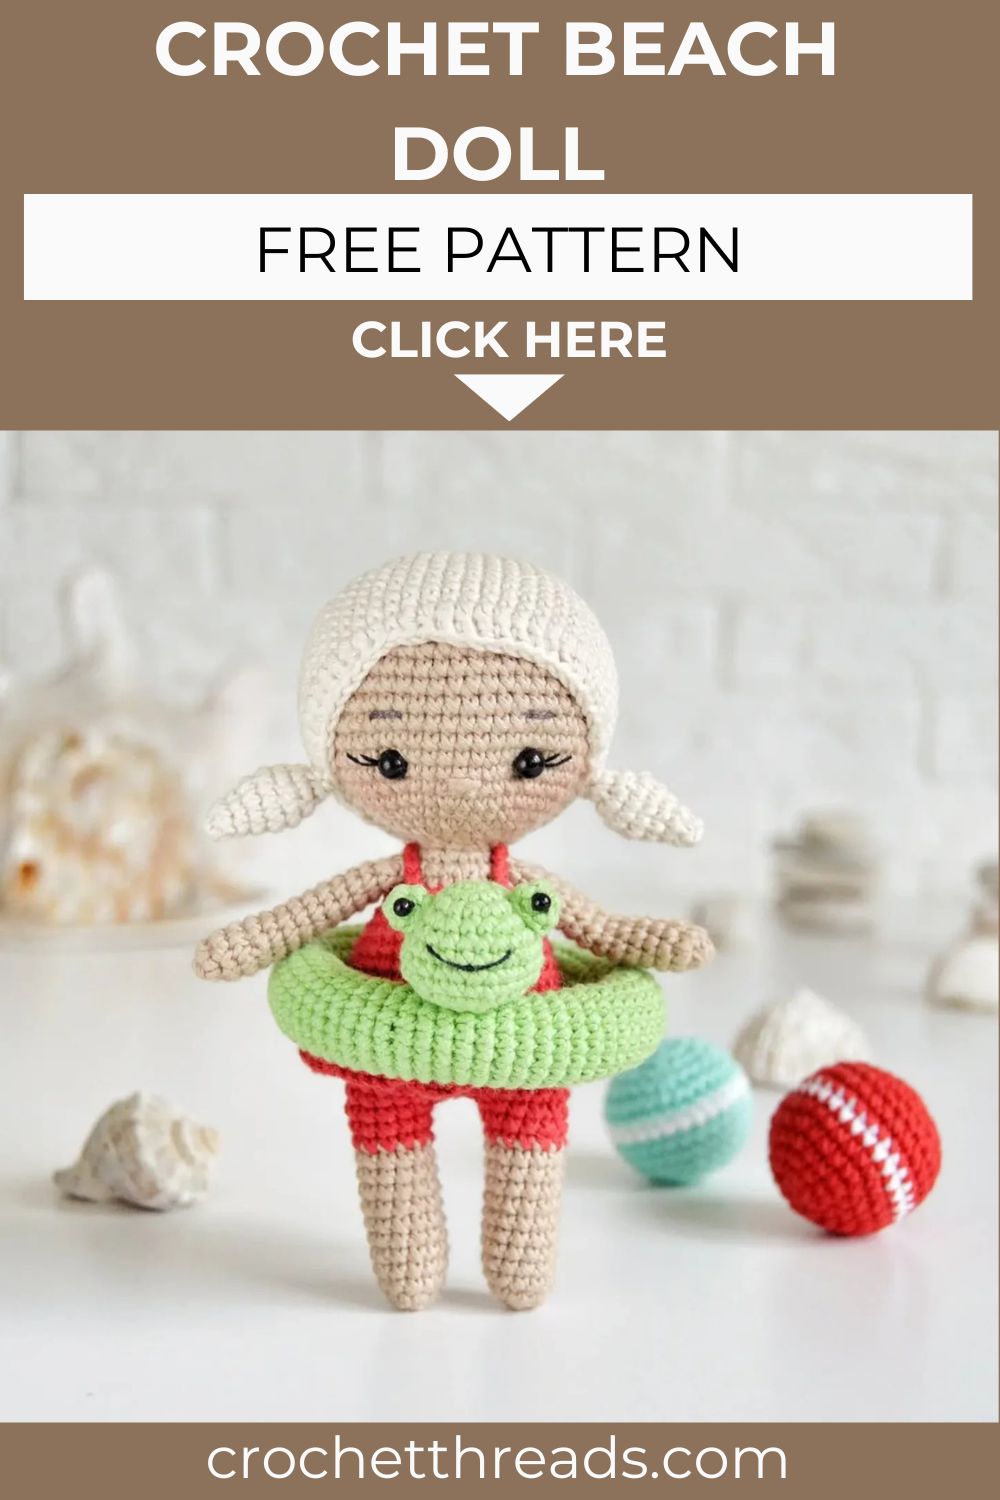
Sweet Crochet Beach Doll with Frog Float – Free Amigurumi Pattern
Grab your hook and meet the cutest pool companion, a chubby little frog float ready to make any summer display instantly adorable!
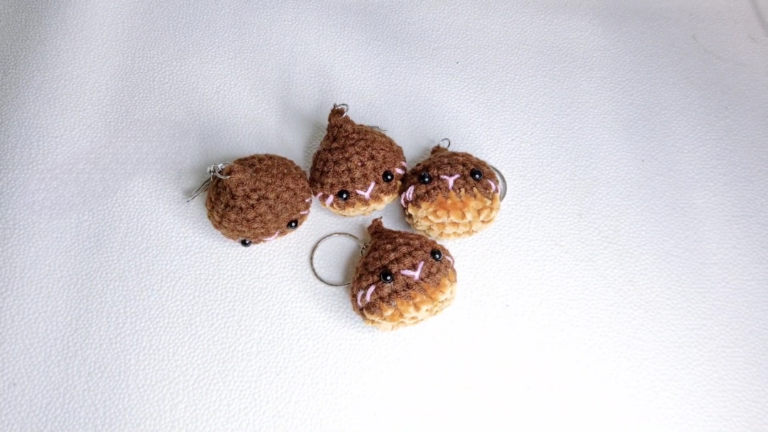
Pool floaties are summer’s most iconic accessory, and this miniature crochet version captures every bit of that carefree energy in the tiniest, most squeeze-worthy form. The floaty ring is worked as a simple long tube stuffed as you go, then curved and sewn end-to-end into a perfect circle. Perched right on top sits a round green frog head with two raised button eyes and an embroidered smile, the kind of detail that makes people stop and ask where you got it.
Skill Level
Beginner-friendly. Every single piece uses basic single crochet in continuous rounds. The only finishing skill needed is sewing the tube ends together and attaching the head, both of which take just a few minutes.
Materials You Will Need
Yarn:
- Green yarn in your preferred weight for the floaty, frog head, and eyes
Other Supplies:
- Crochet hook to match your yarn
- Polyfill stuffing
- Small black beads (3mm diameter) for the eyes, or black embroidery thread
- Tapestry needle
- Scissors
Abbreviations
- MR — Magic Ring
- SC — Single Crochet
- INC — Increase (2 sc in same stitch)
- DEC — Decrease
- R — Round
Pattern: Floaty Ring
Using green yarn. Stuff as you go.
R1: 6 sc in MR (6) R2: 6 inc (12) R3: (3sc, inc) x3 (15) R4–65: 15 sc per round
Work as many rounds as needed to match the size of your toy. The tube should be long enough to curve comfortably into a ring when the two ends meet.
Fasten off, leaving a long tail. Bring both ends of the tube together and sew them securely to form a closed ring shape. The stuffing inside keeps the ring full and round.
Pattern: Frog Head
Using green yarn
R1: 6 sc in MR (6) R2: 6 inc (12) R3: (sc, inc) x6 (18) R4: (2sc, inc) x6 (24) R5–8: 24 sc for 4 rounds (24) R9: (2sc, dec) x6 (18) R10: (sc, dec) x6 (12)
Fasten off, leaving a long tail. Stuff the head firmly before the opening closes completely.
Pattern: Eyes Make 2
Using green yarn
R1: 7 sc in MR (7) R2: 7 sc (7)
Fasten off, leaving a long tail for sewing.
Sew both eyes onto the top of the frog head between rounds 3 and 4. Keep them close together for that classic bulging frog eye look.
Sew or glue a small black bead onto the center of each eye, or embroider a simple black dot using black thread.
Embroider the mouth onto round 6 of the head using a simple curved stitch in black thread.
Sew the finished frog head onto the top of the floaty ring, positioned at the front for the most natural display angle.
Customization and Variation Ideas
- Make the floaty in yellow for a rubber duck version, or swap green for pink for a flamingo-inspired float using the same tube construction.
- Try a slightly thicker yarn for a chunkier, more exaggerated float shape that photographs dramatically against summer props.
- Add tiny embroidered nostrils above the frog’s mouth for extra character detail without any additional construction.
- Attach a small crochet umbrella or sun hat to the frog head for a beach-ready scene that looks adorable in flat-lay photography.
- Make multiple floaties in different colors and sizes to create a whole miniature pool party display.
- Use safety eyes instead of beads for a child-safe version. Just insert them before stuffing and closing the head.
Common Mistakes to Avoid
- Not stuffing the tube as you go: Once the tube is complete, it is nearly impossible to add stuffing evenly from the ends alone. Stuff gradually after every 10 to 15 rounds.
- Sewing the ring ends together unevenly: Pin both ends in place before sewing, and check the ring shape from above for symmetry before committing to the final stitches.
- Making the tube too short: Work at least 60 rounds before checking the ring size against your toy. A too-short tube creates a tight ring that looks pinched rather than rounded.
- Placing the eyes too far apart: Frog eyes sit close together on top of the head. Measure 2 to 3 stitches between them for the most accurate expression.
- Skipping the mouth embroidery: The embroidered mouth is what gives this frog its personality. Even a simple two-stitch curve makes an enormous difference to the finished expression.
- Sewing the head off-center on the ring: Pin the head at the front center of the ring before sewing, and check from multiple angles to ensure it sits balanced and upright.
Finishing Tips
- Give the floaty ring a gentle squeeze and reshape it into a perfect circle immediately after sewing the ends together, before the stuffing settles permanently.
- Use a whip stitch when joining the tube ends together for the flattest, most invisible seam at the join point.
- After attaching the frog head, anchor it at two additional points on either side of the base, not just at the center, for a more stable attachment that doesn’t wobble.
- Keep the eye embroidery or bead placement symmetrical by measuring from the center of the head outward to each eye position before sewing anything permanently.
- A tiny dab of craft glue on each bead after sewing provides extra security, especially for toys that will be handled frequently.
- Photograph the finished frog float on a light blue surface or beside a miniature pool scene for the most summery, season-appropriate presentation.
Gifting Ideas
- Tuck the finished frog float into a small cellophane bag tied with ribbon for an instant, charming seasonal gift that needs no extra packaging.
- Pair with a miniature crochet doll for a complete beach scene gift set. The float is sized to work beautifully with standard small amigurumi figures.
- These make wonderful summer fair prizes, party favors, or end-of-school gifts that feel genuinely personal and handmade.
- Make a whole float collection in five or six animal themes and display them in a shallow basket at a craft market for maximum visual impact.
- Attach a keychain ring to the float for a fun, functional summer accessory that doubles as a bag charm.
- Gift a finished float alongside a small bottle of sunscreen or a travel-size summer treat for a playful, cohesive seasonal gift bundle.
Conclusion
Honestly, few patterns are this satisfying for the amount of skill they actually require. The tube-and-ring construction is so simple it barely feels like work, yet the finished frog float looks like something you would find in a specialty toy shop. Take your time stuffing as you go, get the eye placement right, and sew that ring. Joining those three things makes all the difference between good and genuinely great. Now pick your yarn and let this little frog float and steal the show wherever it lands.