Hoppy Memories Crochet Bunny Picture Frame Pattern
Hoppy Memories Crochet Bunny Picture Frame Pattern
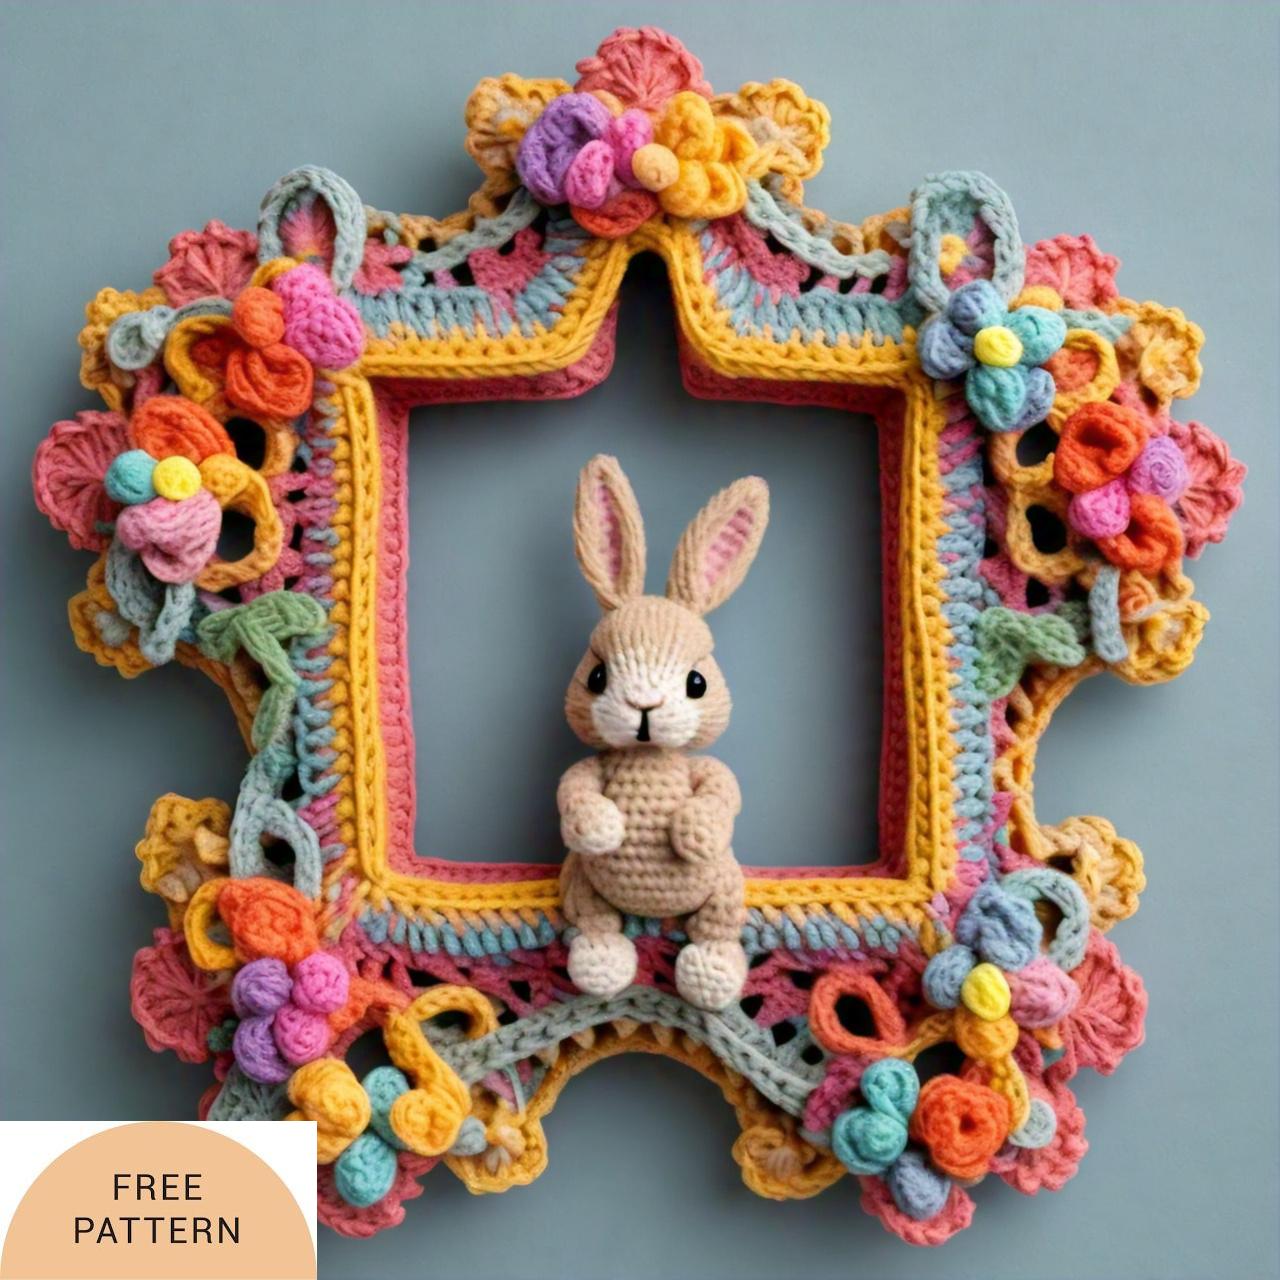
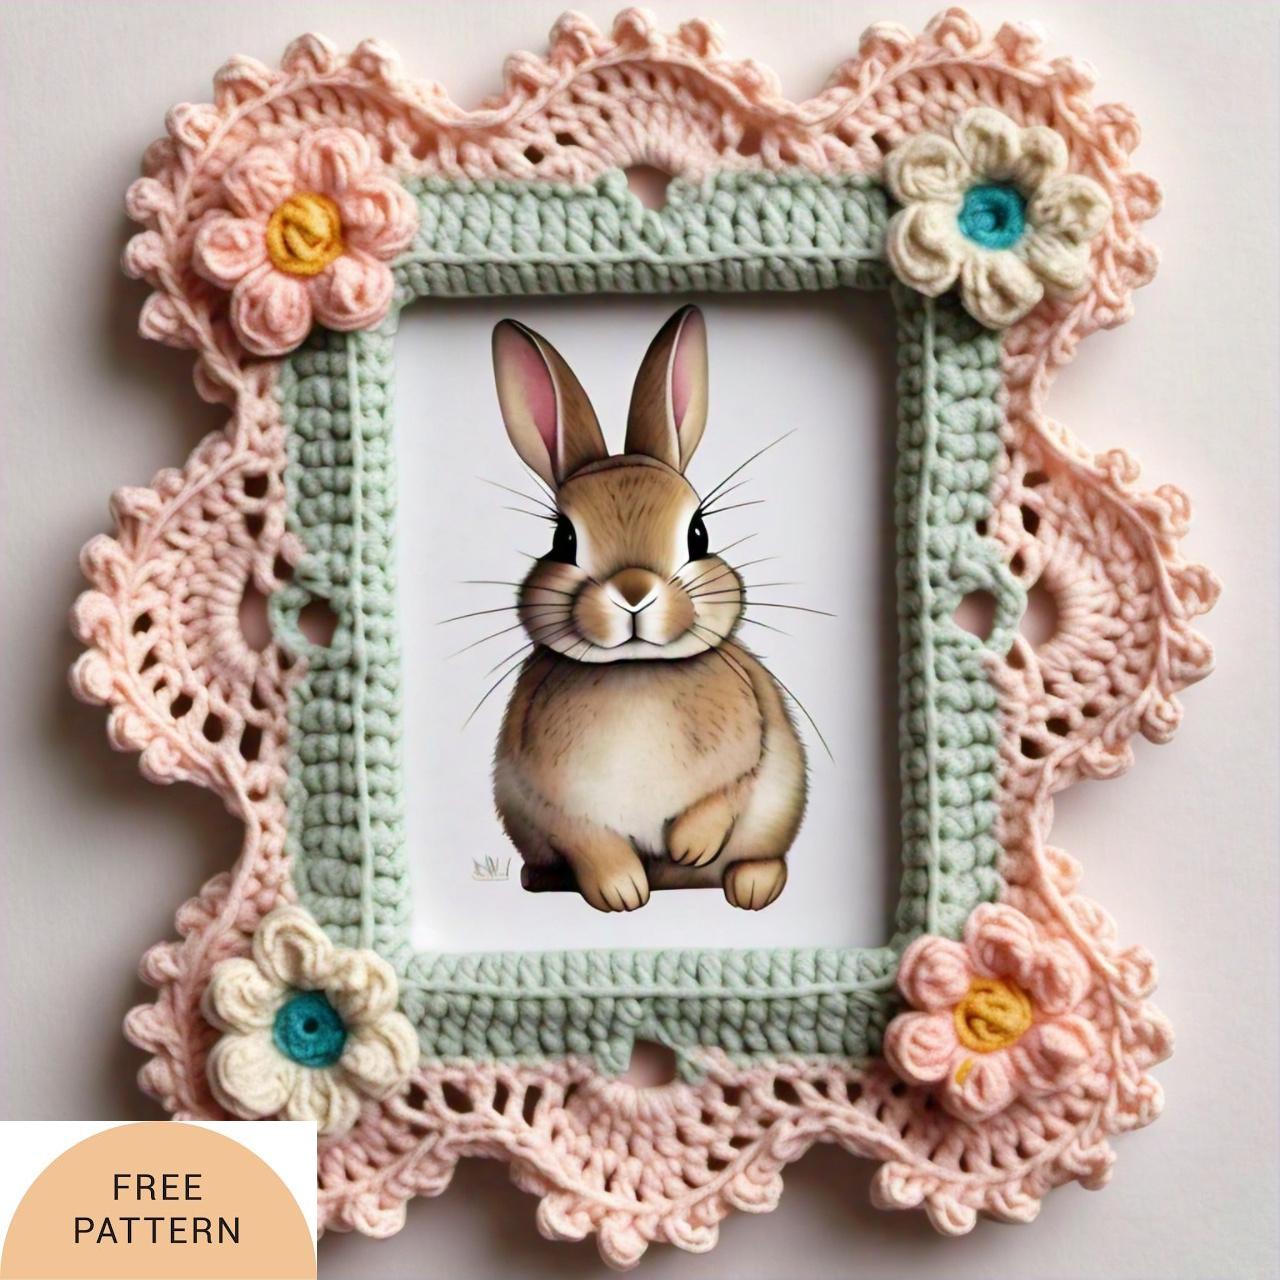
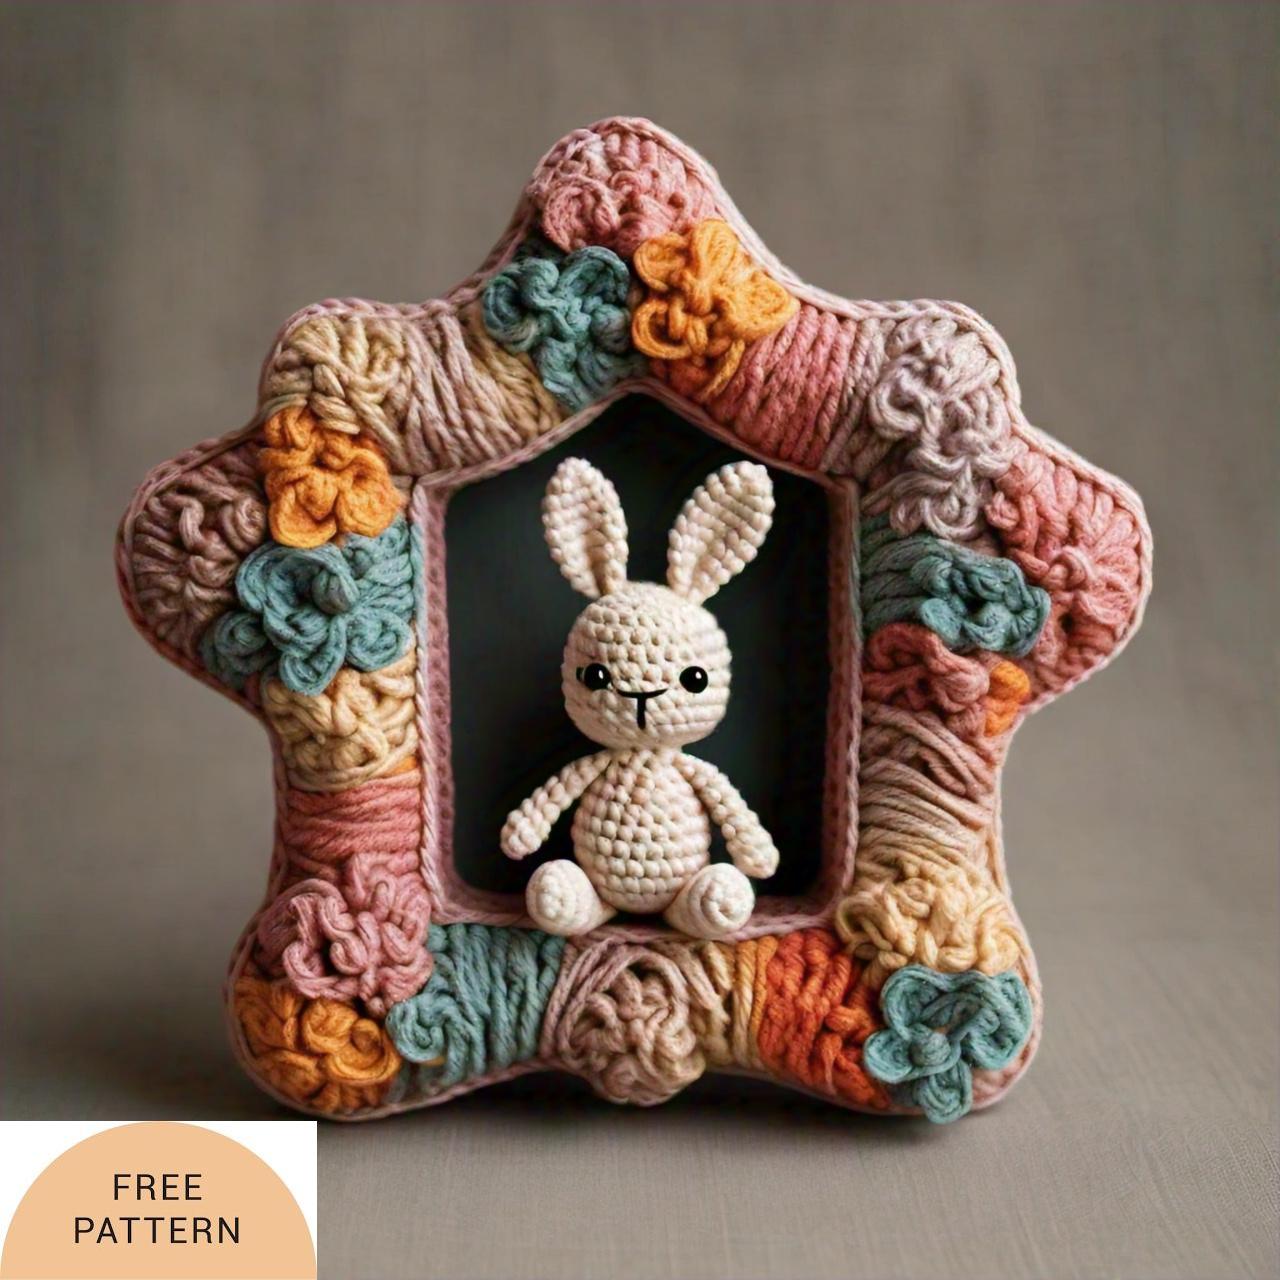
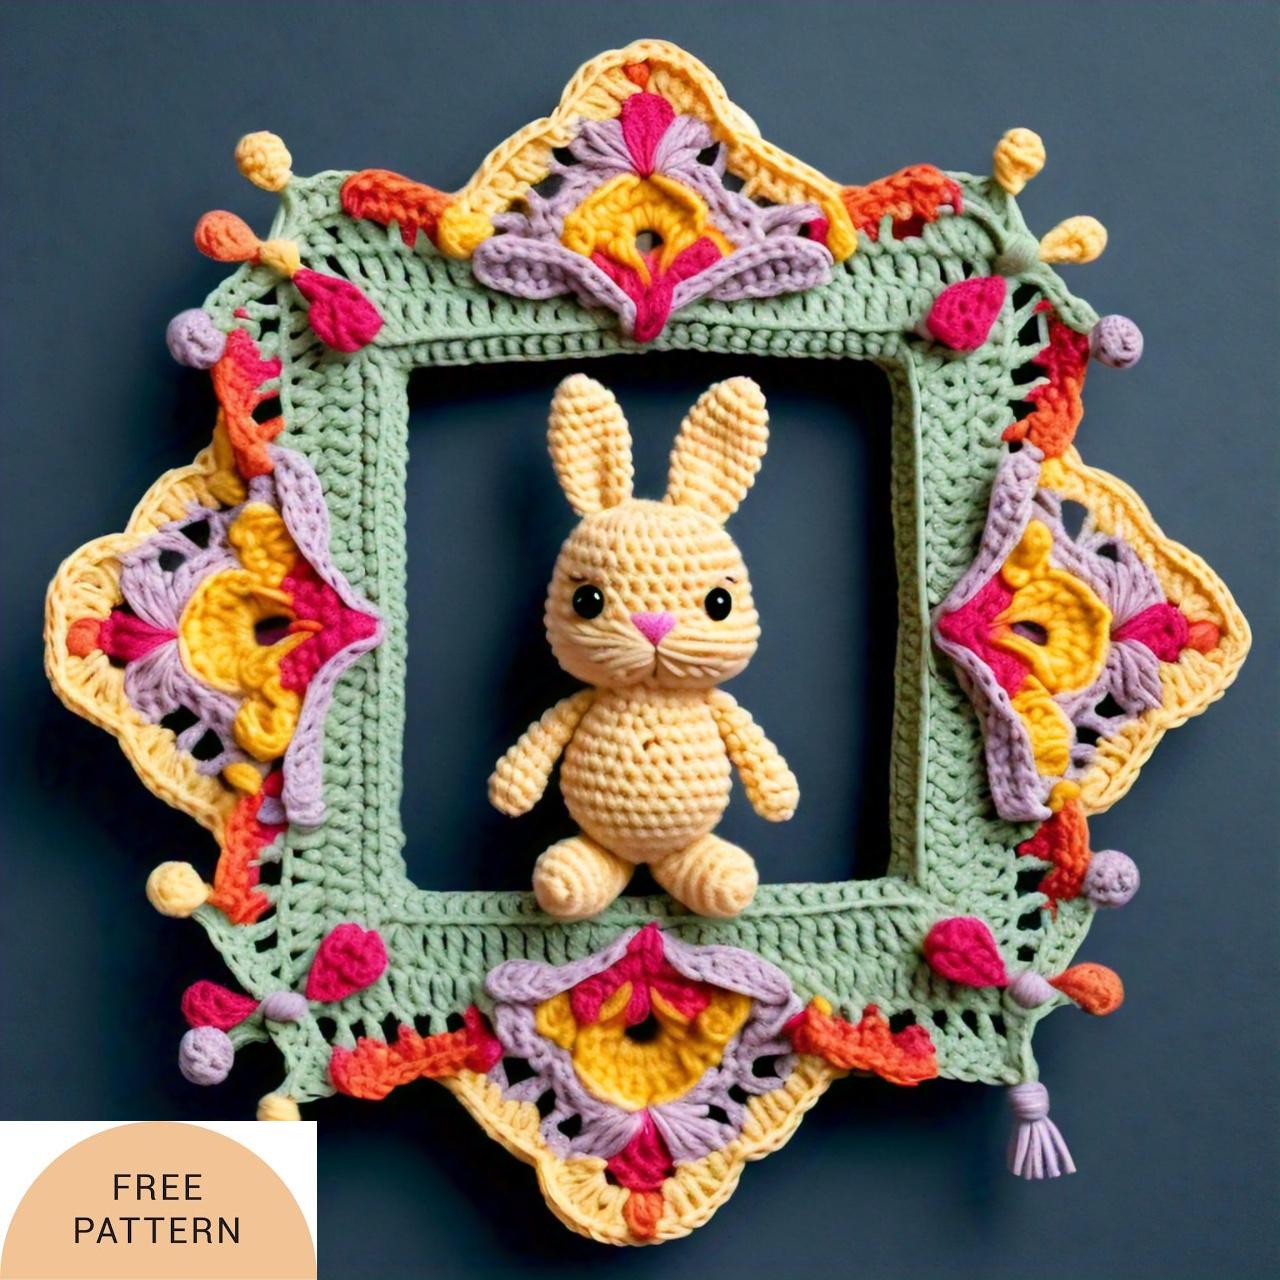
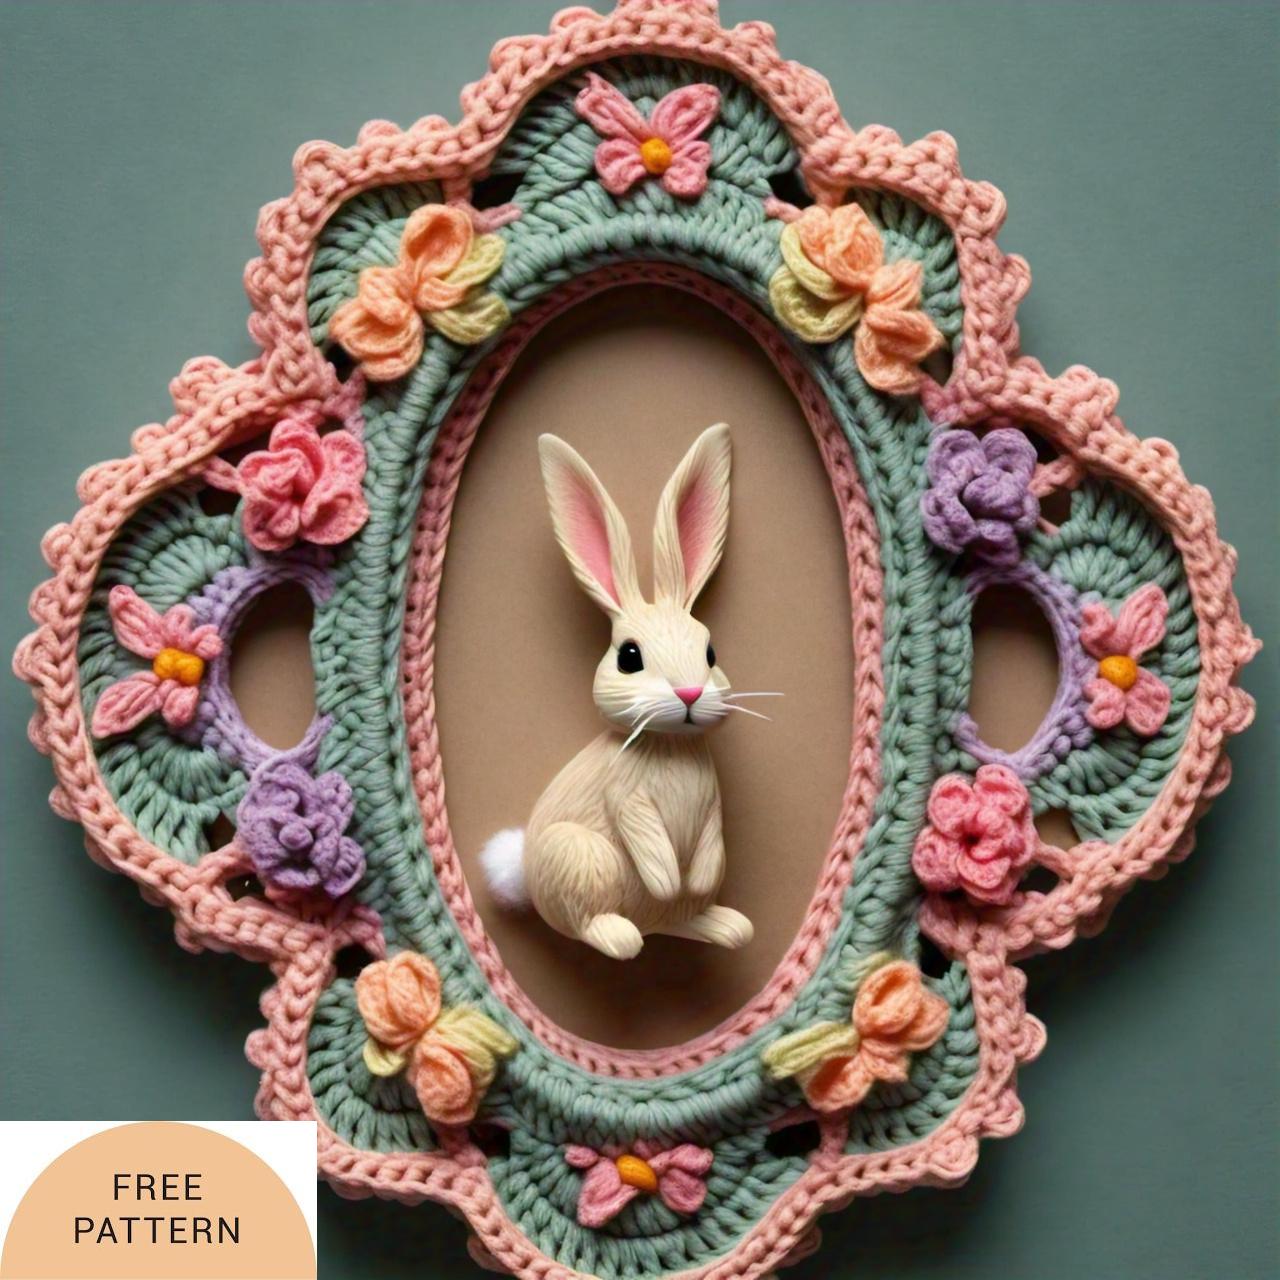
This charming crochet picture frame, adorned with an endearing bunny, brings a delightful touch to any home decor. The frame features a soft brown crochet border, complemented by a cute amigurumi bunny and decorative crochet flowers. This combination adds a whimsical and cozy feel to any space. The frame is embellished with tiny, intricately crafted crochet flowers and a cheerful bunny, each made with vibrant yarn and detailed, expressive features. This handmade piece not only showcases your cherished photos but also infuses warmth and charm into your room, making it a unique and heartwarming addition to your decor.

This crochet picture frame pattern combines both beauty and functionality, making it an excellent choice for displaying photos, notes, or small artworks. Its intricate stitching, along with the charming amigurumi bunny and delicate crochet flowers, highlights the craftsmanship and attention to detail invested in its creation. Ideal as a distinctive decorative piece or a thoughtful handmade gift, this frame adds a personal touch to any space. Its unique design is sure to bring joy and a smile to anyone who encounters it, making it a delightful addition to any home.
Materials Needed
- Yarn (worsted weight) in the following colors:
- Light brown (frame)
- Pink, white, blue, and green (flowers)
- Various colors for the amigurumi bunny
- Crochet hook size G (4.0 mm)
- Yarn needle
- Stitch markers
- Polyester fiberfill for stuffing
- Safety eyes for the amigurumi bunny (6 mm)
- Small buttons for flower centers
Abbreviations
- ch: chain
- sc: single crochet
- inc: increase (2 sc in the same stitch)
- dec: decrease (single crochet 2 stitches together)
- sl st: slip stitch
- st(s): stitch(es)
- rnd: round
Pattern
Frame
- Base Frame:
- Row 1: With light brown yarn, ch 50 (adjust length according to the size of your picture frame).
- Row 2-10: Sc in each ch across. Turn. (50 sts)
- Finish off and leave a long tail for sewing.
- Side Borders:
- Row 1: With light brown yarn, ch 10 (adjust width according to your frame).
- Row 2-50: Sc in each ch across. Turn. (10 sts)
- Make 2 pieces for the sides of the frame.
- Finish off and leave a long tail for sewing.
Flowers (make 2-3)
- Rnd 1: With pink or blue yarn, make a magic ring and work 6 sc into the ring. (6 sts)
- Rnd 2: Inc in each st around. (12 sts)
- Rnd 3: 1 sc, inc around. (18 sts)
- Rnd 4: 2 sc, inc around. (24 sts)
- Finish off and leave a long tail for sewing. Add a small button in the center for detail.
Leaves (make 2-3)
- Row 1: With green yarn, ch 7.
- Row 2: Sc in 2nd ch from hook, hdc in next, dc in next 2, hdc in next, sc in last. Turn.
- Row 3: Ch 1, work on the other side of the foundation ch: sc in 1st, hdc in next, dc in next 2, hdc in next, sc in last.
- Finish off and leave a long tail for sewing.
Amigurumi Bunny
Head
- Rnd 1: With light pink yarn, make a magic ring and work 6 sc into the ring. (6 sts)
- Rnd 2: Inc in each st around. (12 sts)
- Rnd 3: 1 sc, inc around. (18 sts)
- Rnd 4-8: Sc in each st around. (18 sts)
- Rnd 9: 1 sc, dec around. (12 sts)
- Rnd 10: Dec around. (6 sts)
- Finish off and leave a long tail for sewing. Stuff the head firmly.
Ears (make 2)
- Rnd 1: With light pink yarn, make a magic ring and work 6 sc into the ring. (6 sts)
- Rnd 2-4: Sc in each st around. (6 sts)
- Finish off and leave a long tail for sewing.
Body
- Rnd 1: With white yarn, make a magic ring and work 6 sc into the ring. (6 sts)
- Rnd 2: Inc in each st around. (12 sts)
- Rnd 3-7: Sc in each st around. (12 sts)
- Rnd 8: Dec around. (6 sts)
- Finish off and leave a long tail for sewing. Stuff the body lightly.
Arms (make 2)
- Rnd 1: With light pink yarn, make a magic ring and work 6 sc into the ring. (6 sts)
- Rnd 2-4: Sc in each st around. (6 sts)
- Finish off and leave a long tail for sewing.
Legs (make 2)
- Rnd 1: With light pink yarn, make a magic ring and work 6 sc into the ring. (6 sts)
- Rnd 2-4: Sc in each st around. (6 sts)
- Finish off and leave a long tail for sewing.
Assembly
- Sew the base frame and side borders together to form the complete frame.
- Sew the flowers and leaves onto the corners of the frame.
- Assemble the amigurumi bunny by attaching the safety eyes and sewing the ears, arms, and legs.
- Attach the amigurumi bunny to the bottom corner of the frame.
- Add any additional decorative elements or embellishments as desired.
- Weave in all loose ends.
Your adorable crochet picture frame with a bunny is now complete! Enjoy your handmade creation!
Hoppy Memories Crochet Bunny Picture Frame Pattern