
Whimsical Crochet Car Amigurumi Paterrn
Creating crochet car amigurumi patterns is a delightful way to combine creativity and playfulness into one charming craft project. These whimsical crochet creations are perfect for anyone who loves the intricate art of amigurumi and wants to explore new, fun shapes. From classic car models to modern designs, each pattern offers a unique spin on the beloved automobile, inviting crafters to embark on a creative journey. Whether you’re a seasoned crochet enthusiast or a curious beginner, these patterns promise a rewarding experience filled with color, texture, and imagination.
Crochet car amigurumi patterns bring a touch of nostalgia and joy, capturing the heart of both makers and receivers. They make excellent gifts for children and adults alike, serving as adorable decorations or playful toys. The patterns are designed to be beginner-friendly, ensuring that anyone can enjoy the process of crafting these lovely vehicles. Moreover, they are a fantastic way to personalize gifts or decorate spaces, making them a delightful addition to any crochet project collection.
About & Uses
Crochet car amigurumi patterns offer numerous benefits, from being decorative pieces to thoughtful handmade gifts. These patterns are beginner-friendly, making them accessible to new crocheters while still providing enough detail to keep experienced crafters engaged. They are fun to make and can be customized with different colors and embellishments, allowing for endless creativity. Ideal as whimsical decorations, these crochet cars can also be used as toys, keychains, or charms, adding a touch of handmade charm to everyday life.

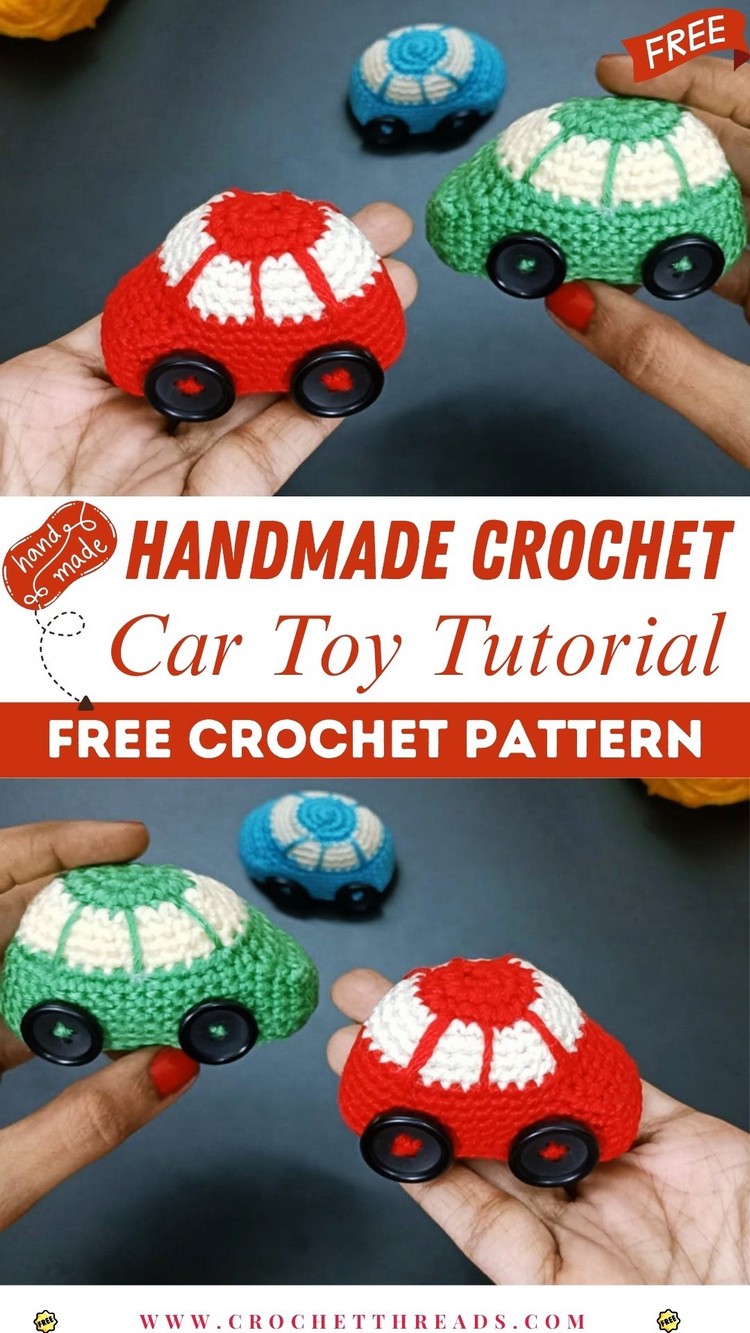
Handmade Crochet Car Toy Pattern Idea
This adorable pattern is perfect for creating a charming car toy that’s both playful and decorative. The design is straightforward, making it suitable for beginners who are just getting started with amigurumi. The finished product is a delightful toy that can be gifted to children or used as a fun decor piece in a child’s room. With its bright colors and simple construction, this pattern is a fantastic introduction to crochet car projects.
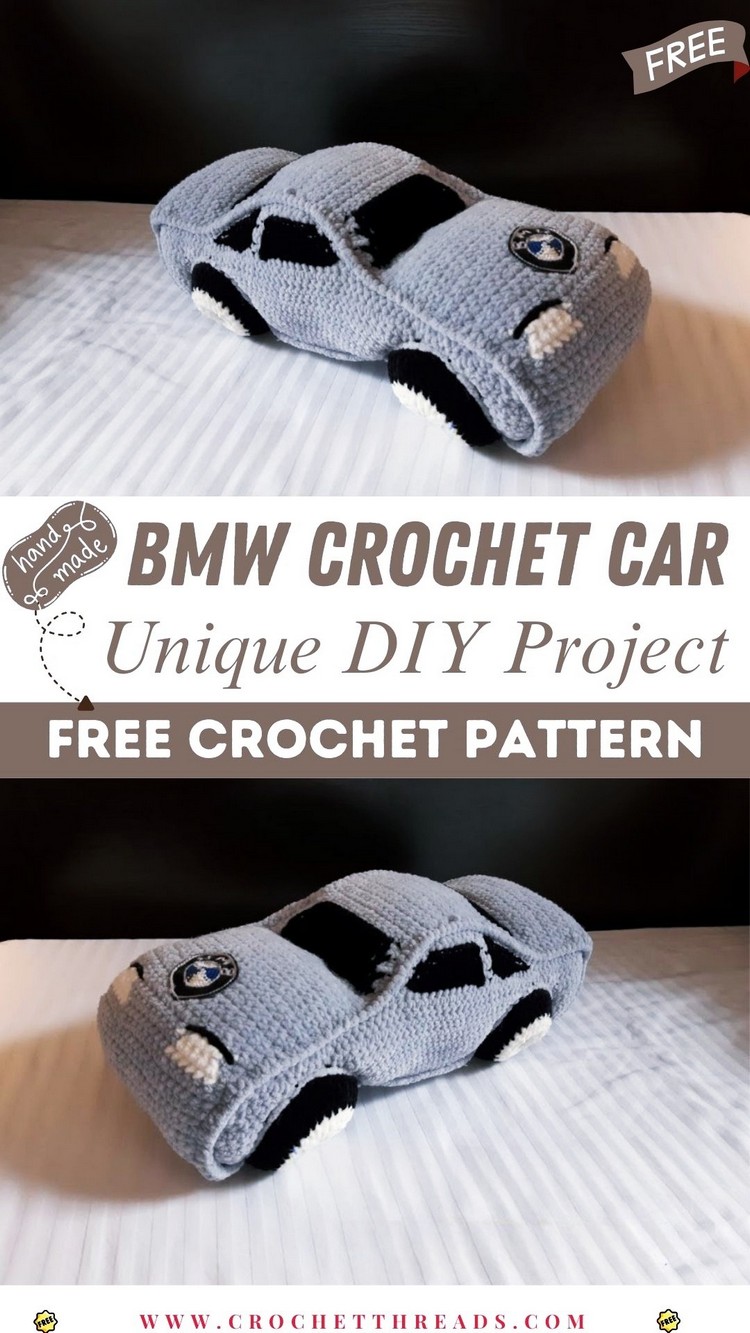
BMW Crochet Car – Unique DIY Project
For those looking to craft a detailed and stylish car, the BMW Crochet Car pattern offers a creative challenge. This project is ideal for intermediate crocheters who enjoy working on intricate designs. The end result is a sleek and sophisticated car model that makes a unique gift for car enthusiasts or a standout decorative piece. Its realistic features and elegant design make it a rewarding project for those who appreciate finely crafted amigurumi.
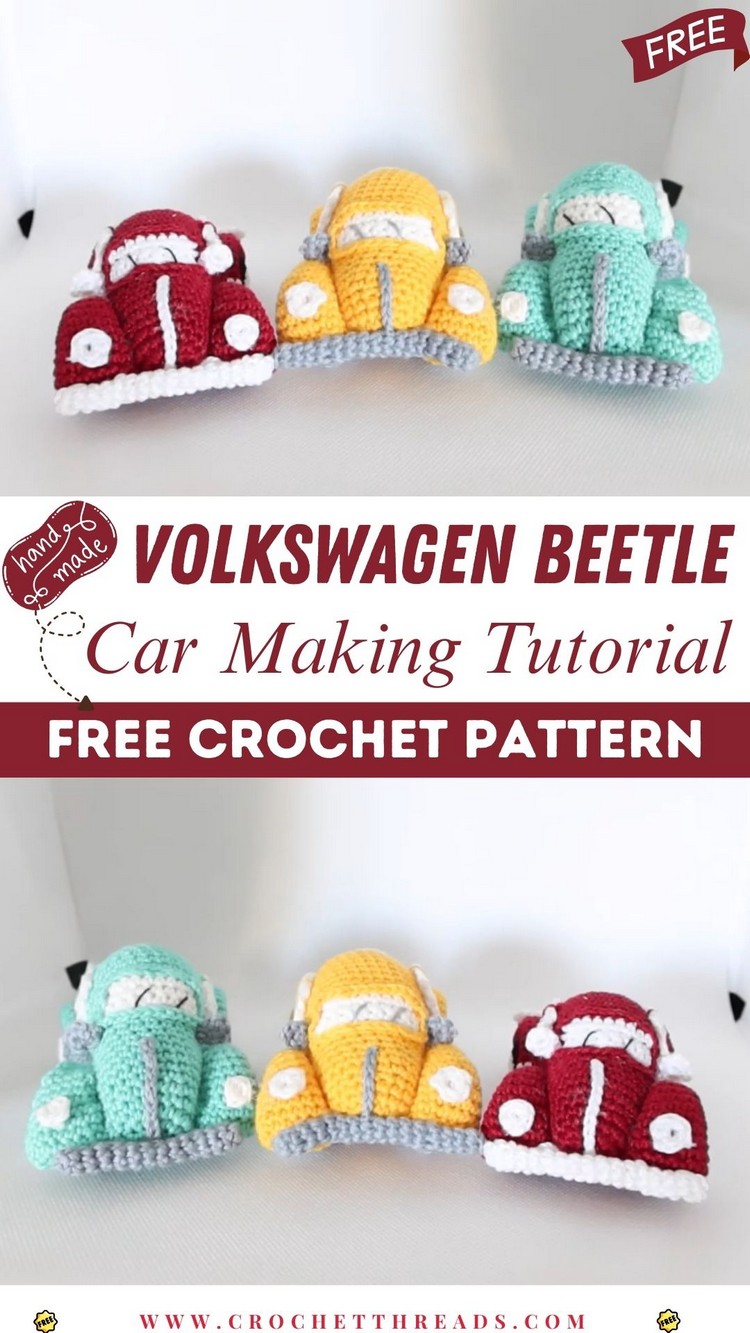
DIY Volkswagen Beetle Car Making Free Crochet Pattern
The Volkswagen Beetle pattern captures the classic charm of this iconic car in crochet form. It’s a fun and nostalgic project that will appeal to both new and experienced crocheters. The pattern is designed to be engaging yet achievable, resulting in a cute and colorful Beetle that is perfect as a gift or a playful decor item. Its vintage vibe and easy-to-follow instructions make it a delightful project for any crochet lover.
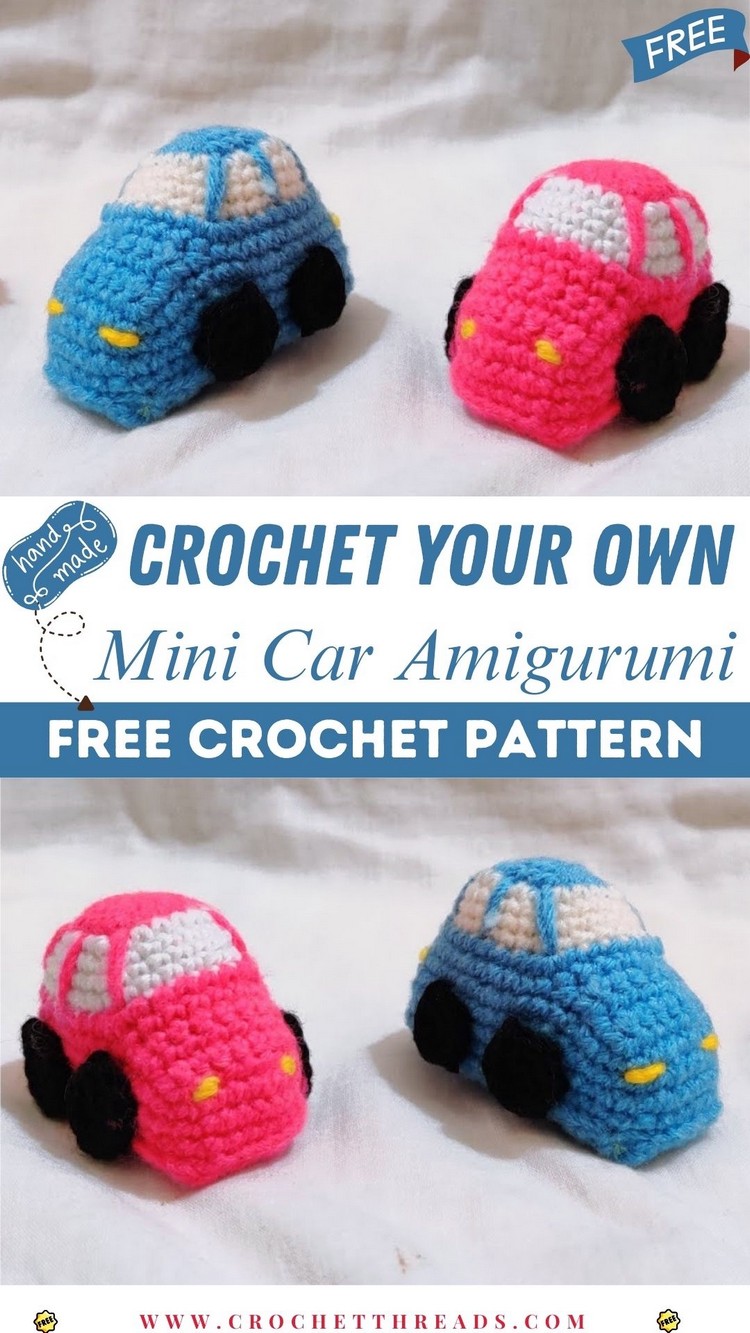
Crochet Your Own Mini Car Amigurumi For Kids
This pattern is perfect for creating a mini car amigurumi that’s just the right size for little hands. It’s a quick and easy project that can be completed in a short time, making it ideal for beginner crocheters. The finished mini car is a wonderful toy for children, providing endless fun and imaginative play. Its compact size and simple design make it a great gift or stocking stuffer.
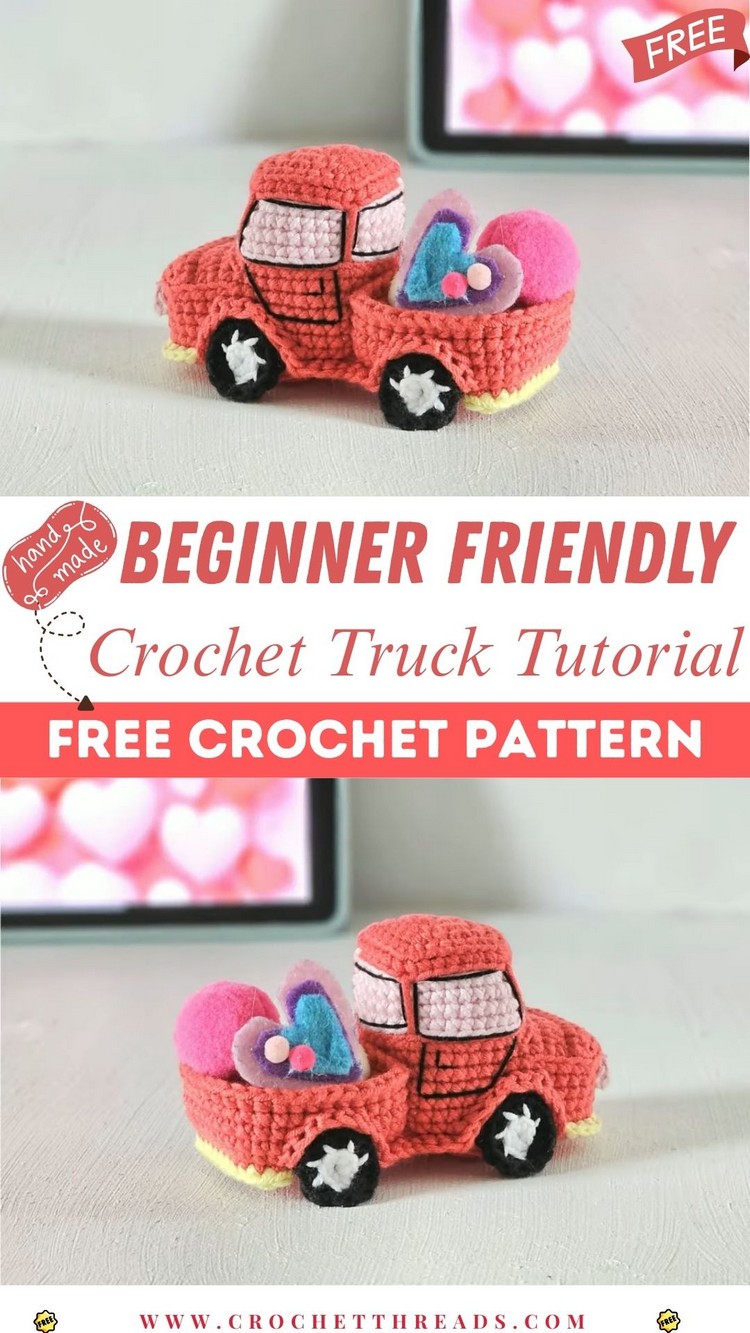
Beginner Friendly Crochet Truck Pattern
The Crochet Truck Pattern offers a beginner-friendly project that’s both fun and functional. This pattern guides you through creating a charming truck that can be used as a toy or a decorative piece. Its straightforward construction and cheerful design make it an ideal project for novice crocheters. The finished truck is not only a delightful plaything but also a charming addition to any crochet collection.
Crochet Race Car Step by Step Perfect Gift Idea
For those who love speed and style, the Crochet Race Car pattern is a fantastic choice. This step-by-step guide helps you create a dynamic race car amigurumi that’s perfect as a gift for car lovers of all ages. Its vibrant colors and sleek design make it an eye-catching piece, whether displayed on a shelf or zooming around as a toy. The pattern is accessible yet detailed, providing a satisfying crochet experience.

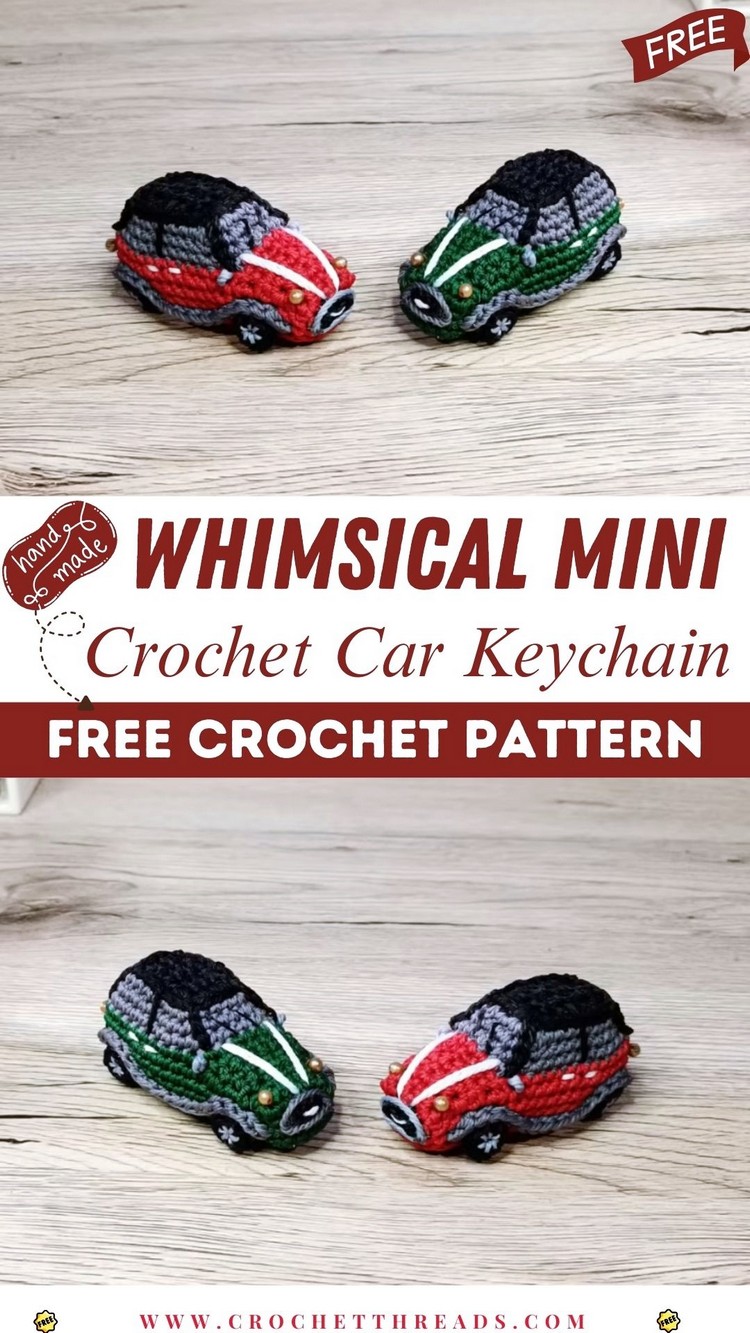
Whimsical Mini Crochet Car Keychain
This pattern is perfect for crafting a cute and whimsical car keychain. It’s a quick project that adds a personal touch to your keys or bag. The keychain’s small size and charming design make it an excellent gift or party favor. Easy to customize with different colors, it’s a delightful way to showcase your crochet skills in a practical and fun form.
Whimsical Crochet Car Amigurumi Paterrn

Creating amigurumi animals and dolls is easier than you might think! Whether you’re interested in amigurumi cats, dogs, unicorns, or even dinosaurs, there’s a delightful variety of options to choose from. You can also craft charming figures like foxes, bears, giraffes, and pigs. If you’re in the mood for something whimsical, consider making amigurumi birds, penguins, or pandas.
For those who love the idea of quirky creations, amigurumi llamas, bunnies, and clowns are great choices. Don’t forget about the adorable elephants, hippos, and monkeys that can add a playful touch to your collection. Each of these designs offers a unique challenge, but with a little practice and patience, you’ll find that they’re all within your reach.
So grab your yarn and hooks, and get ready to dive into the wonderful world of amigurumi. Happy crafting!
Materials Needed
- Yarn in the following colors: ruby red, silver, dark gray, tan, black, white, sky blue
- 2.5mm crochet hook
- Needle
- Sewing pins
- Scissors
- Filler
Abbreviations
- R = row
- mc = magic circle
- ch = chain
- sc = single crochet
- osc = reverse single crochet
- hdc = half double crochet
- inc = increase
- dec = decrease
Amigurumi Classic Car Crochet Pattern
Body of the Car
Start by crocheting the body from the bottom to the top. Begin with a base rectangle: with ruby red yarn, chain 20 and crochet 42 rows of single crochet (sc). Then, cut the yarn and switch to spiraling from the short side:
- R1: 19 sc, 3 sc in next stitch, 41 sc, 3 sc in one, 40 sc, 3 sc in one (total: 130)
- R2: sc in the back loop (130)
- R3-18: sc (130)
Fasten off and cut the yarn.
Hood
Using ruby red yarn, chain 20 and crochet 22 rows of sc. Don’t cut the yarn; continue to crochet from the short side:
- R1: 19 sc, 3 sc in one, 21 sc, 3 sc in one, 18 sc, 3 sc in one, 21 sc, 2 sc in one (total: 90)
Fasten off and cut. Use pins to attach the hood to the body, sewing it in place.
Sides and Windshield
Crochet around the remaining body hole with white yarn:
- R1: 78 sc
- R2-16: sc (78)
Fasten off and cut.
Roof
Using dark gray yarn, chain 20 and crochet a rectangle 16 rows tall. Continue to sc around the rectangle starting from one long side:
- R1: 19 sc, 3 sc in one, 15 sc, 3 sc in one, 18 sc, 3 sc in one, 15 sc, 2 sc in one (total: 78)
Attach the roof to the body and secure with pins, stuffing as needed.
Window Frames (Make Four)
Start from the roof edges with ruby red yarn, making strips in magic circle (mc) 7 sc wide and 12 rows long. Ensure there are 10 sc between the front and rear frames. Attach frames to the body.
Front Edge of the Roof
With dark gray yarn, crochet 5 rows of 22 sc. Then, sc around the entire roof with increases at each corner for sharpness.
Lattice (Silver Color)
Begin with a magic circle (mc):
- R1: 6 sc in mc (6)
- R2: inc 6 times (12)
- Continue increasing and sc-ing to R21.
Join edges and sew to the body, adding details in dark gray thread.
Top Grille Valve (Silver)
Start with a magic circle:
- R1: 6 sc in mc (6)
- Continue to R8 with decreases.
Stuff while crocheting, then attach to the top of the grill.
Pupils (Black, Make Two)
- R1: 6 sc in mc (6)
- Increase and create shape as needed.
Sew onto the windshield and add details with white and sky blue thread.
Tires (Wheels, Make Five)
Start with tan yarn:
- R1: 6 sc in mc (6)
- Increase and switch to black for additional rows.
Finish with sc and attach to the body, positioning appropriately.
Machine Wings (Make Two)
With dark gray yarn, create wings with increases and sc for shape. Attach to the body near the wheels.
Headlights (Make Two)
Create two parts: a front in white and a back in ruby red, connecting them together.
Horn
Crochet with dark gray yarn, then switch to tan, filling partially before closing.
Bumpers (Make Two)
Crochet with silver, shaping and attaching to the front and rear of the car.
Mirrors (Make Two)
Craft each part with white and silver, attaching the mirrors to the body between the window frames.
Enjoy crafting your amigurumi classic car!
Beginner-Friendly Crochet Car Amigurumi Patterns You l Love


