Crochet Dairy Cow Amigurumi Pattern for Newborn
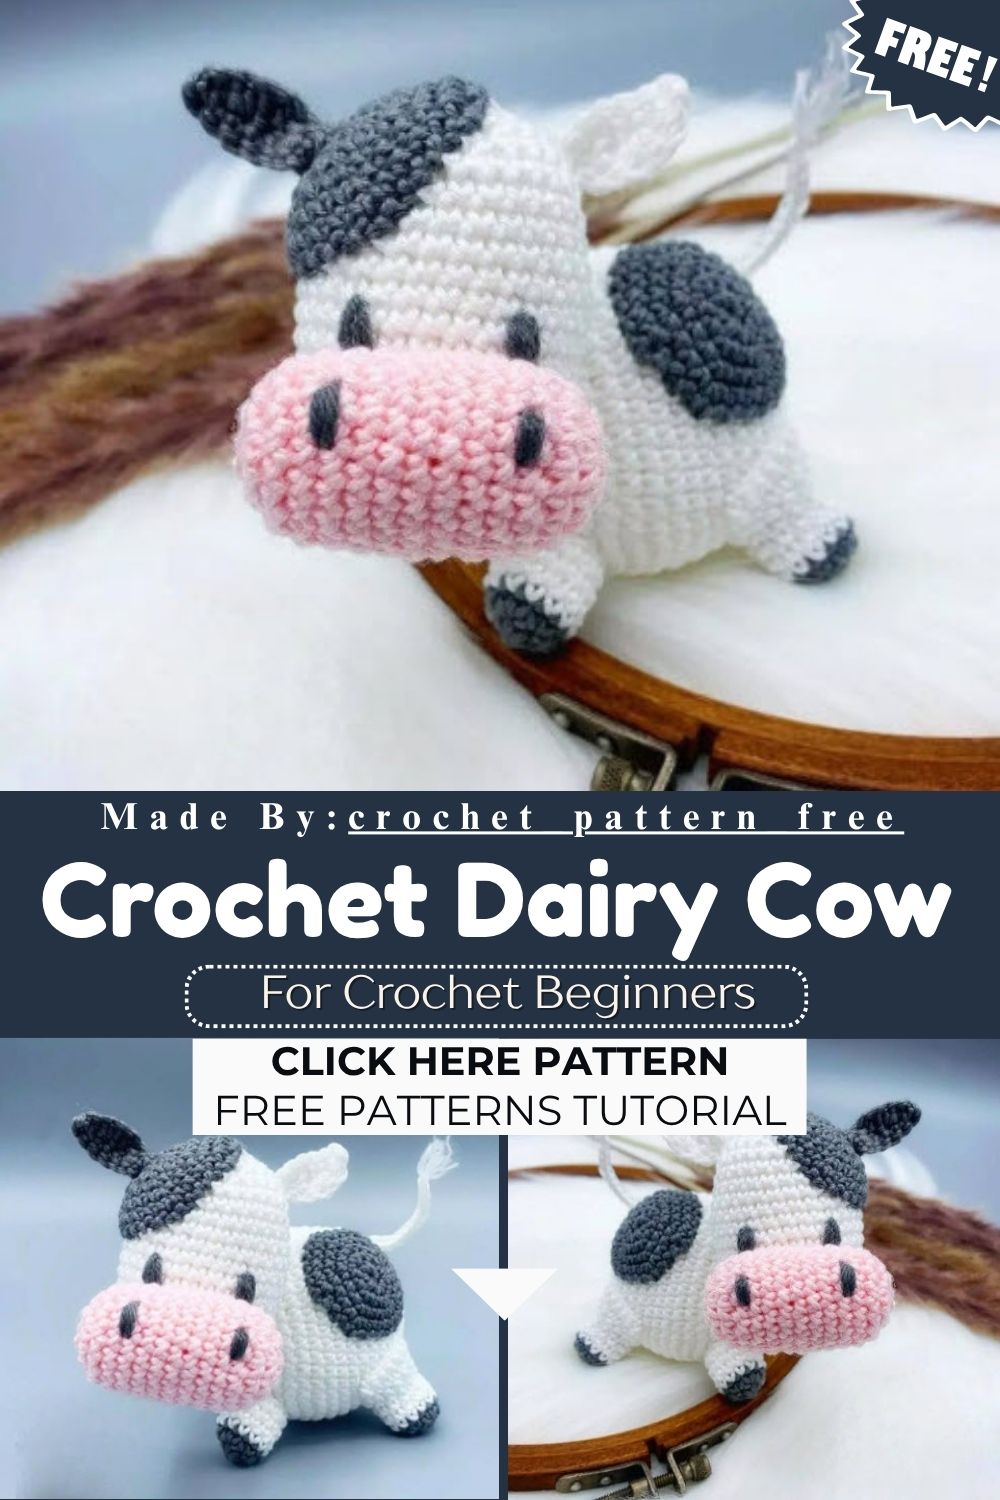
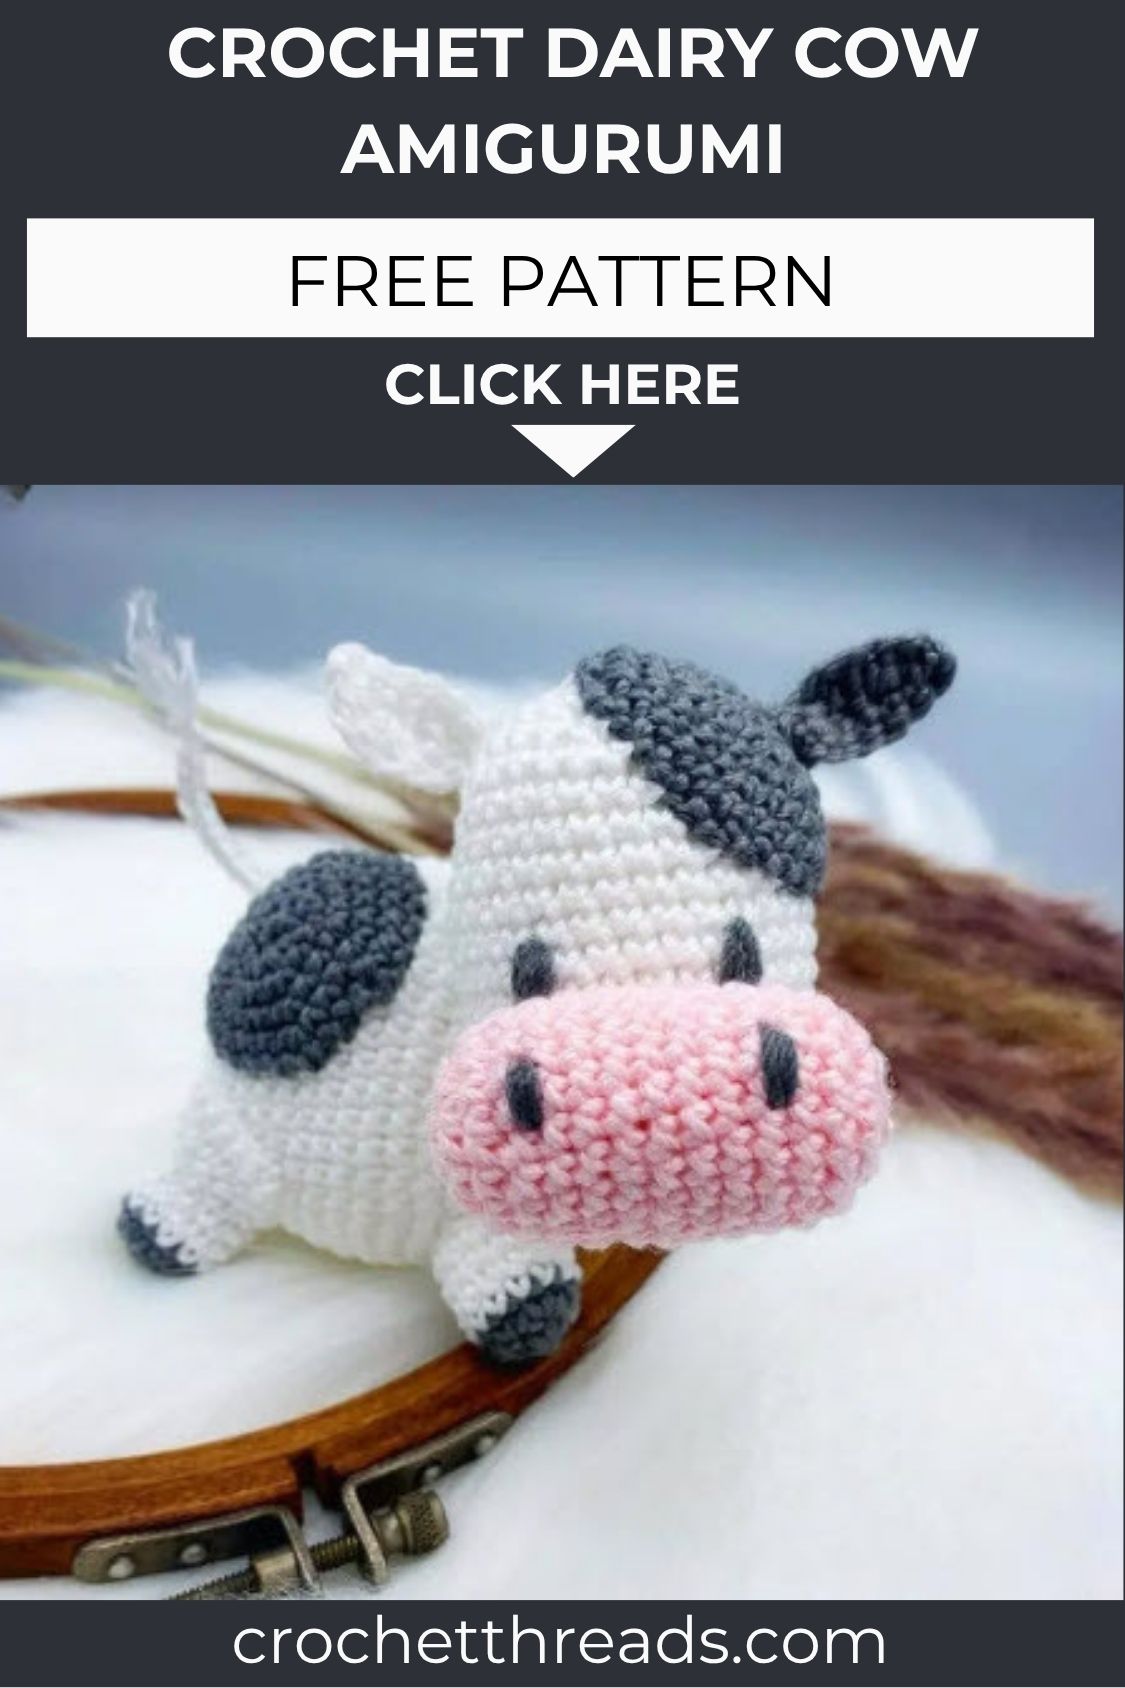
Soft yarn and simple shaping make this Crochet Dairy Cow Amigurumi a charming project that crocheters of any skill level can complete with ease. This adorable cow design is fun to make and, once finished, also becomes a beautiful addition to shelf decor, farmhouse-themed spaces, kids’ playtime, or a soft amigurumi collection.
The Dairy Cow amigurumi is one of those projects that looks surprisingly beautiful once finished, despite using only simple stitches. If you know basic single crochet, this pattern can be completed with confidence, since it doesn’t involve any complex shaping or difficult techniques. With just a few basic materials like white, dark gray, and pink yarn, you can bring the whole character to life. What stands out about this tutorial is its clear step-by-step instructions, which break down each part in a simple way and keep the entire project organized and enjoyable from start to finish.
Why Beginners Will Enjoy This Pattern
This Crochet Dairy Cow Amigurumi project breaks down into small, manageable pieces rather than one overwhelming build. Each part- head, snout, body, legs, ears- teaches a slightly different skill without ever feeling like a huge leap. The color changes are simple two-tone swaps, not intricate colorwork. Real talk, the reward of watching a farmyard character come together piece by piece keeps motivation high from start to finish. It’s forgiving too, since minor imperfections in spot placement or ear angle just add character rather than ruining the final look.
Skill Level
This Crochet Dairy Cow Amigurumi pattern suits confident beginners and intermediate crocheters alike. Basic stitches like single crochet, increase, and invisible decrease carry the whole project. No complex shaping or advanced techniques required here, just consistent tension.
Pattern Overview
- Finished dairy cow stands roughly 4–5 inches tall once fully assembled and stuffed, making it a perfect palm-sized keepsake
- Worked entirely in continuous rounds (no joining, no turning for most pieces), which keeps the surface smooth and seamless
- Six main components: head, snout, body, front legs, back legs, ears, and two grey spots for the signature dairy print
- Color palette limited to three yarns: white, dark grey, and pink, keeping supply costs low and yarn management simple
- Safety eyes or embroidered eyes both work depending on preference, with embroidery recommended for newborn-safe gifting
- Designed with newborn-safe materials in mind, though always double-check fiberfill and eye attachments for gift recipients
- Estimated crochet time runs 3–4 hours for an average maker, plus another 30–40 minutes for assembly and finishing touches
- Works up quickly enough for a weekend project, yet detailed enough to feel like a genuine handmade accomplishment
Materials and Abbreviations
- Yarn in any weight in white, dark grey, and pink
- Crochet hook sized to match your chosen yarn weight
- Yarn needle for sewing pieces together
- Polyester fiberfill for stuffing
- Scissors
- Stitch markers for tracking rounds
Stitch abbreviations (US terms): SC (single crochet), HDC (half double crochet), SL ST (slip stitch), DC (double crochet), INC (increase), DEC (invisible decrease), CH (chain), MR (magic ring), FO (fasten off)
Special Techniques
- Magic ring (MR): Every major piece starts here, so tightening this ring properly keeps the base tidy and prevents a hole at the center
- Invisible decrease (DEC): Used throughout to shape the head, snout, and body smoothly without visible bumps or gaps
- Color changes on legs: Front and back legs switch from grey to white mid-piece, so carrying yarn neatly matters for a clean transition
- Row-based ears: Unlike most rounds in this pattern, ears are worked flat in chains and turned rows, giving them their signature curved shape
- Back leg extension rows: After the base shaping, back legs continue with turned single crochet rows instead of fastening off, creating a slight bend for a seated pose
Common Mistakes
- Rushing the magic ring closure, which leaves a small gap visible at the center of rounds long after stuffing
- Losing stitch count during increase rounds, especially between rounds 4 and 7 on the body where numbers jump quickly
- Understuffing the head and body, causing the amigurumi to look flat or lumpy instead of smoothly round
- Sewing ears on flat instead of angling them slightly forward, which changes the cow’s expression entirely
- Mixing up which ear color goes on which side (remember, one ear is grey, one is white for that classic asymmetry)
- Forgetting to leave a long enough tail on legs for secure sewing later, leading to weak attachment points
- Skipping stitch markers on plain rounds, then losing track of where a round actually begins and ends
- Pulling yarn too tight during color changes on the legs, which distorts the transition line between grey and white
Helpful Beginner Tips
- Use stitch markers on every round, not just increase rounds, so you never lose your place mid-piece
- Count stitches after every round for the first few pieces until the rhythm feels natural and automatic
- Stuff firmly but gradually, adding small amounts as you close each section rather than all at once
- Pin pieces together before sewing to test placement and proportions first, adjusting until everything looks balanced
- Keep a small notebook or phone note tracking which round you’re on, especially for longer pieces like the body
- Practice invisible decrease on a scrap swatch if it’s new to you, since it shapes most of this pattern
- Work in good lighting when attaching spots and ears, since color placement affects the whole character’s personality
- Take a short break between pieces to avoid tension creeping tighter or looser as your hands tire
Assembly
- Pin both front legs and both back legs to the bottom of the body first, angling them slightly outward for a natural, sturdy stance
- Sew legs securely once placement looks balanced from every angle, checking the piece stands upright before committing to final stitches
- Attach the snout to the lower-front portion of the head, centering it just below where the eyes will sit
- Sew one grey spot onto the side of the head and the second spot onto the top of the body for that classic dairy cow print
- Position the grey ear and white ear on top of the head, angling both slightly forward for an alert, friendly look
- Add safety eyes or embroider eyes directly onto the head, just above the snout, spacing them evenly for symmetry
- Embroider two small nostril dots onto the snout using dark grey or black thread, keeping them close together
- Attach a small tail to the back of the body, fluffing the end if using scrap yarn for added texture
- Do a final fluff and shape check once everything is sewn, adjusting stuffing through any small gaps before closing completely
Important Remarks
- Always use polyester fiberfill rated safe for children’s toys, especially for anything labeled newborn-friendly or gifted to infants
- If gifting to an infant, avoid small safety eyes or beads entirely; embroider facial features instead to eliminate choking hazards completely
- Weave in all yarn tails securely and trim close to the surface to avoid loose threads near a baby
- Wash hands before handling white yarn sections to keep the finished piece looking fresh and free of smudges
- Store finished amigurumi away from direct sunlight to prevent yarn color fading over time, especially the pink snout
- Check all attachment points periodically if the toy will see regular handling, reinforcing stitches as needed for longevity
- Machine washing is not recommended; spot clean gently with a damp cloth to preserve shape and stuffing distribution
Conclusion
This Crochet Dairy Cow Amigurumi proves that farmhouse charm doesn’t need complicated techniques to shine. No joke, between the spotted patches and that soft pink snout, it’s the kind of project that photographs beautifully and gifts even better. Once the pieces come together, you’ll likely want to make a whole herd for the nursery shelf.