Crochet Hedgehog Amigurumi Pattern with Raspberry and Mushroom
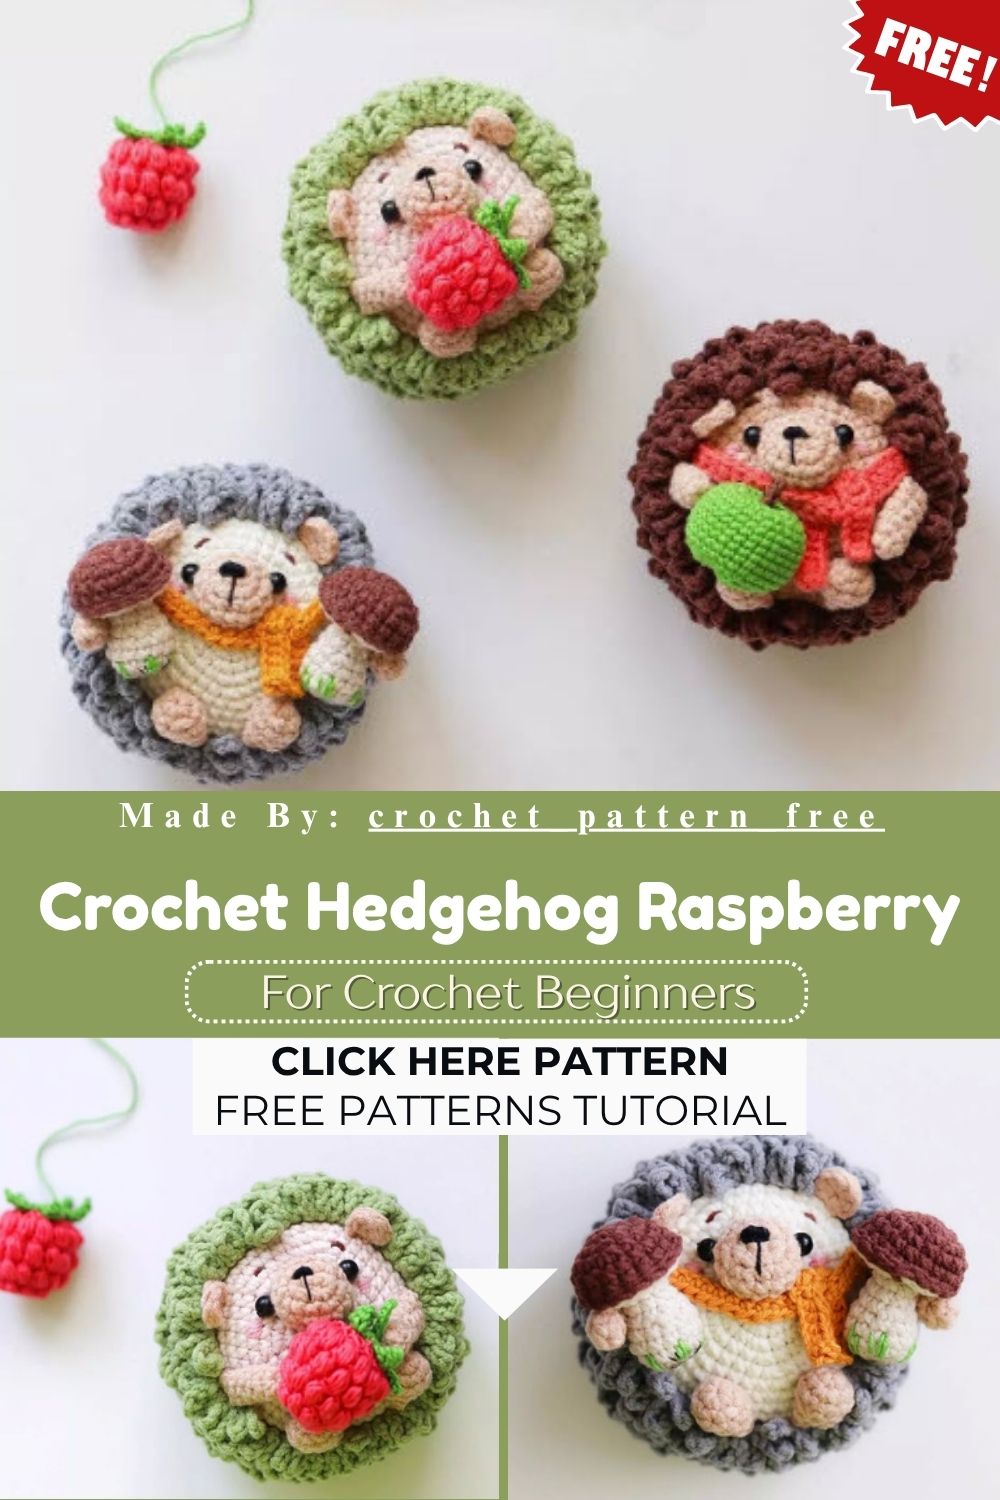
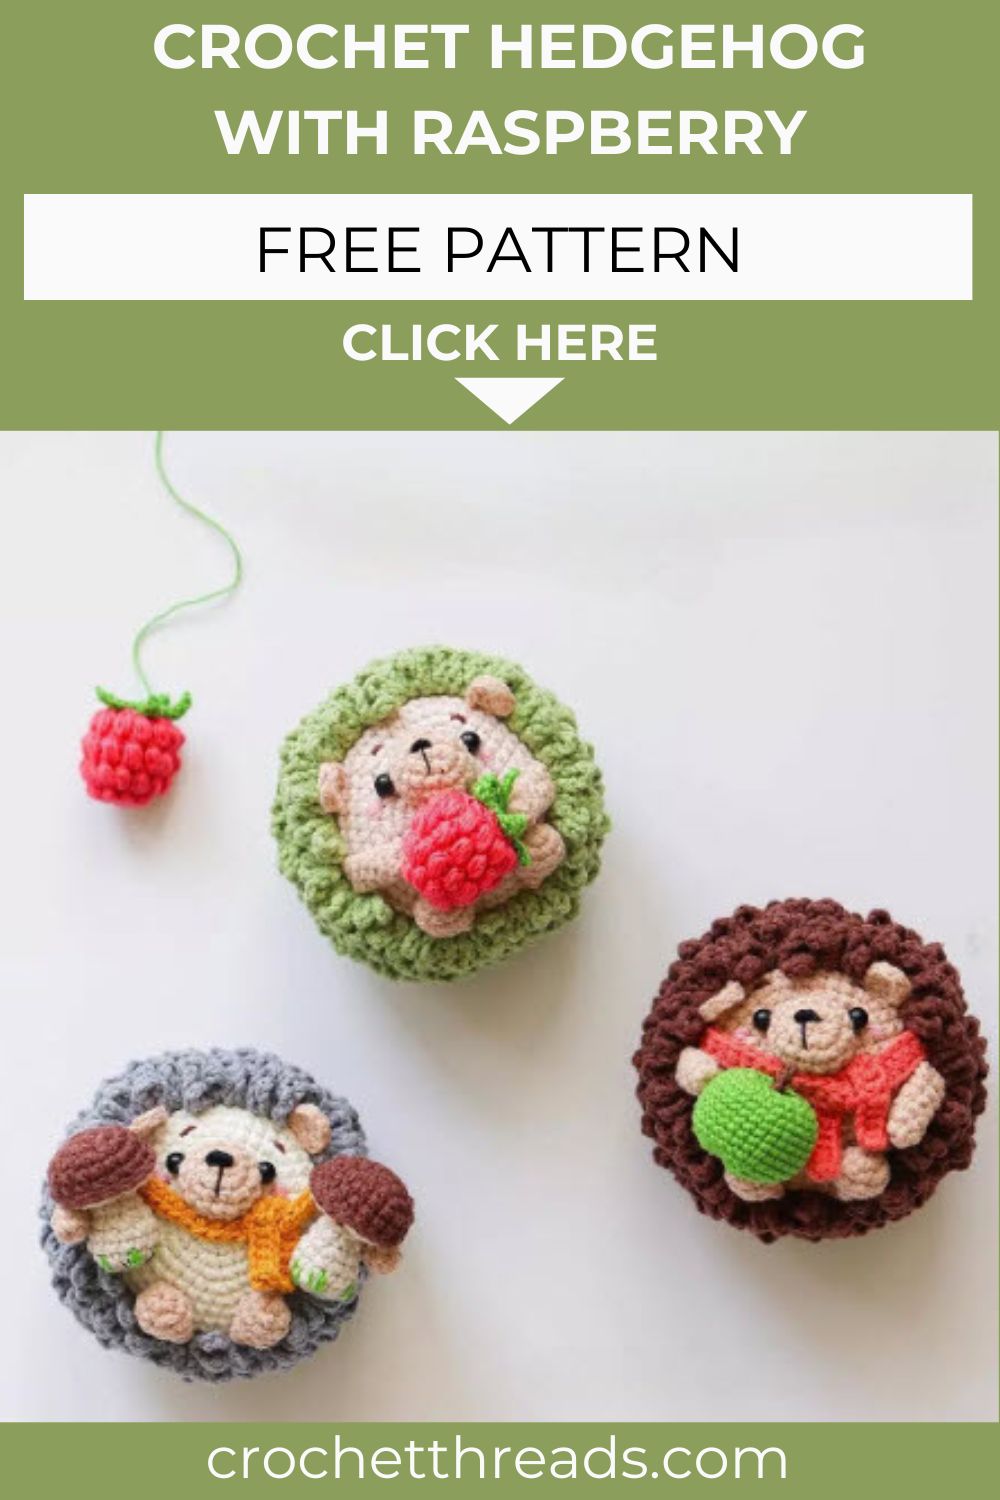
Nature-inspired amigurumi always carry their own charm, and this Crochet Hedgehog Amigurumi Pattern is a lovely example of that beauty. A tiny hedgehog, plump raspberries, and a small mushroom come together to form a delightful set that’s just as fun to make as it is to look at. Low-key, the easy shaping and simple stitches make this pattern suitable for crocheters of every skill level, and once complete, it instantly draws attention in a coffee nook, tiered tray, window ledge, or cottage-style display.
Beginners often assume amigurumi bundles like this one demand advanced skills, yet every piece here relies on basic stitches: single crochet, half-double crochet, and simple increases or decreases. The puff stitch gives the raspberry its bumpy texture, while the mushroom’s contrasting stipe and hat come together with straightforward shaping. Once you’ve finished the hedgehog itself, these two mini accessories feel like a well-earned victory lap rather than extra homework.
Skill Level
Confident beginners will breeze through this Crochet Hedgehog Amigurumi Pattern project since puff stitches, magic rings, and basic increases cover everything here no complex color changes, no tricky shaping required- just steady, satisfying repetition.
Materials
- Crimson yarn (for the raspberry)
- Green yarn (for the sepal and leaves)
- Beige yarn (for the mushroom stipe)
- Brown yarn (for the mushroom hat)
- Vita Coco 3885 u 3861 crochet hook, 1.5 mm
- Fiberfil stuffing
- Yarn needle for sewing and finishing
Abbreviations
sc
single crochet hdc
half-double crochet PS
puff stitch inc
increase dec
decrease ch
chain slst
slip stitch rnd/md
round
Pattern Overview
- Raspberry: worked in crimson yarn using puff stitches for texture, shaped from a magic ring and finished with a cinched opening
- Sepal: five green leaves crocheted from a magic ring, sewn onto the finished raspberry
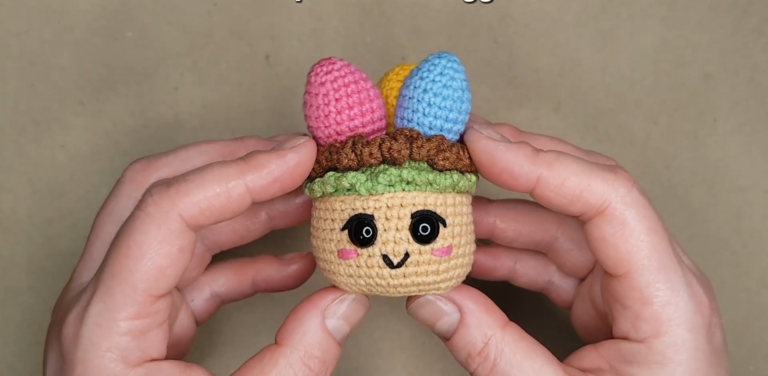
- Mushroom Stipe: a beige stem shaped with rows of increases, straight rounds, and a back-loop-only increase round
- Mushroom Hat: a brown cap joined to the stipe with slip stitches around the edges
Special Techniques
- Puff Stitch (PS): four half-double crochets worked into a single stitch, yarn over and pull through all eight loops, then yarn over once more and pull through the last two loops to close
- Magic Ring Start: every piece in this pattern begins with a magic ring, letting you tighten the center hole completely for a clean, gap-free base
- Back Loop Only: round 9 of the mushroom stipe works only through the back loops, creating a subtle ridge that mimics a real stem’s texture
- Chain Leaves: the sepal leaves use a chain-five base with slip stitches, single crochet, and half-double crochets worked back along the chain
Common Mistakes
- Skipping the tight cinch on the magic ring, which leaves a visible hole at the base of each piece
- Rushing the puff stitch and pulling through only some of the eight loops, leaving the stitch loose and uneven
- Forgetting to stuff firmly before closing the final decrease round on the raspberry
- Joining the mushroom hat and stipe unevenly, causing the cap to sit crooked once assembled
- Losing track of stitch counts between rounds, especially during the increase and decrease rows
- Working the back-loop-only round on the mushroom stipe through both loops by accident, which erases the intended ridge texture
- Overstuffing small pieces like the raspberry, which can distort the rounded shape instead of keeping it smooth
Helpful Beginner Tips
- Count your stitches after every round before moving forward; amigurumi mistakes compound quickly
- Use a stitch marker to track the start of each round, since there’s no natural seam to follow
- Stuff a little at a time rather than all at once, working the fiberfill in with your fingers for even shape
- Keep tension consistent on puff stitches so all eight raspberry bumps look uniform
- Pin pieces together before sewing to check placement before committing with the needle
- Practice the puff stitch on a scrap swatch first if it feels unfamiliar, since it appears across several rounds of the raspberry
- Trim excess yarn tails close to the stitches once weaving them in, so nothing pokes through the finished surface
Assembly
- Stuff the raspberry firmly with fiberfill before closing round 7 through the unused front loops
- Sew the five-leaf sepal onto the top of the raspberry, hiding the tail inside the center
- Crochet a short chain-five loop from the sepal’s center for a decorative stem, then fasten off
- Join the mushroom stipe and hat by working slip stitches around the matching edges
- Weave in every loose tail on the inside of each piece for a clean finish
Why Beginners Will Enjoy This Pattern
Small projects like this Crochet Hedgehog Amigurumi Pattern pair build confidence fast, since each piece finishes in a single sitting without demanding advanced technique. The puff stitch might feel new at first, but repeating it across two full rounds turns it into muscle memory quickly. Pairing these quick makes with a hedgehog also means beginners walk away with three finished amigurumi pieces instead of one, which feels like real progress after just one crochet session. There’s also a nice variety here: shaping a round berry, sewing tiny leaves, and joining two separate mushroom pieces all use slightly different skills, so nothing about the process feels repetitive from start to finish.
Important Remarks
- The hook size listed (1.5 mm) works well for tight, gap-free stitches on small pieces like these
- Fiberfil should be added gradually to avoid stretching the stitches out of shape
- Round counts in parentheses always reflect the total stitch count for that round, not the number of repeats
- Color substitutions work fine here as long as yarn weight stays consistent across all pieces
- Sewing the sepal on before the raspberry fully cools from stuffing can shift its placement, so let the piece settle first
- Keep a spare length of yarn on hand for the small chain-five stem, since it’s easy to underestimate how much you’ll need
Full Pattern Data
Raspberry (Crimson Yarn)
PS – puff stitch (in one stitch of the previous row, make four half-double crochet stitches (hdc); yarn over and pull yarn through eight loops on the hook; yarn over again and pull it through the two remaining stitches on the hook)
1 md: 8 sc in magic ring (8) 2 md: ch 2, 8 PS, slst in the first st (8) 3 md: ch 2, (1 PS, 2 PS in one st) x 4 times, slst in the first st (12) 4-5 md: ch 2, PS each into every stitch, slst (12) 6 md: sc each into every stitch (12)
Stuff the piece with fiberfill.
7 md: 6 dec.
Cinch the remaining opening through the unused front loops. Hide the tail on the inside.
Sepal (Green Yarn)
1 rnd: 10 sc in magic ring (10) 2 rnd: slst in the first loop, ch 5, along the chain: 1 slst, 1 sc, 2 hdc; slst in next 2 sts. Ch 5 again – make the second leaf the same way. Continue working until you get 5 leaves.
Leave the tail for sewing. Tighten the magic ring well. Sew the sepal to the berry. Bring the end of the yarn out from the center of the sepal. With this yarn tail, crochet ch 5, then 4 slst along the chain. Fasten off and hide the tail on the inside.
The raspberry is ready! The hedgehog is looking forward to it.
Mushroom Stipe (Beige Yarn)
1 nd: 6 sc in magic ring (6) 2 md: 6 inc (12) 3-5 rnd: 3 rows – sc each into every stitch (12) 6 rnd: (2 sc, dec) x 3 (9) 7-8 rnd: 2 rows – sc each into every stitch (9) 9 md: back loop only – 9 inc (18) 10 rnd: sc each into every stitch (18)
Cut the yarn and fasten off. Stuff the piece with fiberfill.
Mushroom Hat (Brown Yarn)
1 md: 6 sc in magic ring (6) 2 md: 6 inc (12) 3 md: (1 sc, inc) x 6 (18) 4-5 md: 2 rows – sc each into every stitch (18)
Join two parts together, crochet the two edges with slip stitches.
Conclusion
Finishing this raspberry and mushroom set with your hedgehog gives you three charming amigurumi pieces from one Crochet Hedgehog Amigurumi Pattern. Additionally, each project teaches a slightly different skill. Overall, the pattern never feels overwhelming for beginner crocheters.