Crochet Christmas Penguin Amigurumi Pattern With Candy Cane
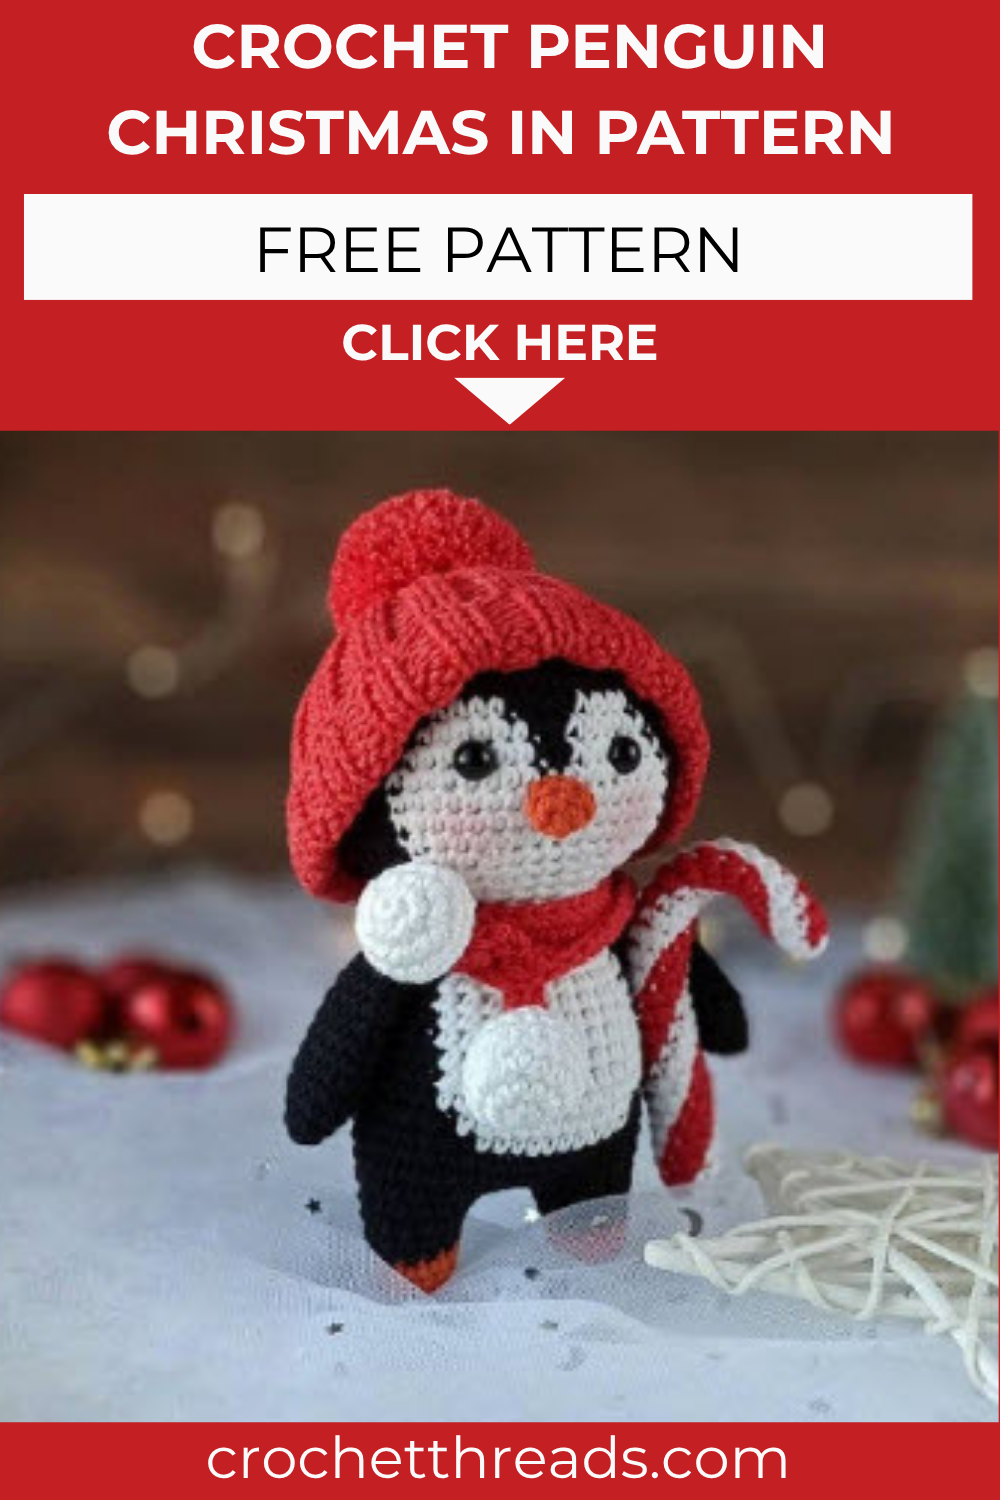
December decor feels incomplete without a few small handmade characters, and this Free Crochet Christmas Penguin Amigurumi Pattern is a perfect example. A tiny Santa hat, candy cane, and soft yarn combine to create a charming Christmas amigurumi. The easy steps make this pattern suitable for crocheters of every skill level, and once finished, it fits beautifully into a Christmas tree, festive centerpiece, winter shelf, or holiday display.
Winter crafting hits different once the holidays roll around. Grab your hook and let’s turn a ball of yarn into a pocket-sized penguin ready to sit under the tree or dangle from a stocking.
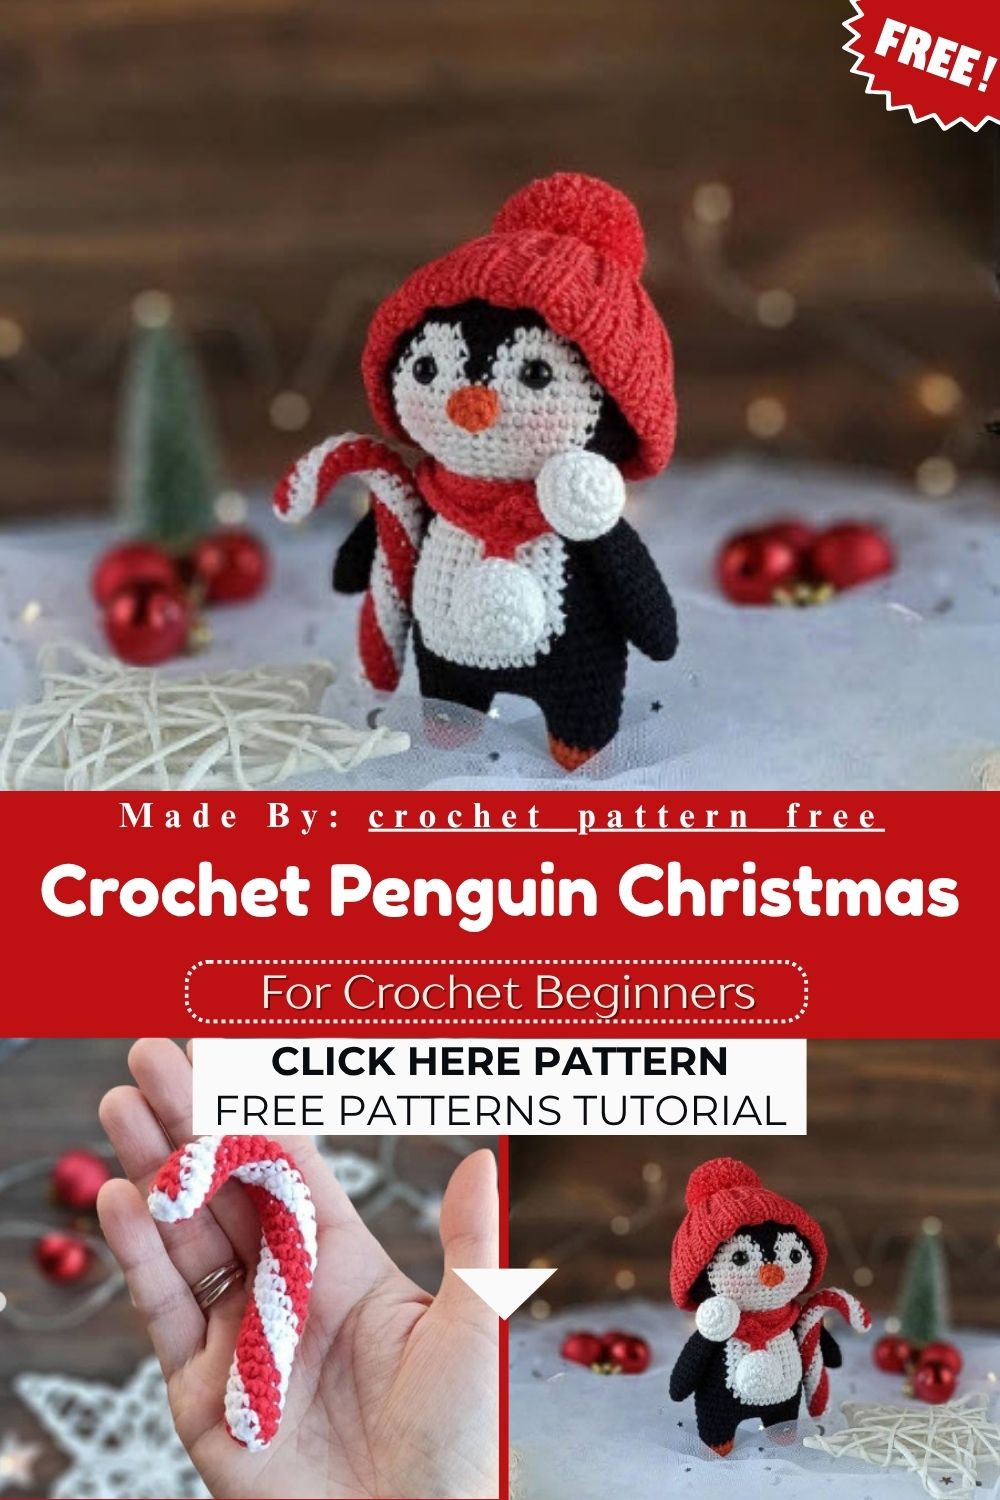
Holding a tiny Santa hat and candy cane, this Crochet Christmas Penguin Amigurumi instantly claims its spot in Christmas decor. This pattern blends crochet with simple knitting techniques, making it extra fun for those who enjoy trying new styles. The body, candy cane, and hat come together separately to form a beautiful amigurumi shape. Once finished, this little penguin looks just as charming under the Christmas tree, on a festive table display, or alongside winter decor as it felt to make.
Overview
This pattern builds a Christmas Penguin Amigurumi in three main pieces: the crocheted penguin body, a candy cane accessory worked in red and white, and a knitted 2×2 rib hat finished with a fluffy pom-pom. Wire is added to the candy cane, so it holds its curved shape, and safety eyes give the penguin its expression. The finished toy works well as a tree ornament, a shelf decoration, or a small handmade gift.
Skill Level
Rated intermediate because of the mix of crochet and knitting. Beginners comfortable with magic circles, increases, and decreases can manage the penguin body, but the knitted hat section calls for basic rib-stitch experience and stitch counting.
Materials You’ll Need
- Yarn: YarnArt Jeans, 50g/160m, in red and white (for the candy cane and hat accents)
- Yarn (body): Black, white, and orange worsted-weight yarn for the penguin’s body, belly, and beak
- Crochet hook, size 3 mm
- Knitting needles, size 3 mm
- Stuffing material (polyester fiberfill works well)
- Wire (for shaping the candy cane)
- Safety eyes, 8-10 mm
- Scissors, yarn needle, and a stitch marker
Abbreviations You Need to Know
mc | magic circle ch | chain sc | single crochet ss | slip stitch inc | 2 sc in the next stitch dec | single crochet 2 stitches together (12) | number of stitches at the end of the round (…)*6 | repeat the bracketed section 6 times 2×2 rib | knitting stitch pattern F.o. | fasten off
Crocheting the Penguin Body
The body is worked as one continuous piece, starting from the top of the head and increasing down toward a wide, stable base so the penguin can stand upright.
Head and Body
Start with a magic circle of 6 sc, then increase evenly over the next several rounds until the head reaches roughly 18-24 stitches around. Switch to black yarn once you clear the face, work several rounds without increasing to build height, then begin decreasing gradually toward the base. Insert the safety eyes before closing up the head, spacing them a few stitches apart for that classic wide-eyed penguin look.
Belly Patch
Instead of crocheting a separate piece, many crocheters simply switch to white yarn for an oval section on the front of the body, then switch back to black. If you’d rather attach it separately, crochet a flat white oval and stitch it onto the front once the body is stuffed.
Wings
Chain a small foundation and build two flat, teardrop-shaped pieces using single crochet, tapering each one to a rounded tip. Attach both along the upper sides of the body so they hang naturally, angled slightly forward as if the penguin is holding something.
Feet and Beak
Small orange pieces worked flat, folded, and stitched to the base and face finish off the look. Keep the beak short and triangular, and make the feet wide enough that the penguin balances without tipping.
Making the Candy Cane Accessory
This little striped candy is what really sells the holiday theme, and it’s worked in the round from the top down.
Begin with 6 sc into a magic circle. On the next round, increase five times, then work single crochet across the remaining stitches while switching colors: three red, three white, three red, two white, bringing the total to 11 stitches.
From there, continue single crochet in a repeating pattern of three red stitches followed by three white stitches. Keep going until the candy measures about 12 cm (4.7 inches) long. Slide a length of wire inside as you go and stuff the tube firmly so it holds its shape.
For the final round, alternate decreases and single crochets by color: dec red, sc red, dec white, sc white, dec red, sc red, dec white, bringing you down to 7 stitches. Pull the remaining loops closed, secure the yarn tail, and tuck it out of sight. Once the wire is in place, gently bend the top into the familiar hook shape.
Knitting the Santa Hat
Switch to your knitting needles for this part. Cast on 60 stitches plus 2 edge stitches, then work in a 2×2 rib pattern.
- Rows 1-10: edge stitch, (K2, P2) repeated 15 times, edge stitch (62 sts)
- Rows 11-24: edge stitch, (P2, K2) repeated 15 times, edge stitch (62 sts)
- Row 25: edge stitch, (P2tog, K2) repeated 15 times, edge stitch (47 sts)
- Row 26: edge stitch, (P2, K1) repeated 15 times, edge stitch (47 sts)
- Row 27: edge stitch, (P1, K2) repeated 15 times, edge stitch (47 sts)
- Row 28: edge stitch, (P2, K1) repeated 15 times, edge stitch (47 sts)
- Row 29: edge stitch, (P1, K2) repeated 15 times, edge stitch (47 sts)
- Row 30: edge stitch, (P2, K1) repeated 15 times, edge stitch (47 sts)
- Row 31: edge stitch, (P1, K2tog) repeated 15 times, edge stitch (32 sts)
- Rows 32-34: edge stitch, (P1, K1) repeated 15 times, edge stitch (32 sts)
Once row 34 is complete, tighten the remaining 32 loops and sew the hat closed along the seam. Fasten off and weave in the tail.
Adding the Pom-Pom
A small pom-pom finishes the tip of the hat perfectly. For a softer, fluffier texture, hold the finished pom-pom briefly over steam before attaching it; this relaxes the fibers and gives it a cuter, rounder look.
Assembly Tips
Attach the hat so it sits slightly tilted to one side for a playful look rather than perfectly straight. Position the candy cane between the wings and stitch it in place at two points so it doesn’t swing loose. Weigh the base with a bit of extra stuffing if the penguin feels front-heavy from the hat and candy combined.
Helpful Tips
- Stuff firmly but evenly to avoid lumps showing through the black yarn.
- Steam the pom-pom before final attachment, not after, so it’s easier to trim into shape.
- Use stitch markers on every increase/decrease round for the body; miscounts are easy to make on solid black yarn.
Customization & Variations
Swap the red and white candy cane for green and white for a different holiday palette. A scarf in place of the hat also works nicely, or add tiny mittens instead of plain wing tips. Some crocheters skip the wire in the candy cane and simply let it curve naturally once stuffed lightly.
Common Mistakes to Avoid
Skipping the wire insert is the most common issue; without it, the candy cane droops and loses its hooked shape. Overstuffing the head before inserting the safety eyes can also make positioning tricky, so place the eyes early. Finally, rushing the rib-stitch rows on the hat often leads to uneven tension; keep your needle gauge consistent throughout.
Finishing Tips
Steam-block the finished hat gently to even out the stitches before attaching it to the head. Trim any stray fibers around the pom-pom and beak so the details stay crisp. A light spritz of fabric stiffener on the candy cane’s hook can help it keep its curve over time.
Gifting Ideas
This penguin makes a sweet stocking stuffer, a handmade ornament tag, or a small “welcome to the team” gift during the holiday season at work. Pair it with a mug or a bag of real candy canes for a simple, thoughtful bundle.
Frequently Asked Questions
Can I make this without knitting needles?
Yes a crocheted ribbed hat using front and back post stitches gives a similar textured look if you’d rather stay in crochet the whole way through.
What size yarn works best?
YarnArt Jeans or any comparable sport-weight cotton-acrylic blend pairs well with a 3 mm hook for tight, even stitches that hide stuffing.
Does the candy cane need wire?
It’s strongly recommended. Without it, the curved top won’t hold its shape and may sag over time.
How long does this Crochet Christmas Penguin Amigurumi project take?
Most crocheters finish the body, candy cane, and hat combined in a weekend, spread across a few relaxed sessions.
Conclusion
Building this Crochet Christmas Penguin Amigurumi is a satisfying weekend project that blends crochet and knitting into one festive character. From the wire-shaped candy cane to the ribbed Santa hat and steamed pom-pom, every detail adds personality to the finished piece. Whether it ends up on a tree, a shelf, or wrapped up as a gift, this little penguin brings a cozy, handmade touch to the season. Once you’ve made one, don’t be surprised if you’re already planning the next batch in different colors for friends and family