Crochet Axolotl Keychain Amigurumi Pattern for Perfect Gifts
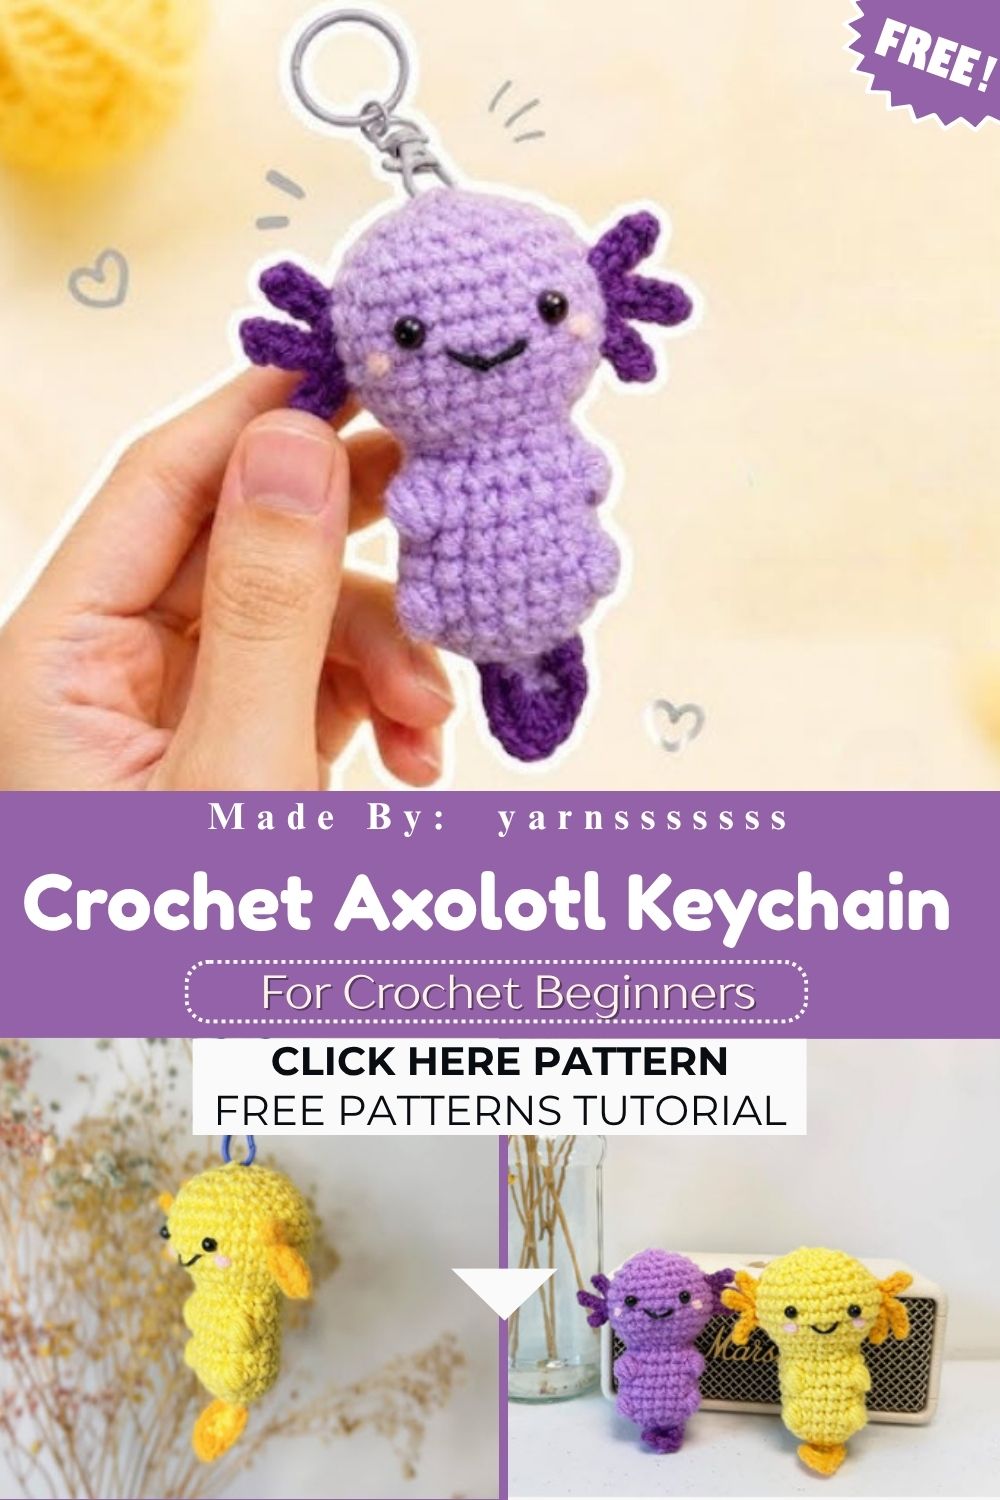
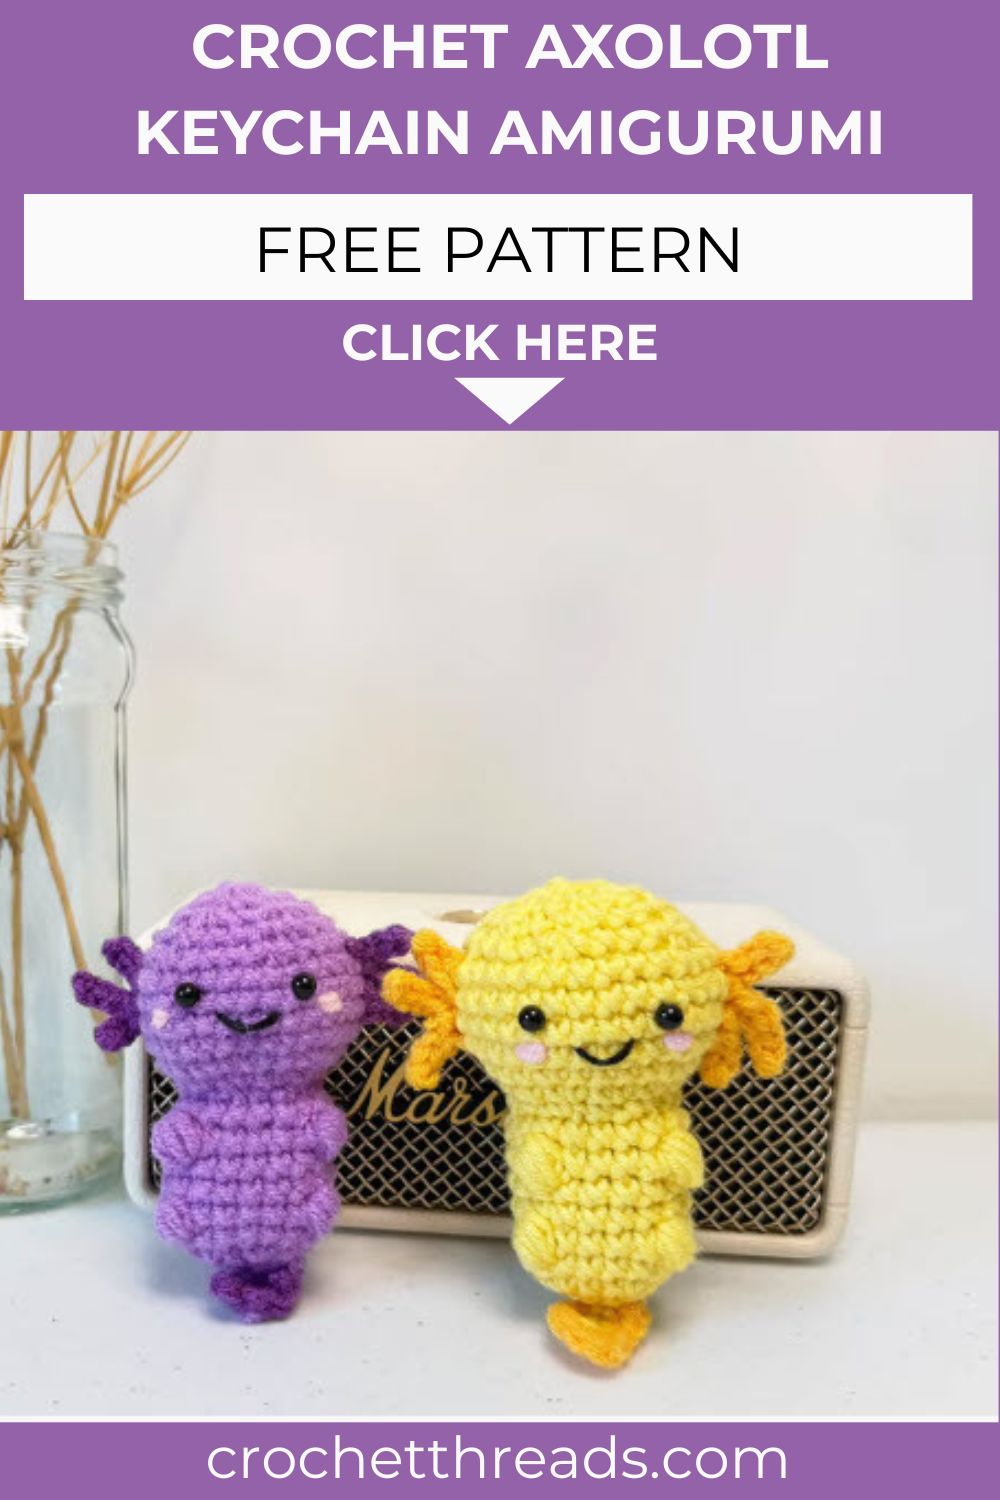
Some crochet creations are simply hard to beat, and the Crochet Axolotl Keychain Amigurumi is one of them. With its playful design and charming look, this little amigurumi adds a handmade touch of beauty to everyday items. It fits right in as a unique charm on a purse, pencil pouch, travel bag, or zipper pull.
Quick and beginner-friendly, the Crochet Axolotl Keychain is a delightful project that can be completed in just a short time. Grab a hook and a small stash of pastel yarn, because this adorable keychain comes together quickly without taking up your entire weekend. Worked in continuous rounds, it develops a smooth, seamless shape, while its lightweight design makes it perfect for clipping onto keys, backpacks, purses, or zipper pulls without adding extra bulk.
Every stitch stays visible thanks to the compact size, making mistakes easy to catch early. Beginners will find this pattern forgiving and genuinely fun to finish.
Skill Level
This pattern sits comfortably in beginner-friendly territory, though a touch of prior amigurumi experience helps things move quicker. Basic single crochet, simple increases, and decreases are the only stitches required throughout. Anyone who has finished one small amigurumi project before will breeze through this axolotl without much trouble at all.
Materials and Supplies
Gathering everything before you start saves time and keeps the process relaxed.
Yarn colors:
- Light pink or lavender (main body color)
- Deeper pink or rose (gills and cheek accents)
- White (belly and eye highlights)
- Black (small eye details, optional)
Tools and extras:
- 2.5mm or 3.0mm crochet hook (matched to your yarn weight)
- 6mm safety eyes, one pair
- Polyester fiberfill stuffing
- Yarn needle for sewing and weaving ends
- Sharp scissors
- Stitch markers (removable ones work great)
- Keychain ring or lobster clasp hardware
- Small amount of pipe cleaner or wire (optional, for bendable gills)
Crochet Techniques Used
A handful of core techniques carry this whole project from start to finish:
- Magic ring – forms a tight, gap-free starting circle for the head and body
- Single crochet (sc) – the main stitch used throughout every piece
- Increase (inc) – two single crochets worked into one stitch to widen a round
- Decrease (dec) – invisible decrease method to shrink rounds smoothly
- Sewing parts together – whip stitch or mattress stitch to join limbs, gills, and tail neatly
Step-by-Step Pattern Instructions
Head Creation
Start the head with a magic ring of 6 single crochets, then increase evenly across the next two rounds until you reach 18 stitches total. Work several rounds even (no increases) to build out the rounded shape. Once the head reaches your desired size, begin gradual decreases over three to four rounds, stuffing firmly as the opening narrows. Insert the safety eyes a few rounds before closing, spacing them wide for that classic axolotl expression.
Body Making
Begin the body the same way, with a magic ring increased out to a slightly wider base than the head. Crochet even rounds to form a short, plump torso, since axolotls have stubby, rounded bodies rather than long ones. Stuff as you go, keeping the fill firm but not overly tight, then decrease and close the bottom with a few stitches pulled snug.
Ears, Gills, and Tail
Axolotls don’t have ears, but their feathery external gills give the same playful effect. Crochet three small gill pieces on each side using tiny magic rings, leaving long tails for sewing. For a fuller look, fray the yarn ends slightly or thread a thin pipe cleaner through the center for a bendable, feathery finish. The tail forms from a short tapered tube, worked in rounds that decrease gradually toward the tip, then stuffed lightly and flattened before sewing on.
Facial Details
Embroider a small smile using a single strand of contrasting yarn or embroidery floss, keeping the line gently curved for that signature axolotl grin. Add tiny pink cheek dots using a few loose satin stitches on either side of the mouth. If you skipped safety eyes, small black French knots work just as well for a softer, handmade look.
Assembly Process
Pin the gills into place along both sides of the head before sewing, checking that they sit evenly. Attach the head to the body using a whip stitch, tucking in any loose stuffing as you close the gap. Sew the tail to the back of the body, angling it slightly upward for a cute, lively pose. Finally, attach the keychain ring to the top of the head or back of the body using a secure loop of yarn or a small metal jump ring.
Finishing Touches
Weave in every loose end carefully so nothing unravels with regular use. Trim the gill fringe evenly if you frayed them earlier, giving them a neat, feathery shape. Give the whole piece a gentle steam or light misting to help the stitches relax and sit flat.
Helpful Beginner Tips
A few small habits make a huge difference in how professional the finished keychain looks.
- Keep stitches tight. Amigurumi needs dense fabric so stuffing never peeks through. Try a hook size smaller than the yarn label suggests.
- Use stitch markers religiously. Working in continuous spiral rounds gets confusing fast without a marker showing where each round begins.
- Stuff a little at a time. Adding small pinches of fiberfill throughout, rather than stuffing everything at the end, keeps the shape smooth and avoids lumps.
- Check eye placement before sealing anything. Safety eyes are permanent once snapped in, so hold them against the head and step back before committing.
Design Customization Ideas
This pattern is a wonderful base for making something completely your own.
- Play with color. Try mint green, lilac, or classic pink-and-white for different axolotl morphs.
- Add tiny accessories. A crocheted bow, a miniature flower, or a tiny hat gives the keychain extra personality.
- Go mini. Drop down to a lighter-weight yarn and a smaller hook for an even tinier version that fits on a phone charm or bracelet.
- Mix textures. A fuzzy or chenille-style yarn for the gills adds a soft, tactile contrast against a smooth body.
Frequently Asked Questions
What is the best yarn for amigurumi?
Cotton or cotton-blend yarn in a worsted or DK weight works best for amigurumi projects like this one. It holds its shape well, resists stretching, and gives stitches enough structure to stay tight around stuffing.
How do I make my Crochet Axolotl Keychain Amigurumi plush firm?
Firmness comes down to two things: tight stitches and generous stuffing. Use a hook a size smaller than usual, and add stuffing gradually in small pinches rather than cramming it in all at once at the end.
How long does this project take?
Most crocheters finish this axolotl keychain in two to four hours, depending on experience level. Splitting the work across a couple of short sessions makes it even more manageable for beginners.
Conclusion
This little Crochet Axolotl Keychain Amigurumi proves that big charm can come from small projects. Whether it’s a gift for a friend or a treat for your own bag, this pattern delivers a handmade piece that’s both quick to finish and full of personality. Grab your hook, pick your favorite pastel yarn, and give this adorable design a try today.