Crochet Octopus Keychain Amigurumi Pattern for Handmade Gifts
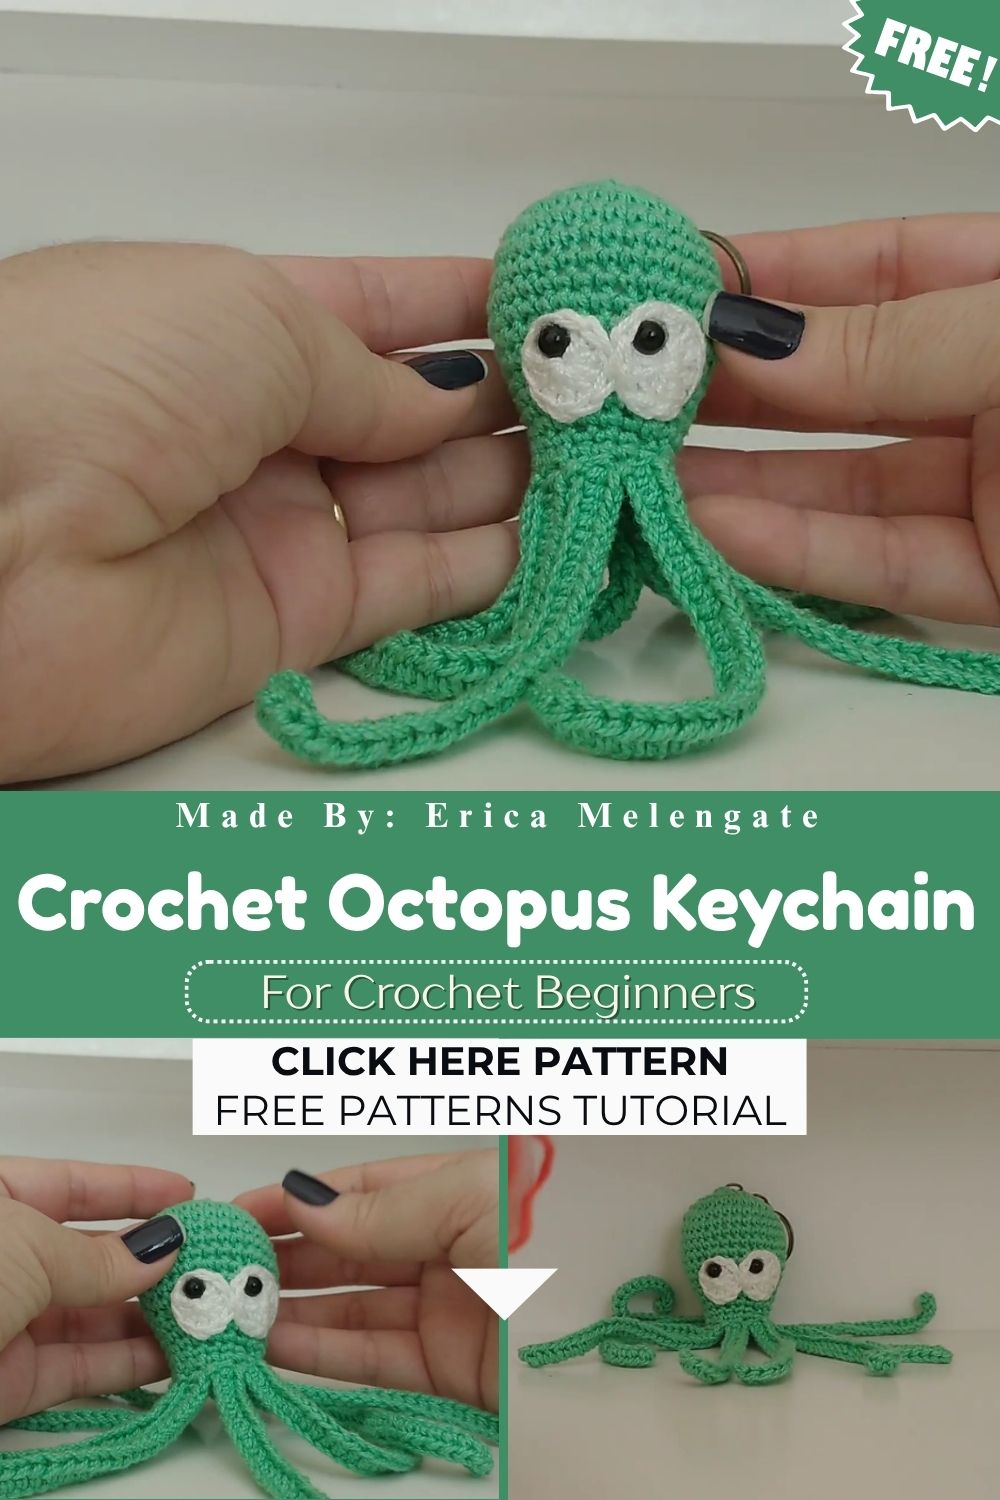
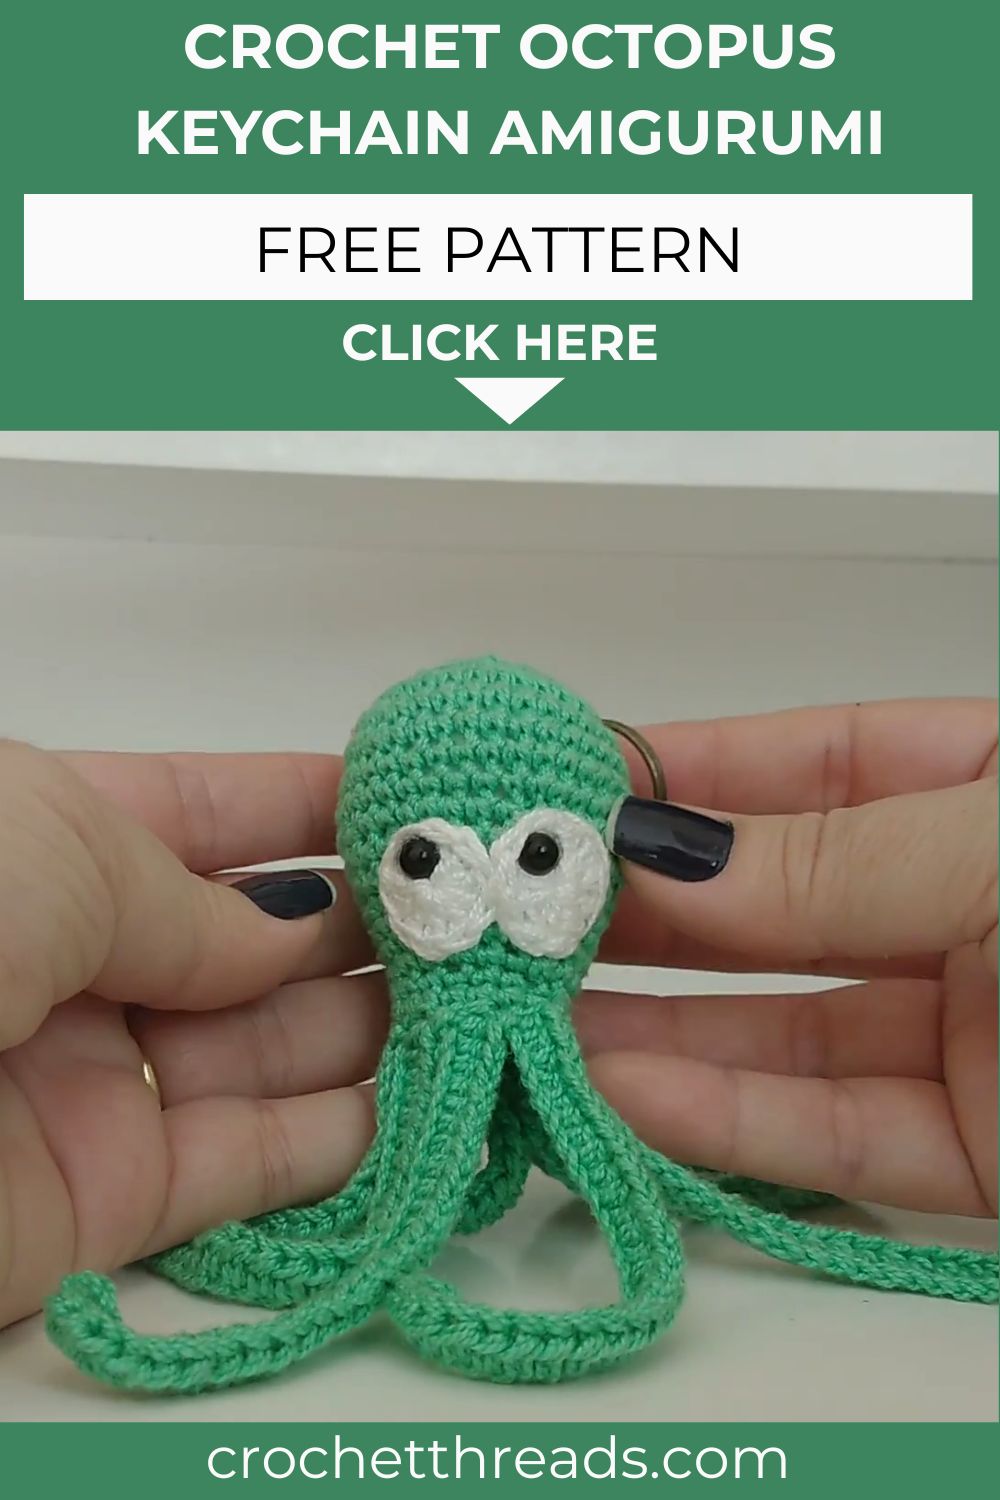
A quick, beginner-friendly project, the Crochet Octopus Keychain Amigurumi comes together easily with just a few simple stitches. A round head, curling tentacles, and sparkling safety eyes give it a playful look, while the sturdy keychain ring turns it into a charming handmade charm for a pencil case, tote bag, travel bag, or zipper pull.
Soft rounds build the head, short crochet legs curl with charm, and safety eyes bring instant expression to the finished piece. Beginners often pick this Crochet Octopus Keychain Amigurumi first because the shaping stays simple while the result still looks polished. Bag charms, backpack clips, and last-minute handmade gifts all work well once the keychain ring gets attached. Yarn scraps turn into something huggable, memorable, and genuinely fun to hand someone as a surprise, making this octopus keychain amigurumi pattern a favorite among beginner crocheters searching for a quick, rewarding project.
Materials Needed (Exact Measurements)
Gathering the right supplies first makes the whole project move faster and keeps tension consistent from start to finish.
- Yarn: 20g DK weight (light worsted, #3) acrylic or cotton-blend yarn in main body color, plus small amounts of white and black for face details
- Hook Size: 2.5mm crochet hook (adjust slightly for tighter or looser gauge)
- Safety Eyes: 6mm black safety eyes (or embroidered eyes for a child-safe version)
- Stuffing: Polyester fiberfill, approximately 10–15g
- Stitch Markers: 1–2 locking stitch markers to track round starts
- Needle: Yarn/tapestry needle for sewing pieces and weaving ends
- Keychain Hardware: 1 metal keychain ring with lobster clasp, or a lanyard-style clip
Skill Level
Rated Beginner to Easy. Basic single crochet, increasing, and decreasing cover almost the entire pattern, making it a comfortable first Crochet Octopus Keychain Amigurumi project for anyone who already knows the foundation stitches.
Making Time (Overview)
Roughly 2 to 3 hours total, including stuffing, assembly, and finishing touches. Splitting the work across two short sessions keeps hands from tiring and often produces neater stitches.
Step-by-Step Instructions
Head and Body (Combined Round Shape)
Working the head and body as one continuous round piece avoids extra seams and keeps the octopus looking smooth.
- Start with a magic ring, 6 single crochet (sc) into the ring – 6 stitches
- Round 2: Increase in every stitch – 12 stitches
- Round 3: Sc 1, increase repeat around – 18 stitches
- Round 4: Sc 2, increase repeat around – 24 stitches
- Round 5: Sc 3, increase repeat around – 30 stitches
- Rounds 6–10: Sc evenly around with no increases – 30 stitches (this builds the rounded body height)
- Attach safety eyes between rounds 6 and 7, spacing them about 8–10 stitches apart
- Round 11: Sc 3, decrease repeat around – 24 stitches
- Round 12: Sc 2, decrease repeat around – 18 stitches
- Begin stuffing firmly at this stage, adding more as the opening narrows
- Round 13: Sc 1, decrease repeat around – 12 stitches
- Round 14: Decrease around – 6 stitches, fasten off leaving a tail for closing
Making time for this part: approximately 45–55 minutes.
Tentacles (Make 8)
Eight matching legs give the octopus its signature silhouette, and working them in a set keeps tension even across all of them.
- Magic ring, 6 sc into ring – 6 stitches
- Rounds 2–6: Sc evenly with no increases – 6 stitches per round
- Round 7 (curl detail): Sc into back loops only for one round to create a natural curved bend
- Fasten off, leaving a long tail for sewing onto the body
Repeat this sequence eight times so all tentacles match in length and shape.
Making time for this part: approximately 35–45 minutes for all eight legs.
Heart Accessory (Optional Detail)
A tiny heart tucked between two tentacles adds a gift-ready touch, especially for Valentine’s or friendship-themed versions.
- Magic ring, 6 sc — 6 stitches
- Round 2: Increase in every stitch 12 stitches
- Fold the circle in half to form a heart shape, then whipstitch closed along the top edge
- Sew lightly stuffed heart to the front of the head, just above the tentacle line
Making time for this part: approximately 10–15 minutes.
Face & Assembly
Assembly is where the octopus really comes to life, so working slowly here pays off.
Position the eight tentacles evenly around the body’s bottom edge, spacing them like the numbers on a clock face. Pin or hold each one before sewing to check spacing looks balanced. Sew each tentacle securely using a whipstitch, tucking yarn tails inside the body for a clean finish. Embroider a small curved mouth beneath the eyes using black yarn and a simple backstitch. Attach the keychain ring to the top center of the head using a short length of yarn, reinforcing the stitch a few extra times since this point carries the most weight and stress.
Beginner tip: Sewing tentacles slightly upward instead of straight down gives the octopus a more playful, animated pose.
Special Features
The combination of a rounded body, curled tentacles, and rosy cheek details (optional pink blush added with a bit of felt or light stitching) gives this design a soft, expressive character that photographs well and holds its shape after repeated handling.
Sizing Tips
- A 3mm hook with the same yarn produces a slightly looser, larger finished piece
- A 2mm hook tightens stitches and shrinks the overall size, ideal for a true miniature charm
- Thicker yarn increases size naturally without changing the stitch count
- Gauge swatching first helps predict the final measurements before committing to a hook size
- Cotton yarn holds shape more firmly than acrylic, giving crisper, more defined tentacles
Finishing Tips
Weaving in ends securely prevents unraveling after repeated use on a keychain, since this piece gets handled far more than a shelf display item. Stuffing evenly, in small pinches rather than large clumps, avoids lumpy sections and keeps the round shape consistent. A quick steam (holding a steamer a few inches away, never direct contact) can relax stubborn curling edges on the tentacles for a neater final look.
Common Mistakes to Avoid
New crocheters often run into a few predictable snags with this pattern, and knowing them ahead of time saves frustration.
- Skipping stitch markers, which makes it easy to lose track of round starts and throw off the shaping
- Understuffing the head, leading to a soft, collapsed look once the keychain gets clipped to a bag.
- Sewing tentacles unevenly spaced, which throws off the octopus’s balance and makes it lean to one side
- Using yarn that’s too thin for a 2.5mm hook, which creates visible gaps between stitches
- Attaching the keychain ring with only one or two stitches, risking it tearing loose under daily wear
Variations & Customization Ideas
- Pastel pink or lavender for a softer, whimsical version
- Deep purple or teal for a classic sea-creature look
- Tiny felt freckles or a small bow between two tentacles for extra personality
- Bulky yarn with a 4mm hook to turn the keychain into a small plush toy
- Two alternating colors across the tentacles for added visual interest
- Seasonal themes, like red and white for Christmas or pastel shades for Easter gifting
Tutor Suggestions
Counting stitches out loud during the increase and decrease rounds catches mistakes early, long before they become visible in the finished shape. Keeping tension relaxed rather than tight helps prevent sore hands during longer sessions, especially when working across eight repeated tentacles. Trusting the process matters here; early amigurumi projects rarely look perfect on the first attempt, and that unevenness usually smooths out with the very next piece made. Confidence builds fast with amigurumi, and this Crochet Octopus Keychain Amigurumi is a forgiving, satisfying place to start.