Free Crochet Tom and Jerry Keychain Amigurumi Pattern for Bag Charms
Small crochet projects hold a special kind of magic. This classic cat-and-mouse duo keychain pattern brings back sweet childhood memories and appeals to cartoon-loving kids and adults alike. Quick to complete, this project also adds a cheerful handmade touch to a purse, pencil pouch, or school bag.
Grab your hook, pick a couple of cute colors, and get ready to make two tiny best friends. These little Crochet Tom and Jerry amigurumi charms are perfect for bags, backpacks, keys, or even as a gift tag for someone special. Once you try one, you’ll probably want a whole set.
What Is This Crochet Project All About?
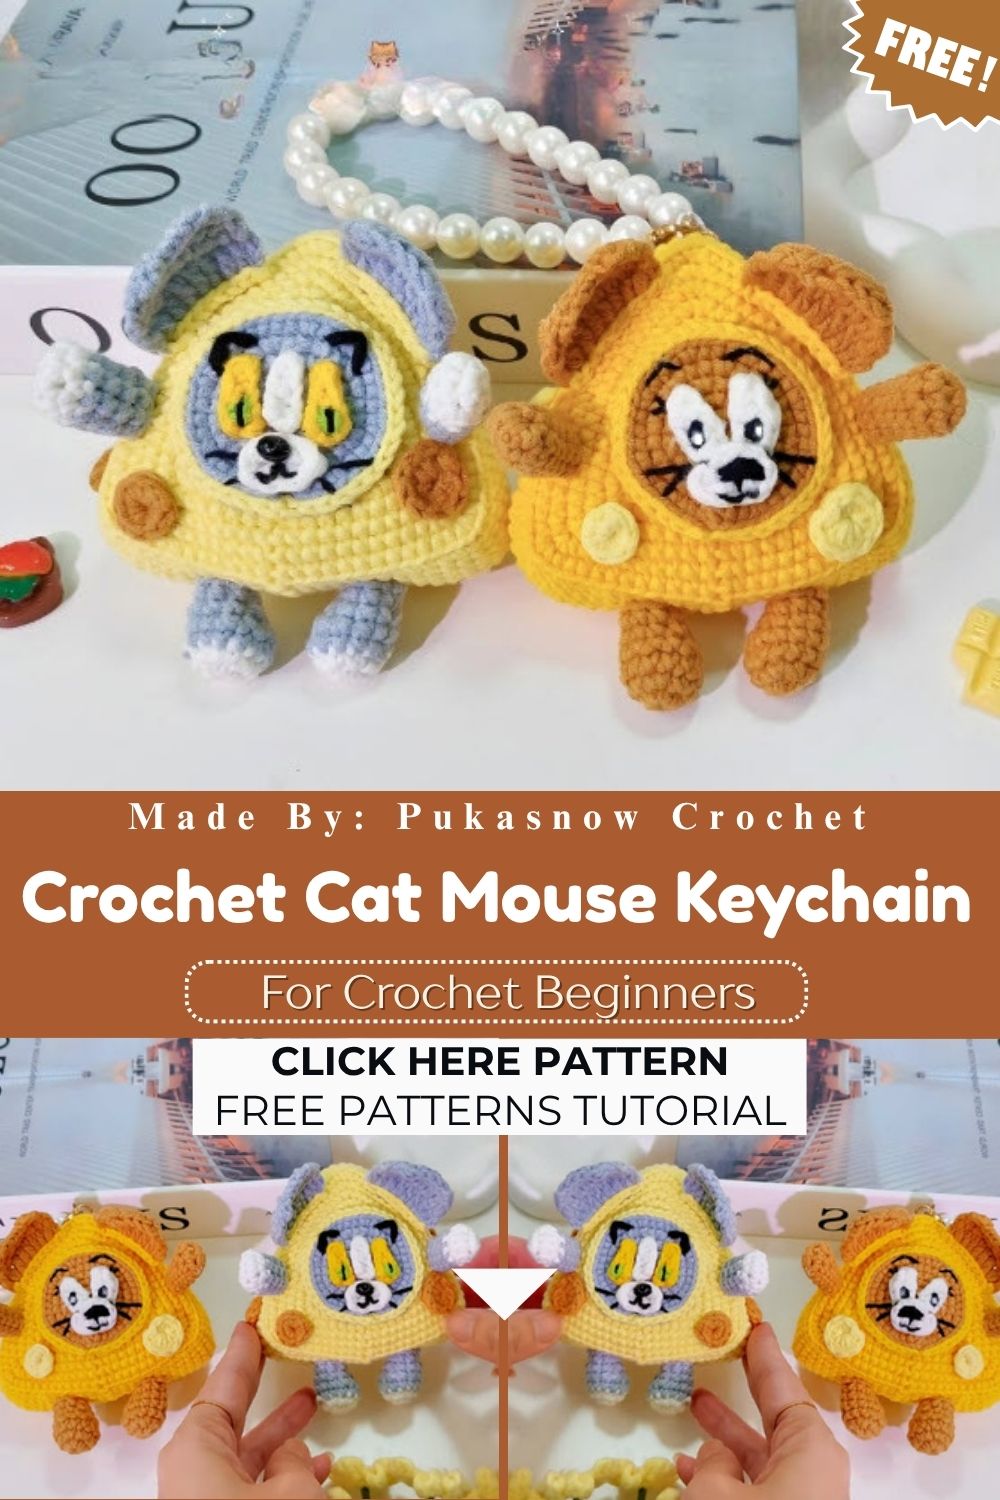
This Crochet Tom and Jerry amigurumi pattern walks you through making two miniature amigurumi figures: a round-faced cat and a sweet little mouse, both designed as keychain charms. Each one is worked in the round using basic single crochet, then stuffed lightly and finished with safety eyes and hand-sewn details.
Because the pieces are so small, you won’t need much yarn or time. Most crafters finish one charm in under two hours, which makes this a fantastic beginner crochet project or a fast gift idea for birthdays, holidays, or craft fairs.
The cat and mouse theme also adds a playful storytelling touch. Clip them onto matching bags, hand them out as a set, or make dozens for a market stall. However you use them, this handmade crochet idea never goes out of style.
Why You’ll Love Making This Pattern
- Uses small amounts of scrap yarn
- Works up in one to two hours per charm
- Great practice for amigurumi shaping and safety eyes
- Fully customizable in color and size
- Makes an adorable, low-cost handmade gift
Skill Level: Beginner Friendly
This crochet tutorial is rated beginner to easy-intermediate. If you already know how to single crochet, increase, decrease, and work in a continuous spiral, you’re ready to start. New crocheters who have completed at least one round of an amigurumi shape, like a simple ball or sphere, will also feel right at home here.
The only slightly trickier part is attaching the small pieces neatly, such as ears and tails. Take your time with this step, and it will look polished in no time.
Materials and Supplies You’ll Need
Gathering your supplies ahead of time makes the whole process smoother. Here’s what to have on hand before you begin this easy crochet project.
Yarn Type
- DK weight (light worsted) cotton or cotton-blend yarn works best for structure and stitch definition
- Small amount of gray or white yarn for the mouse
- Small amount of orange, gray, black, or cream yarn for the cat
- A touch of pink yarn for the ears and nose details
Hook Size
- 2.5mm to 3mm crochet hook, depending on your yarn weight and desired tension
- Using a hook one size smaller than the yarn label suggests keeps stitches tight, which matters for amigurumi since it prevents stuffing from peeking through
Extra Tools
- Pair of 3mm to 4mm safety eyes for each charm
- Toy stuffing (polyester fiberfill)
- Tapestry needle for sewing pieces together
- Stitch marker to track the start of each round
- Small pair of scissors
- Keyring or lobster clip attachment
- Optional: a pipe cleaner for the mouse tail, or a length of yarn twisted into a cord
Crochet Stitches and Abbreviations Used
This pattern relies on core amigurumi stitches, so it’s approachable even for newer crocheters.
- MR – Magic ring
- Ch – Chain
- Sc – Single crochet
- Inc – Increase (two single crochet in the same stitch)
- Dec – Invisible decrease
- St(s) – Stitch(es)
- Sl st – Slip stitch
- BLO – Back loop only
- FO – Fasten off
Step-by-Step Crochet Instructions
Below is a simple round-by-round layout you can follow to build both charms. Feel free to adjust stitch counts slightly depending on your yarn thickness, as long as the shaping logic stays the same.
Making the Cat Head and Body
- Start with a magic ring and work 6 sc into it. (6 sts)
- Inc in every stitch around. (12 sts)
- Sc, inc repeat around. (18 sts)
- Sc 2, inc repeat around. (24 sts)
- Work sc in every stitch for 3 rounds without shaping. (24 sts)
- Add the safety eyes between rounds 4 and 5, spacing them evenly apart.
- Sc 2, dec repeat around. (18 sts)
- Stuff the head firmly at this stage.
- Sc, dec repeat around. (12 sts)
- Dec around until the opening closes. FO and weave in the tail.
Cat Ears (Make 2)
- MR, work 3 sc into it. (3 sts)
- Inc around. (6 sts)
- Sc around. (6 sts)
- FO, leaving a long tail for sewing.
- Fold each ear slightly and stitch onto the head, angled outward for a playful look.
Making the Mouse Head and Body
- MR, 6 sc into the ring. (6 sts)
- Inc around. (12 sts)
- Sc, inc repeat around. (18 sts)
- Work sc in every stitch for 3 rounds. (18 sts)
- Insert safety eyes between rounds 3 and 4, about 5 stitches apart.
- Sc, dec repeat around. (12 sts)
- Stuff lightly.
- Dec around until closed. FO and tuck in the tail.
Mouse Ears and Tail
- For each ear, chain 2, then work 5 sc into the second chain from the hook. FO and sew on above the eye line.
- For the tail, cut a length of matching yarn or use a pipe cleaner wrapped in yarn, then secure it firmly to the back of the body.
Finishing Both Charms
- Weave in all loose ends neatly with your tapestry needle.
- Use a scrap of contrasting yarn to embroider a small nose and mouth for extra character.
- Attach the keyring by threading a folded loop of yarn through a top stitch, then knot it securely before adding the metal clip.
- Give both charms a final trim of any stray fuzz for a clean, finished look.
Helpful Beginner Tips
- Always crochet tighter than usual for amigurumi, since loose stitches let stuffing show through
- Use a stitch marker on round one and move it up as you go, so you never lose your place
- Insert safety eyes before you finish stuffing, since it’s much harder to fix their placement afterward
- Stuff a little at a time rather than all at once, so the shape stays even and round
- Keep a small notepad nearby to jot down your stitch counts if you’re adjusting the size
Common Mistakes and How to Fix Them
Mistake: The head looks lumpy or uneven.
This usually means the stuffing was added unevenly. Fix it by removing a bit and redistributing it gently with your fingers before closing the last round.
Mistake: Eyes look crooked once stuffed.
Always place safety eyes before adding stuffing, and check both sides against each other using your stitch count as a guide. Count stitches from the center to place them symmetrically.
Mistake: Stitches gap open and stuffing pokes through.
Switch to a slightly smaller hook, or crochet a touch tighter through your increase and decrease rounds.
Mistake: Ears or tails fall off after use.
A few loose sewing stitches won’t hold up to daily bag use. Go around the attachment point two or three times and knot securely on the inside.
Pattern Customization Ideas
One of the best parts of this crochet tutorial is how easy it is to make it your own.
- Swap the cat’s coloring for calico, tabby stripes, or all black for a spooky seasonal version
- Add a tiny bow, bowtie, or bandana around the neck
- Make a matching pair in wedding colors as favors
- Turn the mouse into a tiny bear or bunny by adjusting the ear shape
- Add glitter or metallic thread for a festive holiday charm
- Crochet a mini yarn ball accessory for the cat to “hold”
Size and Color Suggestions
These charms typically finish between 1.5 and 2.5 inches tall, depending on your yarn weight and hook size. For a slightly bigger charm, move up to a worsted weight yarn with a 4mm hook. For a truly tiny version, try lace weight yarn with a 2mm hook, though this requires more patience.
Popular color combinations include:
- Classic gray mouse with a soft pink cat
- Orange tabby cat with a white mouse
- Black cat with a cream mouse for a Halloween set
- Pastel palette for baby shower favors
Frequently Asked Questions
How much yarn do I need for one charm?
You’ll only need a small amount, roughly 10 to 15 grams per charm, which makes this a perfect scrap-yarn project.
Can I use acrylic yarn instead of cotton?
Yes, acrylic works fine, though cotton tends to give crisper stitch definition for tiny amigurumi pieces like this one.
Are safety eyes actually safe for bag charms?
Safety eyes are designed to lock in place and resist pulling, making them a secure choice for accessories that see daily handling.
Can beginners really finish this in one sitting?
Most beginners can complete one charm in around 90 minutes to two hours once they’re comfortable with the basic increase and decrease pattern.
What if I don’t have a keyring on hand?
You can substitute a lanyard clip, a bag charm hook, or even braided embroidery floss as a temporary attachment.
Wrapping Up This Adorable Keychain Project
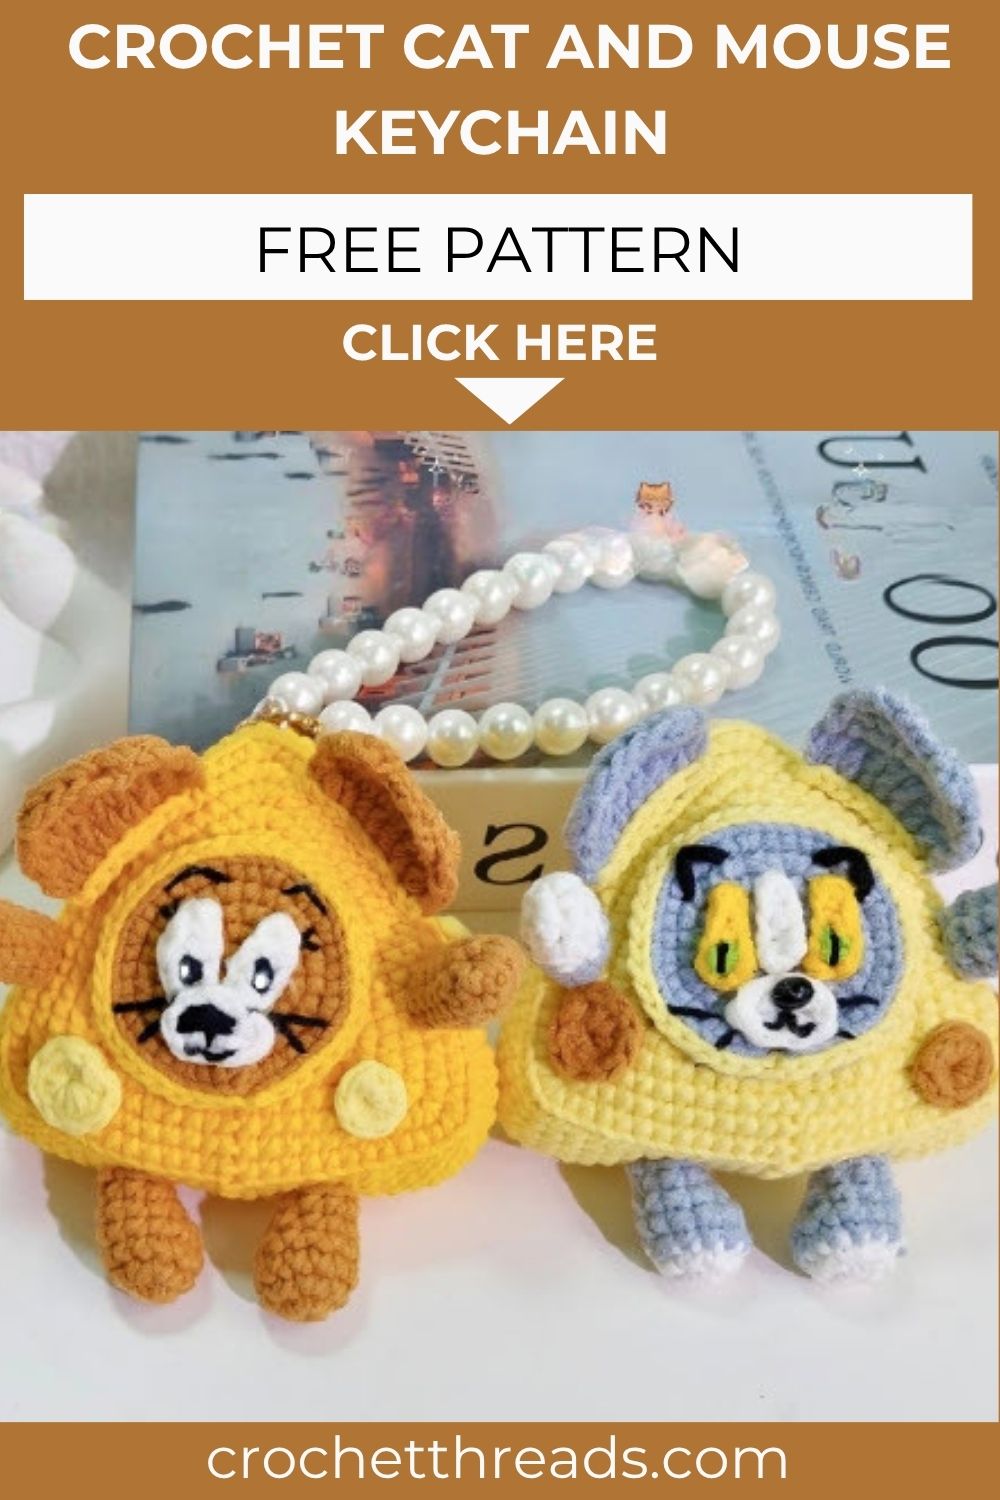
Making your own Crochet Tom and Jerry keychain is a wonderful way to practice amigurumi basics while creating something genuinely useful. These little charms make thoughtful handmade gifts, fun additions to your own bag, and a satisfying project when you want to see fast results.
Once you’ve made your first pair, you’ll likely want to experiment with new colors, characters, and details. That’s the beauty of small-scale crochet: it invites you to keep creating, one tiny stitch at a time.