Cutest Crochet Book Keychain Pattern With Great Results
Tiny handmade treasures hold a special place in every book lover’s heart, and that’s exactly what makes this Crochet Book Keychain so charming. This amigurumi brings together a love of books and handmade charm in one piece, while its easy pattern keeps it accessible for beginner crocheters too. Honestly, once finished, it makes a beautiful charm for keys, a pencil pouch, reading journal, book tote, or planner.
More than just a pretty accessory, a Crochet Book Keychain is a small handmade expression of love for reading. This pattern offers a great opportunity to practice core amigurumi techniques while also working up quickly with minimal yarn. Low-key, once finished, it makes a unique charm for keys, a book tote, reading journal, planner, or pencil pouch, adding a personal handmade touch to any book lover’s everyday essentials.
Project Overview
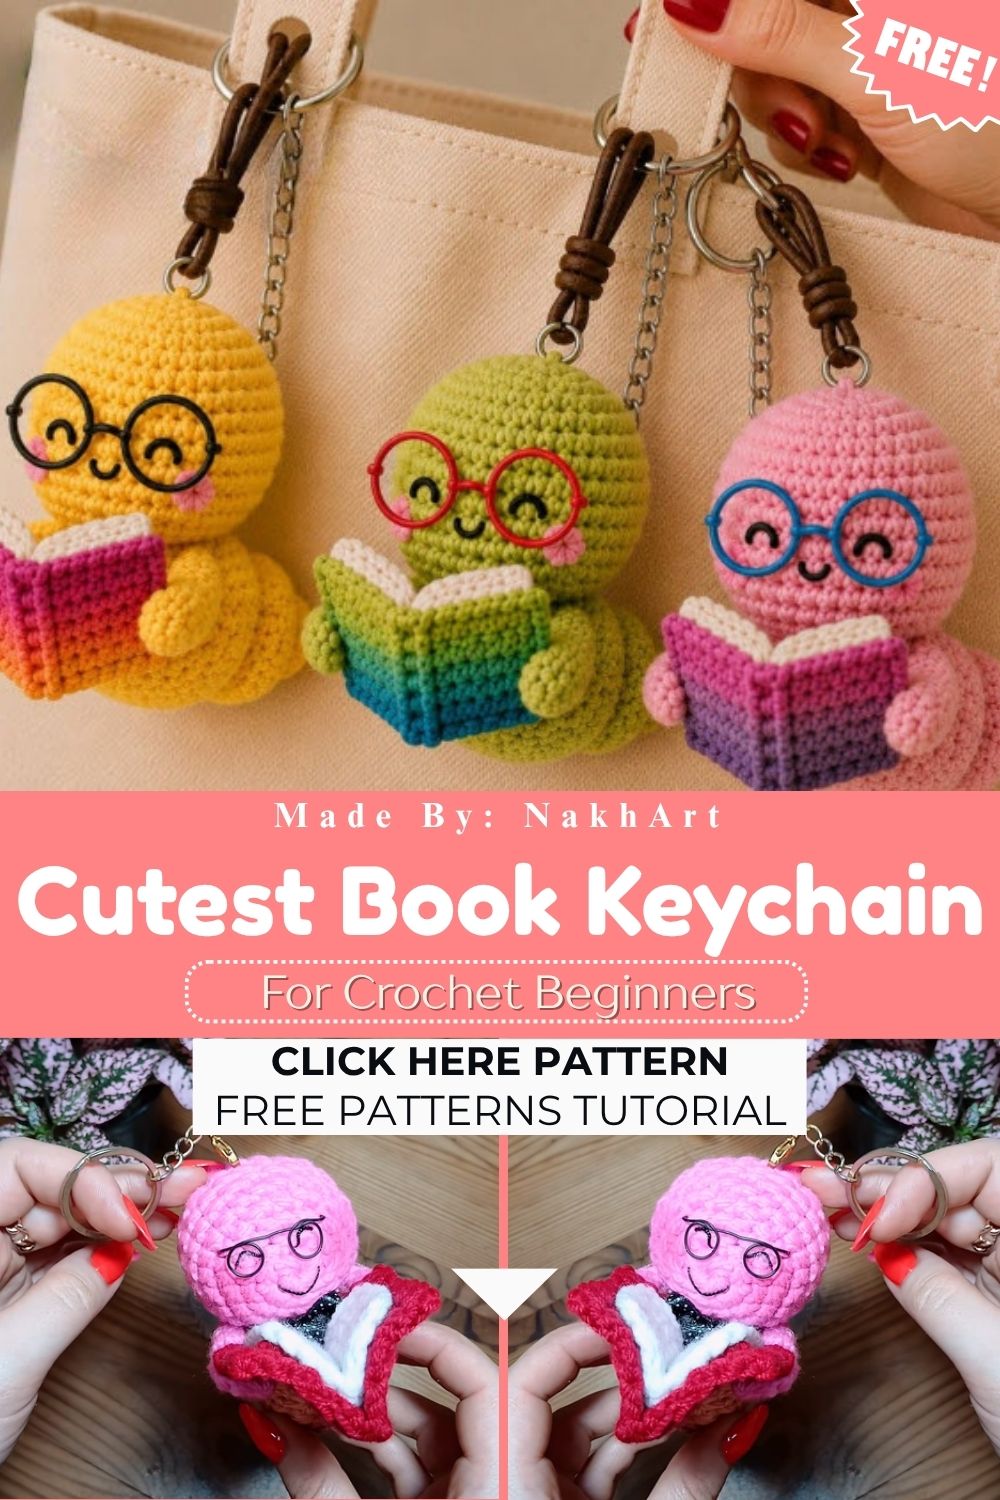
This crochet book keychain project turns a few scraps of soft yarn into a charming little accessory shaped like a tiny storybook. Using simple amigurumi stitches, you build a soft, huggable book shape, add page details, then attach a sturdy keyring so it travels everywhere with you every single day.
Even with basic stitches, the finished piece looks polished and giftable. It works up fast, uses minimal yarn, and makes a sweet handmade gift for readers, teachers, and crochet fans.
This easy crochet project is a fantastic pick if you love handmade crochet ideas that double as gifts, bag charms, or bookmarks for your favorite novel.
Skill Level
Beginner-friendly. Ngl, this pattern only uses a handful of core amigurumi stitches, so anyone who knows single crochet and a basic magic ring can finish it. Total working time stays short, making it a great confidence-building beginner Crochet Book Keychain project before tackling bigger amigurumi animals or dolls.
Materials and Supplies List
Gather these basics before you start stitching:
Yarn Colors
- Brown or tan worsted weight yarn (book cover)
- White or cream yarn (pages)
- Small amounts of red, blue, or pastel yarn (accent cover color or bookmark ribbon)
Tools and Notions
- Crochet hook: 2.5mm to 3.0mm (matched to your yarn weight for tight stitches)
- Safety eyes: optional, 4mm to 6mm, only if adding a face
- Stuffing: polyester fiberfill, small amount
- Tapestry needle: for sewing pieces together and weaving ends
- Scissors: sharp, small craft scissors work best
- Stitch markers: to track rounds
- Keychain ring or clasp: metal split ring, lobster clasp, or lanyard clip
- Optional extras: embroidery floss for the title lines, tiny ribbon for a bookmark tail
Crochet Techniques Used
Trust me, none of these techniques are hard once you practice them a couple of times:
- Magic ring – starts the book shape with no visible hole
- Single crochet (sc) – builds the main body of the book
- Increase and decrease – shape the rounded corners and close the top
- Sewing parts together – joins the cover, pages, and any accent pieces
- Whip stitch or mattress stitch – for a clean, nearly invisible seam
Step-by-Step Crochet Pattern Instructions
Making the Book Cover (Head/Body Equivalent)
The cover acts as the main “body” of this project, much like a head shape in other amigurumi patterns.
- Start with a magic ring, work 6 single crochet into the ring, pull tight.
- Round 2: increase in every stitch (12 sc total).
- Round 3: alternate one sc, one increase around (18 sc total).
- Round 4 to 6: sc evenly with no increases, keeping the shape flat and square-ish rather than round, since a book has straighter edges.
- Flatten the piece gently as you go to form the rectangular book silhouette.
- Fasten off, leaving a long tail for sewing.
Low-key, this flattening step is what makes the piece read as a book instead of a ball, so take your time shaping each round.
Building the Pages (Inner Body Section)
- Using white or cream yarn, repeat the same magic ring start.
- Work rounds 1 through 5 following the same increase pattern as the cover, but stop one round earlier so the pages sit slightly smaller than the cover.
- Leave this piece unstuffed or add a whisper-thin layer of stuffing for a slight puff.
Ears, Accessories, and Bookmark Tail
Instead of ears, this pattern uses a tiny bookmark ribbon as its signature accessory:
- Chain a short length, about 2 to 3 inches, using accent color yarn.
- Single crochet back down the chain for a firmer ribbon strip.
- Fasten off and set aside for the assembly step.
- Optional: add a tiny crocheted heart or star charm using a 4-round magic ring circle for extra cuteness.
Facial Details (Cover Design)
For real, this is the fun customizing part:
- Embroider two or three horizontal lines using contrast yarn or floss to mimic a book title and author name.
- Add a small crocheted or felt star, heart, or flower in the corner for a playful cover design.
- If adding a face instead of a title design, attach safety eyes low-key close together before stuffing, then embroider a small smile with a straight stitch.
Assembly Process
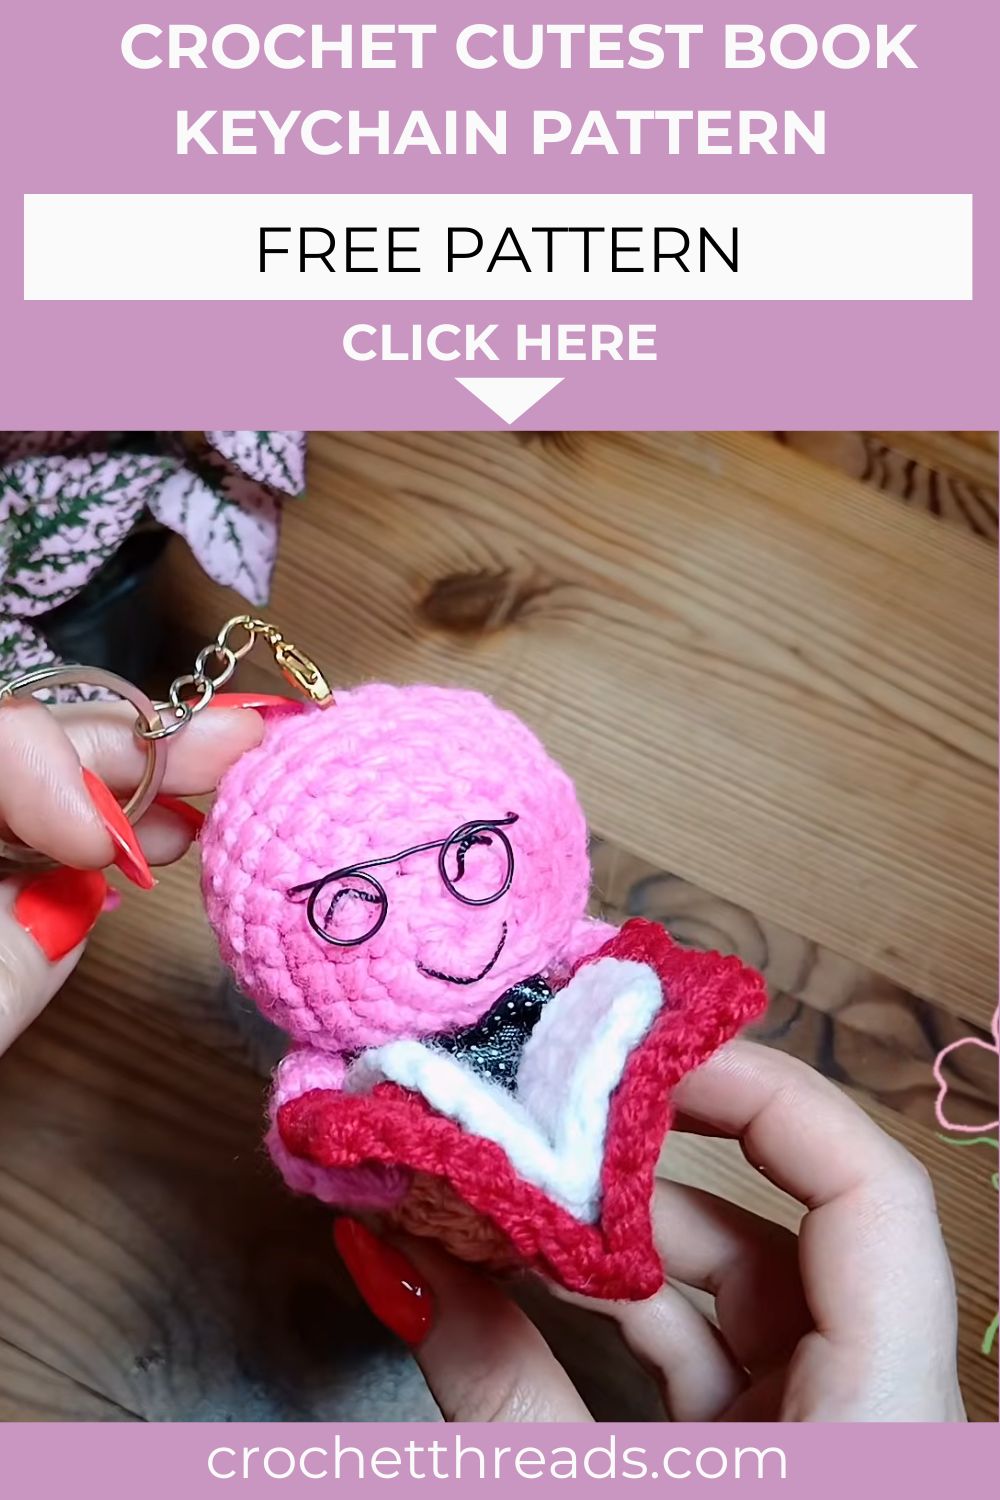
- Lightly stuff the cover piece so it holds shape but still stays soft and squishable.
- Insert the pages piece and pin or hold it in place.
- Whip stitch around the edges, sandwiching the pages between the front and back of the cover.
- Tuck the bookmark ribbon tail between the pages before closing the final few stitches, so it peeks out like a real bookmark.
- Weave in all loose ends securely.
Finishing Touches
- Attach the keychain ring through the top spine stitches using a small loop of yarn or a jump ring.
- Fluff and shape the book with your fingers for a neat, boxy look.
- Trim any stray yarn fibers for a clean finished edge.
Helpful Beginner Tips
- Keep stitches tight. Amigurumi needs firm, snug stitches so stuffing never peeks through gaps.
- Use stitch markers. Mark the start of every round so you never lose track, especially during increase rounds.
- Stuff a little at a time. Add small pinches of fiberfill gradually instead of one big clump, so the shape stays smooth and even.
- Block the piece gently. Press the book flat with your hands after stuffing to keep those signature straight book edges.
- Practice your gauge first. A quick swatch helps confirm your hook size matches your yarn for tight, gap-free stitches.
Design Customization Ideas
Real talk, this pattern is endlessly customizable once you know the base shape:
- Different colors: try pastel covers for a soft aesthetic, or bold jewel tones for a dramatic look
- Cute accessories: add tiny glasses, a bow, or a mini crocheted flower on the cover
- Mini size variations: work with a smaller hook and thinner yarn for a miniature charm size perfect for earrings or bag zippers
- Themed covers: stitch initials, a favorite book title, or a school mascot color scheme for a personalized gift
- Seasonal versions: swap in autumn tones for fall gifting, or red and green for a holiday-themed bookish charm
- Genre-inspired designs: pair dark covers with tiny embroidered stars for a fantasy feel, or soft pinks with a heart charm for a romance-lover gift
No joke, once you get comfortable with the base book shape, you can spend an entire afternoon dreaming up new color combinations and tiny embellishments. Swap yarn weights, mix in beads, or add a tassel instead of a ribbon bookmark for even more variety. This little pattern is a great canvas for practicing your own creative twists while still keeping the project quick to finish.
Why This Project Makes a Great Gift
A handmade book keychain feels personal in a way store-bought accessories rarely do. Teachers, book club friends, librarians, and students all tend to love a small, thoughtful charm that hints at their love of reading. Because the project stitches up fast, it also works well as a last-minute handmade gift or a party favor for a book-themed celebration.
Pair a finished keychain with a paperback novel, a candle, or a bookmark set for an easy gift bundle. Adding a small tag with the recipient’s initials, stitched in matching yarn, turns this simple charm into something that feels truly custom-made.
Frequently Asked Questions
What is the best yarn for amigurumi?
Cotton or acrylic worsted-weight yarn works best, since both hold stitch definition and keep a tight, gap-free texture.
How do you make a crochet plush firm and sturdy?
Use a slightly smaller hook, keep your tension tight, and stuff gradually in small pinches for a firm, even shape.
How long does this project take?
Most crafters finish this keychain in one to two hours, depending on experience with increase and decrease rounds.
Can I make this without safety eyes?
Yes. Skip the eyes and focus on the embroidered title design for a simpler, more book-like look.
What keychain hardware works best?
A sturdy metal split ring or a lobster clasp both work great for everyday use.
Conclusion
Honestly, this crochet book keychain pattern proves that small projects can carry huge charm. It is quick, beginner-friendly, and endlessly customizable, making it a wonderful crochet Crochet Book Keychain pattern to add to your handmade gift lineup. Grab your hook, pick a cozy color palette, and stitch up a tiny library treasure of your own today. Once you finish one, you will want a whole shelf of these adorable little keychains.