Fluffy Crochet Acorn Chick for Autumn Decor
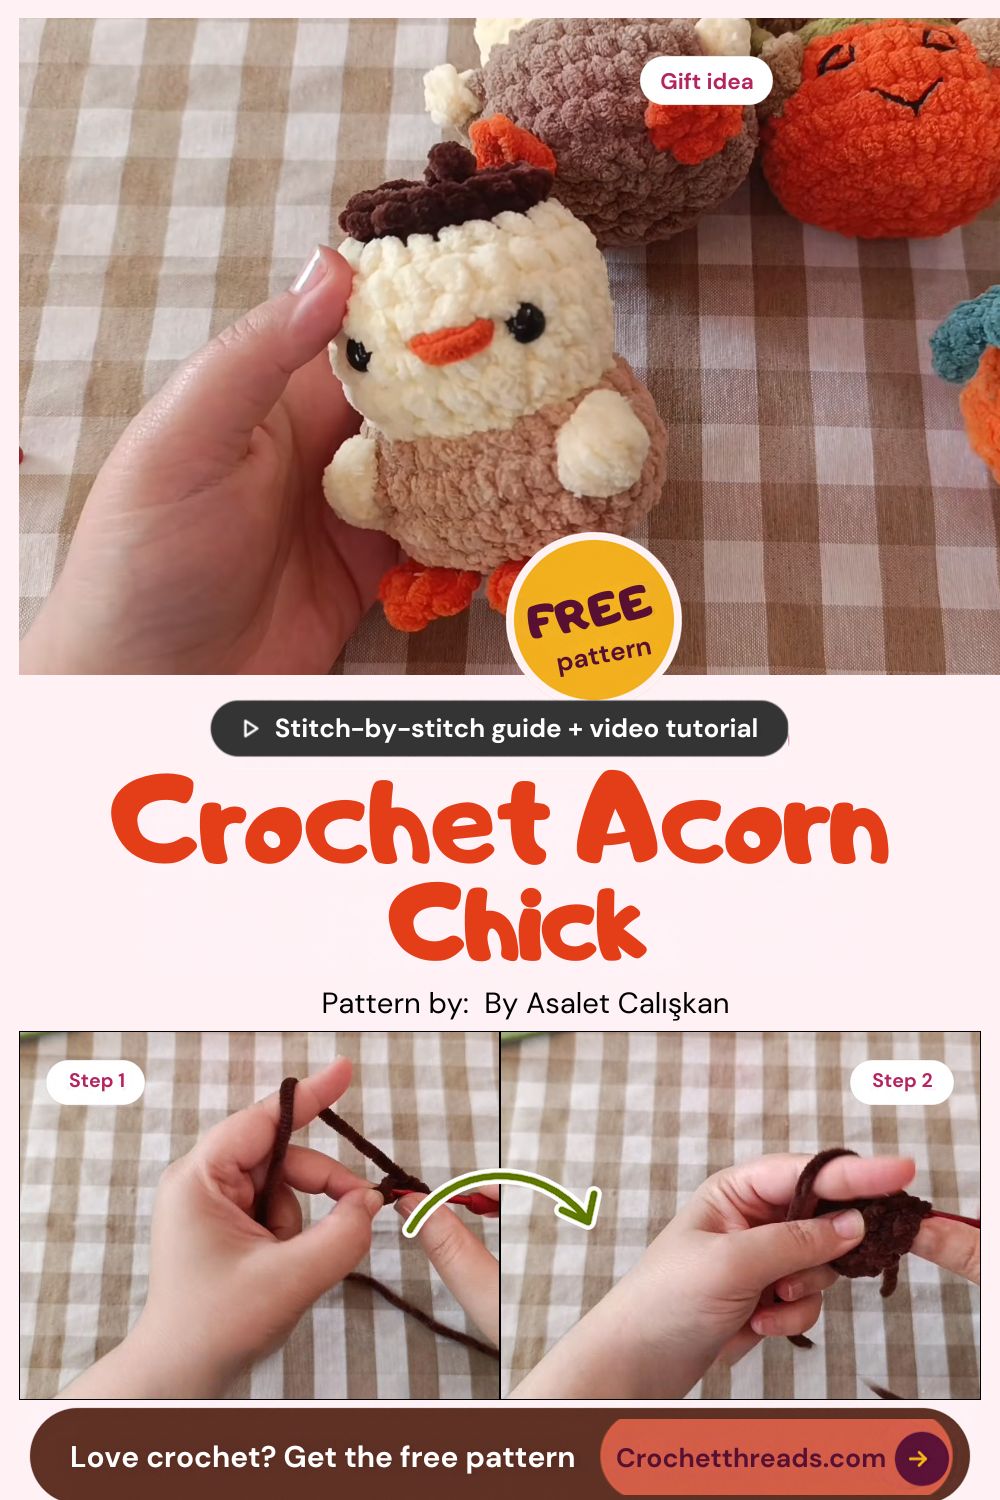
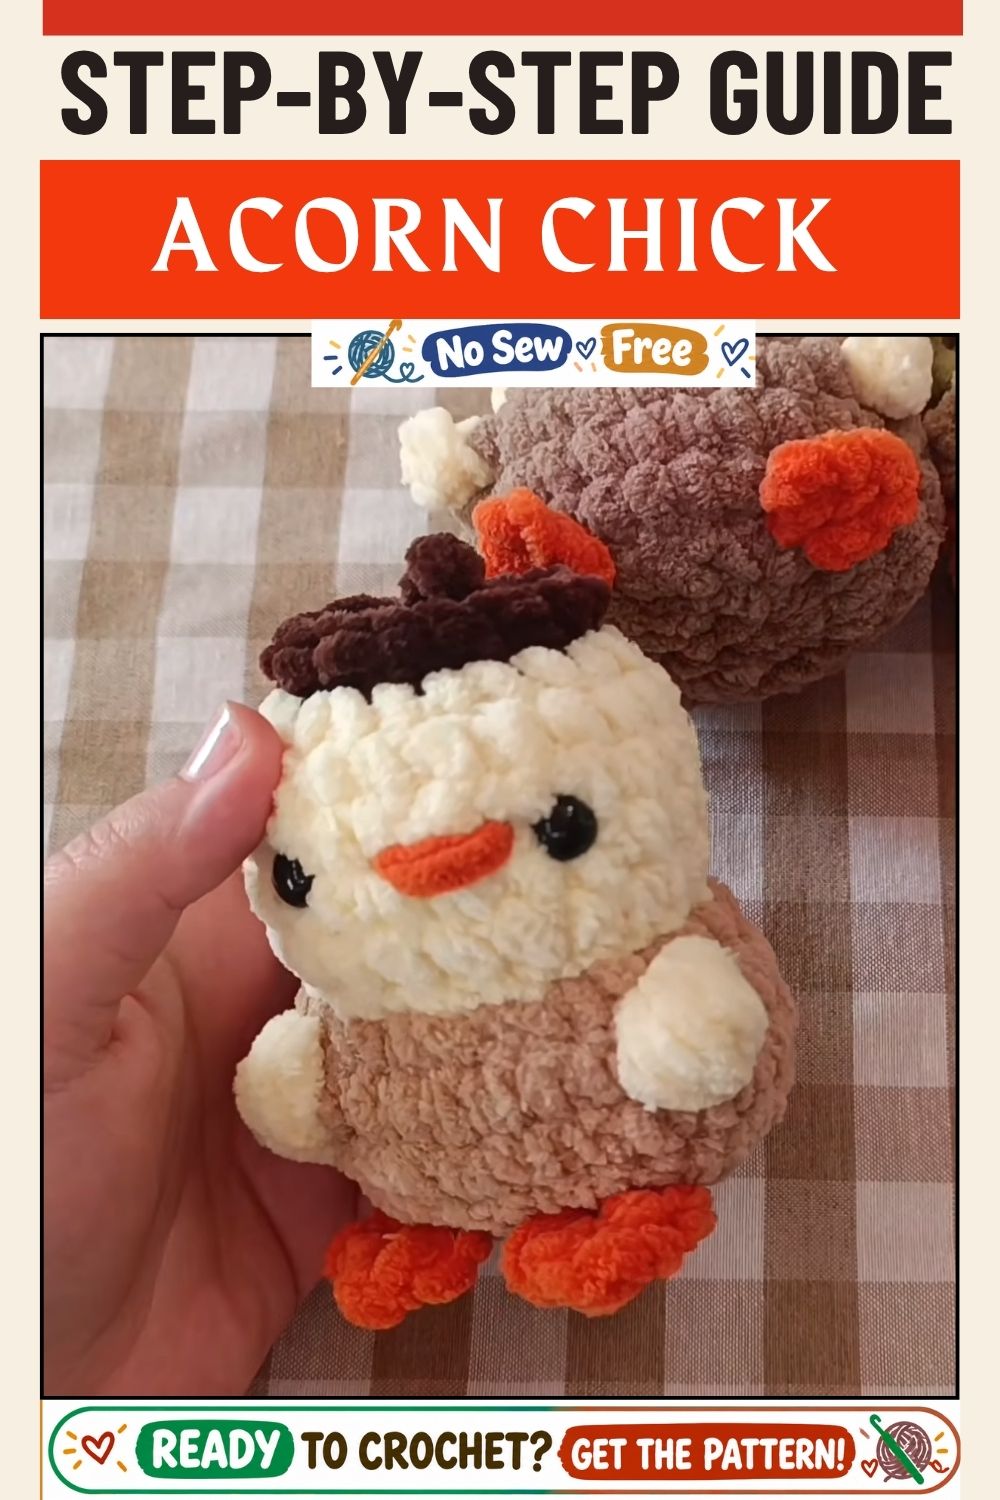
Soft cream loops, a chocolate-brown acorn cap, and tiny orange feet give the Fluffy Crochet Acorn Chick for Autumn Decor its cozy harvest charm, ready to sit on a mantel, windowsill, or Thanksgiving table.
Worked from the top down, the Crochet Acorn Chick begins with a brown cap, flows straight into a cream face, and finishes with a round tan body. The guide covers chenille amigurumi handling, safety eye placement, neat stuffing, and a clean closed base, so your fall crochet pattern turns out smooth, even, and ready to display.
Pattern Overview
The chick is worked in continuous rounds from the top down:
- Dark brown for the acorn cap
- Cream for the face
- Tan for the round body
Small cream wings go on the sides. Orange details finish the character: a slanted beak, little feet, and a strand along the cap line that curls up into a stem.
Materials
- Chenille (velvet plush) yarn in dark brown, cream, tan, and orange
- Crochet hook suited to your yarn
- Black safety eyes with washers
- Polyester fiberfill
- Stitch marker
- Tapestry needle and scissors
Yarn and Hook Notes
Plush chenille hides stitches, which makes the chick look soft but makes counting harder. Many makers go down a hook size or two from the label so the fabric stays dense and stuffing can’t peek through. Your hook size and yarn weight will change the finished size, so treat the chick’s size as flexible.
Abbreviations (US Terms)
- MR: magic ring
- sc: single crochet
- inc: 2 sc in one stitch
- dec: single crochet decrease
- sl st: slip stitch
Time Box
These are rough estimates, not timed from the video.
- Prep: about 10 minutes to gather yarn and set out the eyes
- Stitching: 1.5 to 2.5 hours, depending on your comfort with plush yarn
- Finishing: 30 to 45 minutes for eyes, wings, feet, beak, and the stem
Step-by-Step Instructions
1. Start the Acorn Cap with a Magic Ring
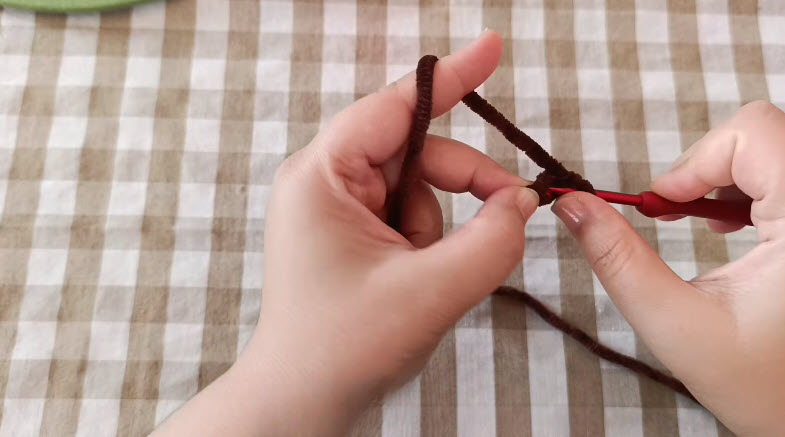
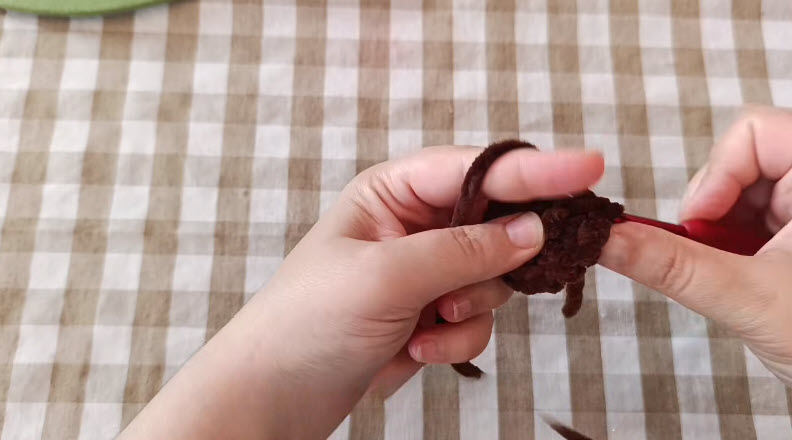
rap dark brown yarn around your fingers and pull up a loop to start the magic ring, as shown. Chenille is slick and bulky, so leave a longer tail than you would with acrylic.
After the first round, pull the ring fully closed. Weave the tail once through a few stitches right away. Plush rings tend to loosen over time, and securing it early prevents a hole at the top of the cap.
2. Grow the Cap in Rounds
Work increase rounds following your pattern, keeping a stitch marker in the first stitch of every round. At the stage pictured, the brown piece is a flat disc that is just starting to cup at the edges.
Stitch check: Count after every increase round, feeling for each stitch top rather than relying on sight. Chenille loops blur together, and a missed increase is easy to hide until the cap goes lopsided.
Pro tip: Hold the disc against your palm before moving on. The cap’s width sets the width of the whole head, so if it looks too small now, the chick will look pinched later.
3. Switch to Cream for the Face
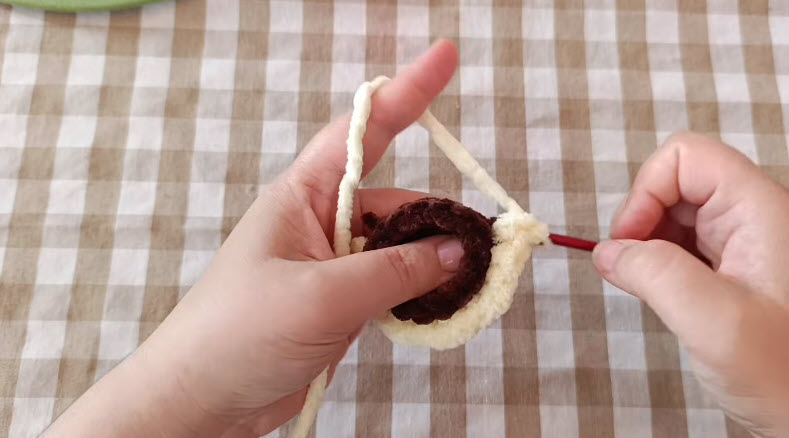
Join cream yarn around the outer edge of the brown cap, as pictured. The brown sits like a lid inside the cream round, which is exactly the acorn look you want.
Make the color change on the last yarn-over of the final brown stitch for a cleaner line. Cut brown with a tail long enough to weave in securely.
4. Build the Head Downward
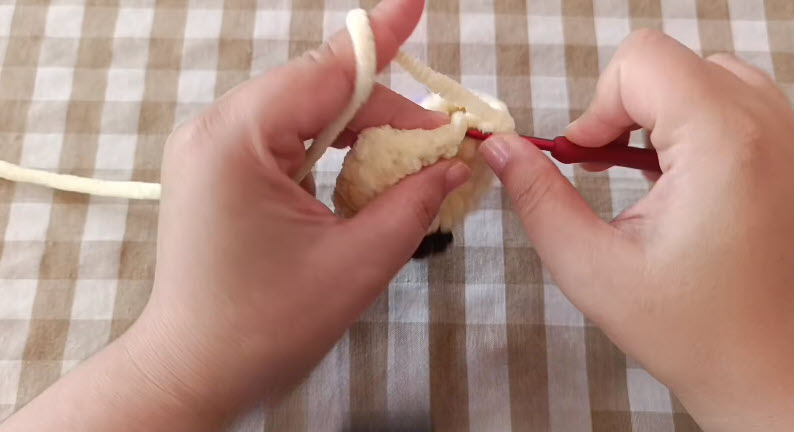
Continue working cream rounds. The piece deepens into a cup shape, with the brown cap now resting at the base while you hold it.
Shape check: Turn the cup over and look at it from the side. The cream section should drop evenly all the way around. If one side is shallower, recount your last round before going further.
Once the head section is finished, change to tan for the body and continue shaping as your pattern directs.
5. Attach Wings and Set the Safety Eyes
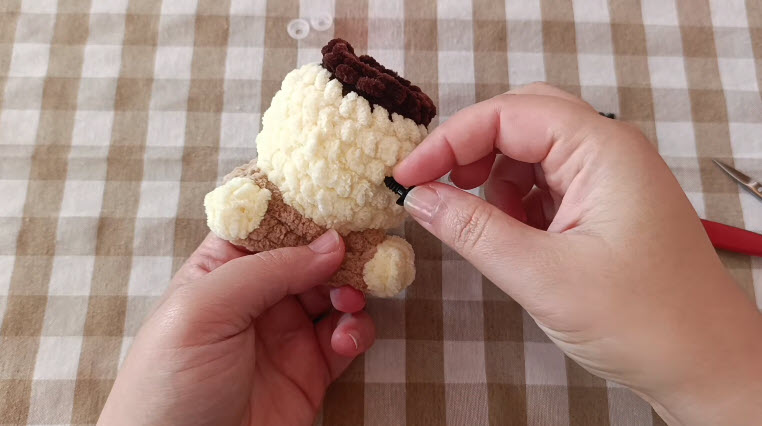
With the head, body, and cream wings in place and the base still open, push the black safety eyes into the cream face just below the brown cap. The washers visible on the table in the photo lock on from the inside, which is only possible while the bottom is open.
Pin both eye positions first and view the face from a few angles. Look straight on, then from above, since that’s how most people will see the chick on a shelf. Snap the washers on only once both sides match.
6. Stuff and Close the Base
Stuff in stages, packing the cap and head first, then the body. Firm stuffing keeps the plush fabric smooth and helps the chick stand upright.
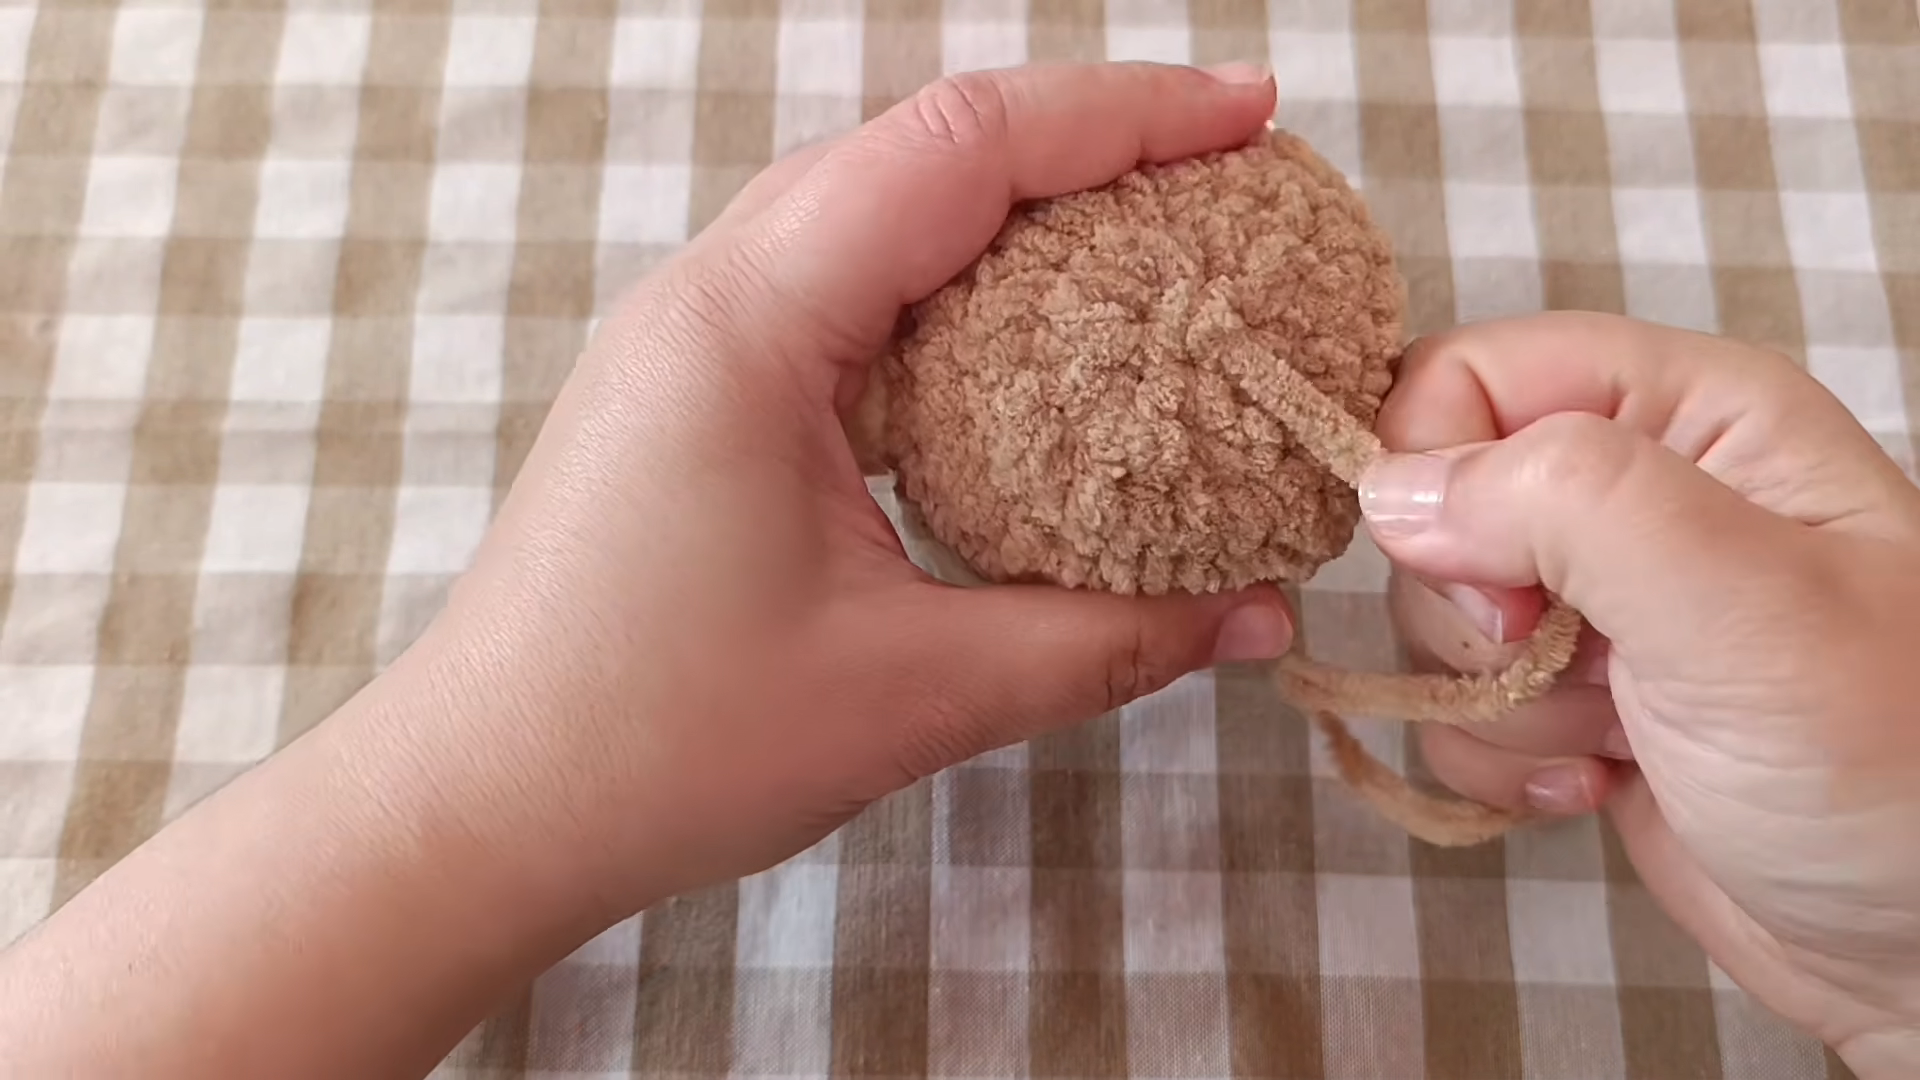
Finish the decrease rounds, then thread the tail through the remaining stitches and pull, as shown, to gather the opening shut. Push the needle through the body a few times to bury the tail, then trim close.
7. Add the Orange Details
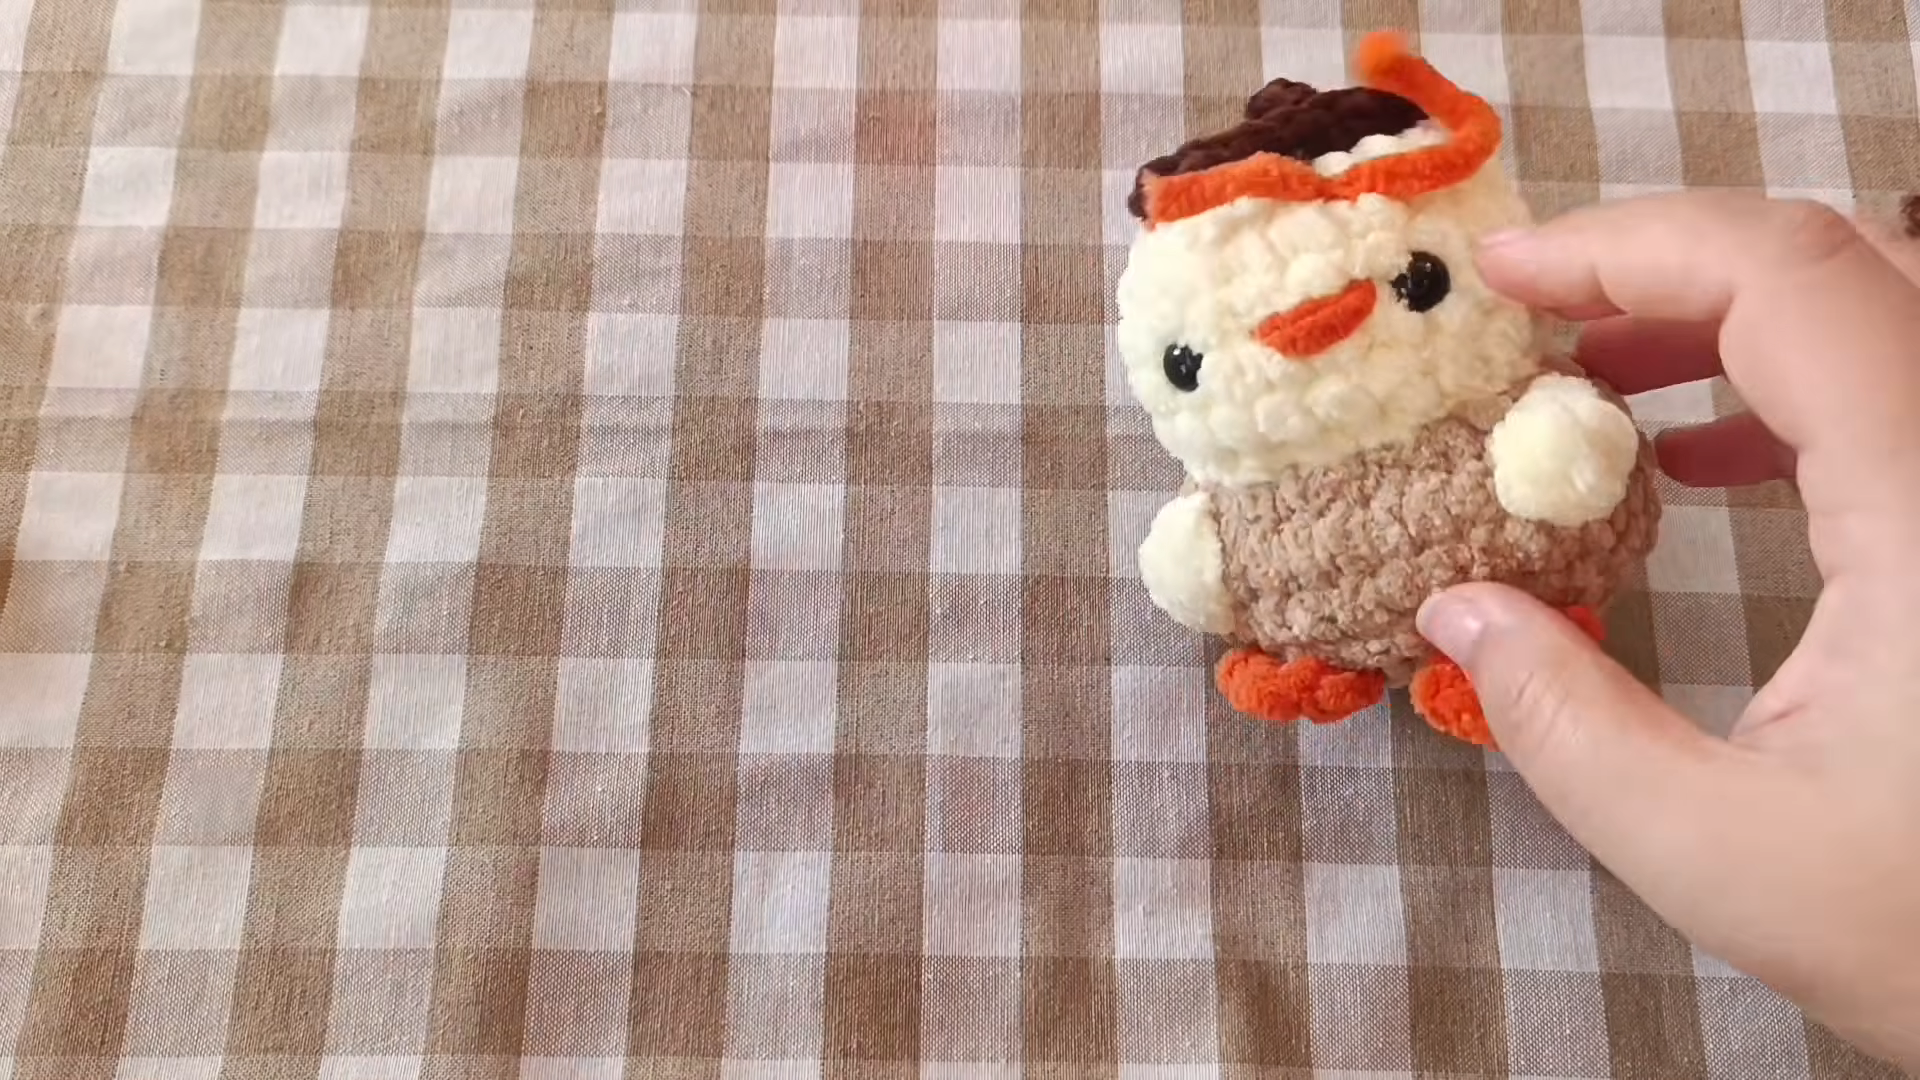
The finished chick shows three orange touches:
- A slanted beak stitched between the eyes
- Small feet at the base of the body
- A strand following the edge of the brown cap and rising into a curled stem at the top
Anchor the stem strand at several points so it keeps its curl. Stitch the feet slightly forward, which helps the chick stand without tipping backward.
Stuffing and Safety
Safety eyes aren’t recommended for babies or children under three. For a chick meant for small hands, embroider the eyes with black yarn instead. Avoid wiring the stem for the same reason.
Common Mistakes
A loose magic ring. Plush yarn relaxes, so secure the tail early.
Uneven cap edges. Usually caused by a skipped increase hidden inside the chenille pile.
Eyes set too low. Keep them close to the cap line; low eyes change the character’s expression.
Understuffing. Soft areas in chenille wrinkle quickly and show dents.
Visible stuffing. Switch to a smaller hook if fiberfill shows between stitches.
Personalization Ideas
Seasonal Color Swap
Try a rust or olive cap for a woodland mix, or cream all over for a winter version.
Mini Acorn Family
Make chicks in two or three sizes by changing yarn weight, then group them on a tiered tray.
Hanging Ornament
Sew a sturdy loop through the stem area to hang the chick on a branch display or a fall wreath.
FAQs
Can beginners make the acorn chick?
Yes, if you already know single crochet in the round, increases, and decreases. Chenille is the main challenge, so practice a few rounds first.
Can I use regular worsted yarn?
You can. Expect a smaller chick with a firmer, less fuzzy finish.
Why does my chenille show loops pulling out?
That’s called worming. Tighter stitches and a smaller hook help (see the bonus section below).
How do I clean the chick?
Spot clean with a damp cloth and mild soap, then air dry. Chenille can shed or distort in a washing machine.
Bonus: Keeping Chenille from Worming and Unraveling
Chenille has a thin core wrapped in pile, and the pile can slip along the core under tension. Loose stitches let loops pull out as small “worms.”
Work with steady, fairly tight tension, and avoid tugging the working yarn hard between stitches. Knot or weave every tail more than once, since chenille ends can unravel.
Frogging is risky too: pulled-back chenille often sheds. Recount often so you rarely need to undo rounds..
Final Thoughts
A few careful checks make all the difference: an even cap, matching eyes, and firm stuffing. Get those right and the chick will sit neatly on any autumn mantel, windowsill, or harvest table