Crochet Elf Hat Owl Christmas Amigurumi Pattern
Crochet Elf Hat Owl Christmas Amigurumi Pattern gives even the smallest handmade gifts serious personality this season. Grab this free pattern and stitch up a quick holiday keepsake perfect for absolute beginners
Skill Level
Beginners can handle this pattern with confidence since it relies on basic stitches like single crochet, increase, and decrease. Color changes need a little patience, but nothing here is technically difficult; trust me.
Materials & Abbreviations
- Hook size 2.5mm
- Drops Safran yarn (pink and white, plus red and gold for the hat)
- Embroidery thread
- Yarn needle
- Safety eyes
- Stitch marker
- Fiber fill
- Scissors
Abbreviations:
- MR – magic ring
- SC – single crochet
- INC – increase
- DEC – decrease
- ( )*n – repeat instructions in brackets n times
Crochet Elf Hat Owl Pattern
Body (Pink)
- MR, 8sc (8)
- 8inc (16)
- (Sc, inc)*8 (24)
- (3sc, inc)*6 (30)
- (4sc, inc)*6 (36)
- 13sc, [white] 3sc, [pink] 4sc, [white] 3sc, [pink] 13sc (36)
- 12sc, [white] 4sc, [pink] 4sc, [white] 4sc, [pink] 12sc (36)
- 11sc, [white] 6sc, [pink] 2sc, [white] 6sc, [pink] 11sc (36)
- 5sc, inc, 5sc, [white] 2sc, 2inc, 2sc, [pink] 2sc, [white] 2sc, 2inc, 2sc, [pink] 5sc, inc, 5sc (42) 10-11. 12sc, [white] 18sc, [pink] 12sc (42)
- 3sc, inc, 6sc, inc, sc, [white] 5sc, inc, 6sc, inc, 5sc, [pink] sc, inc, 6sc, inc, 3sc (48) 13-14. 15sc, [white] 18sc, [pink] 15sc (48)
- 16sc, [white] 16sc, [pink] 16sc (48)
- 3sc, dec, 6sc, dec, 3sc, [white] 3sc, dec, 6sc, dec, 3sc, [pink] 3sc, dec, 6sc, dec, 3sc (42)
- (5sc, dec)*2, sc, [white] 4sc, dec, 5sc, dec, [pink] (5sc, dec)*2 (36)
- 2sc, dec, (4sc, dec)*2, [white] 4sc, dec, sc, [pink] 3sc, dec, 4sc, dec, 2sc (30)
- (3sc, dec)*6 (24)
- (2sc, dec)*6 (18)
- (Sc, dec)*6 (12)
- 6dec (6)
Weave in the end. Insert the safety eyes between rounds 8-9, then sew the mouth using yellow yarn.
Arm (Make 2, Pink)
- MR, 7sc (7) 2-3. 7sc (7)
Leave a long tail for sewing between rounds 10-11 of the body.
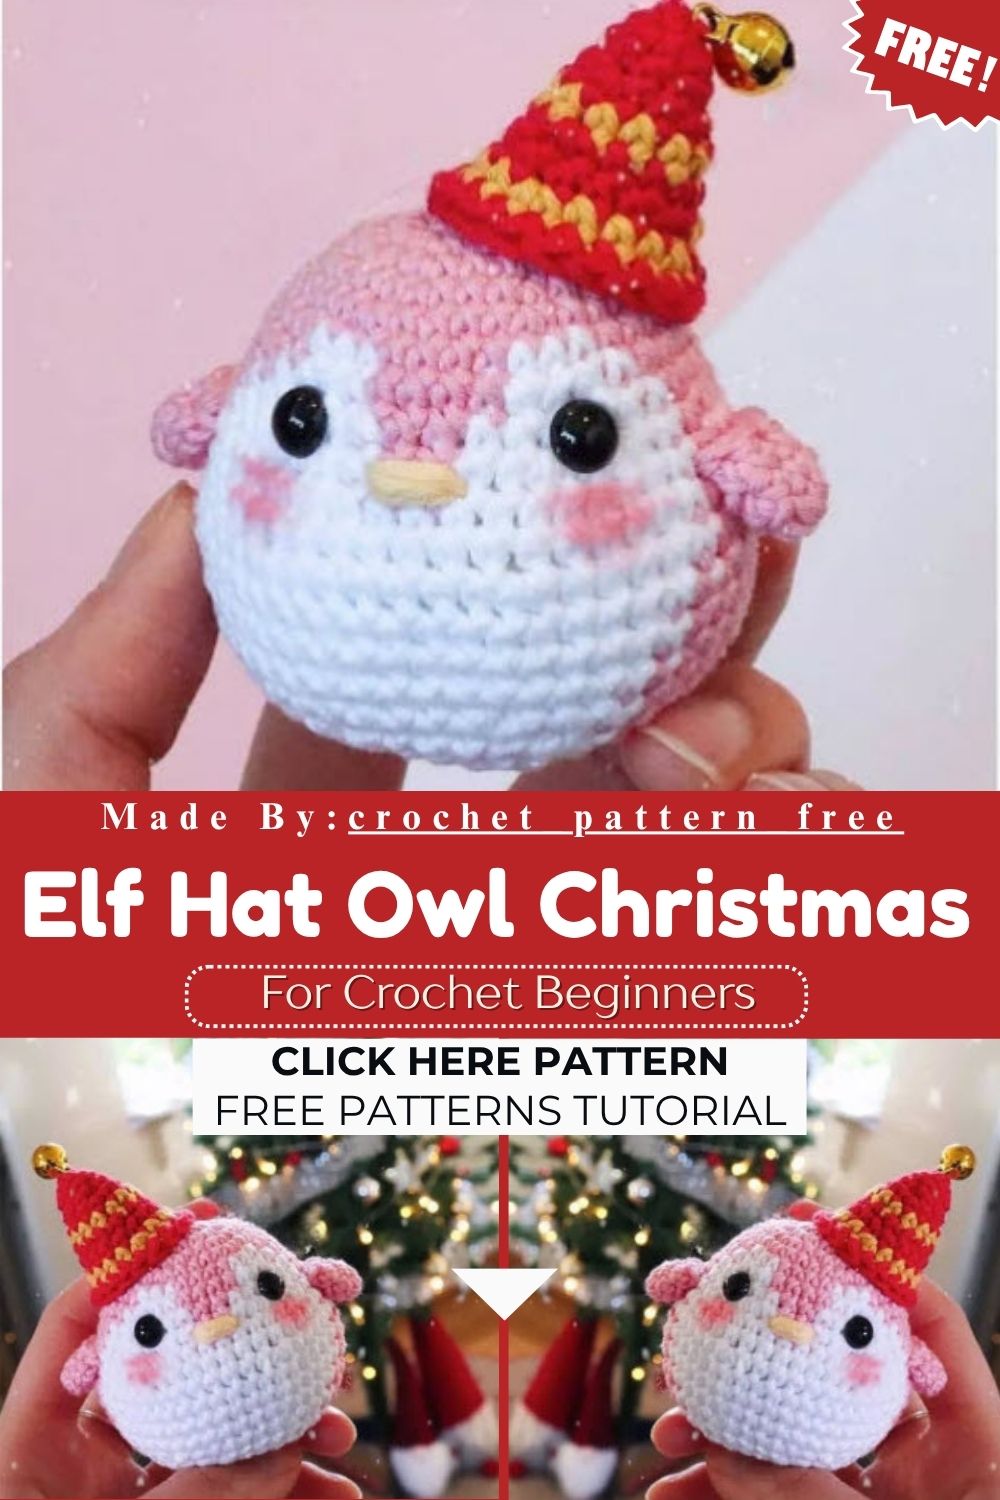
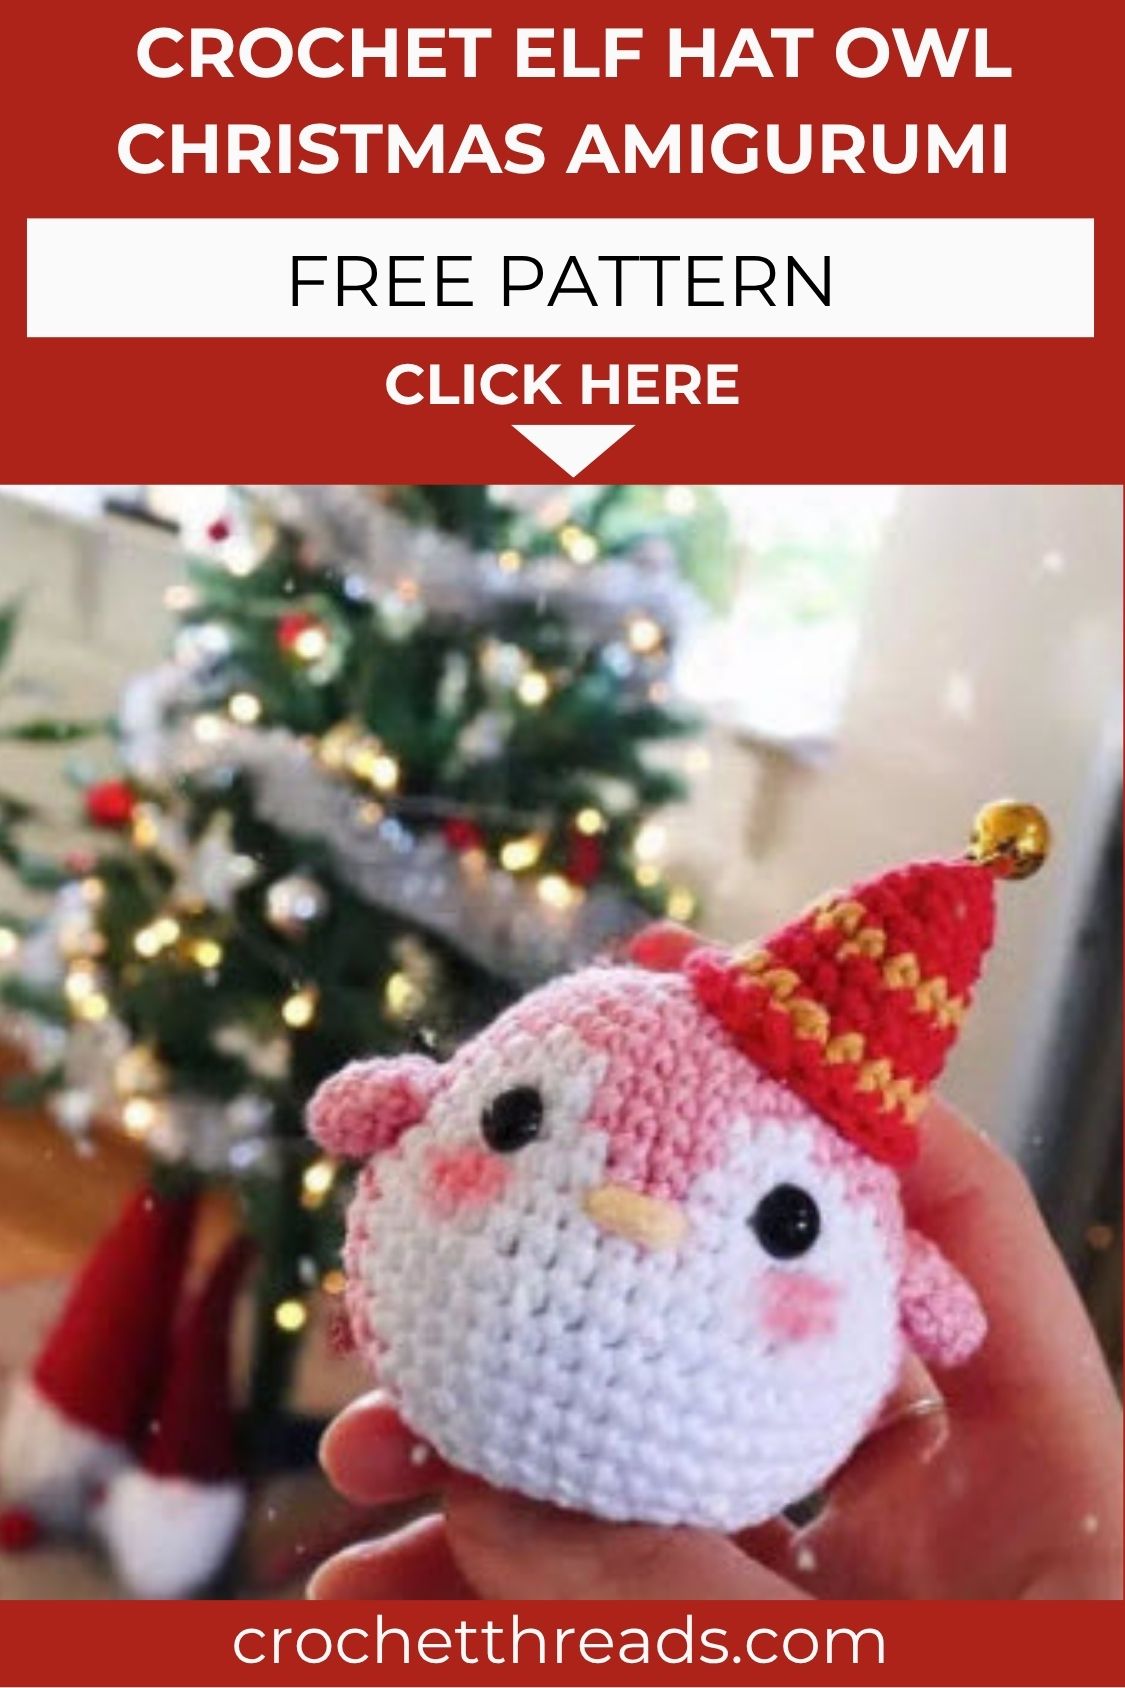
Note: The hat, ears, and remaining facial details are finished using standard amigurumi shaping and embroidery techniques shown in the reference photo. Follow the color placement in the image for the red and gold elf hat with its jingle bell topper.
Customization & Variation
- Swap pink for grey or brown yarn for a more traditional owl look.
- Use a green hat with white trim for an alternate holiday palette.
- Add a tiny scarf around the neck for extra winter styling.
- Replace the bell with a small pom-pom for a softer finish.
- Try a smaller hook size for a mini ornament version that fits on a tree branch.
- Embroider tiny snowflakes on the belly for extra seasonal detail.
- Use variegated yarn on the hat for a candy-cane style stripe effect.
- Attach a small loop of thread at the top of the hat for easy hanging.
- Give the owl a longer hat with a curled tip for a more elf-like silhouette.
- Add mini mittens or booties for a layered, cozy winter version.
Common Mistakes
- Skipping stitch markers, which makes it easy to lose track of rounds.
- Pulling color changes too tight, which distorts the round shape.
- Stuffing too lightly, leaving the body soft instead of firm.
- Placing the eyes unevenly, which throws off the owl’s expression.
- Forgetting to leave a long tail on the arms before cutting yarn.
- Rushing the color change rounds, which leads to messy jog lines between colors.
- Miscounting increase and decrease rounds, which changes the owl’s overall shape.
- Using a hook size that’s too large, leaving visible gaps in the stitches.
- Attaching the hat off-center, which makes the finished owl look lopsided.
- Cutting yarn tails too short, making them hard to weave in securely.
Finishing Tips
- Steam-block the finished hat lightly to help it hold its cone shape.
- Sew arms securely at the marked point for balanced positioning.
- Use a yarn needle to hide all tails inside the stuffing.
- Trim embroidery thread ends close to the fabric for a clean mouth.
- Fluff the fiber fill gently before closing the last round.
- Brush the pink cheeks lightly with blush yarn to soften the sharp edges.
- Check the eye spacing against the photo before pushing the safety backs into place.
- Add a dab of fabric glue under the bell for extra hold on the hat tip.
- Use a slip stitch join on the hat brim for a neater edge.
- Rotate the piece while stuffing to keep the fill evenly distributed.
Care Instructions
- Hand wash only in cool water to protect the safety eyes and yarn texture.
- Lay flat to dry instead of using a dryer or direct heat.
- Store in a dust-free bag between holiday seasons.
- Keep away from direct sunlight to prevent color fading.
- Avoid soaking for long periods, which can loosen the stuffing shape.
- Spot clean small marks with a damp cloth instead of full washing when possible.
- Reshape the hat gently by hand after washing while it’s still slightly damp.
- Keep away from pets and small children who might chew on the safety eyes.
- Store with tissue paper inside the hat to help it keep its shape.
- Dust lightly with a soft brush if displayed on an open shelf.
Gifting Ideas
- Pair the owl with a mug of hot cocoa for a cozy holiday bundle.
- Attach a small tag and use it as a handmade Christmas ornament.
- Add it to a stocking as a soft, huggable stuffer.
- Include it in a care package for someone far from home during the holidays.
- Offer it as a teacher or coworker gift alongside a handwritten card.
- Wrap it in tissue paper inside a small gift box for a boutique feel.
- Add it to a baby’s first Christmas gift set alongside a soft blanket.
- Use it as a table place-setting favor for holiday dinners.
- Bundle a few together as a set for siblings or cousins.
- Include a matching photo or care card explaining the handmade story behind it.
Perfectionist Tips
- Count stitches after every round to catch mistakes before they compound.
- Use stitch markers in a contrasting color so they stay visible against pink yarn.
- Keep tension consistent across color changes for a smooth, even surface.
- Pin pieces in place before sewing to check placement from multiple angles.
- Compare the finished owl to the reference photo before adding the final stitches.
- Photograph each stage under natural light to spot uneven rounds early.
- Test eye placement with removable pins before locking safety eyes in place.
- Measure the hat against the head circumference before attaching it permanently.
- Weigh yarn balls before starting to confirm enough color is left for symmetry.
- Set the piece down and view it from a distance to catch shape issues.
Conclusion
This Crochet Elf Hat Owl brings warmth, color, and holiday charm to any handmade collection. Real talk, it’s a satisfying project for beginners and a sweet gift for anyone who loves cozy Christmas decor. Keep the yarn soft, the stitches even, and the personality shining through every round.