Crochet Bee Amigurumi Pattern With Spring Blossom Theme
Skill Level
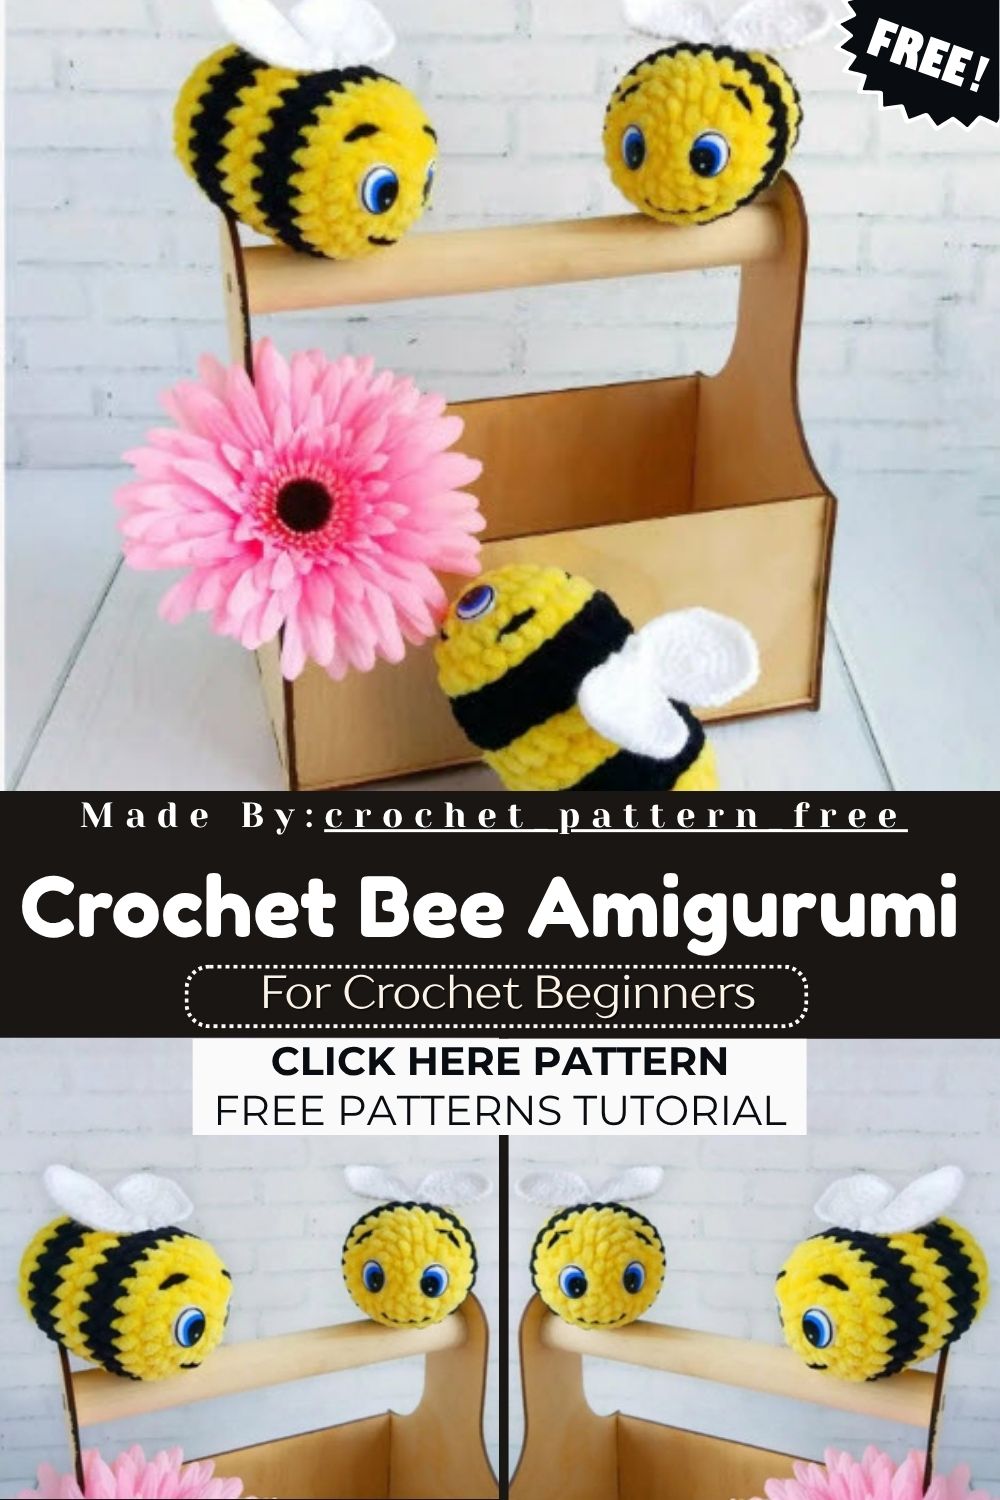
This pattern suits confident beginners and intermediate crocheters alike. Basic single crochet, increases, decreases, and color changes are required. Row-by-row wing shaping needs a little patience but stays simple.
Materials Needed
- Black and yellow plush yarn (Himalaya Dolphin Baby or similar), 100% polyester, 100g/120m or 3.53 oz/131 yds
- White fine yarn, 50g/200m or 1.76 oz/218 yds
- Hooks: 4mm and 2mm
- Plastic safety eyes, approximately 12mm
- Fiberfiller stuffing
- Yarn needle
- Black embroidery thread or plush yarn for the face details
Pattern Overview
- The body starts with a magic ring in yellow and grows through standard amigurumi increase rounds.
- Black and yellow stripes alternate every two rounds to create the classic bee look.
- Safety eyes get placed mid-body, right before stuffing begins.
- Decrease rounds shape the bottom and close the body smoothly.
- Two matching wings are worked flat in white yarn using short rows.
- Wings join at the base, then attach to the back of the body.
- A simple embroidered face finishes the design with brows and a smile.
Body Instructions
Begin with YELLOW yarn using 2 ch (or a magic ring).
- Round 1: 6 sc in 2nd loop from hook, or into the magic ring (6)
- Round 2: 6 inc (12)
- Round 3: (1 sc, 1 inc) × 6 (18)
- Round 4: (2 sc, 1 inc) × 6 (24)
- Round 5: 24 sc (24) – switch to BLACK on the last sc
- Rounds 6–7: 24 sc (24) – switch to YELLOW on the last sc
- Rounds 8–9: 24 sc (24) – switch to BLACK on the last sc
- Rounds 10–11: 24 sc (24) – switch to YELLOW on the last sc
- Round 12: 24 sc (24)
- Round 13: (2 sc, 1 dec) × 6 (18)
Set the eyes now and begin stuffing the body.
- Round 14: (1 sc, 1 dec) × 6 (12)
- Round 15: 6 dec (6) — switch to BLACK on the last sc
- Round 16: 6 sc (6)
Cut the yarn, leaving a 6″ tail. Weave the tail through the last 6 stitches with a yarn needle, pull the hole shut, and hide the end inside. The body is complete.
Wings Instructions
Begin with white yarn using a magic ring.
- Round 1: 6 sc in the magic ring (6)
- Round 2: 6 inc (12)
- Round 3: (1 sc, 1 inc) × 6 (18)
- Round 4: (2 sc, 1 inc) × 6 (24)
- Round 5: (3 sc, 1 inc) × 6 (30)
From here, switch to back-and-forth rows, turning the piece after every row.
- Row 1: 4 sc, turn (4)
- Row 2: 1 ch (lifting loop), skip 1 loop, 2 dec, turn (2)
- Row 3: 1 ch (lifting loop), 1 dec (1)
Finish with 1 ch, cut the yarn, and leave an 8″ tail. Crochet a second wing the same way. Connect both wings at the base, then sew them onto the body.
Special Techniques
- Color changing on the last stitch of a round keeps stripes crisp and clean.
- The magic ring start avoids any gap at the top of the body or wings.
- Back-and-forth short rows shape the wings without extra shaping stitches.
- Placing eyes before full stuffing makes positioning far easier to adjust.
Common Mistakes
- Skipping the stitch count check after each round, which throws off shape.
- Forgetting to switch colors exactly on the last stitch, leaving a messy transition.
- Under-stuffing the body, which makes the bee look flat instead of round.
- Attaching the wings too low, which changes the bee’s balance and posture.
- Rushing the wing decreases, causing uneven or lopsided wing tips.
Assembly
- Complete the body first and set it aside once stuffed and closed.
- Crochet both wings and join them together at their base points.
- Position the joined wings on the upper back of the body.
- Sew the wings securely using matching or invisible thread.
- Embroider brows and a smile using black plush yarn for the face.
- Double-check the eye placement before the final stitches lock everything in place.
Uses & Benefits
A plush bee amigurumi works beautifully as a nursery decoration, a shelf accent, or a handmade gift for baby showers and birthdays. Low-key, it also makes a lovely spring-themed addition to Easter baskets or garden-party favors. Because the pattern uses soft plush yarn, the finished toy stays gentle against a child’s skin, making it safe for cuddling. Crafters selling handmade items also find bee amigurumi patterns popular on Etsy and craft fairs, since bees pair naturally with floral and garden themes throughout the spring season.
Helpful Beginner Tips
- Count stitches after every round before moving forward.
- Keep tension consistent, especially with plush yarn, since it hides mistakes less easily than cotton.
- Use stitch markers to track the start of each round.
- Practice the wing short rows on a scrap swatch first if unfamiliar with turning rows.
- Stuff firmly but gradually, adding small amounts as the rounds close.
Where Can You Use This Crochet Bee Amigurumi Pattern?
This bee amigurumi fits nursery shelves, spring table centerpieces, keychain-sized mini versions, and handmade market booths. It also works well stitched onto blankets or bags as a soft applique, or displayed alongside other garden-themed crochet toys for a coordinated spring collection.
Why Beginners Will Enjoy This Crochet Bee Amigurumi Pattern
Real talk, this pattern keeps every step short and predictable, which makes it forgiving for first-time amigurumi crocheters. The stripes create a rewarding visual result quickly, and the wings, while requiring focus, only take a few short rows to complete. Nothing about the shaping feels overwhelming, so confidence builds fast from round one.
Tips and Tricks for Success
- Mark the last stitch of each round before a color change to avoid confusion.
- Weave in yarn tails as you go instead of leaving them all for the end.
- Use a slightly smaller hook than usual for plush yarn to keep stitches tight.
- Test wing placement with pins before sewing permanently.
- Keep extra stuffing nearby to firm up soft spots after the body closes.
Why This Crochet Bee Amigurumi Pattern Is Trending
Bee-themed crochet has surged in popularity as spring and garden aesthetics take over home decor and handmade markets. No joke, bees carry a cheerful, nostalgic charm that pairs naturally with floral, pastel, and cottagecore trends currently dominating Pinterest and Etsy searches.
- Spring and garden themes are trending heavily across home and craft platforms.
- Bee symbolism connects with sustainability and pollinator-awareness movements gaining public attention.
- Plush, stripe-pattern amigurumi photographs well for social media, boosting its shareability.
Conclusion
For real, this Crochet Bee Amigurumi Pattern delivers a sweet, giftable project that suits any skill level willing to try simple stripes and short-row wings. Ngl, the finished plush bee brings spring energy into any room, and its manageable steps make repeat makes tempting for gifts, shops, or personal collections.