
Awesome Crochet Holly Berries Pattern Christmas Bauble Topper
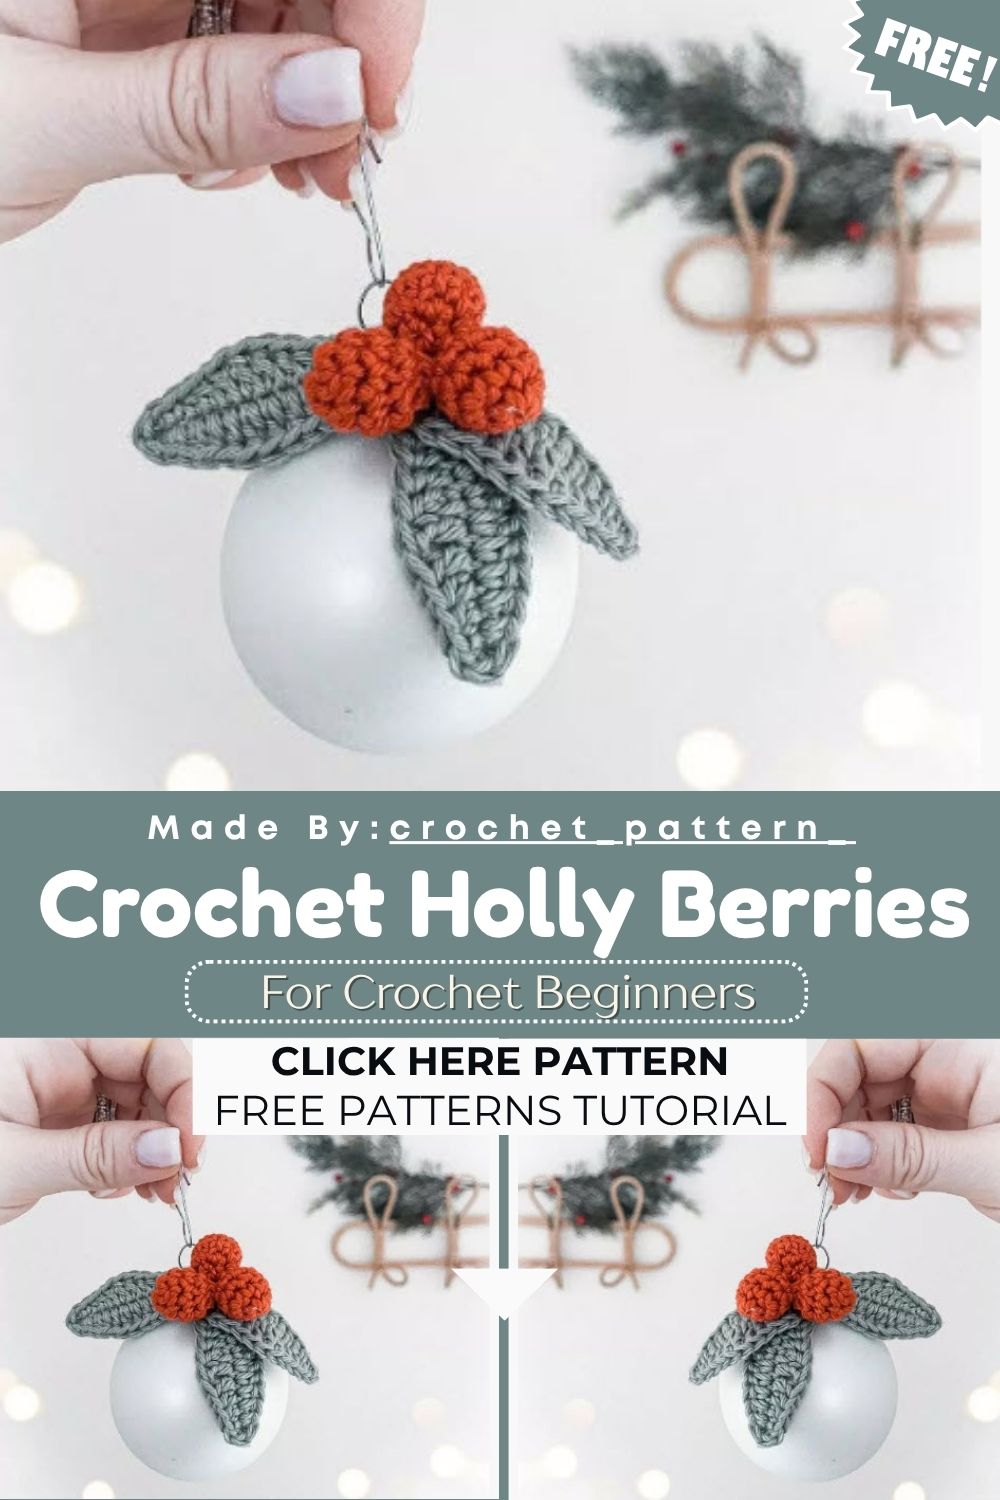
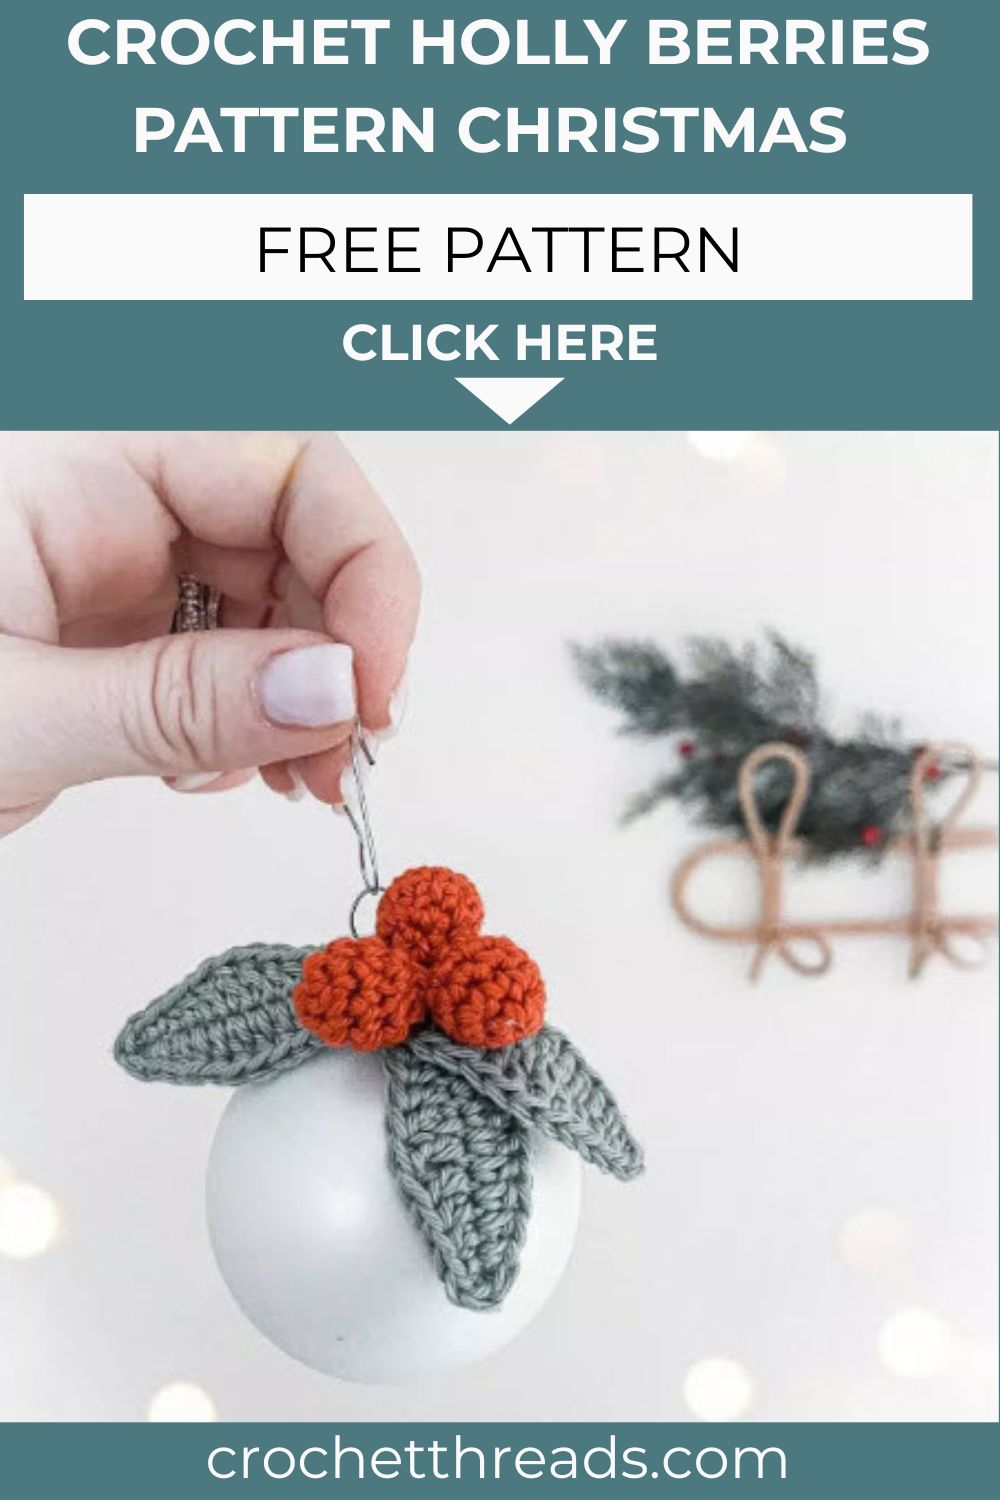
Handmade Christmas ornaments always give the tree a special, personal touch, and this Crochet Holly Berries Pattern is one of them. Made with red and green yarn, this charming holly berries topper transforms a plain bauble into a festive, eye-catching decoration. With a few basic stitches and a little effort, you can create a unique ornament that makes your Christmas tree even more beautiful and memorable.
This little holly berries topper takes almost no yarn and comes together in one sitting, perfect for last-minute gift toppers. Three red berries sit against a trio of pointed green leaves, mimicking real holly sprigs from classic Christmas decor and winter table settings. Beginners finish this quickly since the stitches stay simple, while the finished piece adds texture and color to bare ornaments, wreaths, or tiny gift ribbons alike.
Skill Level
Confident beginners handle this pattern well, since it relies mainly on magic circles, increases, and decreases worked in easy repeating rounds throughout each small piece of this festive design.
Pattern Overview
This Crochet Holly Berries Pattern project breaks down into two simple pieces that come together fast. Here is what to expect before picking up the hook:
- Three small crochet balls in red form the holly berries, each worked in just five short rounds
- Three pointed leaf shapes in green form the holly leaves, built from a single starting chain
- Pieces assemble into a compact topper sized to sit neatly on top of a Christmas bauble
- Finished topper ties directly onto a round ornament with leftover thread, so no extra cord is needed
Working in a small scale like this keeps the whole make portable, so it travels well for holiday crafting nights or quiet evenings by the tree.
Special Techniques
A handful of core techniques carry this whole pattern, and each one is worth a quick note before starting:
- Magic circle start for tidy, hole-free centers on each ball, giving a neater base than a chain start
- Working both sides of a starting chain to shape the pointed leaf, which creates the natural holly outline
- Increase and decrease stitches to round out each small berry, shaping it from flat to fully rounded
- Hiding the wire tail inside stitches for a clean finish, so no loose ends show on the surface
Common Mistakes
Small details make a big difference in how neat the finished topper looks. Watch out for these common slip-ups:
- Overstuffing the berries, which pulls the stitches too tight and distorts the round shape of each ball
- Skipping the slip stitch join at the end of a round, leaving a visible gap in the stitching
- Forgetting to work both sides of the starting chain on the leaf piece, which leaves the leaf half formed
- Rushing the assembly step and stitching the leaves unevenly around the berries, which throws off the final shape
Slowing down during the final two rounds of each piece usually solves most of these issues, since that is where the shaping happens.
Abbreviations
Rd – Round
St – Stitch
Ch – Chain
Sl st – Slip Stitch
Sc – Single Crochet
Hdc – Half Double Crochet
Dc – Double Crochet
Tr – Treble
Dec – Decrease (1 sc in two sts)
Inc – Increase (2 sc in the same st)
* … * – repeat until the end of the row
[ … ] – worked in one stitch
Keep this list nearby while working through the rounds, since a couple of these abbreviations repeat often throughout both pieces of the pattern.
Materials
Gather these supplies before starting, since the whole topper uses only small leftover amounts of yarn from either skein:
- Cotton yarn, green colour – 1 skein
- Cotton yarn, red colour – 1 skein
- 2.5mm crochet hook
- Tapestry needle
- Fiberfill stuffing
- A pair of scissors
- A plain Christmas ball or bauble to decorate
Instructions
Work through the berries first, since all three follow the same short sequence of rounds.
Berries (make 3) – Red colour
- Round 1: 6 sc in a magic circle – 6
- Round 2: 1 sc, 1 inc (x3) – 9
- Rounds 3 and 4 (2 rows): 1 dc in each st – 9
- Round 5: 1 sc, 1 dec (x3) – 6
- Lightly fill the ball with fiberfill.
- Finish with 1 sl st, then cut the thread. Close the piece by passing the freshly cut thread through the front strands of the last row with your needle and pulling firmly. Pull the yarn in to hide it.
Leaves (make 3) – Green colour
Switch to green cotton for this piece, and keep the tension even so the leaf sits flat once finished. Start with a chain and work on either side of the chain.
- Round 1: Make a chain of 12 ch + 1 ch (13 total; the last ch does not count, it is simply used to turn around).
- Round 2: Stitch into the 2nd st from the hook and make 2 sc, 2 hdc, 1 dc, 2 tr, 1 dc, 2 hdc, 1 sc, 3 sc in the first ch of the chain. Continue on the other side of the chain and make 1 sc, 2 hdc, 1 dc, 2 tr, 1 dc, 2 hdc, 2 sc – 25
- Finish with 1 sl st, then cut the wire and tuck it in to hide it.
Assembly
Once all six pieces are finished, putting the topper together only takes a few minutes:
- Assemble the 3 leaf sheets, making small stitches at the ends of each leaf to hold the fan shape
- Sew the 3 small berries together, then attach them to the centre of the leaves so they sit snugly
- Keep only 2 threads from the assembly, and cut away the rest to avoid bulk at the base
- Tie the creation around a Christmas ball using the 2 remaining threads, pulling snug so it stays in place
A dab of fabric glue at the knot adds extra security if the topper will travel or get handled often during the season.
Important Remarks
A few extra notes are worth keeping in mind while working through this pattern:
- Basic stitches only are used here, so no special tools beyond a hook and needle are needed for the whole project
- Cotton yarn keeps the shape crisp and holds its form well, but any worsted weight yarn works as a substitute
- Stuff the berries lightly, since overstuffing distorts their rounded shape and makes the seams pull visibly
- Small yarn amounts make this design ideal for batch making multiple toppers at once, using up leftover scraps from bigger projects.
Conclusion
Finishing this Crochet Holly Berries Pattern topper takes only an hour, yet it turns a plain bauble into a handmade keepsake. Swap in different berry colors for a personalized twist, or make several toppers at once for gifts and stocking stuffers. Keep this pattern saved for next season, since its quick stitch count makes it a reliable last-minute project every December. Pair it with a matching wreath or garland for a coordinated handmade holiday display, and share photos of the finished ornaments to inspire other crafters trying the pattern for the first time.


