Mini Crochet Book Wallet Pattern for Everyday Cards
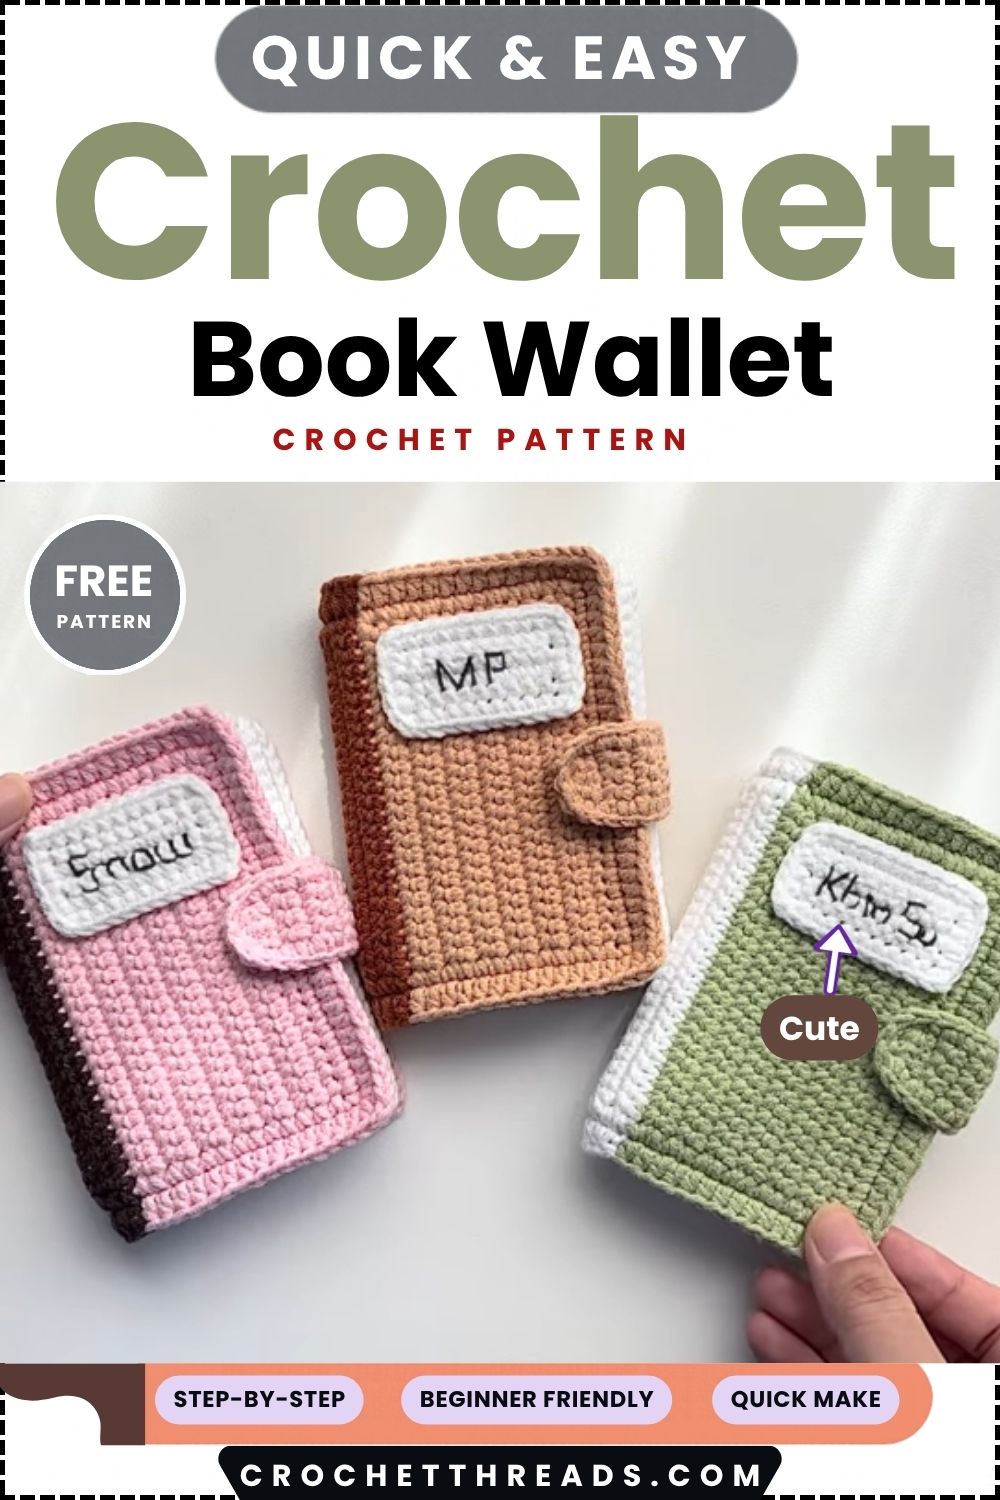
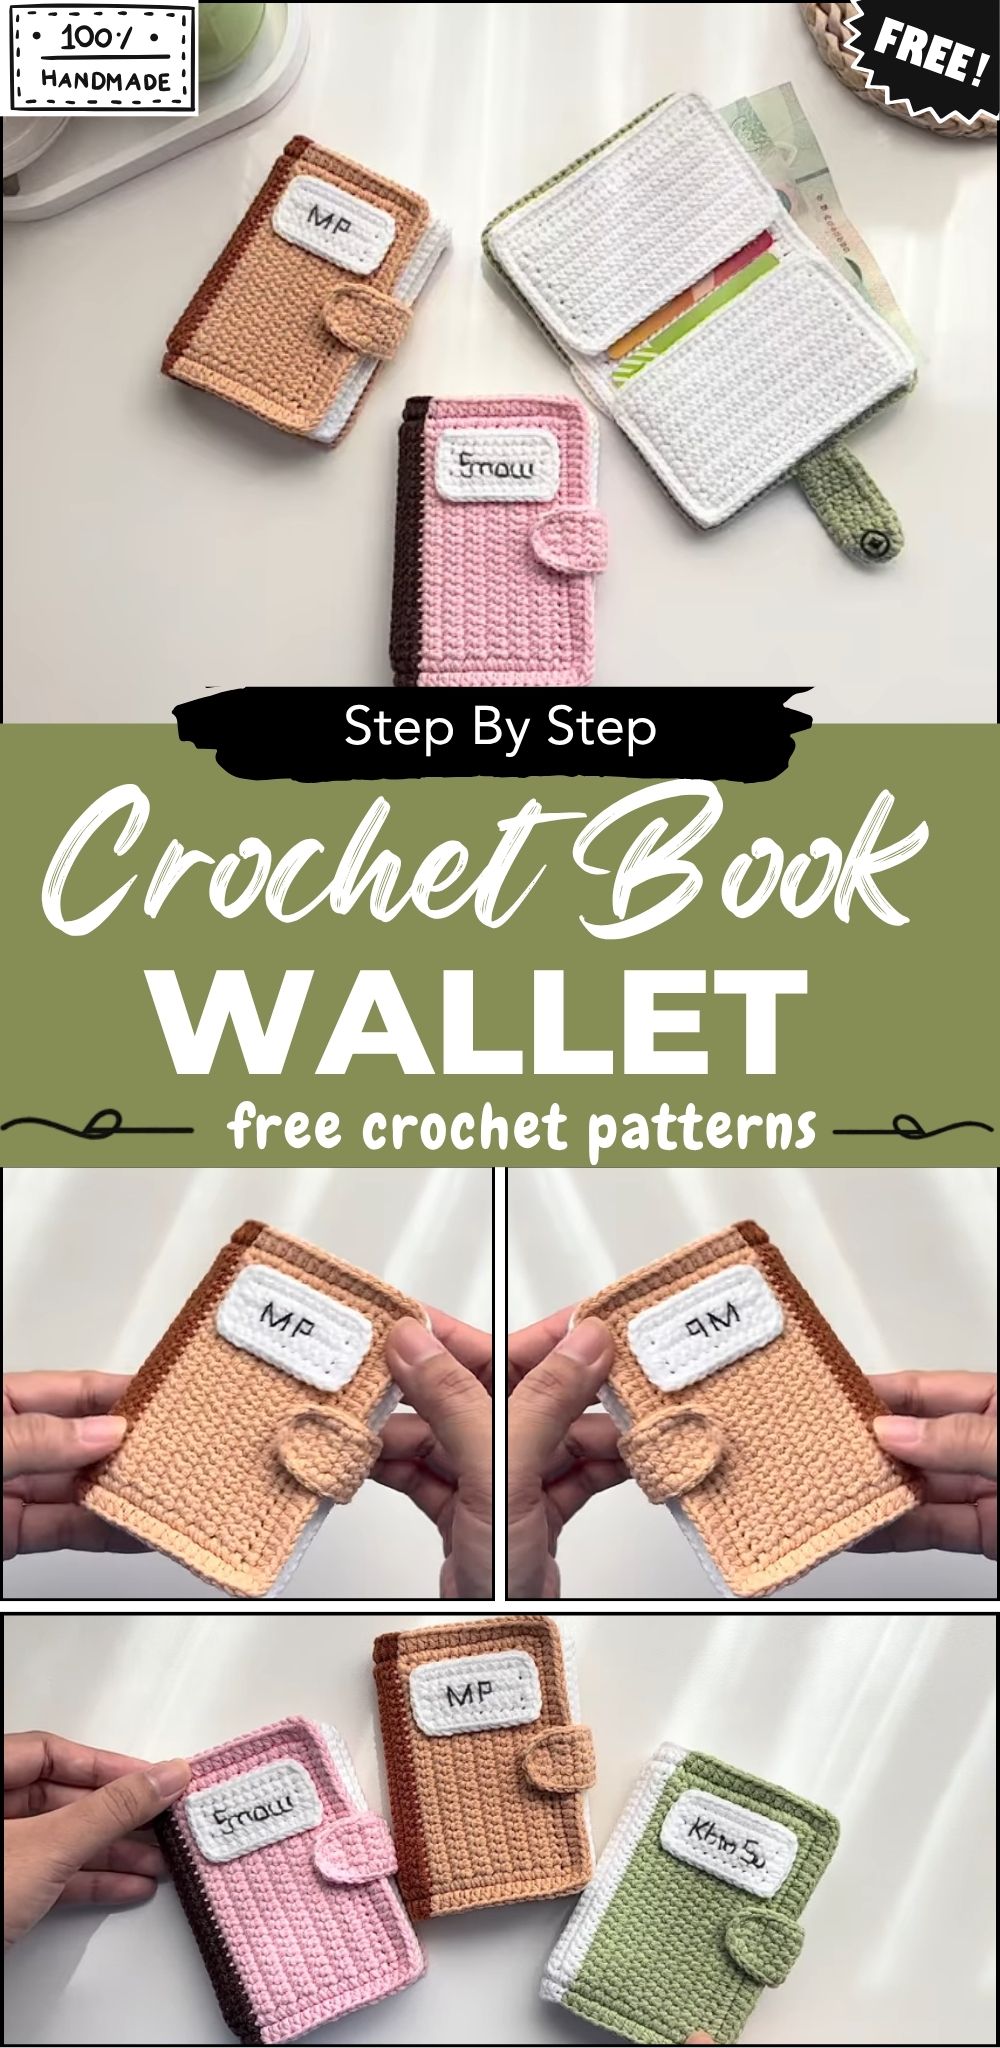
This crochet book wallet pattern creates a small wallet that looks like a real book, with tan covers, a caramel spine band, and white pages inside. Two card holders keep cards and cash organised, while a snap flap closes the wallet securely. In addition, a name tag embroidered with your own name gives the front cover a personal finish.
Milk cotton in light tan, caramel brown, and white gives the wallet a soft, neat look, and only a 3.0 mm hook is needed. Most of the work is single crochet, with half double crochet stitches on the cover border. Therefore, confident beginners can follow this crochet book wallet pattern comfortably, because the pages repeat the cover’s stitch count and row count.
Materials & Supplies for the Crochet Book Wallet Pattern
- Yarn: milk cotton in Light Tan, Caramel Brown, and White
- Hook: 3.0 mm crochet hook
- Tapestry needle for weaving in ends and sewing pieces together
- Sewing needle and thread for attaching the snap
- Scissors
- Stitch markers
- Fabric glue or hot glue
- One small snap button
Yarn quantities are not given in the source pattern. However, white yarn is used for the pages, both pockets, the flap, and the name tag, so it is the colour most likely to run short. For that reason, start with the largest white ball.
Skill Level & Required Skills
The source does not label a level, but the stitch list points to a confident beginner. Although nothing is complicated, several small techniques appear in one project.
- Chaining, turning, and single crochet in rows
- Working in the back loop only and the front loop only
- Changing colour, making corners, and working hdc and a simple decrease
- Whip stitching pieces together and embroidering a name
Abbreviations & Special Terms
- ch: chain
- sc: single crochet
- hdc: half double crochet
- inc: increase (listed in the source, but no step below needs it)
- dec: decrease
- sl st: slip stitch
- st(s): stitch(es)
- BLO: back loop only
- FLO: front loop only
- Colour change: pull the new colour through the last two loops of the final stitch in the row
Gauge & Finished Measurements
Gauge and finished measurements are not provided in the source. Still, the pattern does fix the stitch count: every body piece is 24 sc wide, and the cover is 34 rows tall before the border.
Because tension changes the final size, measure the cover after the border. A standard bank card is about 8.6 cm by 5.4 cm, so test one in the first pocket before sewing.
Step-by-Step Crochet Book Wallet Pattern Instructions
Book Cover
- First, with light tan yarn, make a slip knot and ch 25.
- Row 1: sc in the 2nd ch from the hook and in each ch across (24 sc). Ch 1, turn.
- Rows 2–13: sc in each st across (24 sc). Ch 1, turn after each row. On the last st of row 13, change to caramel brown.
- Rows 14–16: sc in each st across with caramel brown (24 sc). Ch 1, turn after each row.
- Row 17 (spine band): sc in the BLO of each st across.
- Row 18: sc in each st across as usual.
- Row 19: sc in the BLO of each st across.
- Rows 20–21: sc in each st across as usual. On the last st of row 21, change back to light tan.
- Rows 22–34: sc in each st across with light tan (24 sc). Ch 1, turn after each row.
- Round 35 (border): sc evenly around the whole edge, working (1 sc, ch 1, 1 sc) in each of the four corners.
- Round 36: hdc in the FLO around, working (1 hdc, ch 2, 1 hdc) in each corner.
Pro-Tip: Mark the first stitch of rows 17 and 21. The caramel band makes up the spine, so a marker keeps the BLO rows from drifting.
Stitch check: every row should still hold 24 sc. For this reason, count at the end of rows 13, 21, and 34.
Why it matters: Light tan covers 13 rows on each side of the eight caramel rows. As a result, the front and back panels match, and the spine sits in the exact middle.
Separate Parts for the Crochet Book Wallet Pattern
Pages
- With white yarn, repeat rows 1–34 exactly as written for the cover (24 sc per row). No colour changes are needed.
- Then border the piece with the same corner groups used on the cover, ready for joining.
Card Pockets (Make 2)
- With white yarn, work rows 1–13 as written for the cover. The source does not state a separate stitch count for the pockets, so 24 sc per row is the matching reading.
- Next, add a border of sc around the edge.
Flap
- With white yarn, begin on the centre 4 sts of the back side.
- Work 4 sc per row for rows 1–10.
- Row 11: work a decrease to taper the flap.
- Finally, edge the flap with sc.
The source does not name the edge for the flap. Generally, a closing flap sits on the edge opposite the spine, so check where the snap will sit before starting.
Name Tag
- With white yarn, ch 11 and work 10 sc across.
- After that, continue in rows of 10 sc until a small rectangle forms. The source gives no row count.
- Lastly, border the tag with sc.
Assembly & Joining Instructions
- First, join the pages to the back loops of round 35 on the cover. Round 36 was worked in the FLO, so those back loops stay free for joining.
- Next, leave one side open so the pages section forms an inner pocket.
- Then sew each bordered pocket to an inner side of the book, front and back, so cards or cash slide in.
- Finally, sew one half of the snap to the flap and the other half to the wallet, using sewing thread.
Pro-Tip: Close the wallet and pin the snap positions before sewing. Otherwise, a snap sewn even a few stitches off will tilt the flap.
Finishing Your Crochet Book Wallet
- First, weave in every yarn end on the wrong side with the tapestry needle, then trim.
- Next, embroider a name onto the tag.
- Then glue the tag to the front cover with fabric glue or hot glue.
- Finally, let the glue set completely before opening the wallet.
Estimated Completion Time
Completion time is not provided in the source. Since the project has six separate pieces, it works well in short sessions: cover first, pages and pockets next, flap and name tag last. Timing the cover alone gives a reliable guide for the rest.
Safety Notes
- Snap buttons are small parts and can be a choking hazard. Therefore, keep the wallet away from babies and toddlers.
- Hot glue can burn skin. Apply it with care, and let the tag cool before pressing.
- Keep glue to the back of the name tag so no stiff patch forms near the card pockets.
Sizing Options
The source gives one size only. Different milk cotton or another hook shifts the measurements slightly. Moreover, changing the 24-stitch width would mean adjusting the pages, pockets, and flap to match, and the source offers no guidance for that.
Tips & Troubleshooting
- Wavy edges: count stitches after each colour change, and add a marker to the first stitch.
- Visible gaps in the fabric: use a tighter tension or drop the hook size, since milk cotton should look dense.
- Colour change looks bumpy: switch colours on the final pull-through of the last stitch, then carry the new strand along the edge.
- Spine will not fold: confirm rows 17 and 19 were worked in the BLO only.
- Pockets feel tight: check the pocket against a card before sewing, not after.
FAQs About This Crochet Book Wallet Pattern
What yarn works best for the crochet book wallet pattern?
Milk cotton in Light Tan, Caramel Brown, and White, worked with a 3.0 mm hook, matches the source.
Why are the spine rows worked in the back loop only?
The BLO rows leave a ridge. As a result, the cover bends cleanly at the spine and the caramel band stands out.
How many pockets does the wallet have?
Two card pockets are sewn inside, one on each side, plus the open page section.
Can a beginner make the wallet?
Yes, provided single crochet, turning, and basic sewing feel comfortable. Take the cover slowly, and the rest follows.
Uses & Gift Ideas
Slide a transit pass and a library card into the pockets, then tuck folded cash behind the pages. The wallet fits a jacket pocket or tote, and the name tag keeps it from getting mixed up in a shared bag. Likewise, birthdays, graduations, teacher gifts, and bookish friends all suit the book shape.
Gift Bundle Ideas (Bonus Section)
Pair the wallet with a small gift card, a bookmark, and a pocket notebook. Then tie the bundle with ribbon and a tag reading the recipient’s name.
Yarn Colour Choices & Substitutions
The source uses Light Tan, Caramel Brown, and White, which together look like a leather-bound novel with cream pages. Still, you can swap the palette freely, as long as you keep strong contrast between cover and spine.
- Navy cover with a mustard spine for a classic library look
- Sage cover with a cream spine and white pages for a softer finish
For substitutions, choose cotton of similar thickness and test it with the 3.0 mm hook.
Customisation Ideas for the Crochet Book Wallet
Name Tag Styles
Use a contrast thread, a single initial, or a short word.
Spine Bands
Add one more BLO row for a bolder ridge, provided the spine matches on both sides.
Snap Colours
Pick a metal finish or colour that blends into the flap.
Mini Charms
Hang a small bead or tassel from the snap area.
Care & Washing Instructions
The source gives no care instructions. For cotton, spot cleaning with a damp cloth and mild soap is the safest start. Also, avoid soaking the cover, because the glued name tag may loosen. Afterwards, reshape the wallet by hand and dry it flat away from direct heat. Remove the cards before cleaning.
Ready to Stitch Your Own Little Book?
A few colour changes, a ridged spine, and a snap flap are all it takes to turn leftover cotton into a wallet that looks like a tiny book and works like a real one. So pick a favourite palette, stitch on a name, and give your finished crochet book wallet a place in a pocket.