Crochet Checkered Wallet Pattern for Beginners
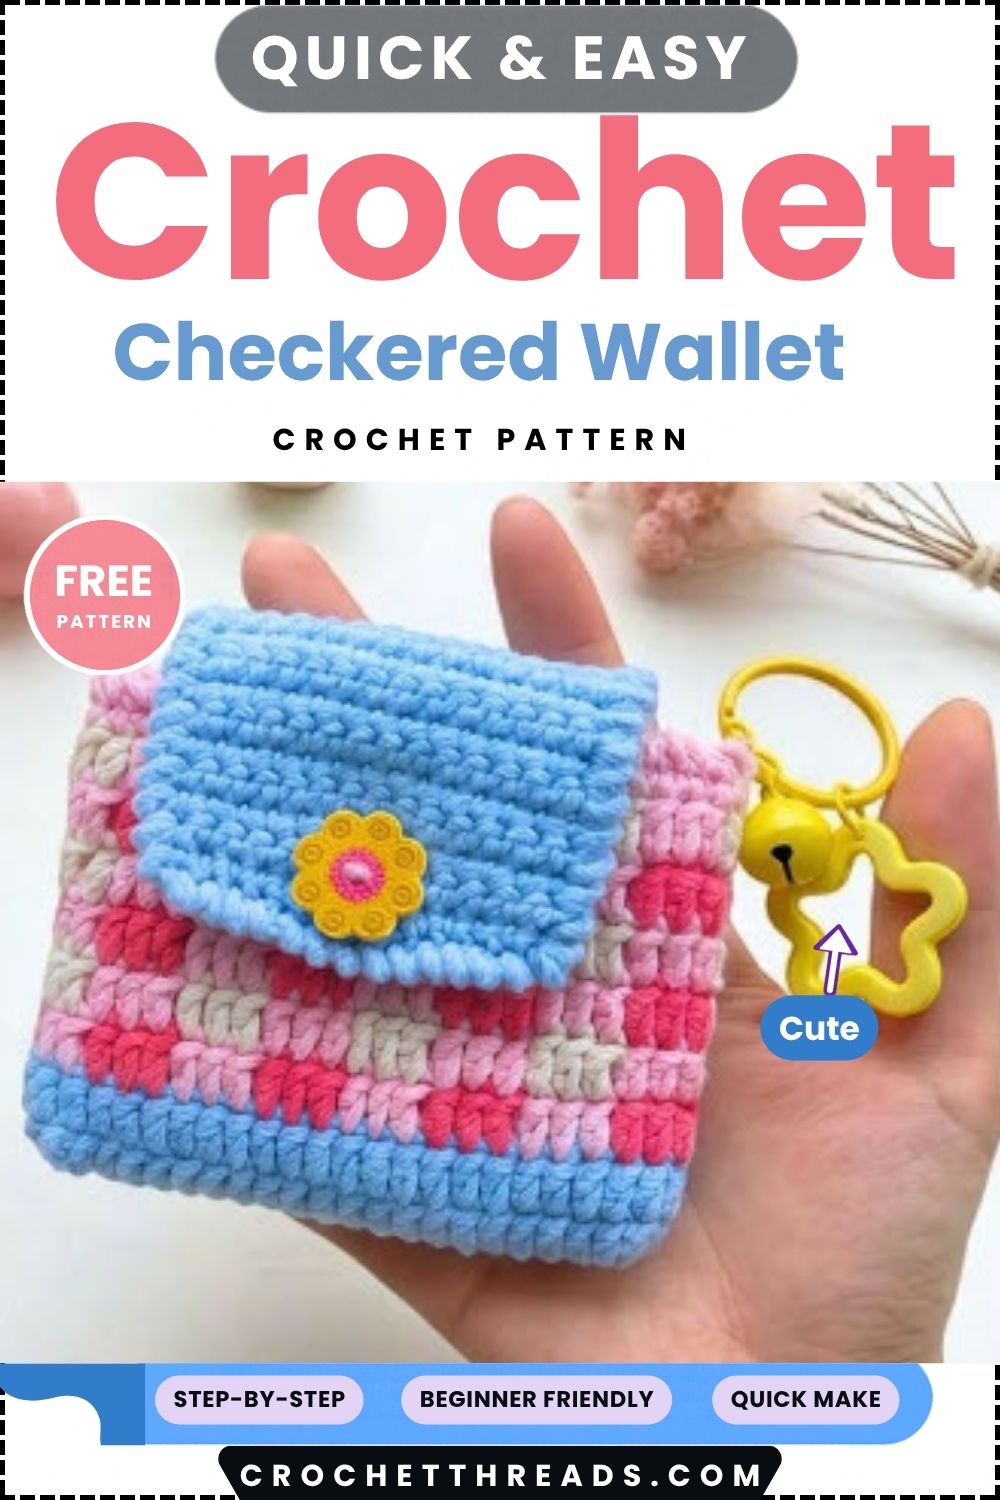
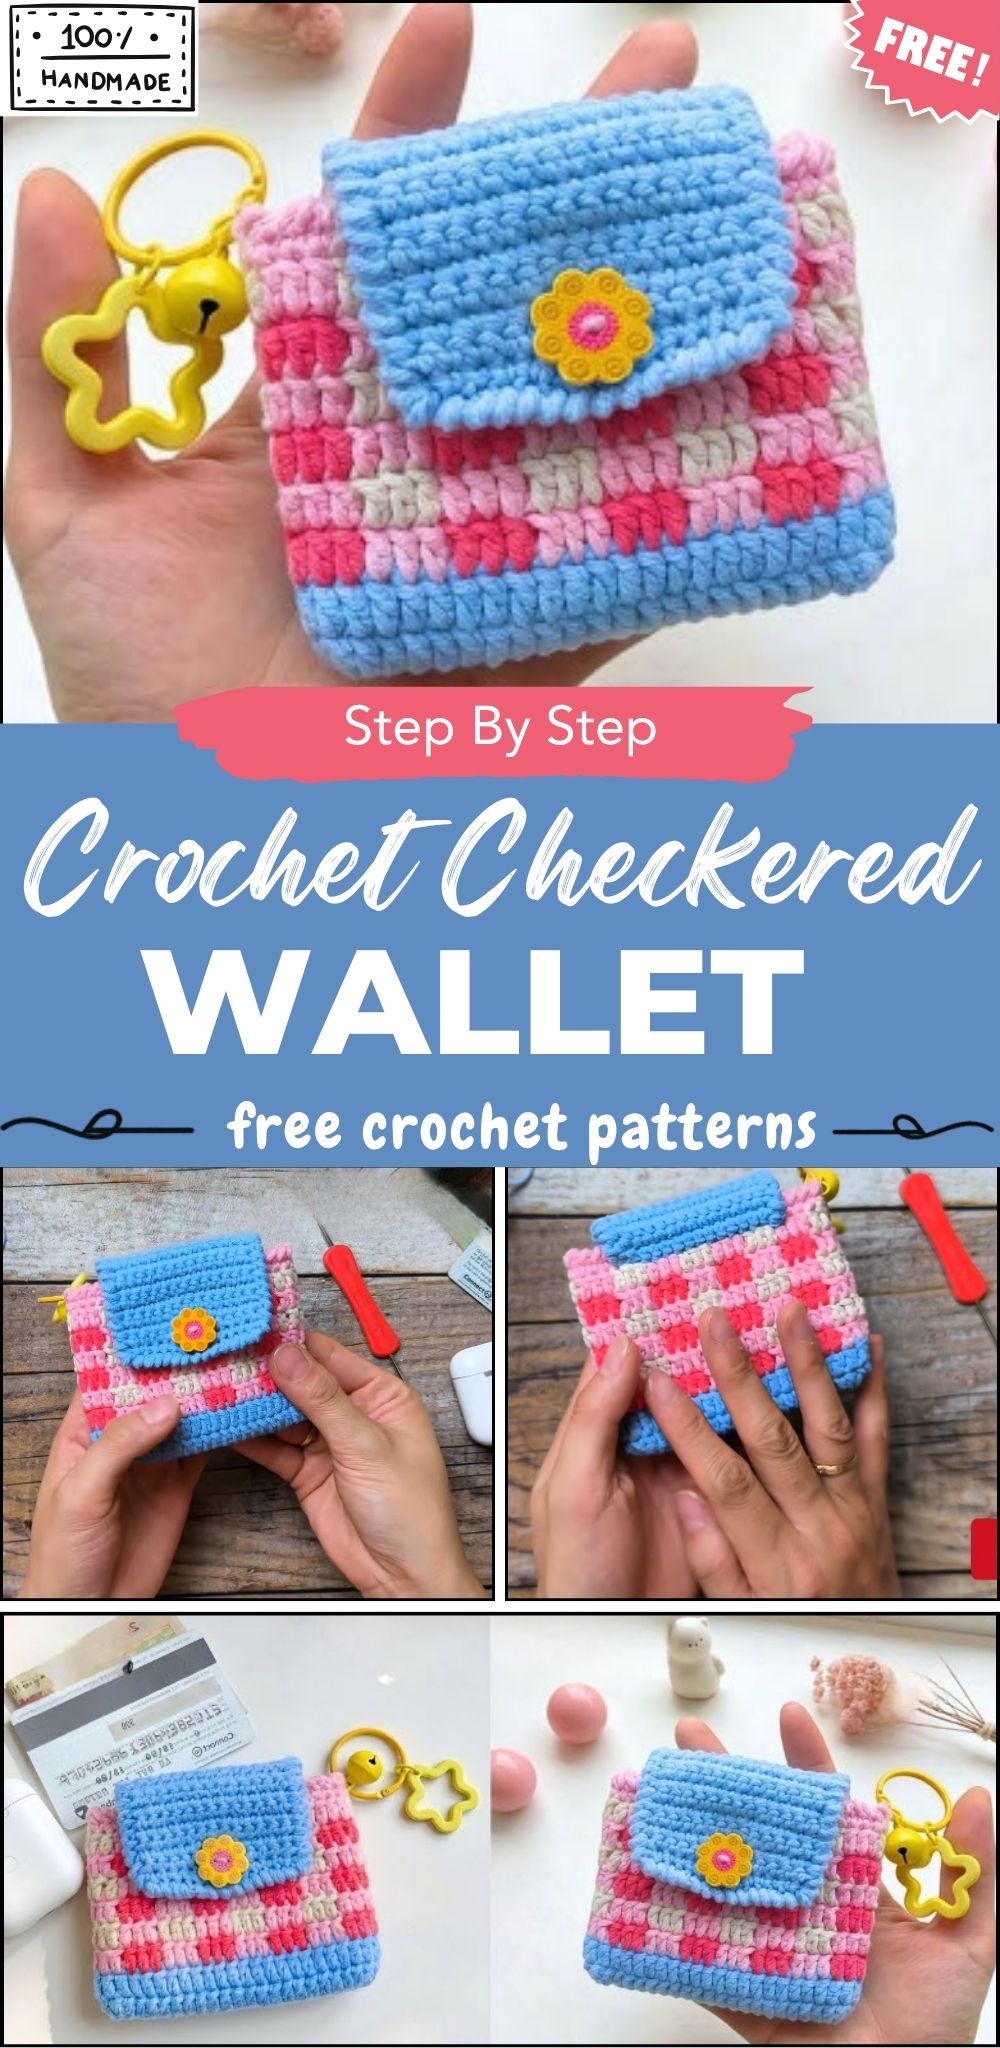
Tiny checks, big charm! This crochet checkered wallet pattern builds a small wallet from pink and cream blocks just three stitches wide, with a sky-blue base and flap and a little yellow flower button on top. Clip on a keyring with a bell and star, and it turns into a cute bag charm that still holds cards and coins.
The wallet starts with a small oval base, then grows in rounds of double crochet. Colours change every three stitches to make the plaid, and a braided crab stitch edge finishes the rim. In addition, a flap with a buttonhole closes it. Therefore, this crochet checkered wallet pattern suits beginners well. One tip: start with a chain that leaves a remainder of 2 when divided by 6.
Materials & Supplies for the Crochet Checkered Wallet Pattern
- Yarn: Milk cotton yarn in sport or DK weight, in three colours: light pink (main colour), dark pink and white. A 125 g milk cotton ball is the example given in the source.
- Hook: Double-ended crochet hook, using the 2.5 mm end.
- Tapestry needle for sewing and weaving in ends.
- Scissors.
- One button that passes easily through the buttonhole.
- Optional: a keyring or clasp.
The source does not state how much yarn each colour needs. However, small leftover amounts are likely enough for a project this size, so check your own supply before starting.
Skill Level & Required Skills
This is a beginner pattern. Basic comfort with a few stitches is all it takes, and the colour changes are the only new skill.
- Making a slip knot and chaining
- Working single crochet and double crochet
- Joining a round with a slip stitch
- Changing colours on the last loop of a stitch
- Carrying unused yarn behind the work
- Sewing on a flap and a button
Abbreviations & Special Terms
All terms are in US style.
- ch: chain
- sc: single crochet
- dc: double crochet
- sl st: slip stitch
- st(s): stitch(es)
- Plaid (caro): the checkered look made by alternating colours in blocks
- Colour block: a group of 3 stitches worked in one colour
- Reverse single crochet (crab stitch): single crochet worked backward, left to right, for a twisted, braided edge
Gauge & Finished Measurements
The source gives no gauge and no finished size, so exact figures are unavailable here. Because the wallet is worked in the round, small differences in tension change the final size only a little. Still, a quick swatch in your yarn will show how snug or loose your stitches run.
Height is up to you, since the body grows until it suits the cards and coins it will hold. Meanwhile, the flap is about 16 rows long, or long enough to fold over the front.
Step-by-Step Crochet Checkered Wallet Pattern Instructions
Step 1: Oval Base
- First, make a slip knot. Chain a number that leaves a remainder of 2 when divided by 6. The source uses 20 ch as its example.
- Next, chain 3 more. Work 2 dc into the 20th chain from the hook, as the source describes.
- Then work 1 dc into each chain along the rest of the foundation chain.
- At the far end, work 6 dc into the last chain so the base curves around.
- After that, work 1 dc into each stitch along the opposite side of the foundation chain, back toward the start.
- Finally, in the last stitch, where the first 2 dc sit, add 3 more dc so the curve matches the other end at 6 dc. Join with a sl st to the 3rd ch of the starting chain.
Step 2: Wallet Body & Plaid Colourwork
- First, chain 3 to begin the next round. Work dc around the base with no increases, so the stitch count stays the same.
- From Round 3 onward, bring in colour changes. Each colour block is 3 stitches wide.
- Then alternate the light pink background with the dark pink and white every 3 stitches. Carry the unused yarn underneath the stitches, and switch colours on the last loop of the final dc in each block.
- Keep working rounds in this plaid pattern until the body reaches the height you want.
- Lastly, finish with one round of sc in light pink, then a final round of reverse single crochet for the braided rim.
The source does not spell out the exact order of the dark pink and white blocks. Nevertheless, a simple rhythm of light pink, dark pink, light pink, white repeated around the round gives a neat check.
Separate Parts Instructions
The flap is made on its own, then attached later.
- First, chain a width that matches the wallet’s back opening. The source example is 14 ch.
- Next, work rows of sc back and forth.
- On one of the early rows, make the buttonhole. Chain 4, then skip 4 stitches. Adjust this to suit the size of your button.
- Then keep working sc rows until the flap reaches about 16 rows, or long enough to fold over the front.
- Finally, edge the flap with reverse single crochet, working 2 sc into each corner stitch for a rounded shape.
Assembly & Joining Instructions
- First, use a tapestry needle to sew the straight edge of the flap firmly to the upper rim at the back of the wallet.
- Next, fold the flap over the front and check where the buttonhole lands.
- Then sew the button onto the front at that spot so it fastens securely through the buttonhole.
- Finally, attach a keyring or bag strap if you would like one.
Finishing Your Crochet Checkered Wallet
First, weave in every loose end carefully, especially at the colour changes where several tails gather. Then trim the tails close once they are secure. Next, open and close the flap a few times to check that the button slides through without a struggle. Finally, tug the braided rim gently so it lies flat and even.
Safety Notes
- Buttons are small parts. Therefore, sew them on firmly, and keep the finished wallet away from babies and toddlers.
- Check keyrings and clasps for sharp edges before attaching them.
- Re-check the button after the first few weeks of use, as constant opening can loosen the thread.
Sizing Options
The source shows a single size, but the pattern adjusts easily.
- Width: Change the foundation chain, but keep the remainder of 2 when divided by 6. As a result, the 3-stitch blocks sit evenly around the oval.
- Height: Add or remove rounds before the sc and crab stitch edging.
- Flap: Match the flap’s starting chain to the new back opening, then adjust the number of rows so it still folds over the front.
Tips & Troubleshooting
- Carry the unused yarn loosely behind the stitches, because a tight carry puckers the fabric.
- Change colour on the last loop of the final dc in a block, not after it. This keeps the blocks crisp.
- Mark the start of each round with a stitch marker so the plaid lines stay aligned.
- If the check looks uneven, count stitches in each block. Every block should be exactly 3.
- If the base curls, check that the 6 dc at each end were worked into a single stitch.
- Crab stitch feels awkward at first. Therefore, go slowly and keep each stitch loose enough to insert the hook.
- Test the buttonhole with the button before finishing the flap rows.
FAQs About the Crochet Checkered Wallet Pattern
Can a regular hook be used instead of a double-ended one?
Yes. A double-ended hook is simply what the source uses, so any 2.5 mm hook works the same way.
Why does the chain need a remainder of 2 when divided by 6?
It keeps the 3-stitch colour blocks even around the round. As a result, the plaid meets up neatly.
What if the plaid looks messy on the inside?
Carried yarn will show a little. However, it stays hidden once the wallet is closed, and a loose carry keeps it tidy.
Is milk cotton the only yarn that works?
The source uses milk cotton, but any smooth sport or DK weight cotton blend gives a similar result. Exact substitutes are not listed in the source.
How big should the buttonhole be?
It should be just slightly smaller than the button. The source example is chain 4 and skip 4 stitches.
Uses & Gift Ideas
This wallet is perfect for holding coins, small cards, hair ties or lip balm. Likewise, it makes a lovely birthday gift, a thoughtful thank-you for a teacher, or a pretty add-on to a handmade gift basket. Moreover, with a keyring attached, it becomes a bag charm that doubles as a tiny pouch.
Yarn Colour Choices & Substitutions
Pink and white give a soft, sweet look, but plaid works in nearly any palette. For example, try navy, cream and grey for a calm, classic wallet, or mint, white and lemon yellow for a fresh spring version. Keep one main colour and two accents so the check stays clear. Also, choose yarns of similar thickness, because mixing weights makes the blocks uneven.
Customisation Ideas for the Crochet Checkered Wallet
- Switch the button for a wooden or pearl one to change the whole mood.
- Add a short strap or wrist loop to the back for easy carrying.
- Try three accent colours instead of two for a richer plaid.
- Work the flap in a solid colour to let the checkered body stand out.
Bonus: Matching Mini Coin Purse
Leftover yarn is enough for a smaller twin. Start with a shorter foundation chain that still leaves a remainder of 2 when divided by 6, and work fewer rounds. Then skip the flap and add a zipper or a simple button loop, and the set is ready to gift.
Care & Washing Instructions
The source gives no washing details. Still, cotton yarn is generally forgiving, so hand washing in cool water with mild soap is a safe choice. Press the water out gently without wringing, then reshape the wallet and let it dry flat. Above all, check your yarn label first, as it will give the most reliable guidance.
Time to Start Your Plaid Wallet
A few simple stitches, three yarn colours and one button are all this crochet checkered wallet pattern needs to shine. Once the rhythm settles in, the plaid grows quickly, and the braided rim adds a polished touch. So make one for yourself, then watch how fast friends start asking for their own.