Super Mini Crochet Card Holder Pattern That Elevates Decor
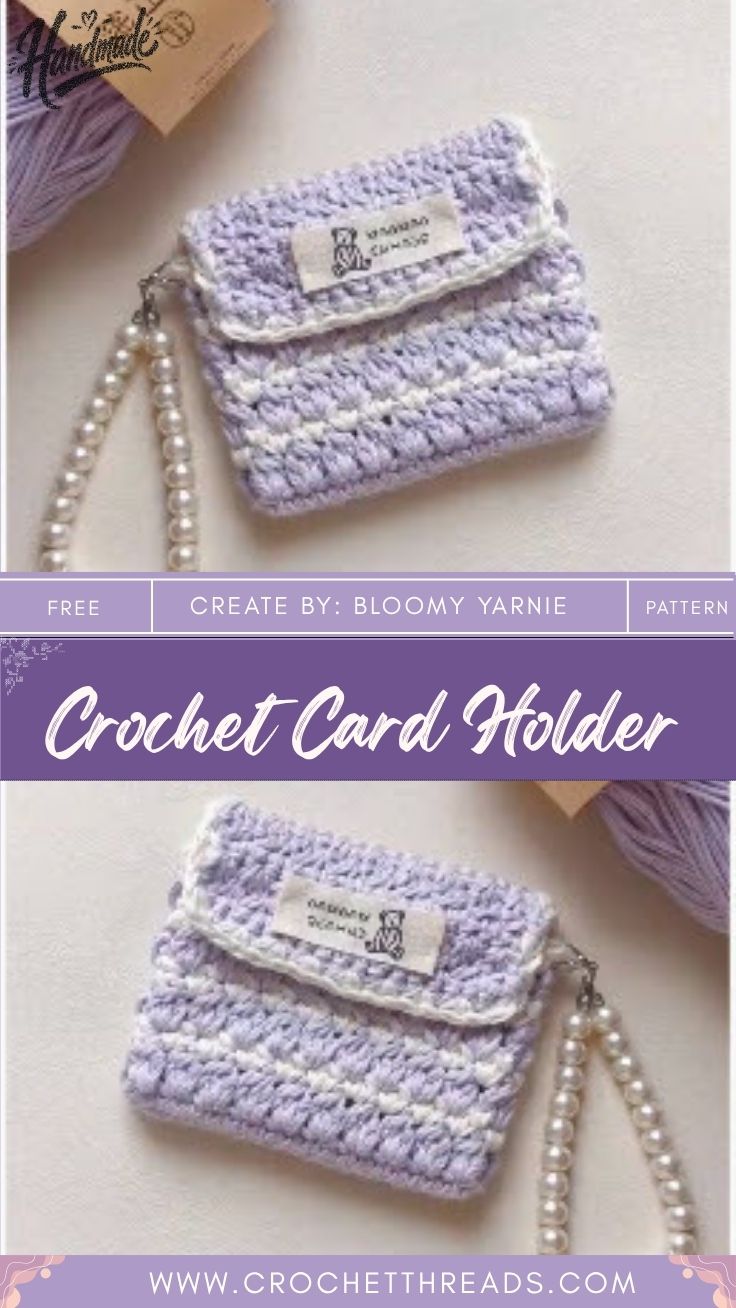
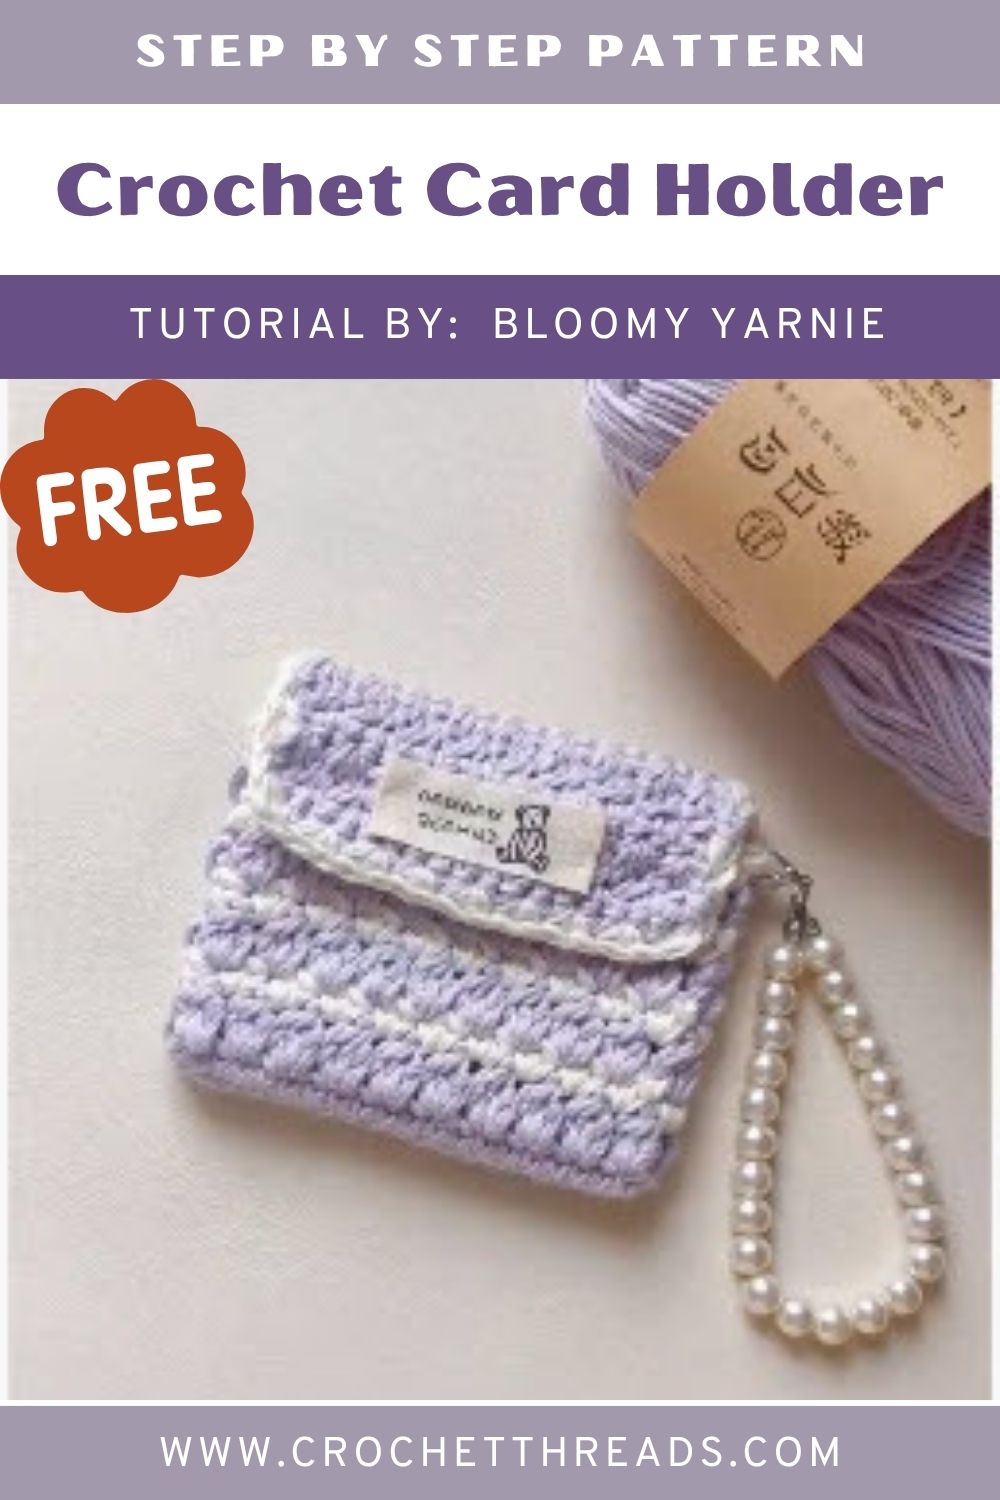
Soft lavender yarn spirals into cream as the Super Mini Crochet Card Holder Pattern That Elevates Decor takes shape. It forms a snug little pouch that props up a favorite card, photo, or note with a handmade touch any shelf welcomes.
Small-scale projects like this prove a beginner crochet idea can still look polished. It works well on a styled desk or a gift table. The design uses plain single crochet and one clean color swap. It builds a firm little pocket sturdy enough to hold a card upright, with no wire, cardboard, or fusible backing needed. That makes it one of the quickest crochet pattern ideas to finish in a single sitting.
Pattern Overview
The finished piece measures roughly 2.5 to 3 inches tall and 2 inches wide once seamed. It fits easily on a windowsill, a work desk, or a gift box lid. Two color-blocked panels are built in single crochet and joined at the sides. The top stays open, forming a slim slot that grips a greeting card, a photo, or a business card at a slight backward lean.
Every round stays simple. Hands of any experience level can pick up the rhythm within a few rows. No chart-checking required once the pattern clicks.
Time Box
- Prep: 5 minutes (yarn, hook, and marker ready)
- Stitching: 40–55 minutes for both panels
- Finishing (seaming, edging, blocking): 10–15 minutes
- Total: about 1 to 1.5 hours, well suited to a beginner working at a relaxed pace
Materials and Supplies
- Worsted weight (Category 4) yarn in two shades a main color such as lavender and a contrast such as cream or off-white
- 3.0mm–3.5mm crochet hook (size adjusts slightly with yarn weight)
- 1 locking stitch marker to track the round start
- Yarn/tapestry needle for weaving ends and seaming
- Sharp fabric scissors
- Optional: a scrap of lightweight interfacing or a few drops of fabric stiffener for extra body
- Optional: a small keychain ring, ribbon loop, or charm to dangle from one side for a finished accessory look
Crochet Techniques Used
- Magic ring to start each panel with a closed, gap-free center
- Single crochet (sc) as the main stitch throughout
- Increase and decrease rounds to shape the rounded base and taper the top edge
- Color-block striping to switch from main color to contrast mid-panel
- Whip stitch or single crochet seaming to join both panels together
Step-by-Step Crochet Pattern Instructions
Step 1: Building the Base
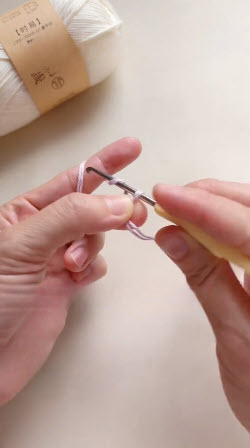
Start with a magic ring and work 6 single crochet stitches into the loop. Pull the ring closed. Place a stitch marker in the first stitch and move it up every round so the round start never gets lost.
The opening image shows the working loop still on the hook right after the initial chain. Hold the tail snug between thumb and forefinger so the ring doesn’t loosen as the first stitches go in.
Pro Tip: Keep tension slightly tighter than usual for a plush toy. Snug stitches close the small gaps between loops so a card doesn’t peek through the fabric.
Step 2: Increasing the Rounds
Work two increase rounds (2 sc in each stitch, then alternating single and increase stitches). This widens the base into a small rounded circle, about 1.5 inches across.
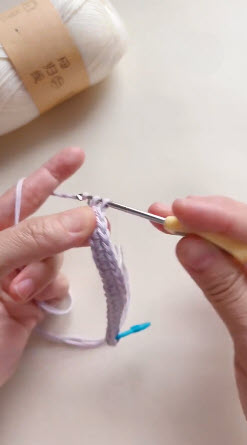
Step 3: Marking and Shaping the Sides
Once the base reaches its full width, stop increasing. Work even rounds of single crochet straight up to form the sides of the panel. Drop the stitch marker into the top of the last stitch each round to keep count.
the marker clipped into the stitching in the third image shows exactly where to place it. It sits right at the top loop of the final stitch in the round, not buried lower in the fabric.
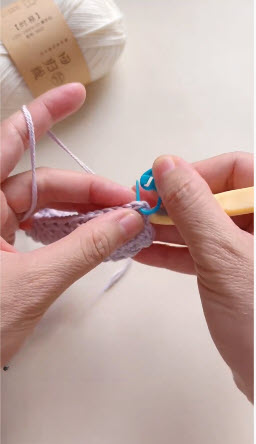
Step 4: Adding the Contrast Color
Switch to the cream (or second) color at the start of a new round. Draw it through the last two loops of the final stitch in the old color, then continue in single crochet.
the fourth image shows the base flipped over with the contrast shade tucked in at the join. Weave the old color’s tail along the inside as stitching continues so it never needs sewing in later.
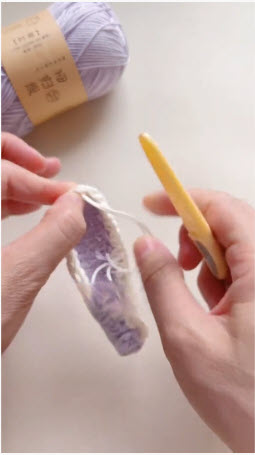
Step 5: Building the Moss-Stitch Texture Panel
Alternate single crochet rows in each color every one to two rounds. Let the join lines stack to form a soft, moss-like texture band across the front of the panel. Keep row counts identical between the two panels so they match at the seam.
the fifth image, with the marker still clipped mid-round, shows the color bands building height evenly. Check row height against a ruler here rather than guessing by eye.
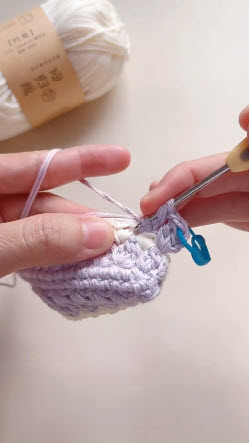
Step 6: Completing the Second Panel
Repeat Steps 1 through 5 for a second, matching panel. Keep stitch and round counts identical to the first.
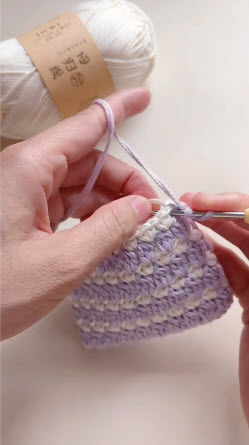
the sixth image shows the finished texture pattern in full, with lavender and cream bands sitting flush against each other. Use it as the reference for how the finished panel should look before seaming.
Step 7: Assembly and Seaming
Line up both panels with right sides facing out. Whip stitch around the base and up both sides, leaving the top edge open to form the card slot. Weave in every loose end along the inside seam.
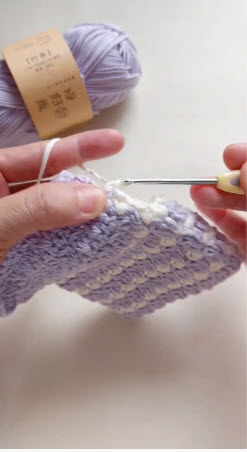
The final image, showing the hook resting against the completed edge, marks the stopping point for the seam. Fasten off there rather than closing the top.
Step 8: Finishing Touches
Steam-block gently to even out any curled edges. Tuck in a small strip of interfacing between the panels if extra firmness is wanted. Attach a keychain ring or ribbon loop to one side seam for hanging or gifting.
Common Mistakes to Avoid
- Skipping the stitch marker and losing track of the round start, which throws off the increase pattern
- Working the two panels at different tensions, leaving them mismatched at the seam
- Leaving stitches too loose, which lets a thin card slip straight through instead of holding snug
- Rushing the color change and leaving a visible gap or hole at the join
Beginner Tips
- Keep stitches on the tighter side throughout. Amigurumi-style tension gives the pocket its structure.
- A stitch marker isn’t optional here. Rounds blend fast in solid single crochet.
- Block the finished panels flat before seaming so both sides match exactly.
- Count rows against the first panel every few rounds on the second one, not only at the end.
Uses and Benefits
A finished card holder can prop a birthday card on a coffee table or dangle from a diaper bag zipper as a tiny keychain. It can hang from a backpack strap, tuck a gift card inside as a stocking stuffer, or clip onto a bag as a handmade accessory. Quick to stitch and light on yarn scraps, the project turns a spare hour into a useful, gift-ready piece. It adds a soft, tactile touch to any desk, shelf, or entryway console table.
Design Customization Ideas
Color Palette Swaps
Trade lavender and cream for a favorite team’s colors or a baby shower palette. A red and green combination gives a festive holiday twist on the same base pattern.
Charms and Trim Add-ons
Sew on a small pom-pom, a bead, or a tiny bow at the seam. A row of contrasting blanket stitch around the top opening adds extra polish.
Mini Size Variations
Drop to a 2.5mm hook and lighter-weight yarn for a truly miniature version sized for a single business card. Size up to worsted-plus yarn and a 4mm hook for a chunkier stand that holds a small photo.
FAQ
What’s the best yarn for a project like this?
Worsted weight cotton or cotton-blend yarn holds its shape well. It gives the finished pocket enough body to stand upright without extra stiffening, though acrylic worsted works fine for a softer, budget-friendly option.
How do I make the finished card holder firm enough to stand on its own?
Tight, even stitches make the biggest difference. A light spray of fabric stiffener or a slipped-in scrap of interfacing between the panels adds backbone without changing the outer texture.
How long does the Crochet Card Holder Pattern project take start to finish?
Most makers finish both panels and the seaming in about an hour to an hour and a half. That makes it an easy one-sitting project even for someone newer to amigurumi-style single crochet.
Key Takeaways
A project this size proves a handful of yarn scraps and an hour of stitching can turn into a decor piece worth keeping out on display. Grab a hook and pick a favorite color pairing. Then give the Crochet Card Holder Pattern a try, and drop a comment or tag a finished photo to share how the color combination turned out.