Crochet Christmas Tree Card Pattern For Handmade Gift Idea
Handmade Christmas cards always add a personal, memorable touch to holiday wishes, and that’s exactly what makes this Crochet Christmas Tree Card special. A few leftover scraps of yarn and simple stitches come together to form a tiny crochet tree, giving an ordinary card a unique twist. The easy pattern means this project comes together quickly, and once finished, it works beautifully on Christmas greeting cards, gift wrapping, holiday stationery, or festive scrapbooks.
During Christmas, it’s the small personal details that turn an ordinary greeting into something special. A tiny crochet Christmas tree adds a unique touch to a simple card, with the handmade effort standing out at every glance. Made with minimal yarn and easy stitches, this pattern not only comes together quickly but is also a great choice for crocheters who want to showcase their creativity in a fresh way each holiday season.
Overview
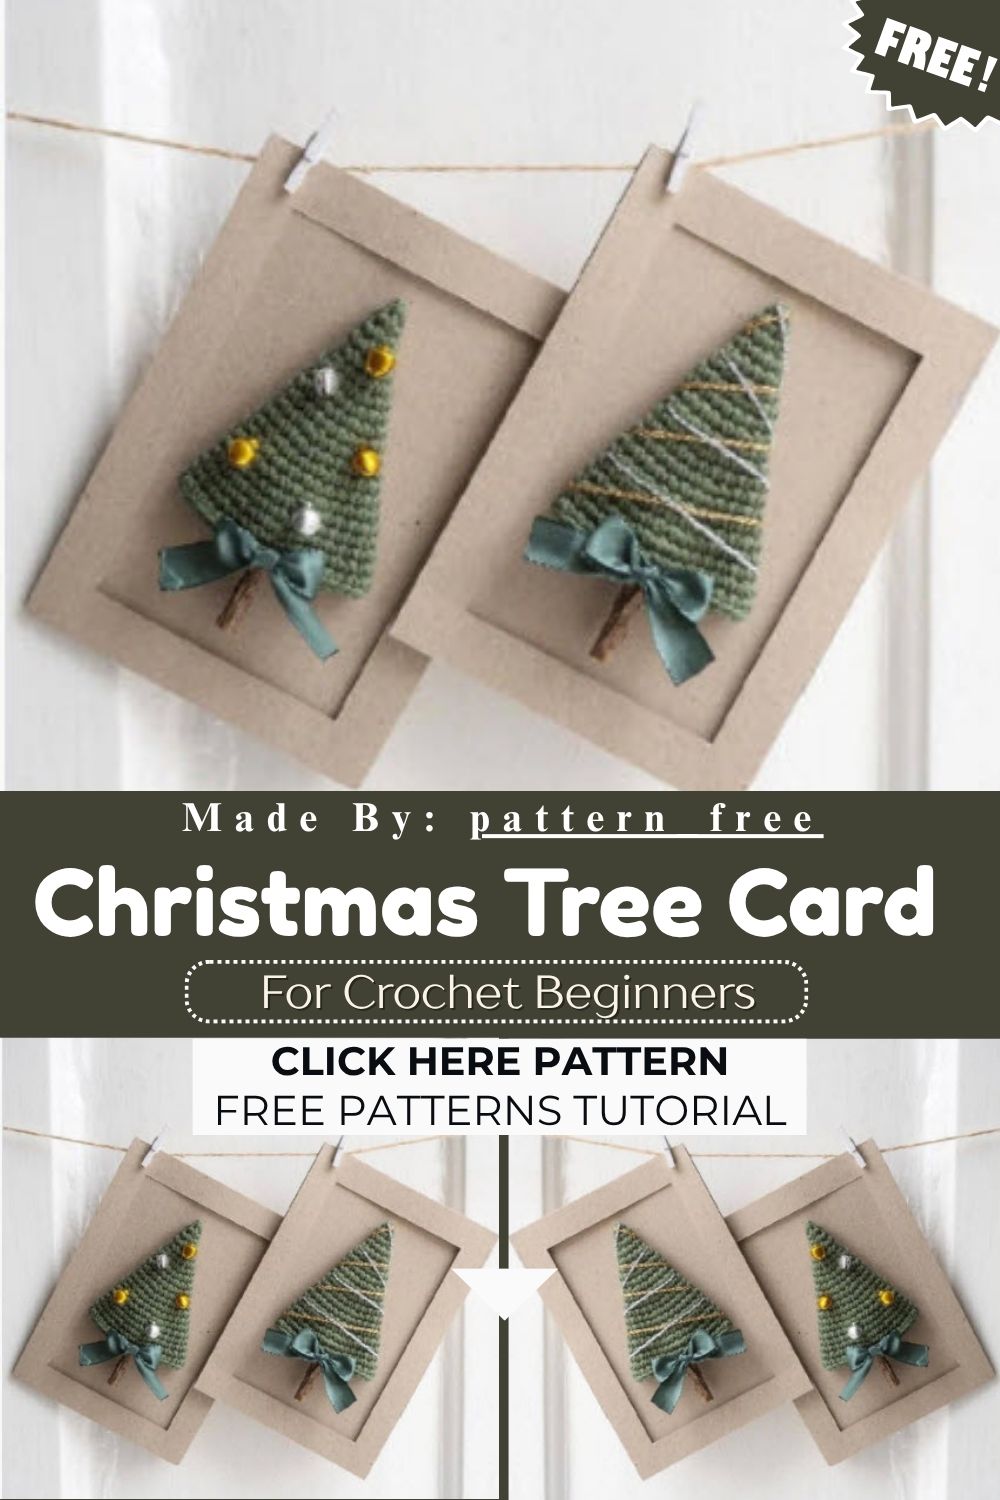
A crochet Christmas tree card combines two simple crafts into one project. First, you build a small conical tree using basic single crochet stitches. Then you glue it onto a postcard, using a tiny branch as the trunk. The finished piece works as a standalone card or a small ornament. Beginners can finish one tree in under an hour once the stitch pattern clicks.
Skill Level
Beginner-friendly with light amigurumi experience recommended. Magic rings, single crochet, and increases form the entire pattern. No joke, anyone comfortable with basic amigurumi shaping can complete this project confidently within a single sitting.
Materials Needed
- 2.50 mm crochet hook
- 8/4 cotton yarn (Drops Safran or similar weight works well)
- Scissors and a yarn needle
- Small bells for embellishment
- Silk ribbon
- Gold or silver yarn for decorative accents
- Craft glue
- One A6 blank postcard
- A 4 cm twig or branch piece for the trunk
H3: Why Yarn Weight Matters Here
Lightweight cotton yarn like 8/4 Safran keeps stitches tight and neat. Bulkier yarn distorts the tree’s cone shape and hides stitch definition. Thinner cotton also dries faster once glued, which speeds up the finishing stage.
Crocheting the Tree Shape
The tree grows from a magic ring into a wide, flat cone. Increases happen every other round, building width gradually as you work upward.
H3: Starting the Base
Begin with 3 single crochet stitches inside a magic ring. This forms the pointed tip of your tree. Pull the ring closed firmly so no gap appears at the top.
H3: Building the Increase Rounds
From here, alternate between plain rounds and increase rounds. Increase rounds add one stitch pattern repeat, expanding the circle outward. Plain rounds simply work even stitches around, locking the shape in place.
Here’s how the stitch count grows round by round:
- Round 1: 3 sc in magic ring (3 total)
- Round 2: increase in each stitch (6 total)
- Round 3: even single crochet (6 total)
- Round 4: one sc, one increase, repeated (9 total)
- Round 5: even single crochet (9 total)
- Round 6: two sc, one increase, repeated (12 total)
- Round 7: even single crochet (12 total)
- Round 8: three sc, one increase, repeated (15 total)
- Round 9: even single crochet (15 total)
- Round 10: four sc, one increase, repeated (18 total)
- Round 11: even single crochet (18 total)
- Round 12: five sc, one increase, repeated (21 total)
- Round 13: even single crochet (21 total)
- Round 14: six sc, one increase, repeated (24 total)
- Round 15: even single crochet (24 total)
- Round 16: seven sc, one increase, repeated (27 total)
- Round 17: even single crochet (27 total)
- Round 18: eight sc, one increase, repeated (30 total)
- Round 19: even single crochet (30 total)
- Round 20: nine sc, one increase, repeated (33 total)
- Round 21: even single crochet (33 total)
H3: Finishing the Stitching
Cut your yarn once round 21 is complete, leaving a short tail. Weave the tail through the last few stitches and pull tight to secure it. Fasten off carefully so the edge doesn’t unravel later.
Attaching the Trunk and Card
Low-key, this is the easiest part of the whole project. Glue your 4 cm branch piece to the flat base of the crocheted tree. Let it dry fully before moving to the card itself. Position the tree in the center or slightly off-center on your A6 postcard, then apply glue to the base and press firmly for several seconds.
Embellishing Your Tree
Small details make this ornament feel finished rather than plain. Consider these embellishment ideas:
- Wrap thin gold or silver yarn spiraling around the cone for a garland effect
- Glue tiny bells at varying heights for a jingling touch
- Tie a small silk ribbon bow near the base as a tree skirt
- Add a small star or bead at the very tip
Ngl, mixing metallics with matte cotton yarn creates a nice textural contrast on the finished card.
Customization and Variations
Swap the natural cotton for red, white, or classic green yarn depending on your color theme. For instance, a monochrome white tree with silver thread looks elegant on minimalist cards. Alternatively, try ombre yarn for a gradient effect from dark green at the base to light green near the tip.
Larger hooks and thicker yarn produce a chunkier tree suited for tags or ornaments instead of flat cards. Smaller hooks with fingering-weight cotton create a delicate, lace-like texture perfect for formal invitations.
Common Mistakes to Avoid
Several small errors can throw off the tree’s shape or finish.
- Skipping stitch markers: Losing track of your round start point causes miscounted increases.
- Pulling the magic ring too loose: This leaves a visible hole at the tree’s tip.
- Using bulky yarn: Thick yarn makes the tree look lumpy instead of neatly conical.
- Gluing before the trunk dries: Attaching the card too early can shift the branch out of place.
- Overcrowding embellishments: Too many bells or ribbons hide the crochet texture entirely.
Finishing Tips
Press the completed tree gently between your palms before gluing to flatten any curling edges. Trim yarn tails close to the fabric so nothing pokes through the card surface. For real, a light steam from a distance helps relax stubborn stitches without damaging the cotton fibers.
Gifting Ideas
This card works beautifully as a standalone holiday greeting for coworkers or neighbors. Pair it with a small gift card tucked inside as a thoughtful bundle. Consequently, it also doubles as a keepsake ornament once removed from the card and hung on ribbon.
Frequently Asked Questions
Can I use acrylic yarn instead of cotton?
Yes, though cotton holds its shape better for this small-scale project.
How long does one tree take to crochet?
Most crocheters finish in 45 to 60 minutes, depending on experience.
Do I need a magic ring, or can I chain instead?
A magic ring closes the tip completely, giving a cleaner finish than chaining.
What size postcard works best?
A6 size fits the tree proportionally without looking cramped.
Conclusion
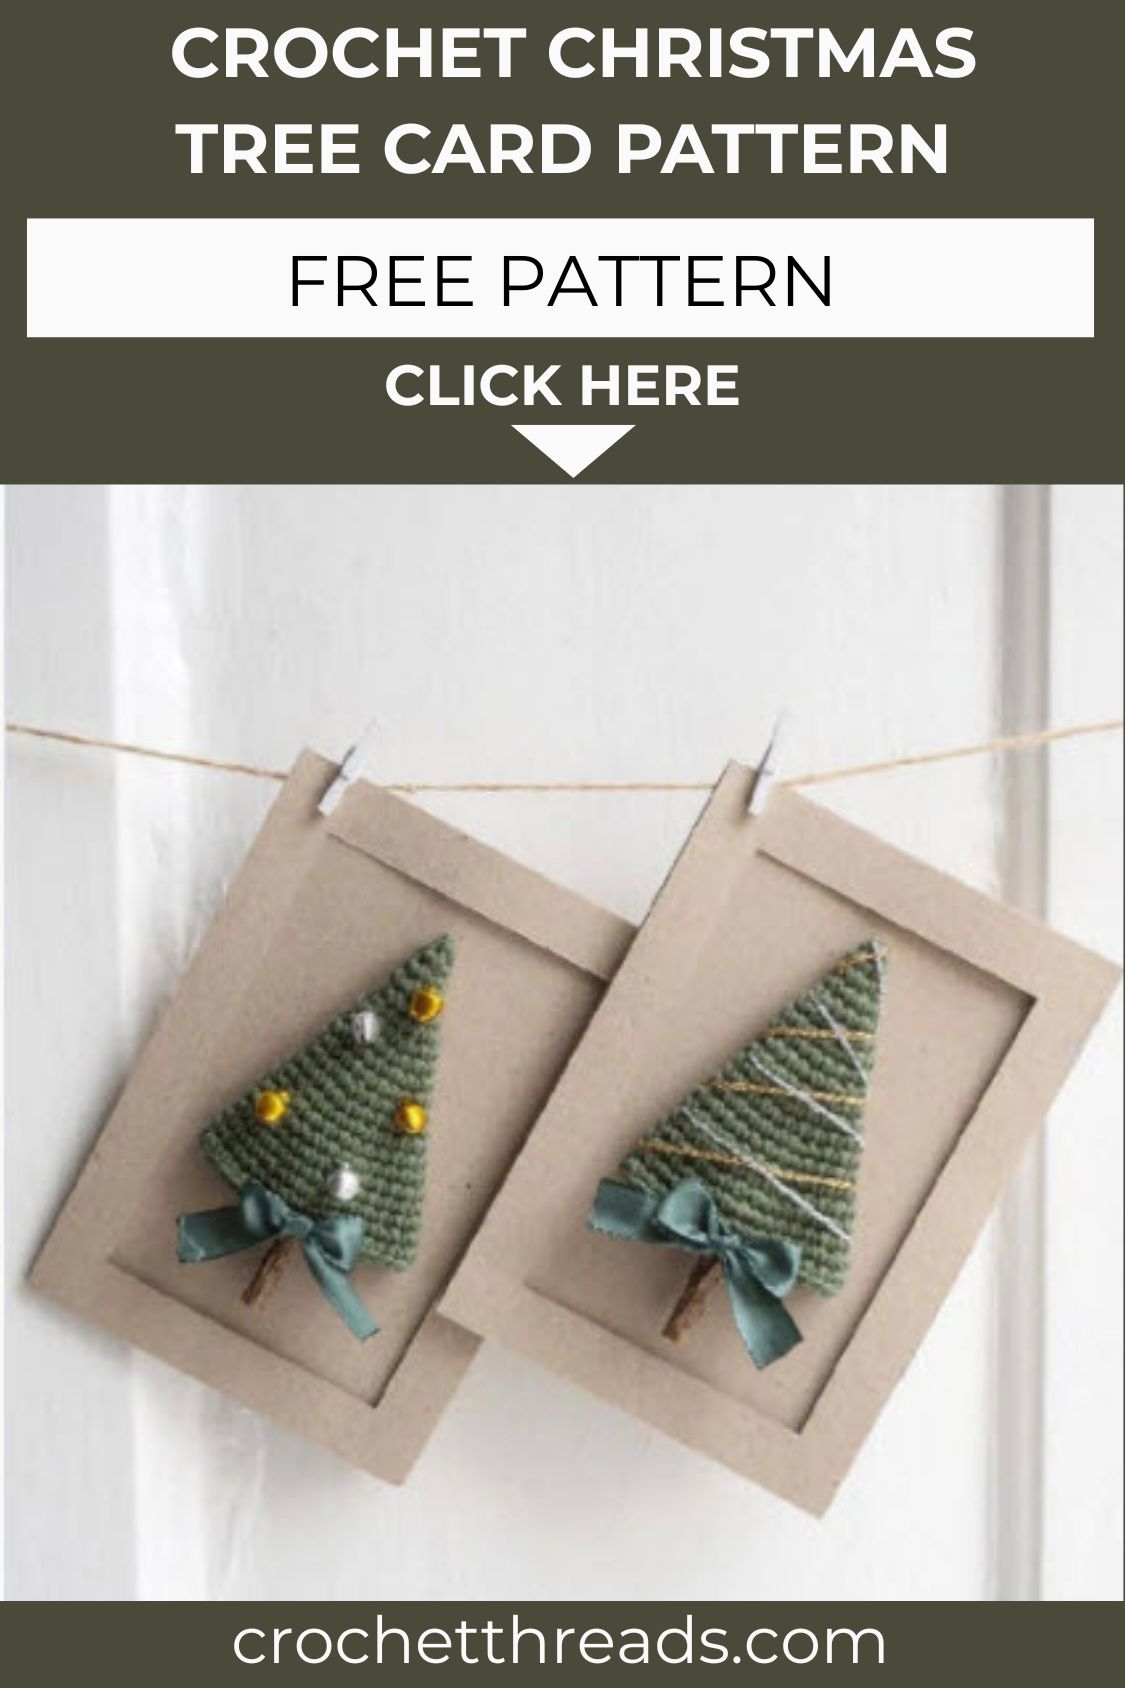
A crochet Christmas Tree Card brings handmade warmth to holiday greetings without requiring advanced skills. Simple increase rounds shape the tree, while small embellishments like bells and ribbon add festive personality. Anyone with basic amigurumi experience can complete several of these cards in one sitting. Whether given as a card, hung as an ornament, or bundled with a small gift, this project delivers a personal touch that store-bought cards simply can’t replicate this season.