
Crochet Coraline Sweater Pattern with Star Appliqués
A crochet Coraline sweater is a Coraline-inspired pullover in deep navy with white star appliqués sewn on top. It is built from flat pieces: two body panels, two tapered sleeves, and separate stars. Ribbed bands finish the bottom edge and the cuffs, and you sew everything together at the end.
This guide is a measurement-based method rather than a fixed-size pattern. First, you take your own measurements and make a gauge swatch. Then you crochet each panel to those numbers, add the stars, and seam the pieces. Because of this, you can adjust the fit for an adult or a child. This is an unofficial fan-style project and is not connected to the film or its makers.
Why Make a Crochet Coraline Sweater?
This project works well for a costume, a cozy fall layer, or a gift for a fan of the film. The shapes are simple rectangles, so you spend your effort on fit and finishing rather than complicated stitch patterns.
It also teaches skills you can reuse. For example, you practice reading gauge, working ribbing, shaping with increases, and seaming panels together.

Materials for Your Crochet Coraline Sweater
- Main yarn: worsted weight (weight 4) in deep navy blue.
- Accent yarn: worsted weight in white or cream for the stars.
- Crochet hook: 4.25 mm. Letter sizes vary by brand, so go by the millimeter size.
- Tools: tape measure, stitch markers, pins, yarn or tapestry needle, and scissors.
Yarn amounts depend on your size, yarn, and tension, so a fixed amount can’t be given here. To estimate, finish your swatch, weigh it, and compare its area to the total area of your panels. Buy extra navy from the same dye lot, because a mismatch shows up on large pieces.
Stitches and Terms You Will Use (US Terms)
- ch (chain): a row of linked loops that forms a foundation.
- sc (single crochet): a short, dense stitch. In UK patterns, this same stitch is called double crochet.
- hdc (half double crochet): a medium-height stitch. In UK patterns, it is called half treble crochet.
- sl st (slip stitch): a very short stitch used to join or move across your work.
- inc (increase): two stitches worked into the same stitch.
- MR (magic ring): an adjustable loop that lets you start a round and pull the center closed.
- BLO (back loop only): working into only the loop farthest from you at the top of the stitch. This creates a ridge that gives ribbing its stretch.
- Whip stitch: a simple sewing stitch that goes over the edge of two pieces to join them or to attach an appliqué.
- st(s): stitch or stitches.
Step-by-Step Crochet Coraline Sweater Instructions

Take Measurements
Measure the person who will wear the sweater, and write each number down.
- Chest width: Measure around the widest part of the chest, then divide by 2. Next, add 2 inches for a relaxed fit. This is the width of your front and back panels.
- Body length: Measure from the high point of the shoulder down to where you want the hem to fall.
- Sleeve length: Measure from the shoulder point down to the wrist.
- Wrist and upper arm: Measure around both. You’ll need these for the cuff and the top of the sleeve.
Make a Gauge Swatch
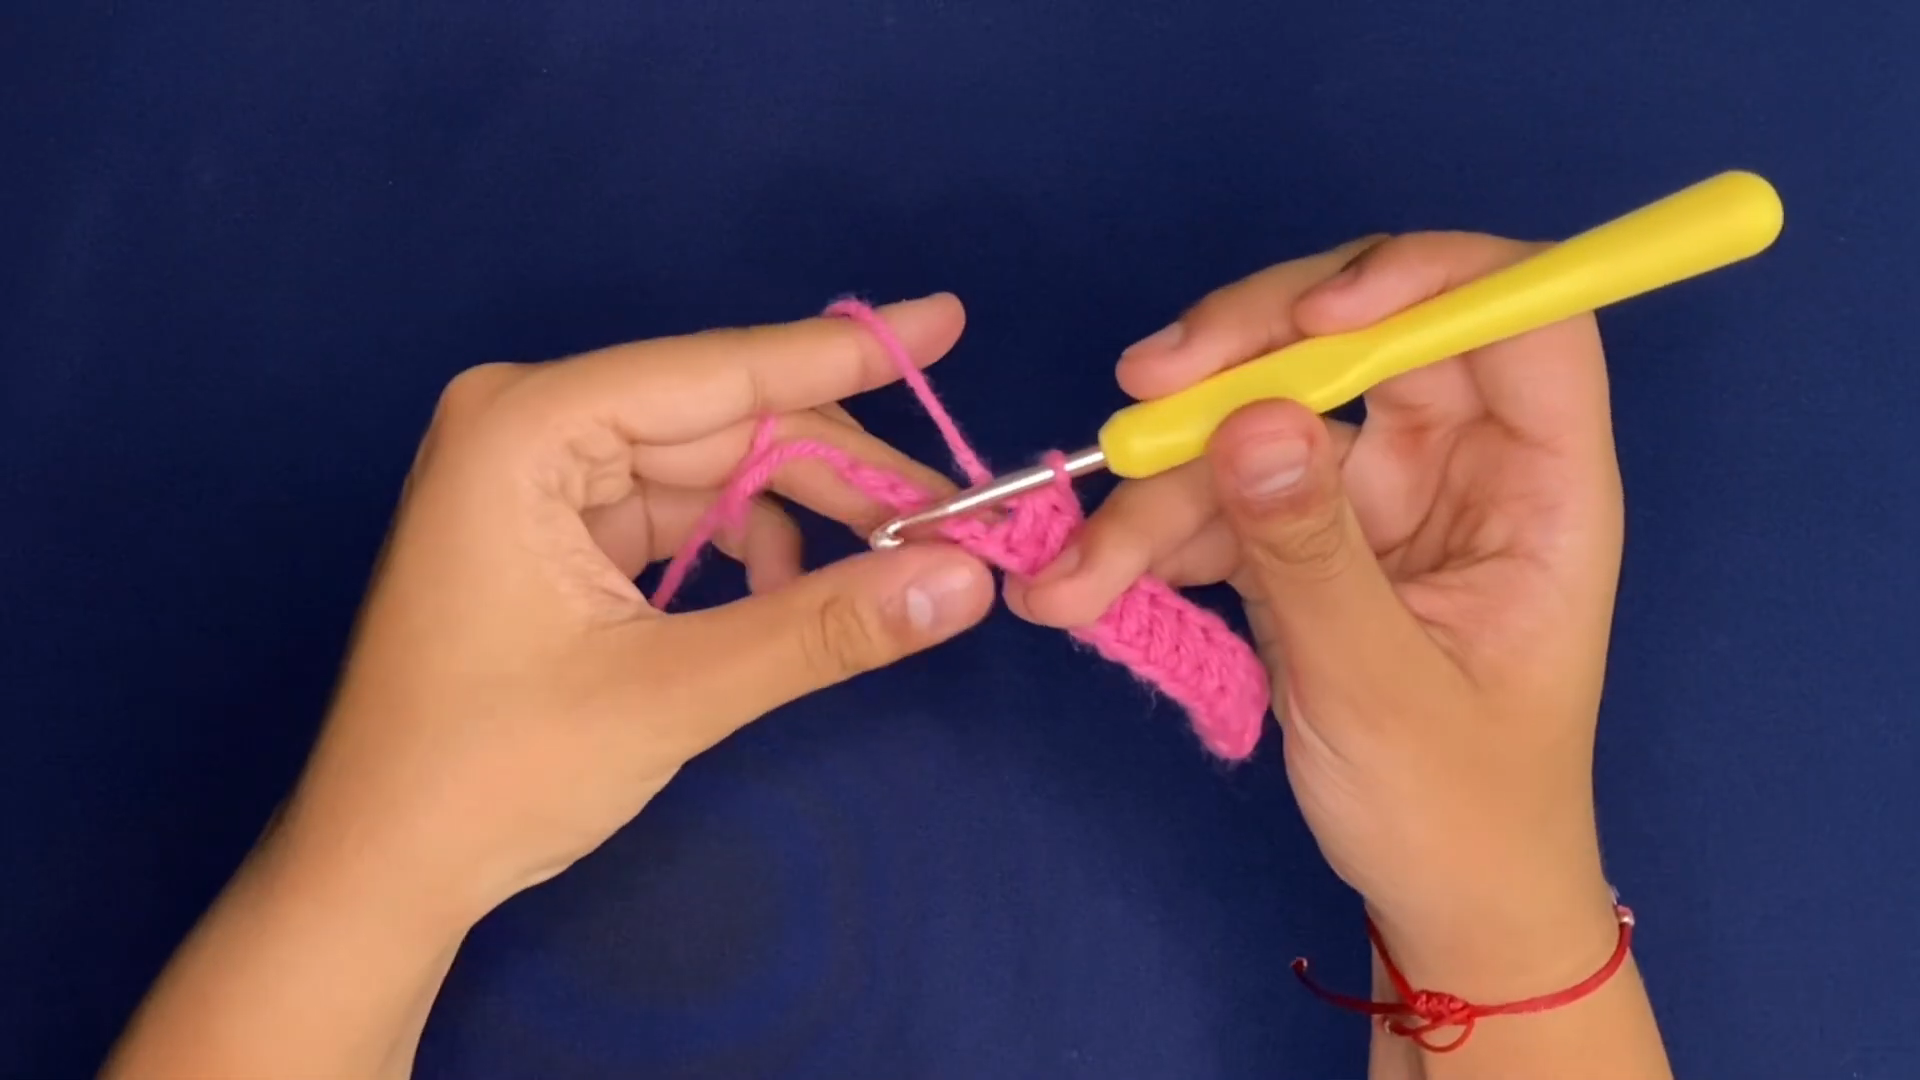
Gauge tells you how many stitches and rows fit in one inch of your fabric. Without it, your panels may come out the wrong size.
- First, chain enough to make a swatch about 5 inches wide, then work it in hdc for about 5 inches.
- Next, lay it flat and count the stitches across 1 inch, then the rows up 1 inch.
- Finally, use those numbers to plan your panels. For example, panel width in inches times stitches per inch gives the number of stitches you need.
If your fabric feels stiff, go up a hook size. If it feels loose, go down.
Crochet the Front and Back Panels (Make 2)
Bottom ribbing (optional but recommended)
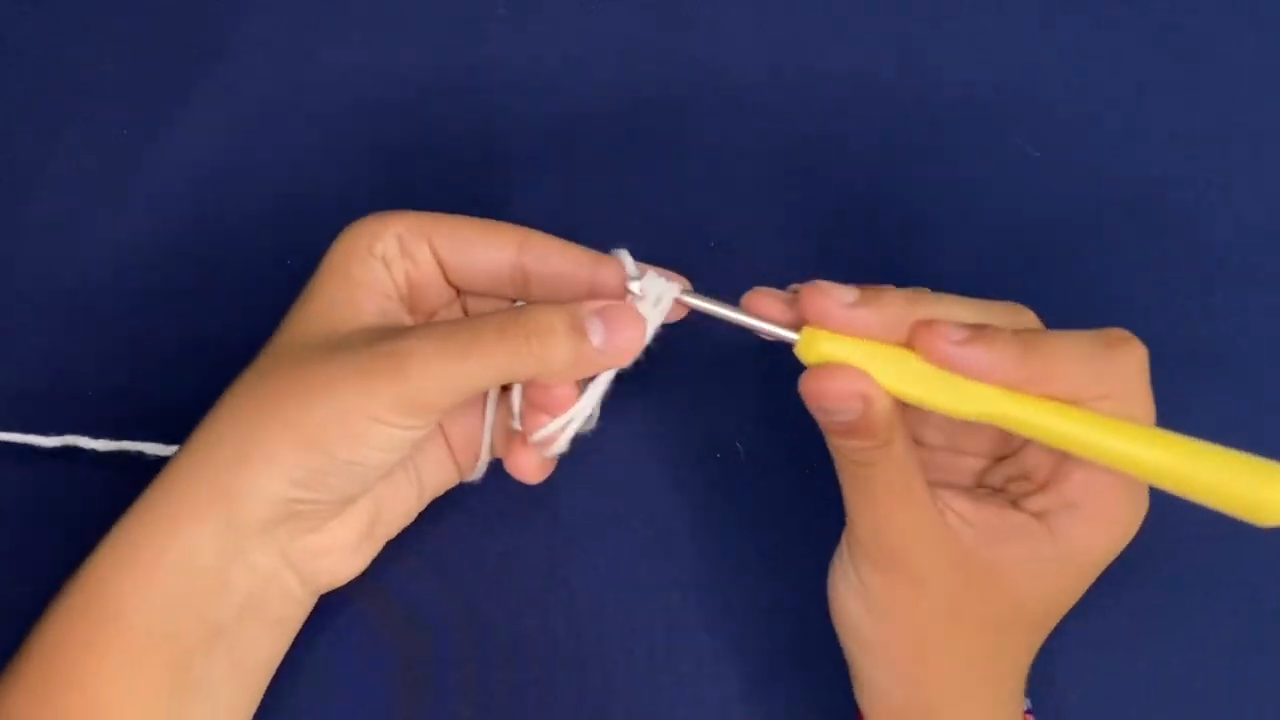
- With navy yarn, ch 10.
- Row 1: Sc in the 2nd chain from the hook and in each chain across. Ch 1, turn. (9 sts)
- Row 2: Sc in the back loop only across. Ch 1, turn.
- Repeat Row 2 until the strip reaches your panel width when stretched slightly.
Body panel
- Turn the ribbing strip sideways and work sc evenly across the long edge, roughly one sc in each row end.
- Row 1: Ch 2 (this counts as the first hdc), then work hdc in each stitch across, ending with a last hdc in the top of the turning chain from the row below. Ch 2, turn.
- Row 2 to desired length: Repeat the same row until the panel matches your body length.
- Fasten off the back panel.
Front panel neckline: On the final 2 to 3 rows of the front panel, leave a gap in the center to form a slight scoop neck. The gap width depends on your gauge and neck size, so test it against your measurements. If you prefer a boatneck, skip the gap and keep the rows straight.

Crochet the Sleeves (Make 2)
- Cuff ribbing: Ch 8. Then sc in the 2nd chain from the hook and across. Ch 1, turn. (7 sts)
- Work sc in the back loop only across each row until the band fits snugly around the wrist.
- Turn the cuff sideways and work sc evenly across the long edge.
- Sleeve panel: Work in hdc across each row. To taper the sleeve, increase by working 2 hdc in one stitch at the beginning and end of every 4th or 5th row. Keep doing this until the top of the sleeve matches your upper arm measurement.
- Then work even hdc rows until the sleeve reaches your sleeve length.
- Fasten off, leaving a long tail for sewing.
Crochet the White Stars
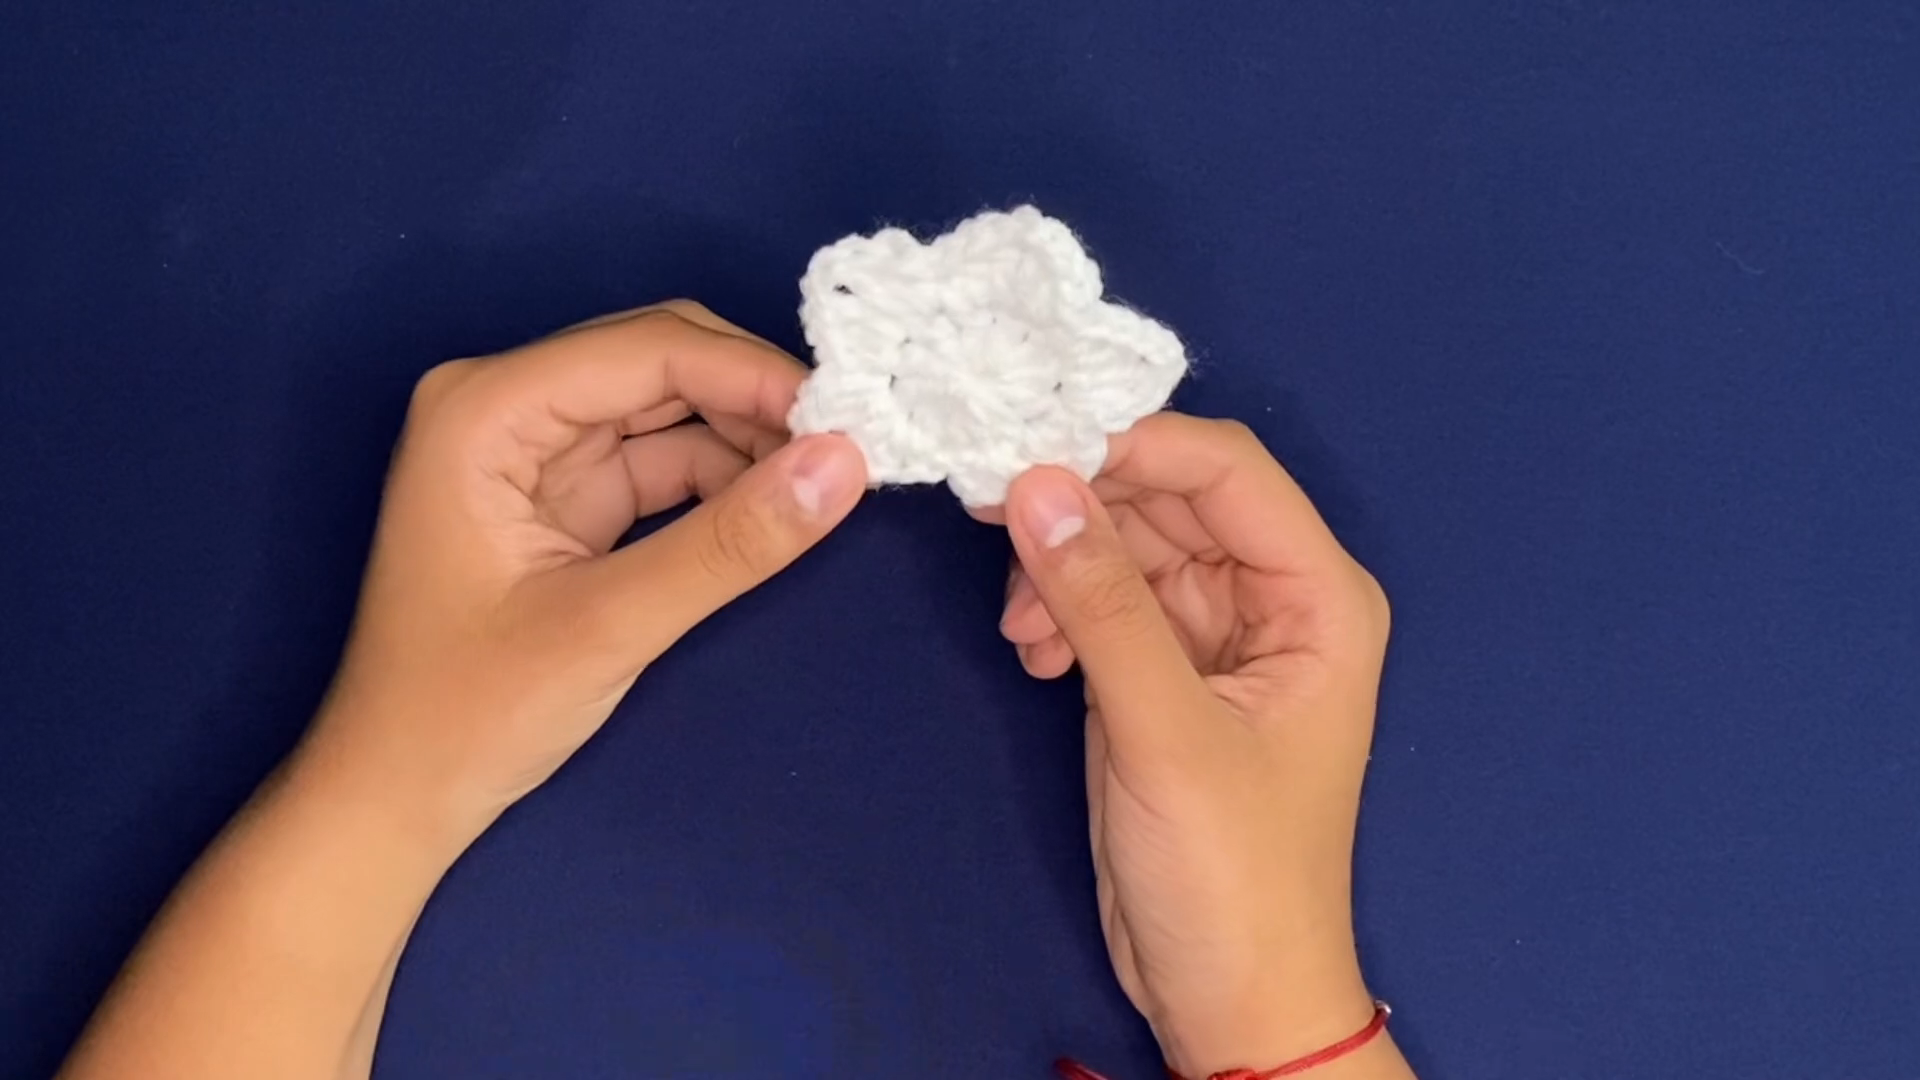
Each star has five points. Make as many as you like for your design.
- With white yarn, make an MR.
- Round 1: Ch 2 (counts as the first hdc), then work 9 hdc into the ring. Sl st to the top of the starting chain to join. (10 sts)
- Round 2 (star points):
- Ch 4.
- Sl st in the 2nd chain from the hook.
- Sc in the 3rd chain.
- Hdc in the 4th chain.
- Skip 1 stitch on the center ring, then sl st into the next stitch.
- Repeat the sequence in Round 2 four more times, for 5 points in total.
- Fasten off, leaving a 10-inch tail for sewing.

Attach the Stars and Assemble
- Attach the stars: Lay the front panel and both sleeve panels flat. Pin the stars where you want them, and check the layout. Then use the white tails and a yarn needle to whip stitch each star firmly in place.
- Shoulder seams: Place the front and back panels together with right sides facing. Using navy yarn, sew the shoulder edges together and leave a center opening for the neck.
- Attach the sleeves: Open the body panels flat. Center the top edge of each sleeve on the shoulder seam and sew it across.
- Side and arm seams: Fold the sweater with right sides together. Then sew from the wrist cuff, down the underarm, and down the side to the bottom hem.
- Neckline edging: Join navy yarn at the collar opening and work 1 to 2 rounds of sc or hdc in the back loop only for a neat finished edge.
Finish
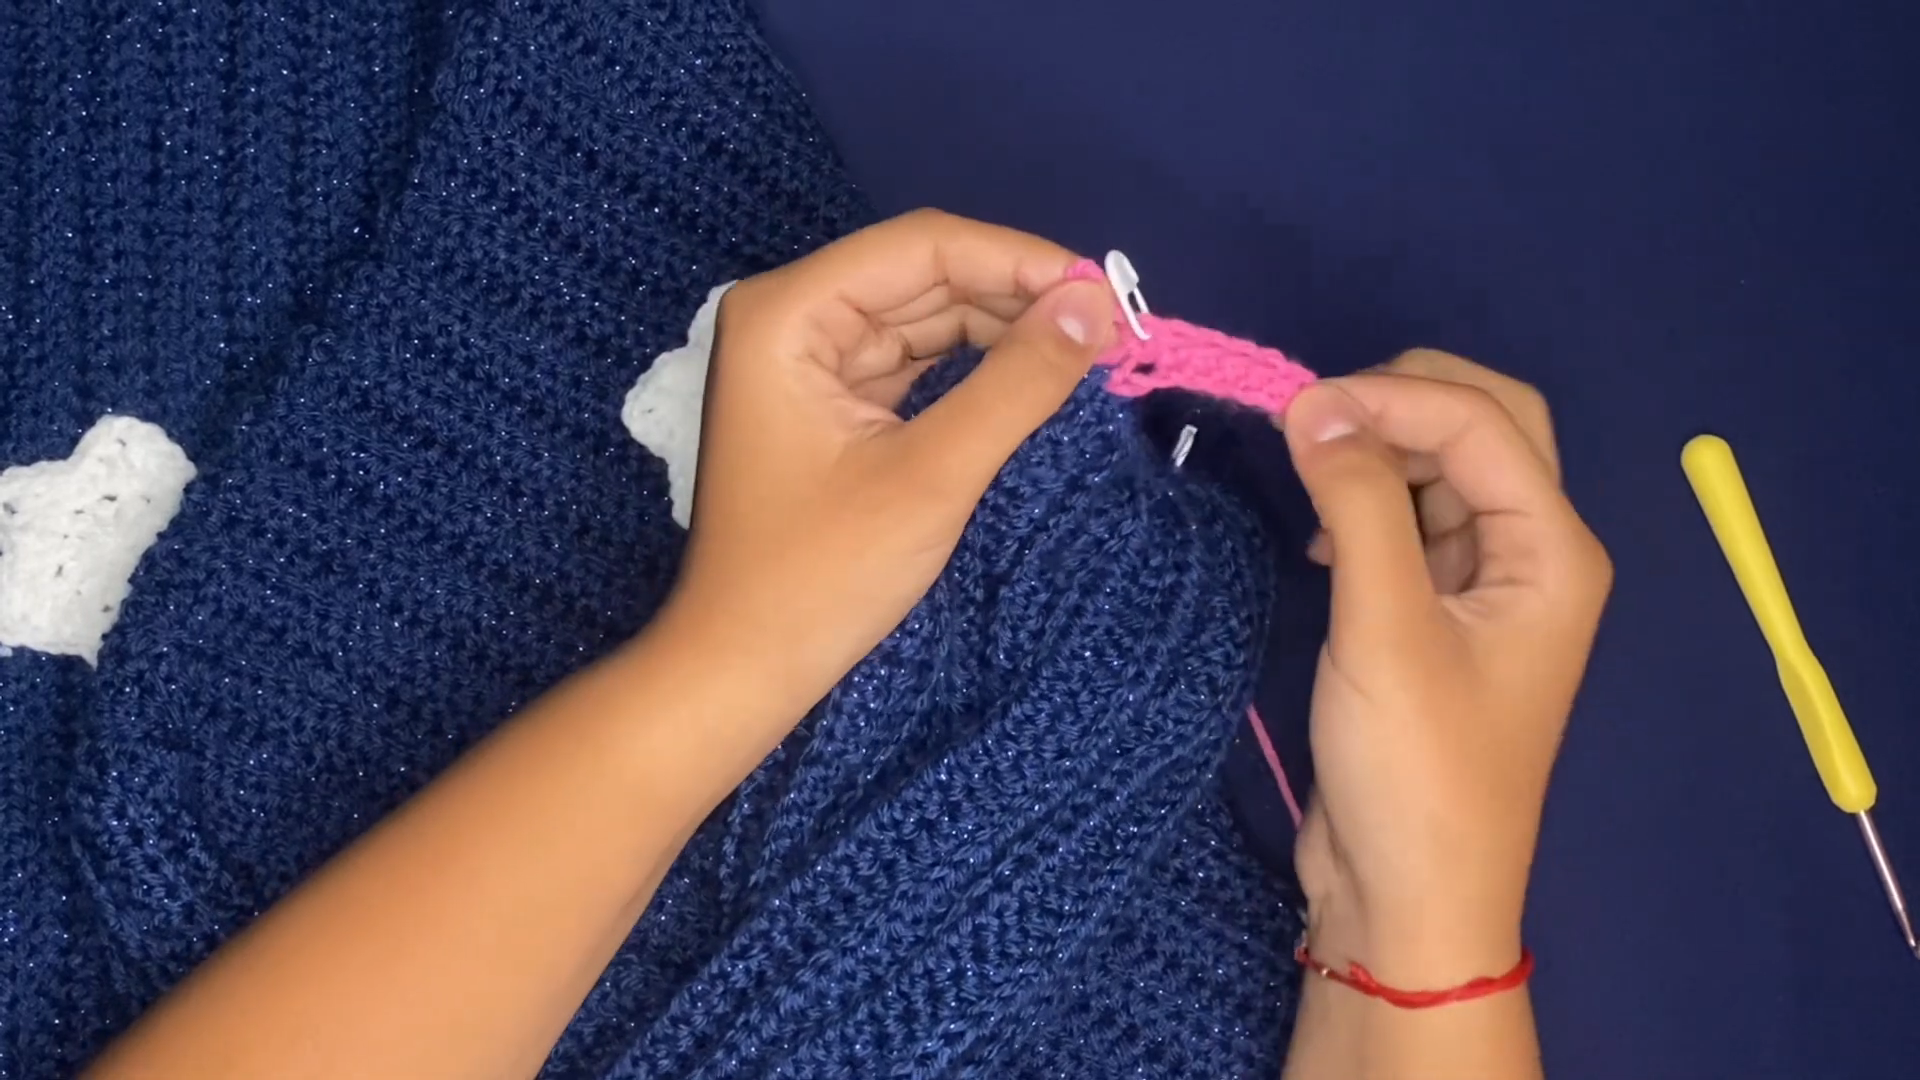
Weave in all loose ends with a tapestry needle. If the fabric needs relaxing, block the sweater by following the care instructions on your yarn label.
Common Crochet Coraline Sweater Mistakes
- Skipping the swatch: the panels come out the wrong size. Make the swatch first.
- Stitch counts that change from row to row: count your stitches at the end of every few rows.
- Wavy edges: check that your turning chain counts as a stitch and that you work into its top on the next row.
- Loose, floppy ribbing: use fewer rows, or go down a hook size for the ribbing only.
- Stars sewn on crooked: pin them first, then step back and check from a distance.
Troubleshooting Your Crochet Sweater
If the sweater feels too tight, add width to the panels or work fewer rows in the ribbing, because ribbing pulls the fabric inward. Similarly, if the sleeves feel too narrow, add more increase rows before the top. When the shoulder seam sags, check that both panels have the same width. Finally, if a star puckers, loosen your whip stitches so the fabric can move.
Tips for a Better-Fitting Crochet Coraline Sweater
- Write your measurements and gauge numbers on a card and keep it with your project.
- Also, try the finished panels against the body before you sew the final seams.
- Use a stitch marker at the start of each panel so you can find your place quickly.
- Because navy yarn is dark, work in good light to see each stitch.
Bonus: Test Your Star Layout with a Photo
Pin the stars to the front panel, lay the piece flat, and take a photo. Then look at the picture instead of the real panel. This makes uneven spacing easy to spot, so you can move a star before you sew it down.

Frequently Asked Questions About the Crochet Coraline Sweater
Is this crochet Coraline sweater good for beginners?
It uses basic stitches (single crochet, half double crochet, and increases) and simple rectangles. However, it also needs gauge, shaping, and sewing, so it suits crocheters who have finished a few smaller projects.
How much yarn do I need?
That depends on size, yarn, and tension. Compare your swatch to your panel measurements, then buy a little extra from the same dye lot.
Does this come in set sizes?
No. The method is based on your own measurements, so you can size it for a child or an adult.
Can I use other colors?
Yes. Any main color and star color work, and the pattern stays the same. You can also match the colors to a specific costume if you prefer.
How do I wash it?
Follow the care instructions on your yarn label, because they differ by fiber.
Can I add more stars?
Yes. Pin extras on the panel and use the photo test above before you sew them down.
From Swatch to Starry Sweater
You’ve measured, swatched, shaped your panels, and finished the sweater with stars. Now try it on, make any small fixes, and wear it or wrap it as a gift. When you want a smaller project, a single star appliqué makes a good patch or ornament.