Simple Crochet Jax Doll Amigurumi Pattern
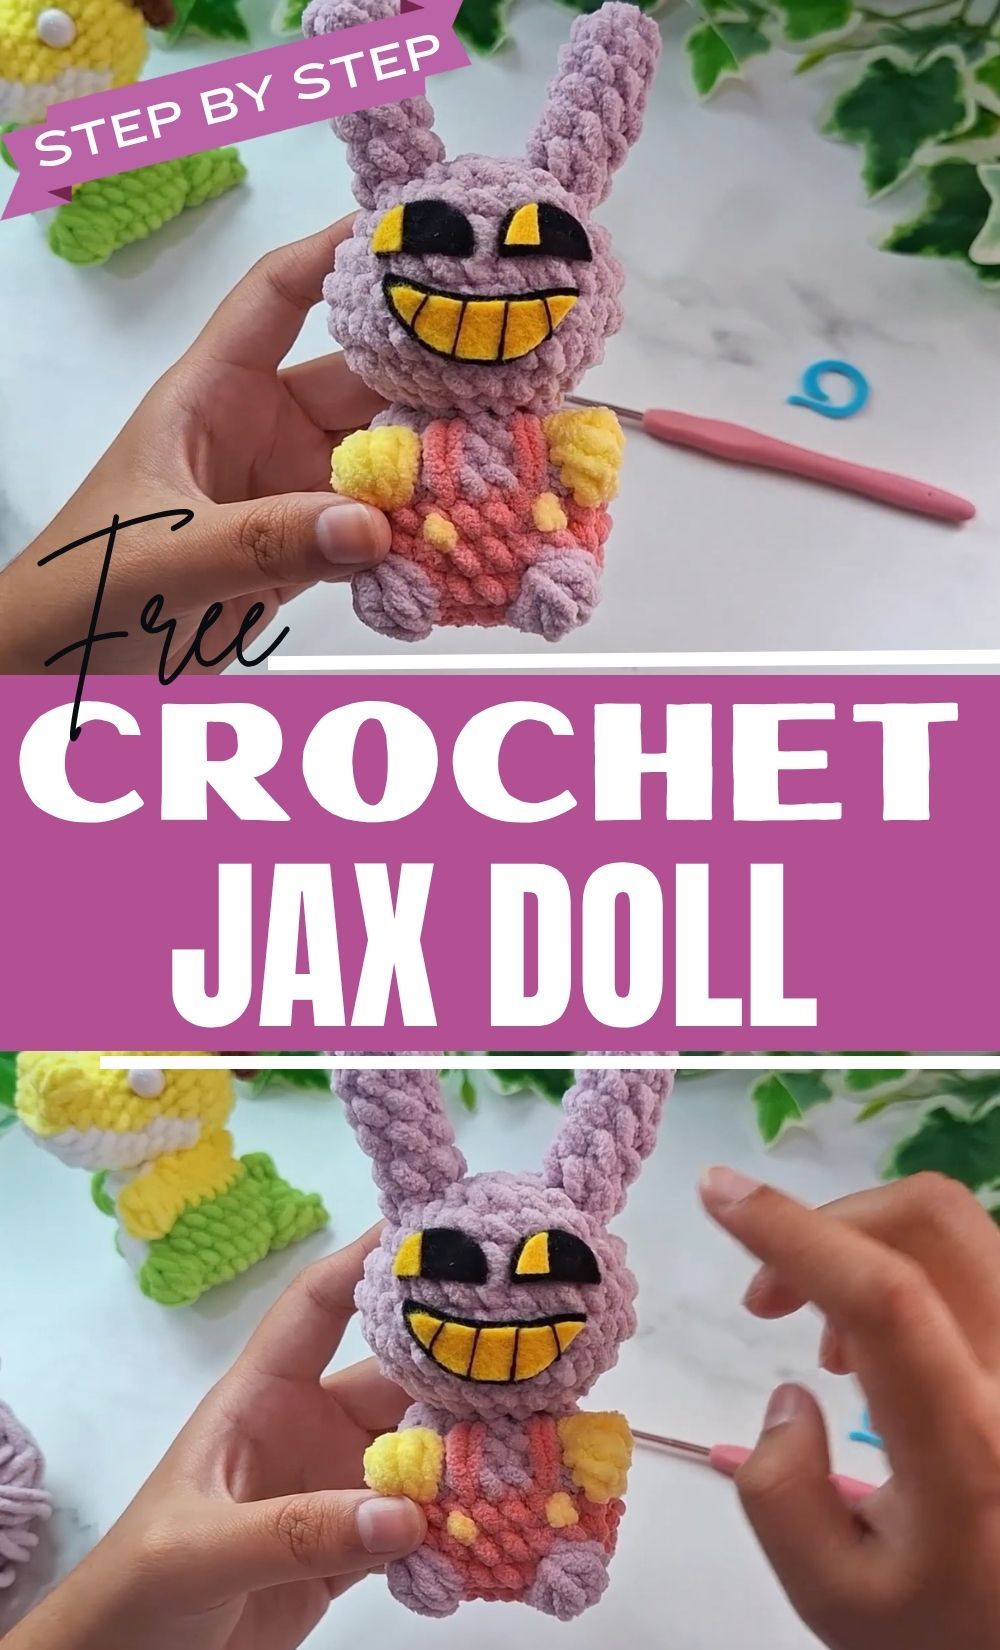
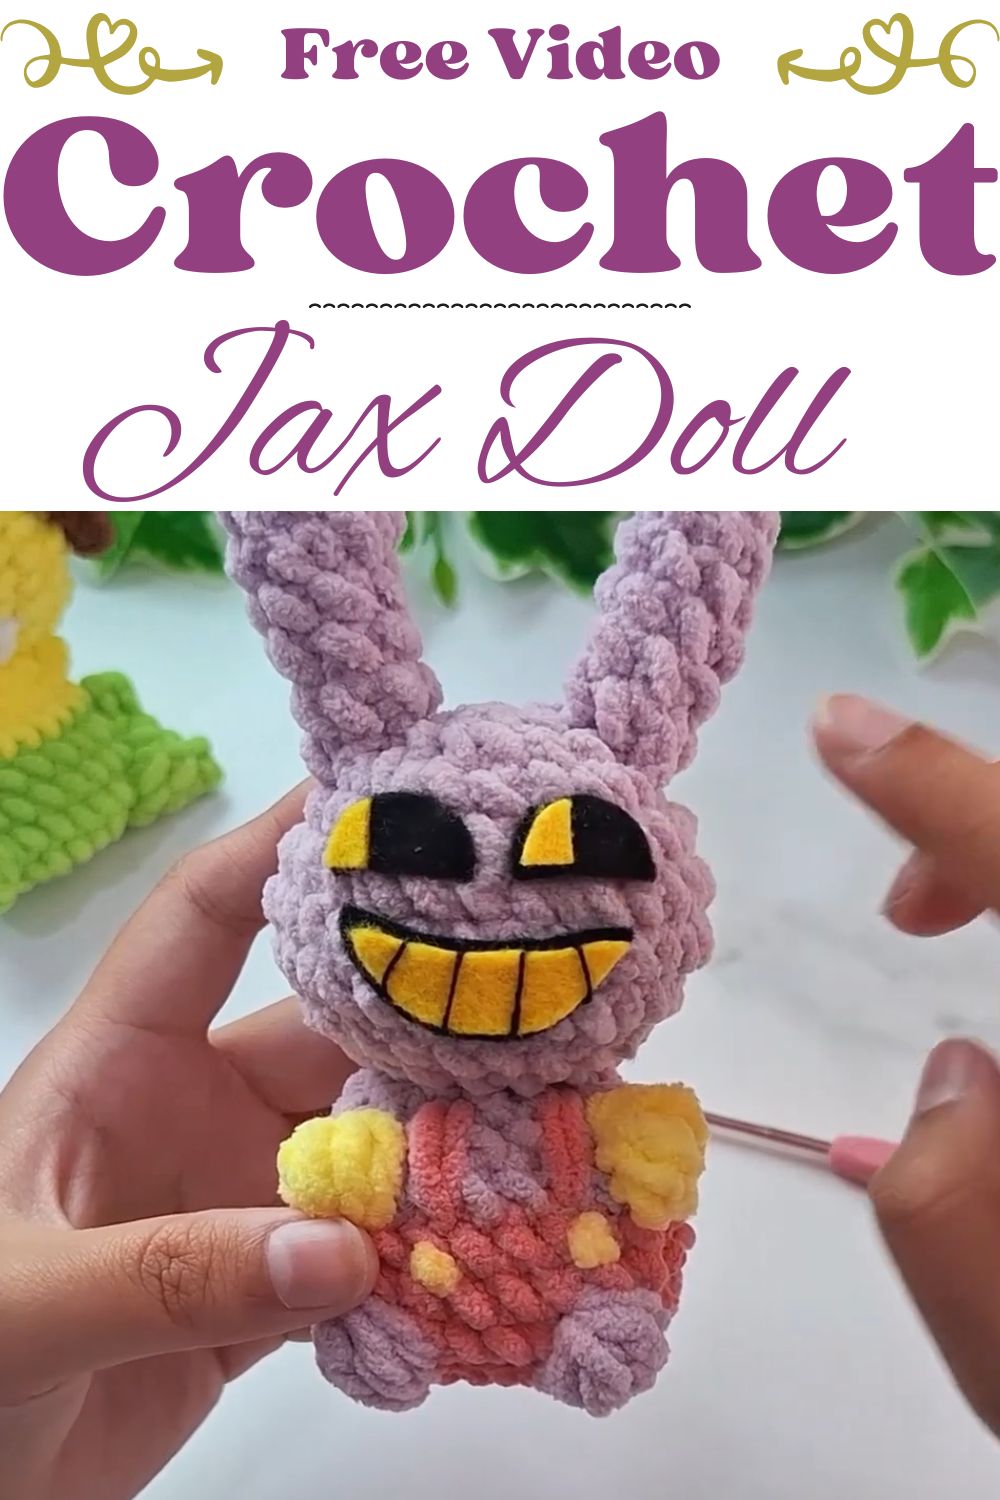
Few amigurumi characters bring as much personality as Jax, so this simple crochet Jax doll amigurumi pattern makes it easy to stitch one at home. With a round purple head, long floppy ears, bobble feet, and tiny pink overalls fastened with yellow buttons, the doll looks adorable on any shelf. Best of all, the design uses only basic shapes, so the finished toy looks far more complicated than it really is.
This guide walks through every part of the project, from the yarn colors and supplies to the round-by-round instructions for the head, ears, and body. First, photos show how the pieces take shape. Then clear assembly steps explain how to sew everything together and add the face. Whether Jax becomes a gift, a decoration, or a new favorite plush, the sections below keep the whole process smooth and enjoyable.
Crochet Jax Doll Amigurumi Overview
Jax is a small plush doll with a round purple head, a pink-and-purple body, and a cheerful smiling face. First, the body is worked in the round from the bottom up. Next, color changes create the feet and overalls, and yellow bobbles form the buttons. Finally, each part is stuffed and sewn together.
The finished crochet Jax doll amigurumi works well as a shelf decoration, a handmade gift, or a soft toy for older children. However, small details such as felt eyes and stitched teeth are best kept away from babies.
Crochet Jax Doll Amigurumi Pattern Features
Here is what this pattern includes:
- Three simple pieces: head, ears, and body
- Bobble stitches for the feet and the buttons
- Color changes that create the overalls without extra pieces
- Embroidered straps instead of crocheted ones
- A matching 12-stitch opening on the head and body for easy sewing
Skill Level for the Crochet Jax Doll Amigurumi
This pattern suits advanced beginners. Magic ring starts, increases, decreases, and stuffing are used throughout. Although bobble stitches and mid-round color changes add a small challenge, each is repeated only a few times. As a result, beginners who have finished a basic amigurumi ball will manage well.
Materials Needed for the Crochet Jax Doll Amigurumi
Gather these supplies before you begin:
- Purple yarn: main body, head, and ears
- Pink yarn: overalls and feet
- Yellow yarn: buttons and hands
- White and black yarn: face details
- Crochet hook: a size suited to the chosen yarn weight
- Fiberfill stuffing
- Stitch marker
- Tapestry needle and scissors
- Black thread: for the teeth
- Felt or yarn pieces: for the eyes
Yarn Information
The pattern does not name a specific yarn weight or hook size. However, the photos show a plush, fuzzy chenille-style yarn that gives the doll a soft look. Any yarn works if the hook is small enough to leave no gaps, because stuffing shows through loose stitches. In contrast, smooth cotton or acrylic gives a neater, less fluffy finish.
Finished Size
The pattern gives no measurements. Since the size depends on the yarn and hook, thicker yarn makes a larger Jax. For a quick scale check, measure the head after Round 7.
Stitches and Abbreviations
- MR: magic ring
- SC: single crochet
- Inc: two single crochets in one stitch
- Dec: single crochet decrease, two stitches worked together
- Bobble stitch: four double crochets worked into one stitch, creating a small raised bump
Gauge Information
No gauge is provided. For amigurumi, however, tight stitches matter more than an exact gauge. To check yours, work a few rounds of the magic ring and make sure the fabric is dense with no visible gaps.
Tips Before Starting Your Crochet Jax Doll Amigurumi
- First, mark the first stitch of every round with a stitch marker.
- Also, count stitches at the end of each round.
- Prepare all colors before starting the body, since the color changes come quickly.
- Next, leave long tails on the head, ears, and body for sewing.
- Finally, stuff firmly, adding small amounts at a time.
Step-by-Step Crochet Jax Doll Amigurumi Pattern
Head
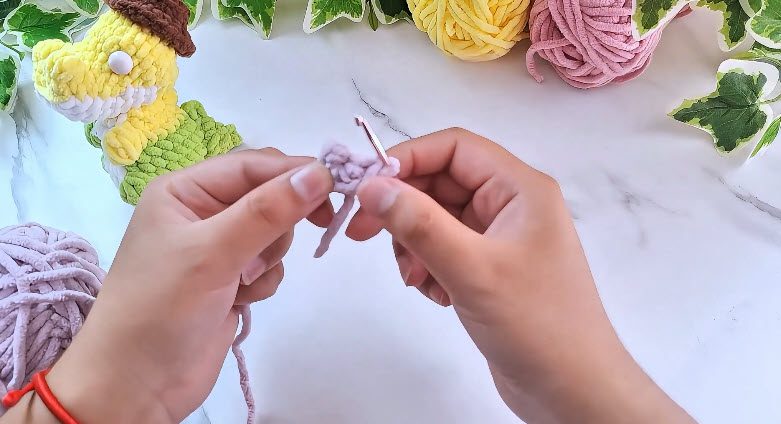
First, work the head in continuous rounds.
- Round 1: 6 SC in MR (6)
- Round 2: Inc in each stitch (12)
- Round 3: (1 SC, 1 Inc) x6 (18)
- Round 4: 1 SC, 1 Inc, (2 SC, 1 Inc) x5, 1 SC (24)
- Round 5: (3 SC, 1 Inc) x6 (30)
- Rounds 6–7: SC in each stitch (30)
- Round 8: (3 SC, 1 Dec) x6 (24)
- Round 9: 1 SC, 1 Dec, (2 SC, 1 Dec) x5 (18)
- Then stuff the head well.
- Round 10: (1 SC, 1 Dec) x6 (12)
- Finally, fasten off and leave a long tail.
Ears (Make 2)
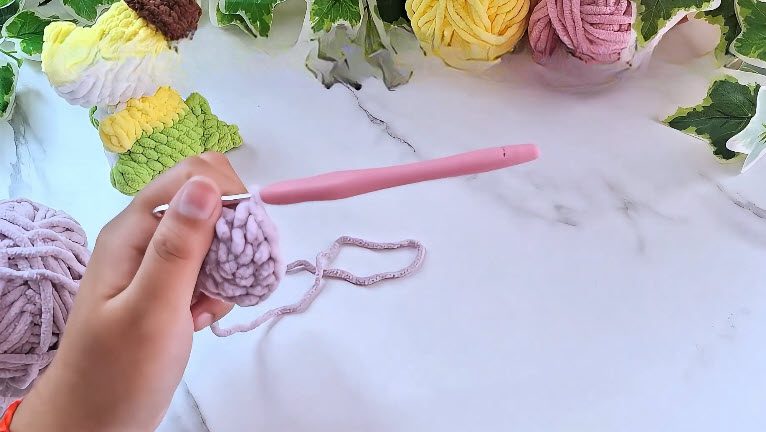
Next, make the two ears. They stay unstuffed.
- Round 1: 6 SC in MR (6)
- Rounds 2–6: SC in each stitch (6)
- Finally, fasten off and leave a long tail.
Body and Overalls
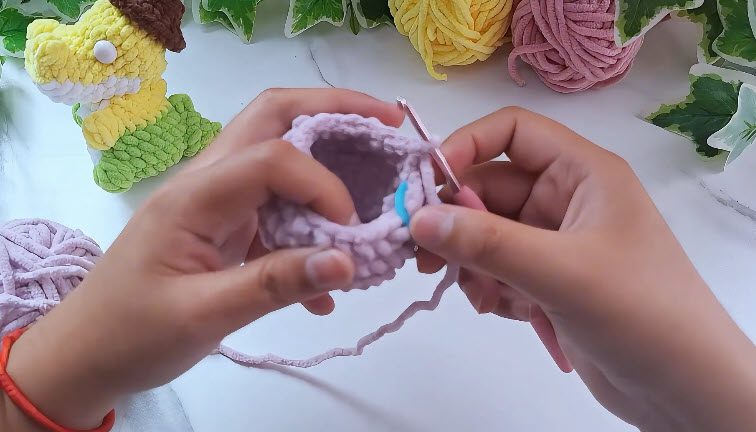
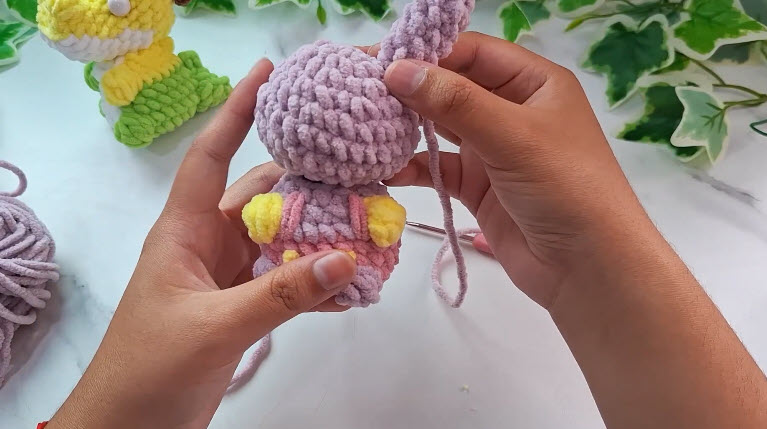
After that, work the body from the bottom up, changing colors for the feet and buttons.
- Round 1 (purple): 8 SC in MR (8)
- Round 2: Inc in each stitch (16)
- Round 3: (1 SC, 1 Inc) x8 (24)
- Round 4 (feet): 9 SC in purple. Change to pink and make 1 bobble for the first foot. Work 4 SC in pink. Change to purple and make 1 bobble for the second foot. Work 9 SC in purple. (24)
- Rounds 5–6 (pink): SC in each stitch (24)
- Round 7 (buttons): 8 SC in purple. Change to yellow and make 1 bobble. Work 5 SC in purple. Change to yellow and make 1 bobble. Work 8 SC in purple. (24)
- Round 8: (1 SC, 1 Dec) x8 (16)
- Next, stuff the body firmly.
- Round 9: (2 SC, 1 Dec) x4 (12)
- Finally, fasten off and leave a tail for sewing.
Assembly and Face
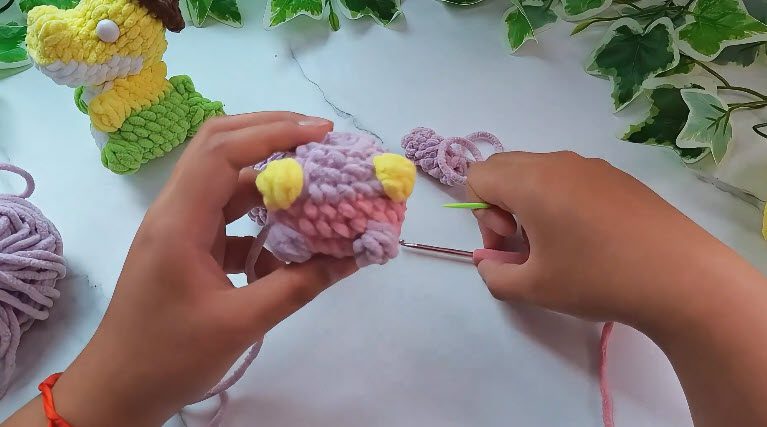
- First, embroider two pink overall straps on the body with a needle.
- Next, add small yellow knots under the straps to look like buttons.
- Then sew the ears to the sides of the head, between Rounds 2 and 3.
- After that, sew the head to the body. Both have 12 stitches, so the join is even.
- Next, use yellow crescent shapes and black pupils or felt pieces for the eyes.
- Finally, stitch Jax’s signature teeth and a smile with black thread.
Pattern Construction
Every piece is worked in continuous rounds without joining. Before closing, stuff the head and body, but leave the ears unstuffed. After that, assembly uses only sewing and simple embroidery.
Customization Options
You can change the look of your doll in a few easy ways:
- Swap the purple for any pastel shade.
- Change the overall colour to match a themed set.
- Use plain felt eyes for a simpler face.
- Make the ears shorter by working fewer rounds.
Bonus: Display and Gift Ideas
Jax looks cute sitting on a bookshelf, clipped to a bag, or tucked into a gift basket. In addition, a small paper tag with a handwritten name makes the gift feel personal.
Common Mistakes and Troubleshooting
- Visible gaps: use a smaller hook or tighter tension.
- Wrong stitch count: recount each round before moving on.
- Floppy head: add more stuffing before the final decrease round.
- Bobbles pulling the fabric: keep them loose enough to sit evenly.
- Uneven color changes: carry the new color up cleanly before the next stitch.
Finishing and Care for Your Crochet Jax Doll Amigurumi
First, weave in all loose ends with the tapestry needle. Then close the head and body openings tightly before sewing them together. Finally, trim any stray fibers, especially if the yarn is fuzzy.
Care Instructions
To clean the doll, spot clean with a damp cloth and mild soap. Then air dry it fully before storing. Also, keep it away from direct sunlight so the colors stay bright.
FAQs About the Crochet Jax Doll Amigurumi
Is this crochet Jax doll amigurumi pattern beginner friendly?
It suits advanced beginners who already know the magic ring and basic increases.
What yarn works best?
Any yarn works when the hook is sized to make dense fabric. For reference, the photos use a plush chenille-style yarn.
Can the eyes be crocheted instead?
Yes. Felt or yarn pieces both work for the eyes.
Is the doll safe for young children?
Because small parts like felt eyes and buttons can come loose, it works better as a display piece for little ones.
Time to Start Stitching Jax
Jax is a charming project built from simple shapes and a few clever color changes. With steady stitch counts and firm stuffing, the finished crochet Jax doll amigurumi looks neat and cheerful. So pick your yarn colors, grab the hook, and start the first magic ring today.