Crochet Hanging Spider Pattern for Halloween Decor
Spiders rarely get a warm welcome indoors, but this one is different. This crochet hanging spider pattern uses thick chenille yarn to make a squishy little spider with big eyes, eight stubby legs, and a long chain for dangling.
The legs are crocheted into the body as you work the rounds, so there is no sewing them on at the end. Hang the finished spider from a doorknob, a shelf edge, a wreath, or a Halloween garland. Below, you will find the materials, every round, the assembly details, and fixes for the usual trouble spots.
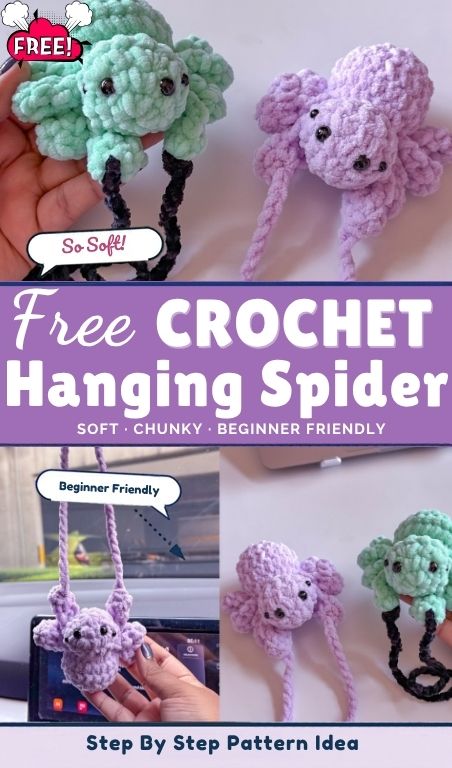
Crochet Hanging Spider Pattern and Key Features
This amigurumi spider is built from two simple parts: eight small legs and one round body. Each leg is a tiny tube that gets folded flat and attached while the body is being crocheted. Here is what the pattern includes:
- Eight plush legs, each made separately before joining
- A no-sew body worked in rounds
- Two sizes of safety eyes for a cute, wide-eyed look
- A crocheted chain at the top for hanging
- Soft chenille yarn for a cuddly, fuzzy finish
Since the legs are joined as the body grows, very little assembly is left afterwards. The spider works well in purple, lilac, grey, or any other colour that suits your Halloween display.
Skill Level for This Crochet Hanging Spider Pattern
This pattern suits confident beginners and up. The stitches are basic: single crochet, increases, and decreases. The trickier parts are working a magic ring, crocheting through a leg and a body stitch at the same time, and handling fuzzy chenille, where stitches are harder to see. If chenille is new to you, practise a few rounds first.
Materials for the Crochet Hanging Spider Pattern
- Yarn: chenille yarn, or any thick plush or chunky yarn, in a colour such as purple, lilac, or grey
- Crochet hook: 4.5 mm, or a size that matches your yarn weight
- Safety eyes: two sizes, small 5 mm and larger 9–10 mm
- Fiberfill stuffing
- Yarn needle (tapestry needle)
- Scissors
- Stitch marker
Yarn Notes
Chenille gives the spider a soft, cuddly look, but its fuzzy texture hides the stitches. For that reason, keep a stitch marker in the first stitch of each round so tracking stays simple. You can swap in any thick, plush yarn, and a hook that matches the yarn weight keeps the fabric dense enough to hold the stuffing.
Crochet Hanging Spider Pattern Size and Sizing Options
The pattern does not give fixed measurements, so the final size depends on your yarn thickness, hook size, and tension. With chunky chenille and a 4.5 mm hook, you get a small, squishy spider that suits hanging decor. In general, a thicker yarn with a larger hook makes a bigger spider, while thinner yarn makes a smaller one. Scale the safety eyes with the yarn, using the 9–10 mm pair as the main eyes and the 5 mm pair beside them.
Stitches and Abbreviations
- MR: magic ring
- sc: single crochet
- inc: increase (2 sc in the same stitch)
- dec: decrease (two stitches worked together)
- sl st: slip stitch
- ch: chain
The number in parentheses at the end of a round is the stitch count to aim for.
Gauge for the Crochet Hanging Spider Pattern
Gauge is not critical here, because the spider is a decoration rather than a fitted item. Stitch density still matters, though. Tight stitches keep the fiberfill from showing through, especially in light colours. Pull the yarn snug after each stitch, and drop down a hook size if you notice gaps.
Tips Before You Start This Crochet Hanging Spider Pattern
- Practise the magic ring first. Both the legs and the body begin with one, and a tight ring prevents holes.
- Make all eight legs before starting the body, so joining stays smooth.
- Count after every round. The stitch totals are the quickest way to catch a mistake early.
- Insert the safety eyes before stuffing the head, and lock the washers firmly.
- Stuff in small amounts. The head is stuffed lightly and the body firmly.
Step-by-Step Crochet Hanging Spider Pattern
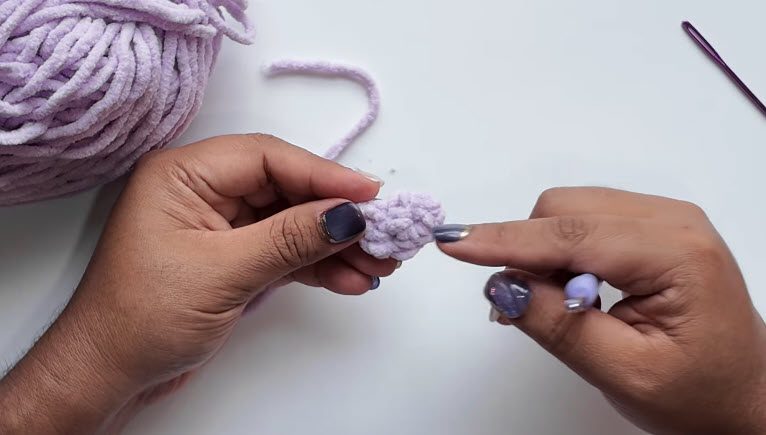
Step 1: Crochet Hanging Spider Legs (Make 8)
Start with a magic ring and work 4 sc. Pull the ring closed gently.
Rounds 2–3: Work 1 sc in each stitch around (4 sc each round).
Fasten off. Next, fold the leg in half and join the top edge by working across with 2–3 slip stitches or single crochets. Fasten off with a short tail. Make 8 legs in total.
Step 2: Crochet Hanging Spider Body (Worked in Rounds, No-Sew)
Round 1: MR, 5 sc (5).
Round 2: Inc in each stitch around (10). Place a stitch marker.
Round 3: (1 sc, inc) repeat around (15).
Round 4: Work 12 sc, then attach the first 3 legs one after another into the next stitches, working through both the leg base and the body stitch together. 1 stitch remains.
Round 5: Work shaping and decrease rounds, adding 2 more legs along the way, leaving 10 stitches total for the round.
Facial details: Insert the larger 9–10 mm safety eyes between rounds 2 and 3. Then place the smaller 5 mm eyes right beside them, between rounds 3 and 4.
Round 6: Work a round of slip stitches while attaching 1 more leg on the side, which gives 3 legs on one side and 2 on the other so far. Stuff the head lightly with fiberfill.
Round 7: Work increases and shaping around, adding the remaining legs (20).
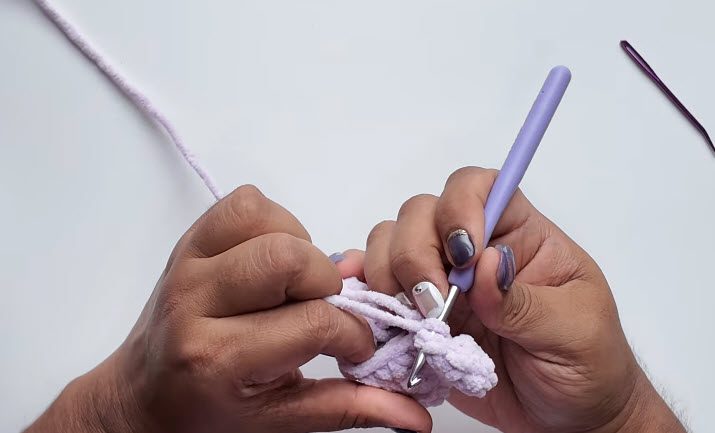
8: Work 3 sc, attach the final 8th leg, and finish the round with 15 sc total.
9: 20 sc around.
10: (2 sc, dec) repeat around (15).
11: (1 sc, dec) repeat around (10). Stuff the body firmly.
12: 5 dec (5). Close the hole with a tapestry needle using the inverted magic ring technique, then weave in the ends.
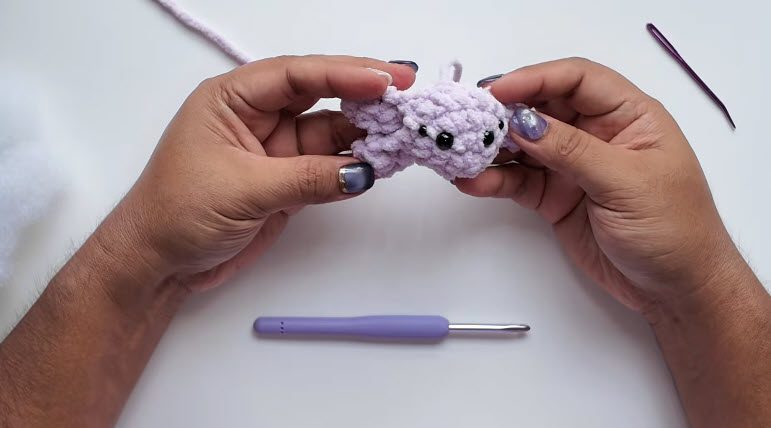
Step 3: Hanging Spider Chain
Attach yarn to the top of the body, at the head, and chain approximately 50 stitches to form a hanging loop. Secure the chain to the base, fasten off, and weave in all loose ends.
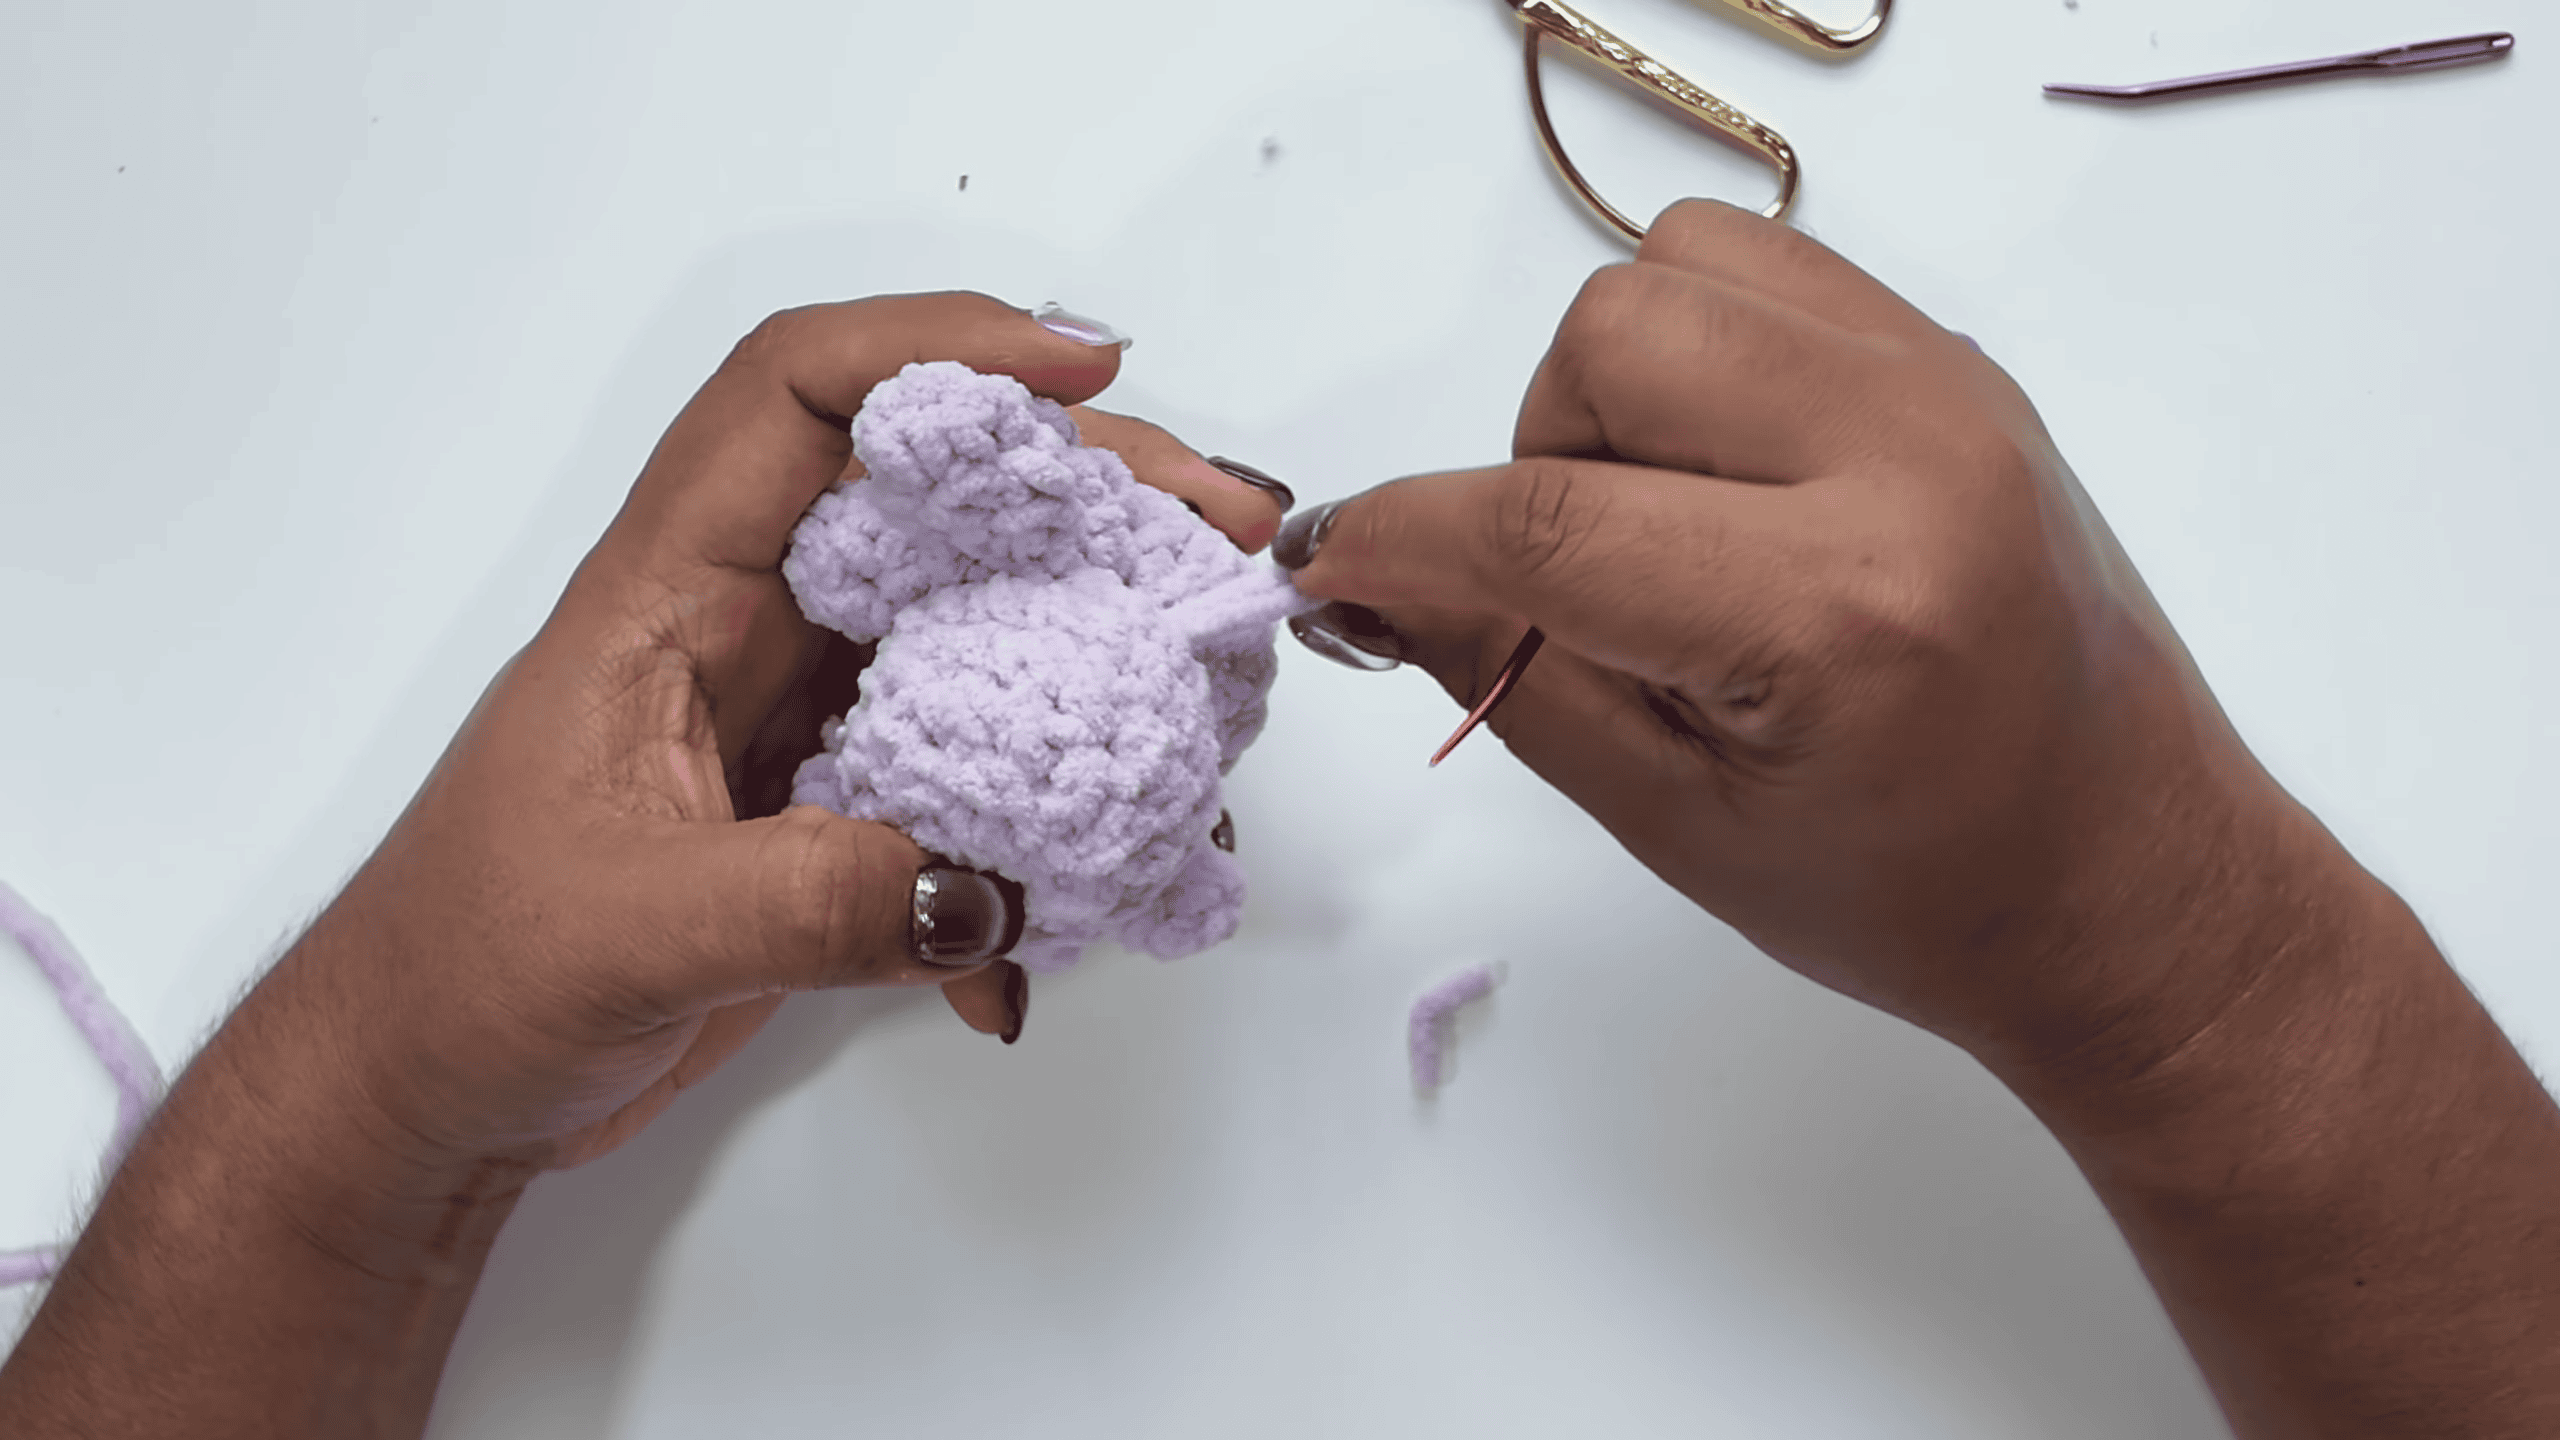
Crochet Hanging Spider Pattern Assembly
Assembly happens during the body rounds. Each leg is joined by crocheting through the leg base and a body stitch together, so the legs lock in place without sewing. They go in by stages: 3 in Round 4, 2 more by Round 5, 1 more in Round 6, the remaining legs in Round 7, and the final 8th leg in Round 8. Stuffing also happens in two stages, with a light fill in the head at Round 6 and a firm fill in the body at Round 11. The hanging chain goes on last.
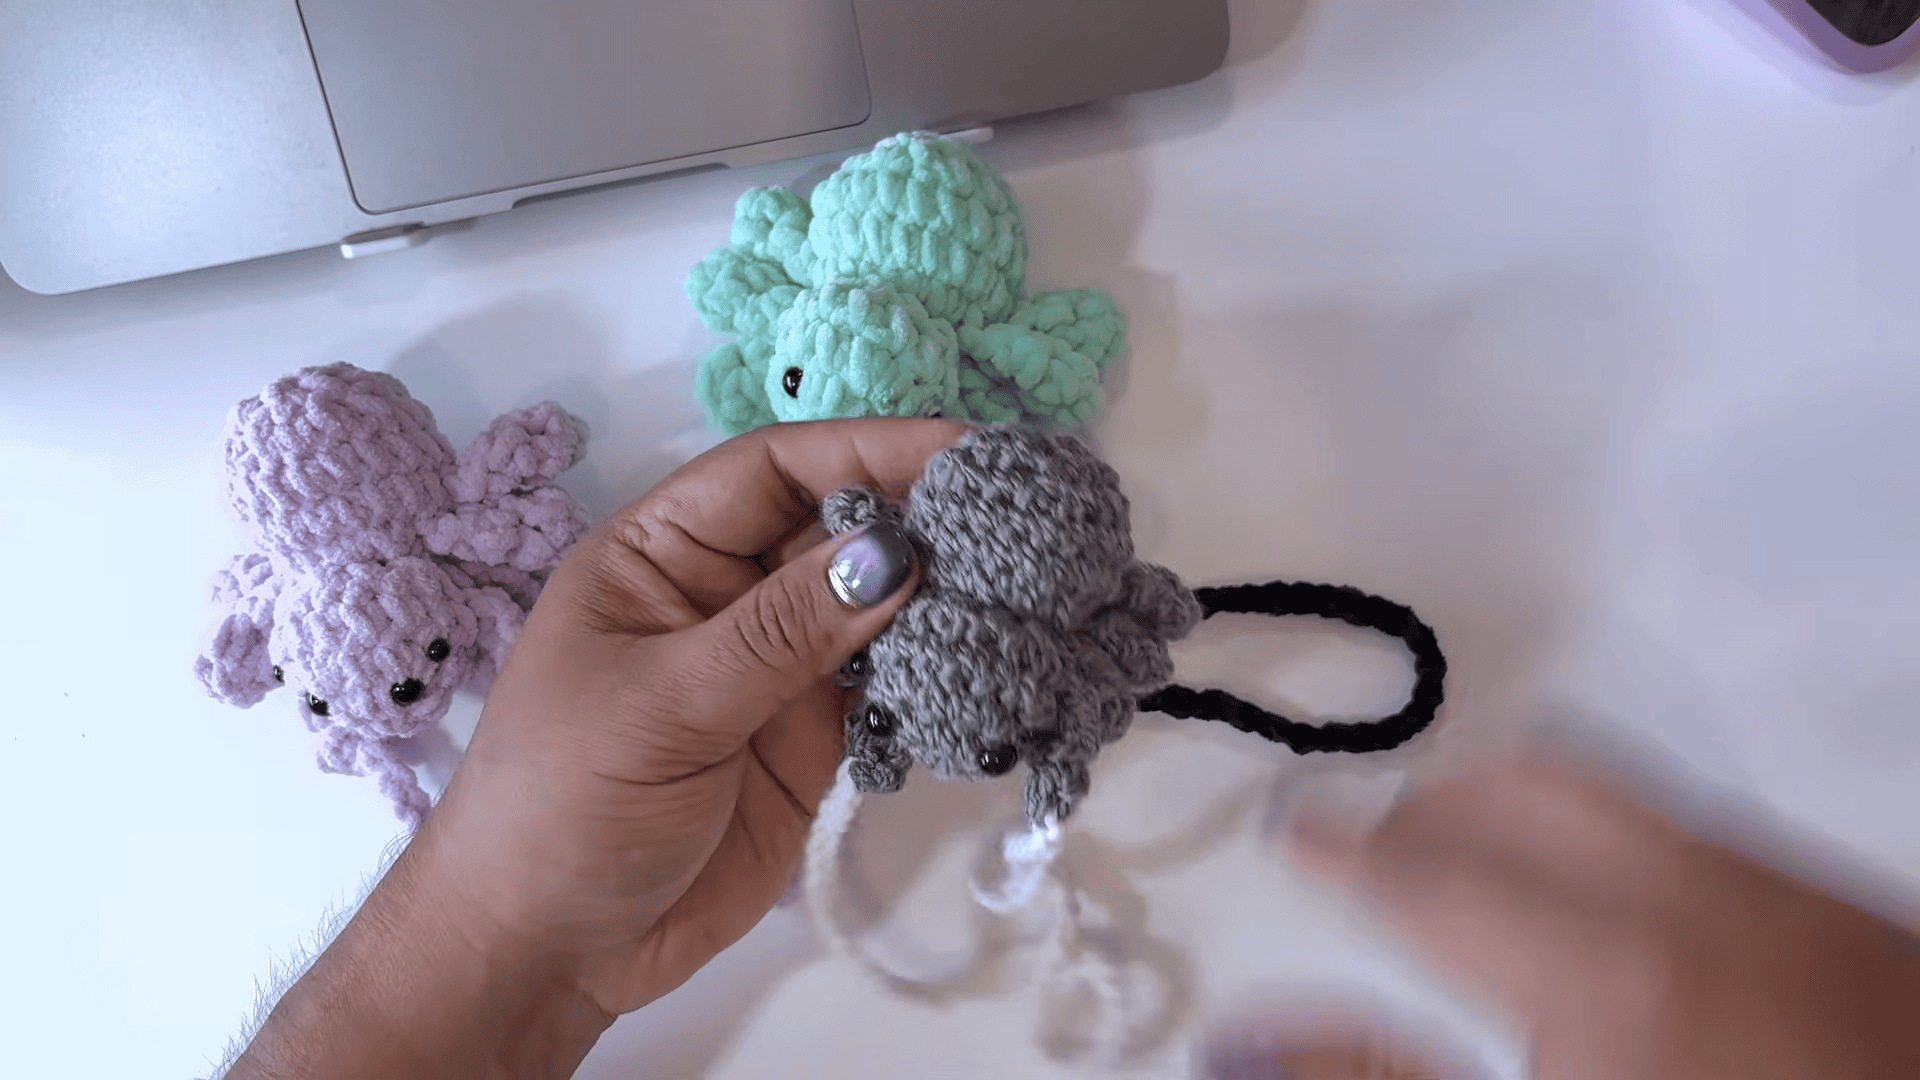
Crochet Hanging Spider Pattern Customisation Options
- Colour: Purple, lilac, and grey all work well. Black, orange, or white yarn would also suit a Halloween theme.
- Yarn: Any thick, plush, or chunky yarn can replace chenille, as long as you pair it with a matching hook.
- Chain length: Roughly 50 chains is the base, but a shorter or longer chain fits different spots.
- Group set: Spiders in several colours make a lively cluster, as the photos show.
Troubleshooting Your Crochet Hanging Spider Pattern
- Hole at the magic ring: Pull the tail tight and weave it in securely.
- Lost stitch count: Keep the marker in the first stitch of each round and count before moving on.
- Uneven legs: Check the leg count on each side after Round 6 before continuing.
- Stuffing visible: Use a smaller hook or tighten your tension.
- Lumpy head: Stuff lightly and in small pieces.
- Crooked eyes: Test the placement before locking the washers.
- Hidden stitches: Chenille is fuzzy, so slow down and rely on the marker.
Finishing and Caring for Your Crochet Hanging Spider
Weave in every end with the yarn needle and check that both pairs of eyes are secure. The body should feel firm while the head stays soft. Check the yarn label for care directions, since chenille can be delicate, and spot clean gently when needed. Safety eyes are not a substitute for child safety, so hang the spider out of reach of young children and pets.
Bonus: Halloween Display Ideas for Your Hanging Spider
A single spider looks great hanging from a doorframe or mantel. A row of spiders in different colours makes a quick garland, and one hung from a wreath adds a playful touch to a front door. A spider dangling in a window or from a bare branch also works well for a seasonal display.
Bonus: Quick Colour Combinations to Try
If you plan to make more than one spider, try mixing colours for a playful group. Purple, lilac, and grey sit nicely together for a soft, spooky look. Alternatively, pair black with orange for a classic Halloween feel, or make a white spider to stand out against darker decor. Because the pattern stays the same, only the yarn changes, which makes a whole set quick to plan.
Frequently Asked Questions (FAQs)
Is this crochet hanging spider pattern good for beginners?
Yes, for crocheters who are comfortable with single crochet, increases, decreases, and a magic ring.
Can I use another yarn for the spider?
Yes. Any thick, plush, or chunky yarn works with a hook that matches its weight.
How many legs does the crochet spider have?
Eight. Each leg is made separately and attached during the body rounds.
Do the legs need to be sewn on?
No. They are joined by crocheting through the leg base and body stitches together.
How long is the hanging chain?
About 50 chain stitches, which you can adjust to suit your space.
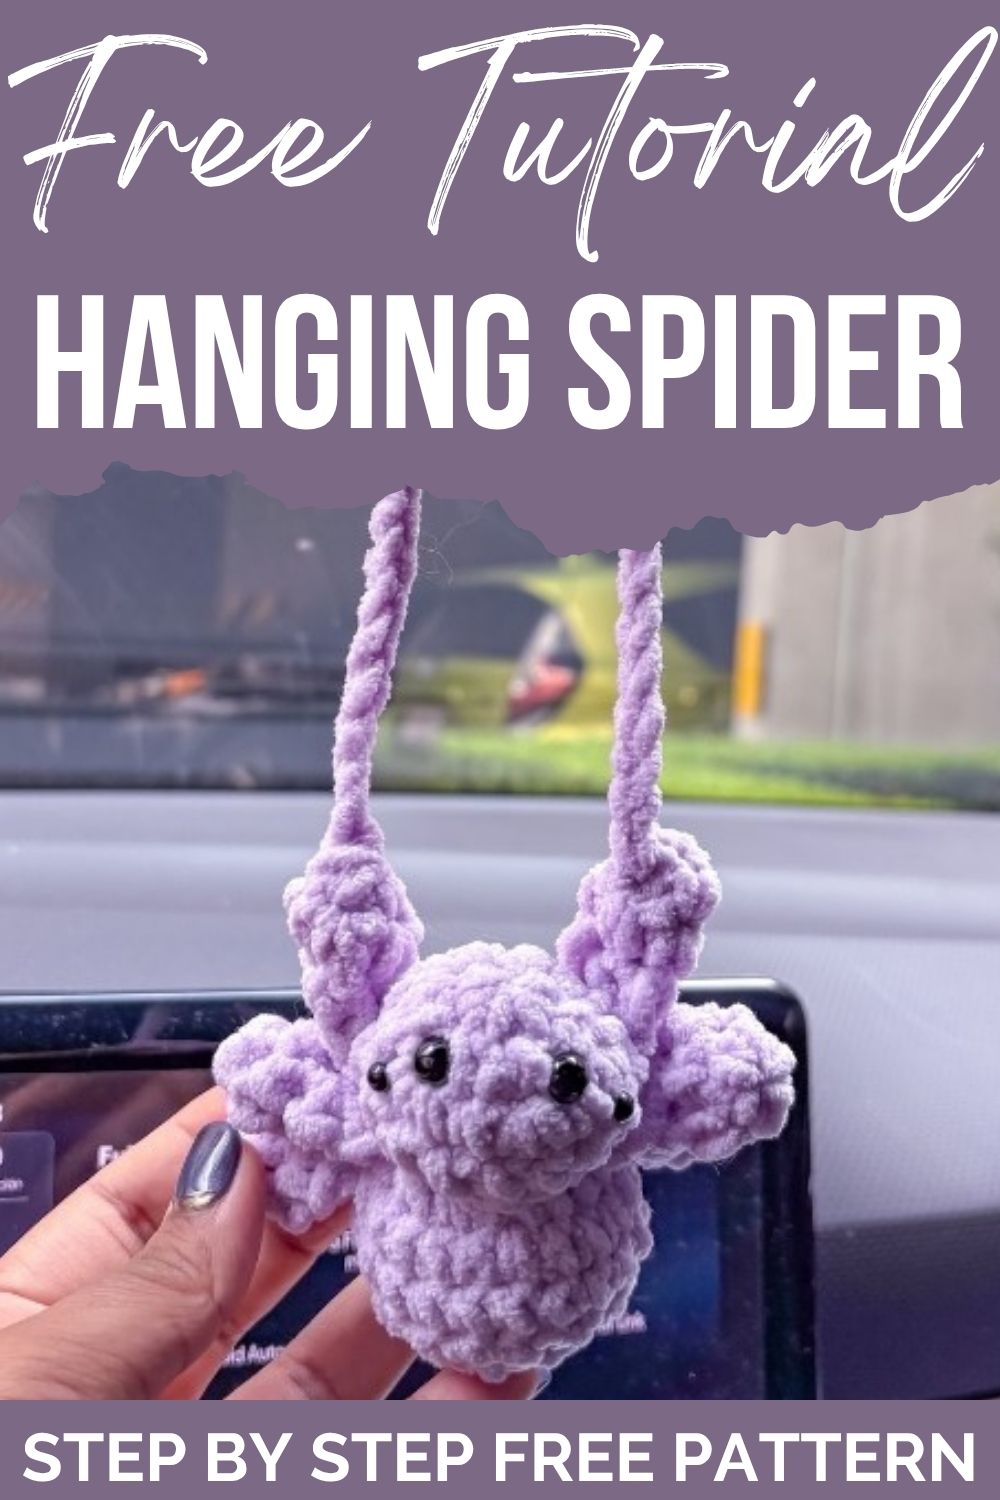
Time to Hang Your Spider
With eight small legs, two eye sizes, and a simple chain, this crochet hanging spider pattern turns a little chenille yarn into friendly Halloween decor. Pick a favourite colour, work through the rounds, and enjoy the finished result. Share a photo of your spider or your colour choice in the comments, and save the pattern for next Halloween.