A Playful Crochet Alien Cat Amigurumi Pattern for Unique Décor
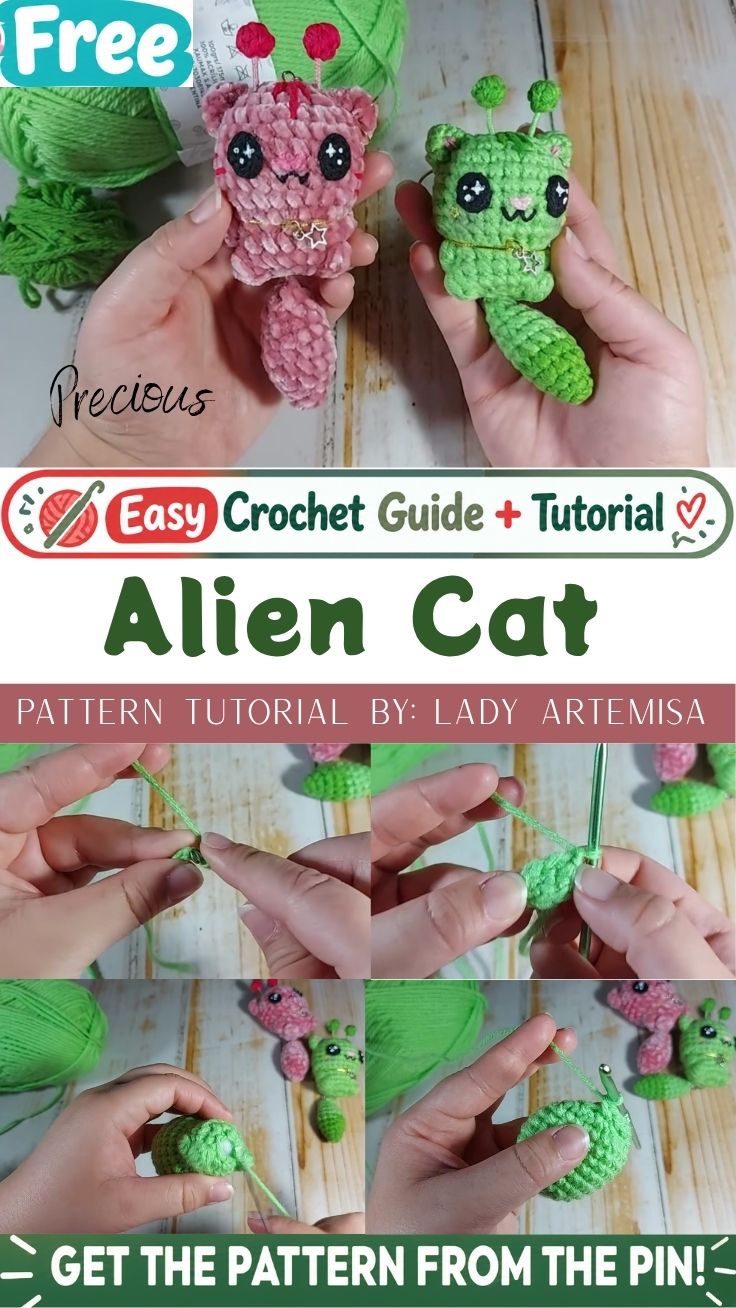
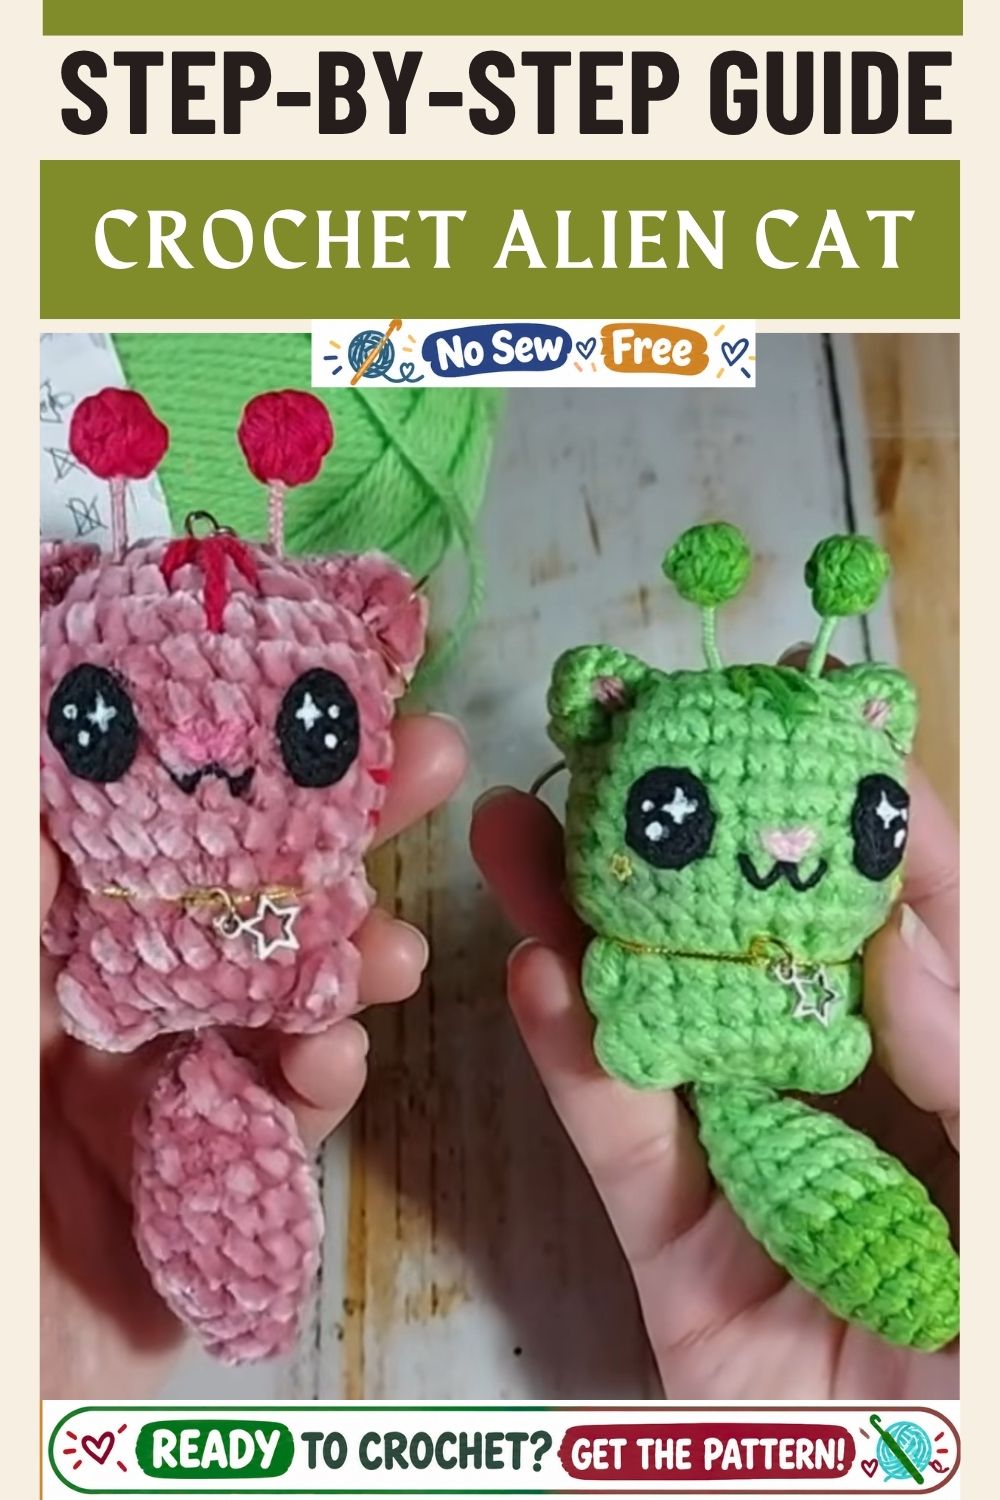
A tiny green sphere takes shape under a steady hook, round after round, until two perky antennae and a stitched grin hint at the quirky little creature hiding inside the yarn the heart of this Crochet Alien Cat Amigurumi Pattern. Wide button eyes give the finished piece its curious, collectible charm.
Part kitten, part space traveler, an alien cat amigurumi mixes two favorite crochet themes into one small, huggable shape. The beginner crochet design skips fussy stitch combinations in favor of simple single crochet rounds, letting the personality come entirely from the face and antennae. That simplicity is what makes it such an approachable, satisfying crochet tutorial for a first character project.
Skill Level
Beginner-friendly. Anyone comfortable with a magic ring, single crochet, and basic increases or decreases can finish this pattern without trouble.
Time Box
- Prep time: 5–10 minutes (gathering yarn, hook, eyes, and stuffing)
- Stitching time: 2–3 hours (head, body, ears, and tail combined)
- Finishing time: 20–30 minutes (embroidery, stuffing, and assembly)
Materials and Supplies
- Worsted weight (medium #4) yarn in bright green for the main body
- Small amounts of contrast yarn pink, black, or white for facial embroidery
- Optional pastel or pink yarn for an antenna tip or nose accent
- Size 2.5mm–3mm crochet hook (adjust to match yarn thickness for tight stitches)
- Pair of 6mm safety eyes, or black embroidery floss for stitched eyes
- Polyester fiberfill stuffing
- Yarn needle for sewing pieces together
- Sharp embroidery needle for facial details
- Small scissors
- Stitch markers (locking type works best)
- Keychain ring, clasp, or small jump ring, if turning the finished piece into an accessory
Crochet Techniques Used
- Magic ring (MR): the adjustable loop start that keeps the very first round pulled snug with no visible gap
- Single crochet (sc): the main stitch used for the head, body, ears, and tail
- Increase (inc): two single crochets worked into one stitch to widen a round
- Decrease (dec / sc2tog): two stitches worked together to narrow a round and shape curves
- Sewing parts together: whip stitch and ladder stitch used to attach the head, tail, antennae, and any small limbs to the main body
Common Mistakes to Avoid
- Working stitches too loosely, which lets stuffing peek through the fabric
- Forgetting a stitch marker at the start of the round and losing track of the count
- Overstuffing the head before checking that it still matches the body’s proportions
- Sewing the face on before confirming the front-facing side of the piece
- Rushing the antennae attachment, which can leave them crooked once the glue or thread sets
Step-by-Step Crochet Pattern Instructions
Head Creation
- Start with a magic ring and work 6 single crochets into it, then pull the ring closed.
- Insert safety eyes (or plan embroidery placement) before the opening closes completely, then stuff firmly and close the gap.
Pro tip: Slide stitch markers into every fourth or fifth stitch before starting the increase rounds it keeps the spacing even and saves a frustrating re-count later.
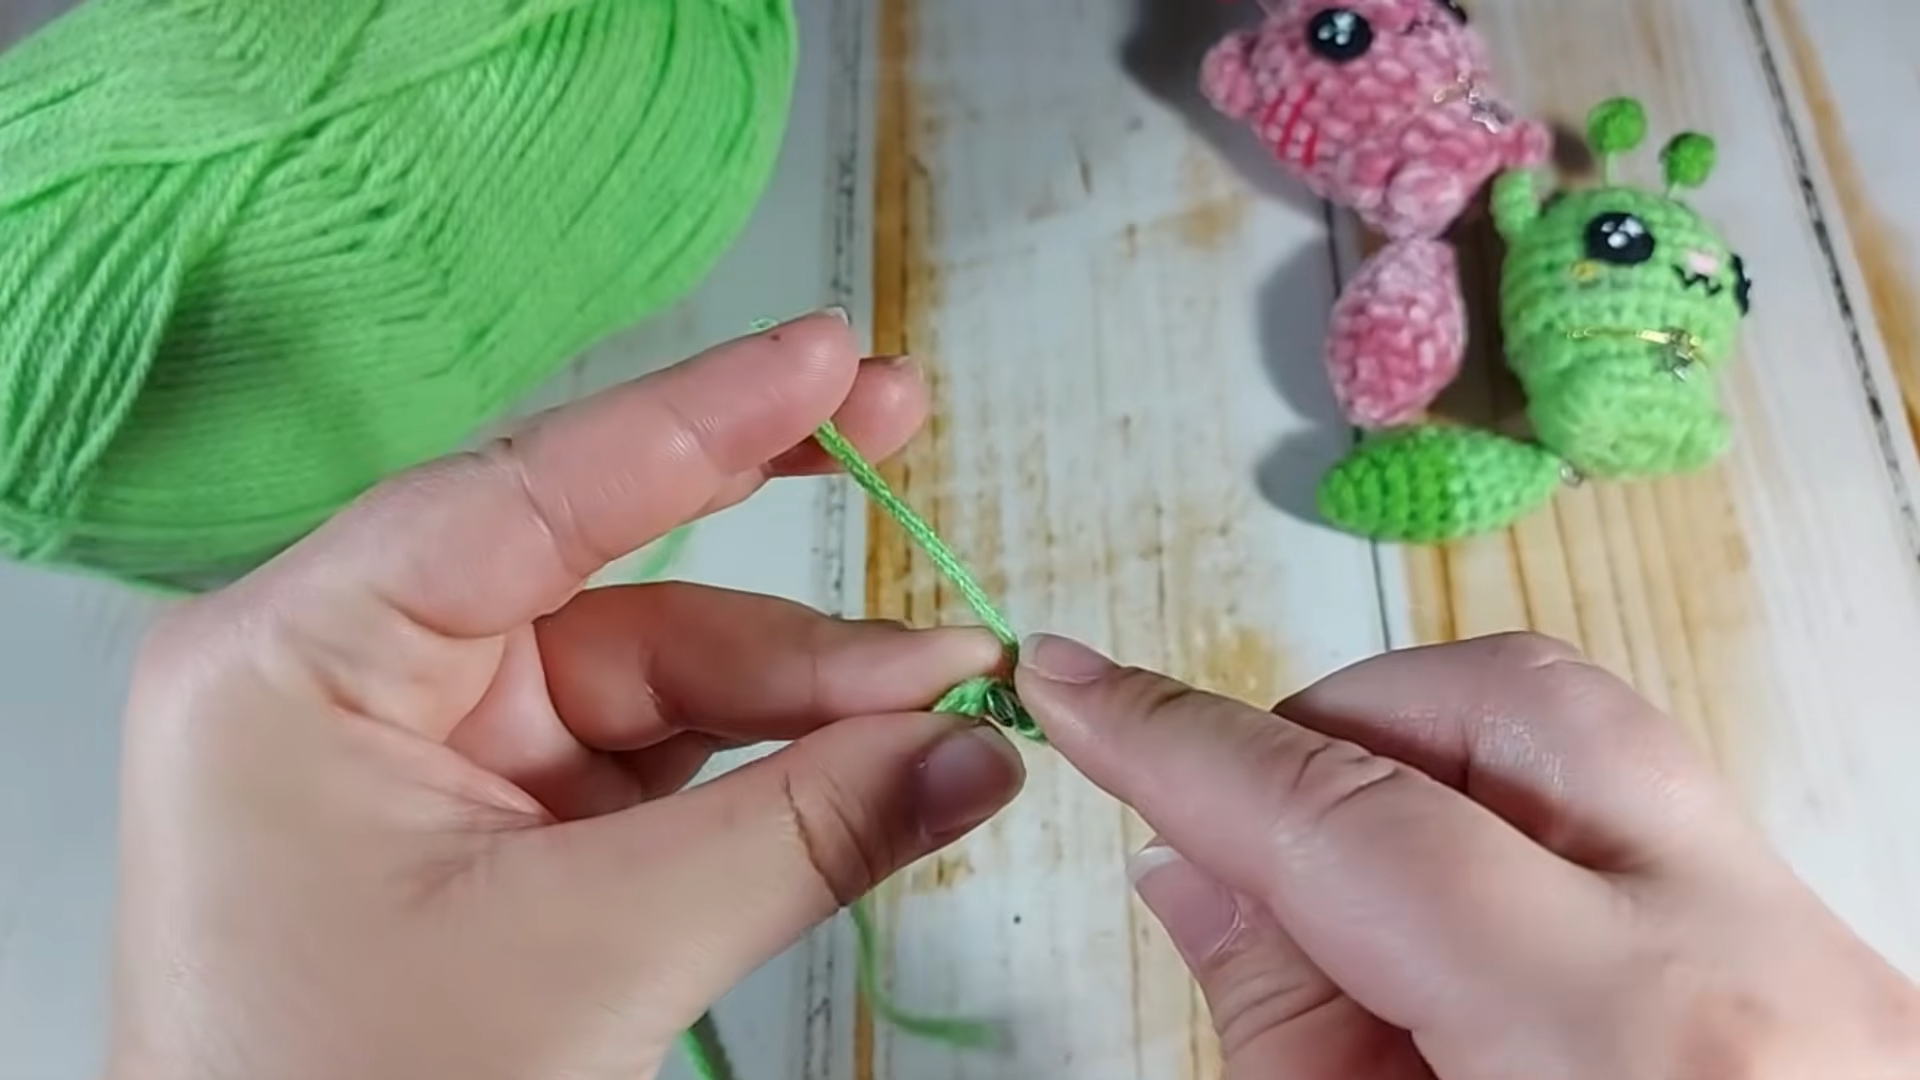
2. Round 2: increase in every stitch around (12 sc total).
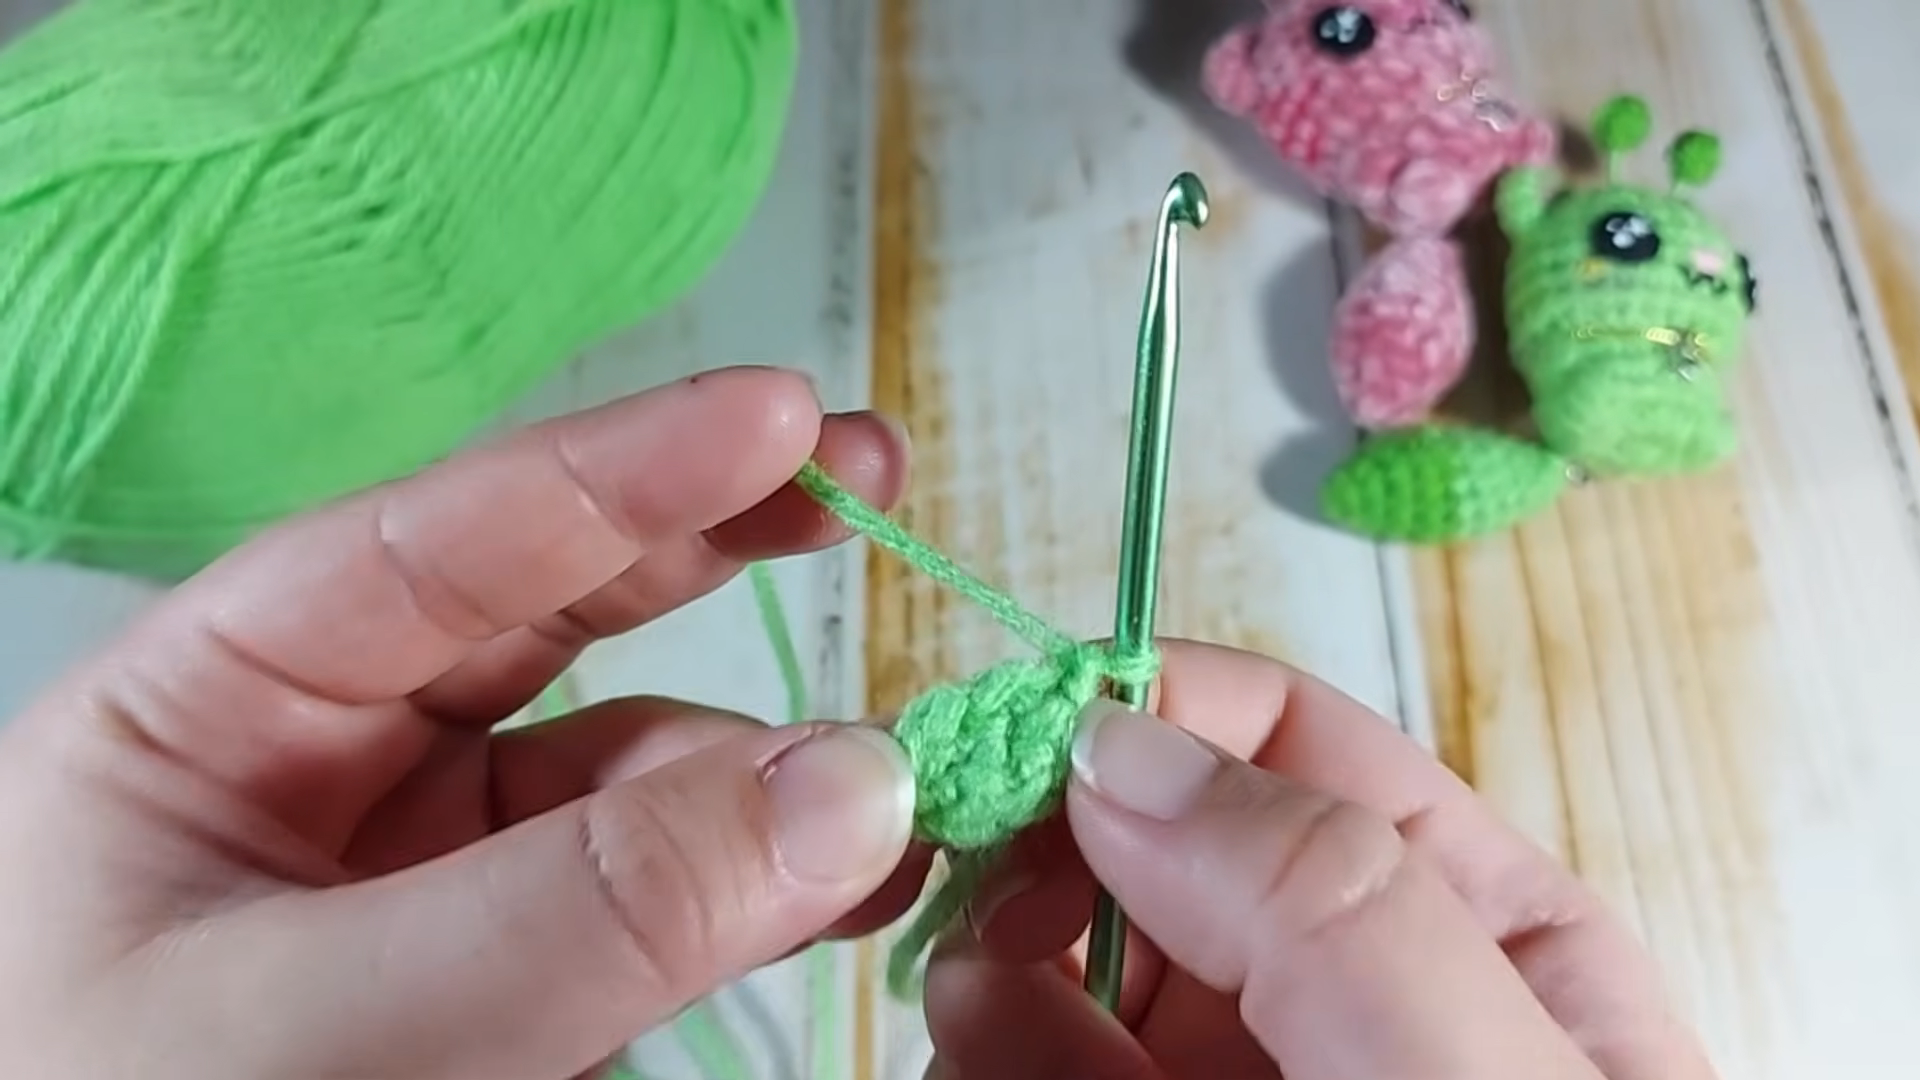
3. Round 3: alternate one single crochet, one increase around (18 sc total).
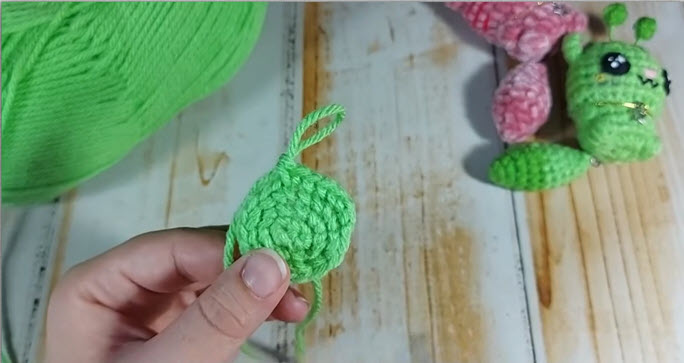
4.Round 4: alternate two single crochets, one increase around (24 sc total).
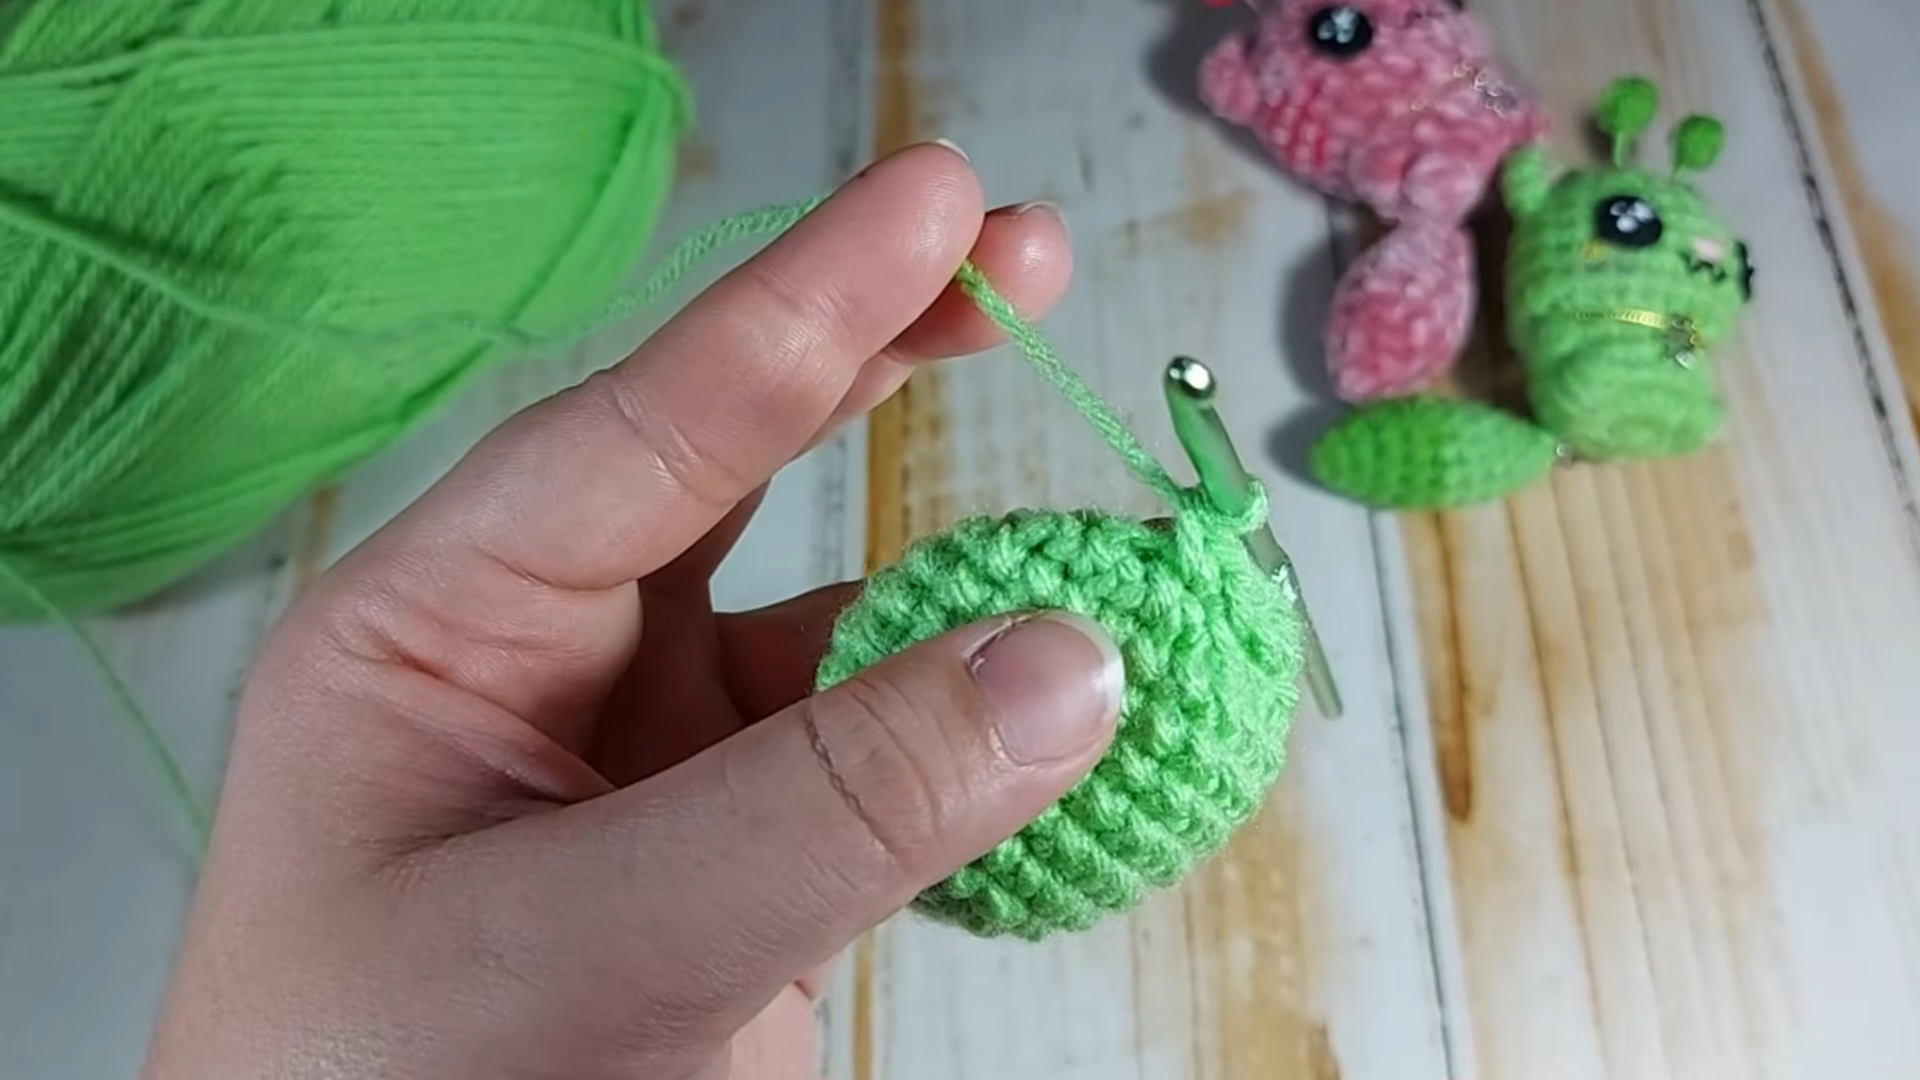
5. Work several rounds even (no increases) in single crochet until the head reaches a rounded, apple-like shape.
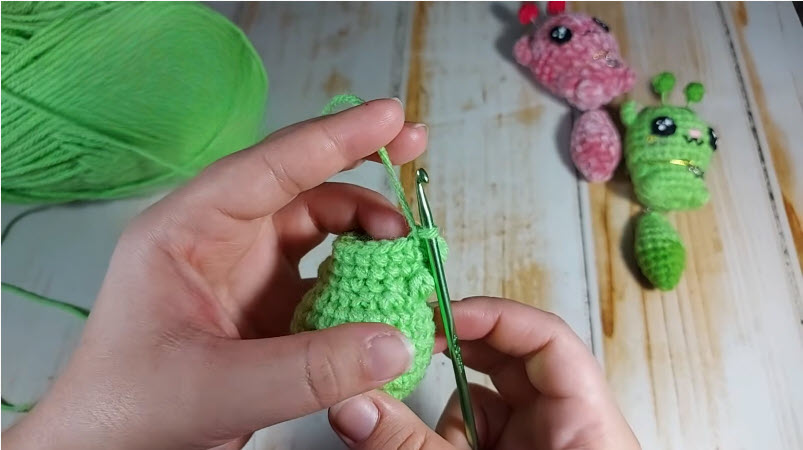
6. Begin decreasing gradually, spacing decreases evenly around each round, until the opening narrows to a small circle.
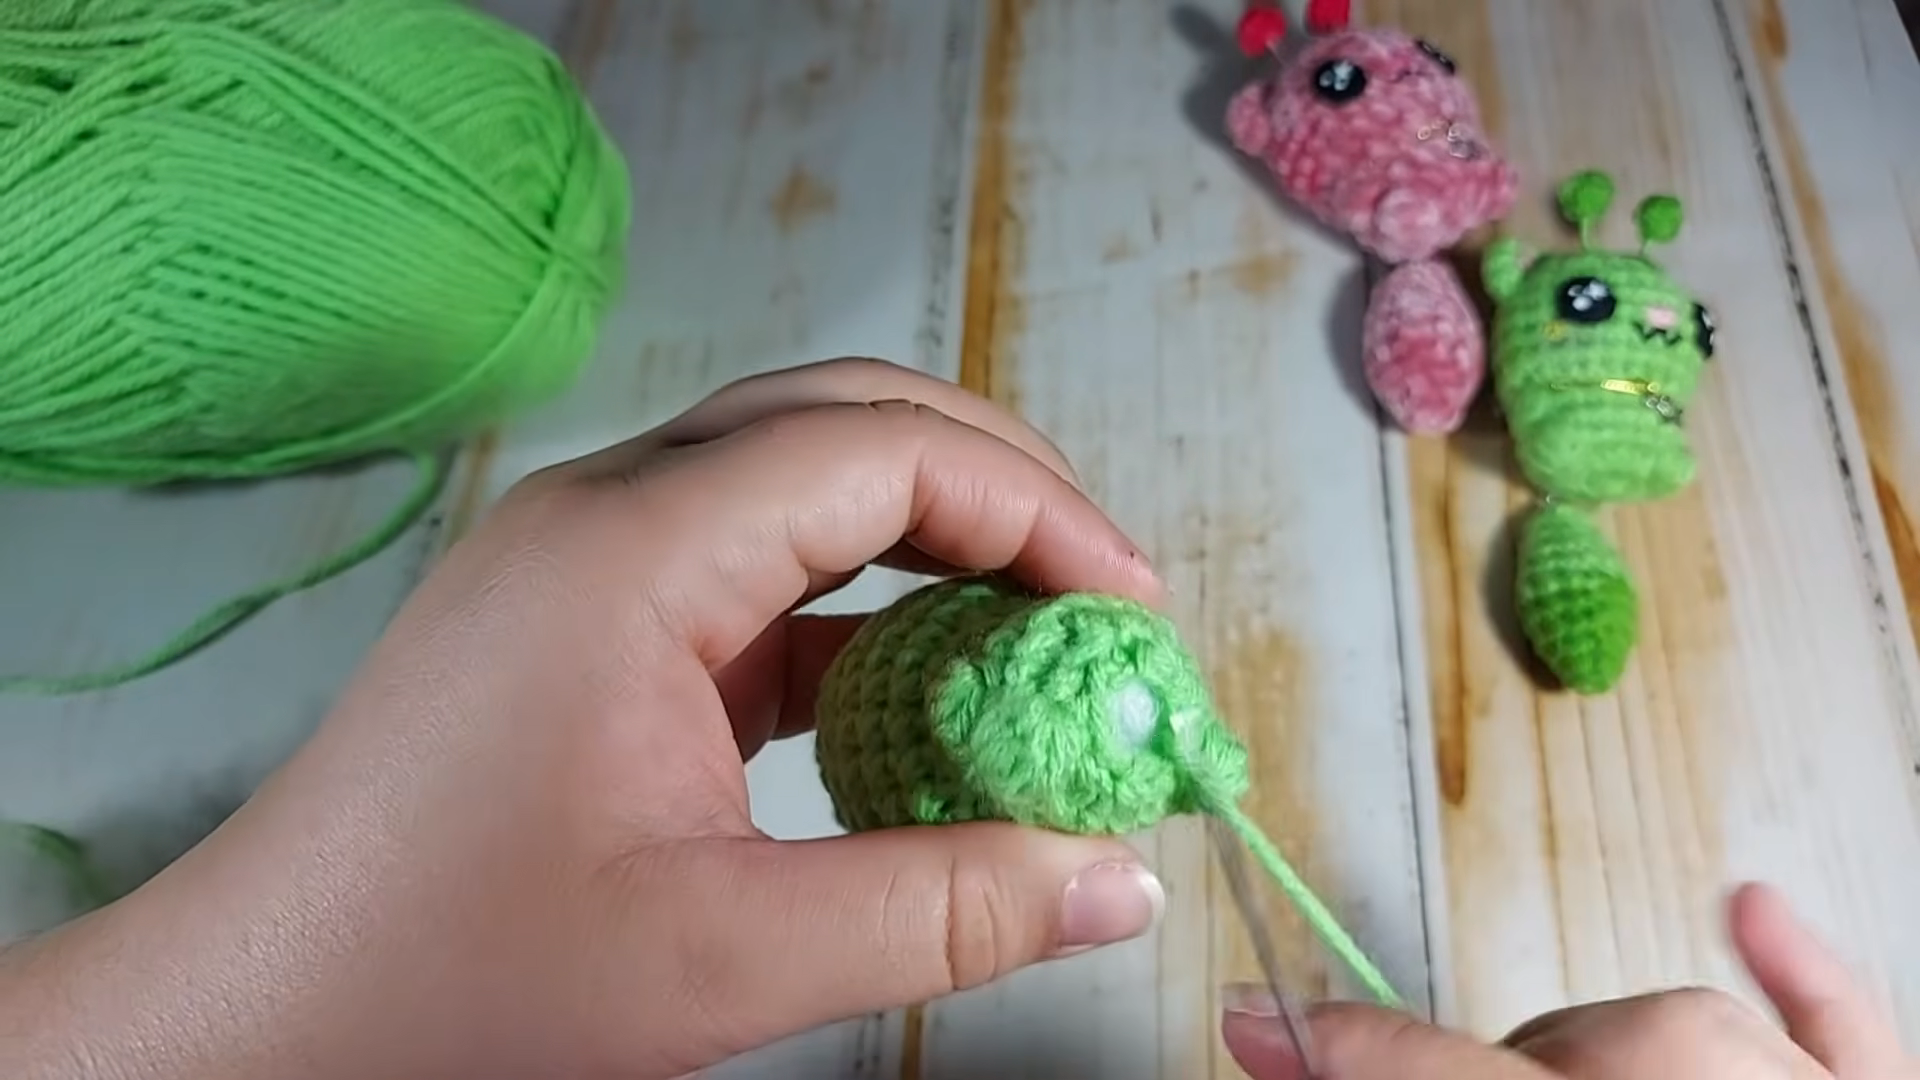
Ears, Antennae, and Tail
- Antennae: chain a short length, then work single crochet back down the chain; finish each tip with a small round pom-pom or a tight cluster of stitches for a bobble effect.
- Ears: work a tiny triangle or rounded flap in a few short rows, leaving a long tail for sewing.
- Tail: crochet a narrow tapered tube wide at the base, narrowing toward the tip through gradual decreases and stuff lightly before sewing it to the lower back of the body.
Facial Details
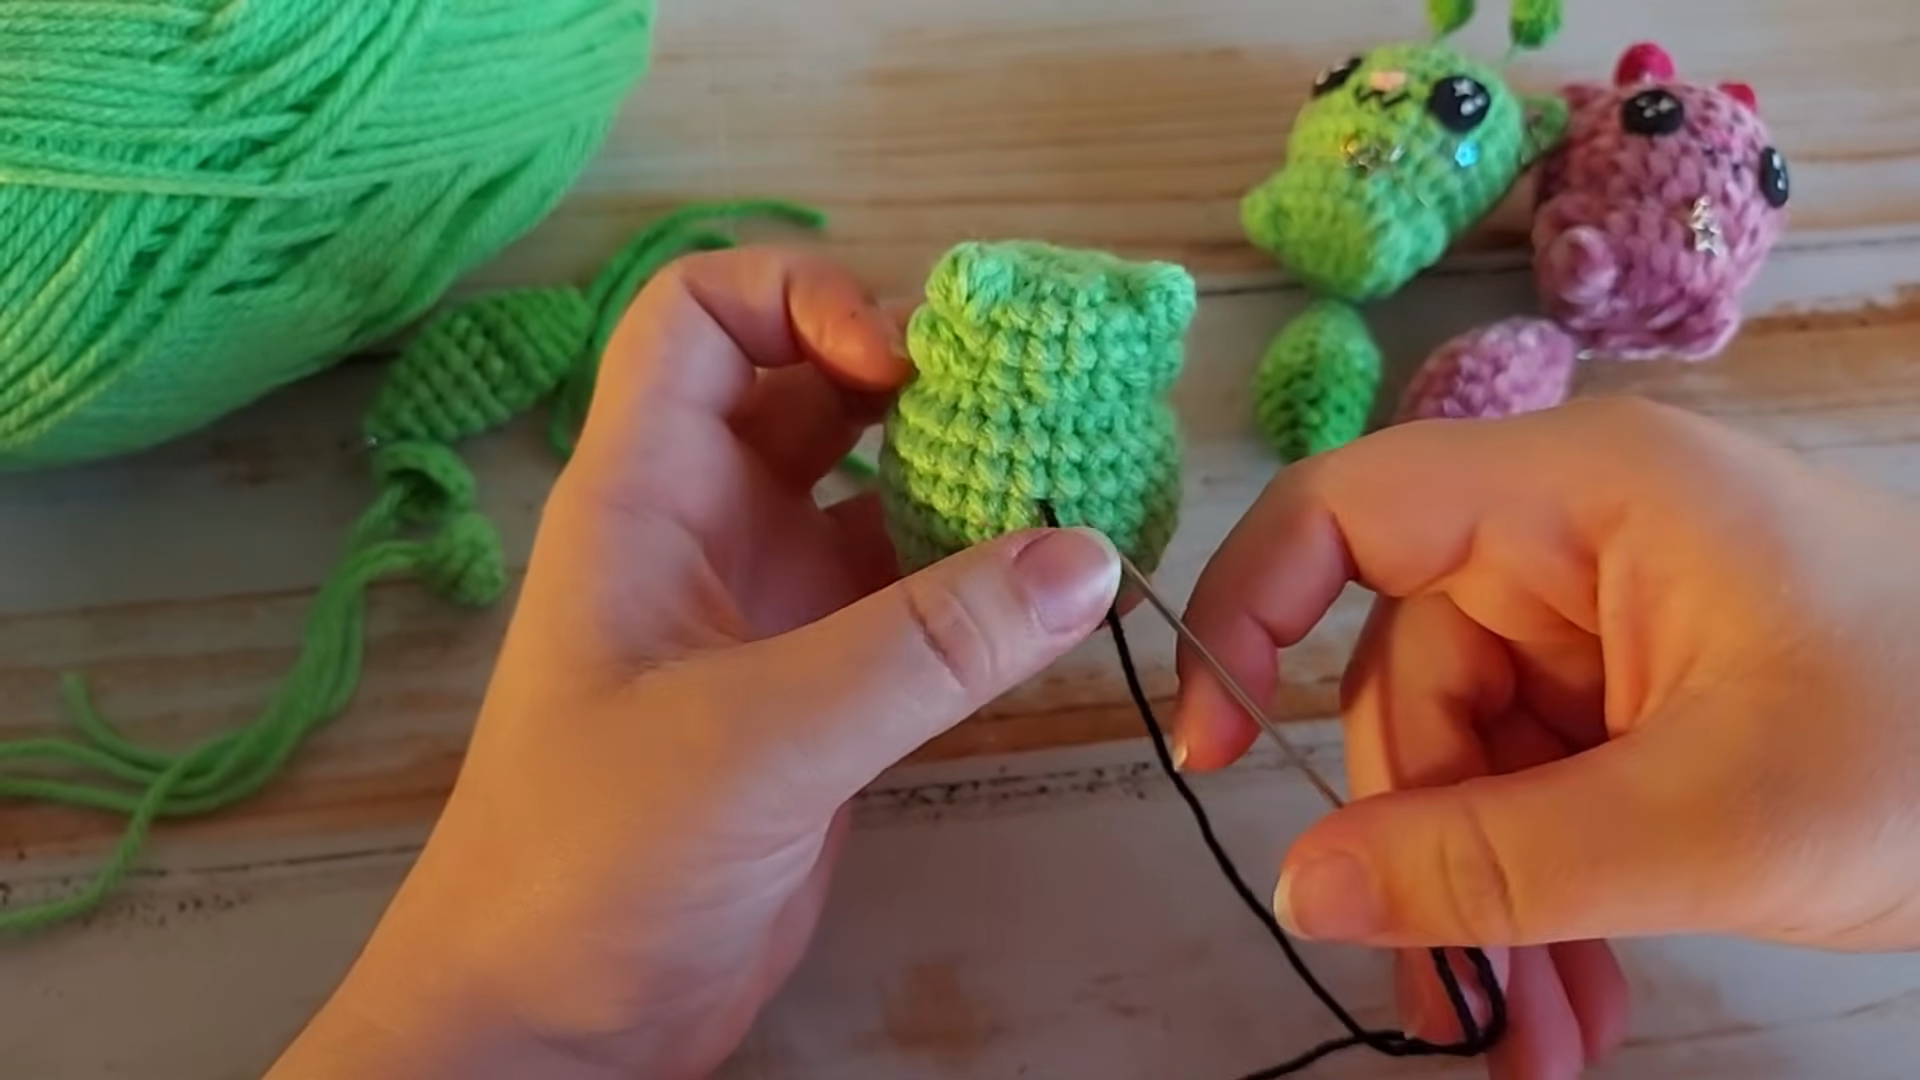
- Mark the front center of the head with a stitch marker before starting embroidery, so the eyes and nose stay aligned.
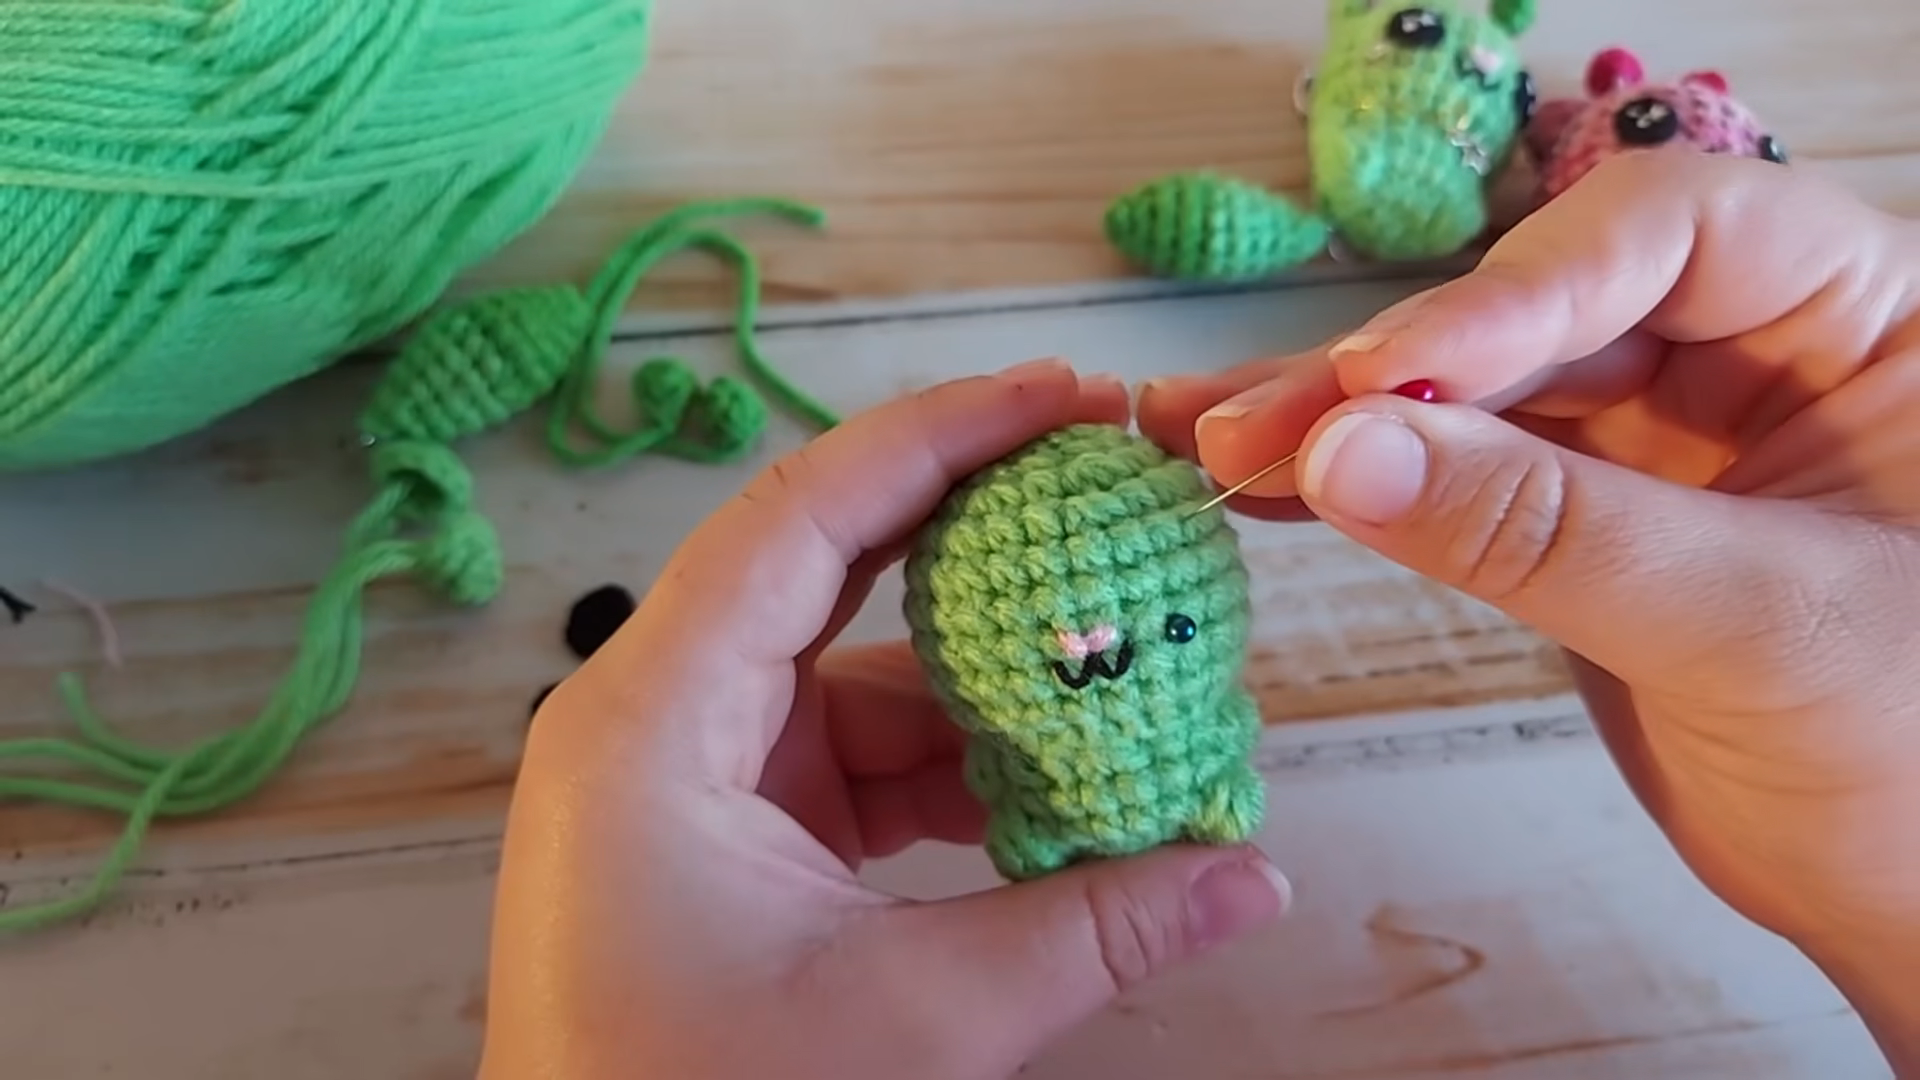
- Embroider a small triangular or heart-shaped nose in pink or black thread just below the eyes.
- Stitch a soft curved mouth beneath the nose using a simple straight-stitch or backstitch line.
- Add pink cheek blushes with a few loose satin stitches on either side of the face for extra warmth.
Assembly Process
- Position the head directly above the body’s neck opening and pin or hold it in place before stitching.
- Whip stitch around the base of the head, working slowly to keep the seam hidden along the natural curve.
- Attach the antennae to the top of the head, angling them slightly outward for a lively, alert look.
- Sew the ears just behind the antennae, checking that both sides sit level with each other.
- Attach the tail to the lower back of the body, curving it gently for a natural resting pose.
Finishing Touches
- Fluff the stitches gently with a needle tip to even out the surface texture.
- Trim any stray yarn tails close to the fabric once every seam is secure.
- Weave in all remaining ends through the inside of the stuffing so nothing works loose over time.
- If turning the piece into an accessory, attach a small keychain ring or clasp to the top of the head or back seam.
Helpful Beginner Tips
- Keep stitches tight. A smaller hook than the yarn label suggests helps prevent stuffing from showing through the fabric, which matters far more in amigurumi than in blankets or garments.
- Use stitch markers religiously. Amigurumi is worked in a continuous spiral rather than joined rounds, so a marker at the start of each round is the only reliable way to track progress.
- Stuff in small pieces. Adding stuffing a pinch at a time and pushing it into corners with a chopstick or pencil gives a smoother, lump-free finish than cramming in one large handful.
- Check proportions often. Holding the head against the body every few rounds catches sizing mismatches early, long before the pieces are sewn together.
Uses and Benefits
A finished alien cat can clip onto a backpack zipper, hang from a rearview mirror, dangle off a purse strap, or simply tuck into a bookshelf beside other handmade characters. Small and lightweight, the toy suits both play and display, making it a flexible addition to a handmade crochet ideas collection, a craft fair table, or a thoughtful gift for a friend who loves quirky, collectible plush designs.
Design Customization Ideas
Different Colors
Swap the green body for lavender, mint, or soft pastel pink to create an entire family of alien cats, each with its own personality.
Cute Accessories
Add a tiny bow, a bead necklace, or a felt collar to dress up the finished piece for gifting or seasonal themes.
Mini Size Variations
Work the same pattern with thinner yarn and a smaller hook to shrink the finished alien cat down into a charm-sized keychain version, ideal for bulk gifting or shop inventory.
Bonus Section: Care and Storage Tips
Keep the finished alien cat looking fresh by spot-cleaning with a damp cloth rather than machine washing, since stuffing can shift or clump in a washer. Store extras in a breathable fabric bag rather than sealed plastic to avoid trapped moisture, and keep antennae away from direct sunlight for long periods, since bright yarn colors can fade over time.
Frequently Asked Questions
What is the best yarn for amigurumi?
Worsted weight (medium #4) cotton or acrylic yarn works best, since both hold their shape well and pair nicely with a slightly smaller hook for tight, gap-free stitches.
How do I make a crochet plush firm?
Firmness comes from a combination of tighter stitches, a smaller hook relative to the yarn weight, and stuffing in small, even amounts rather than large clumps pushed in all at once.
How long does this project take?
Most crocheters finish the alien cat in two to three hours of active stitching, spread across one or two relaxed sessions.
Wrapping Up
An Crochet Alien Cat Amigurumi brings together everything that makes amigurumi so satisfying: simple stitches, quick shaping, and a finished character full of personality. Grab a hook, a ball of green yarn, and a pair of button eyes, then give this playful little creature a spot on the next crochet project list.