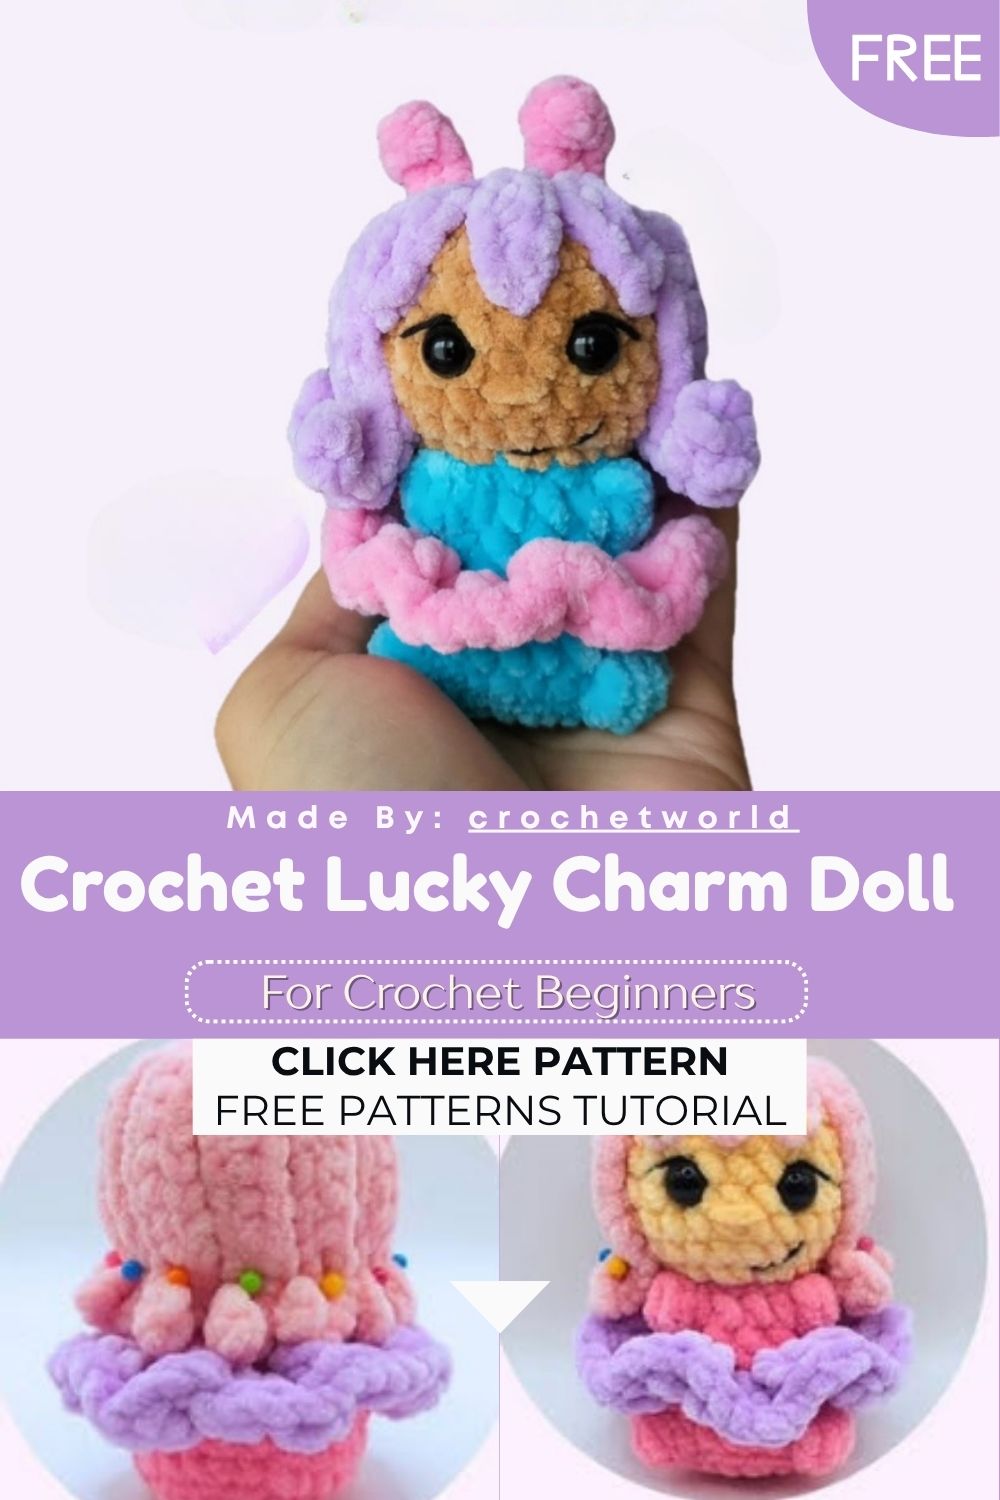
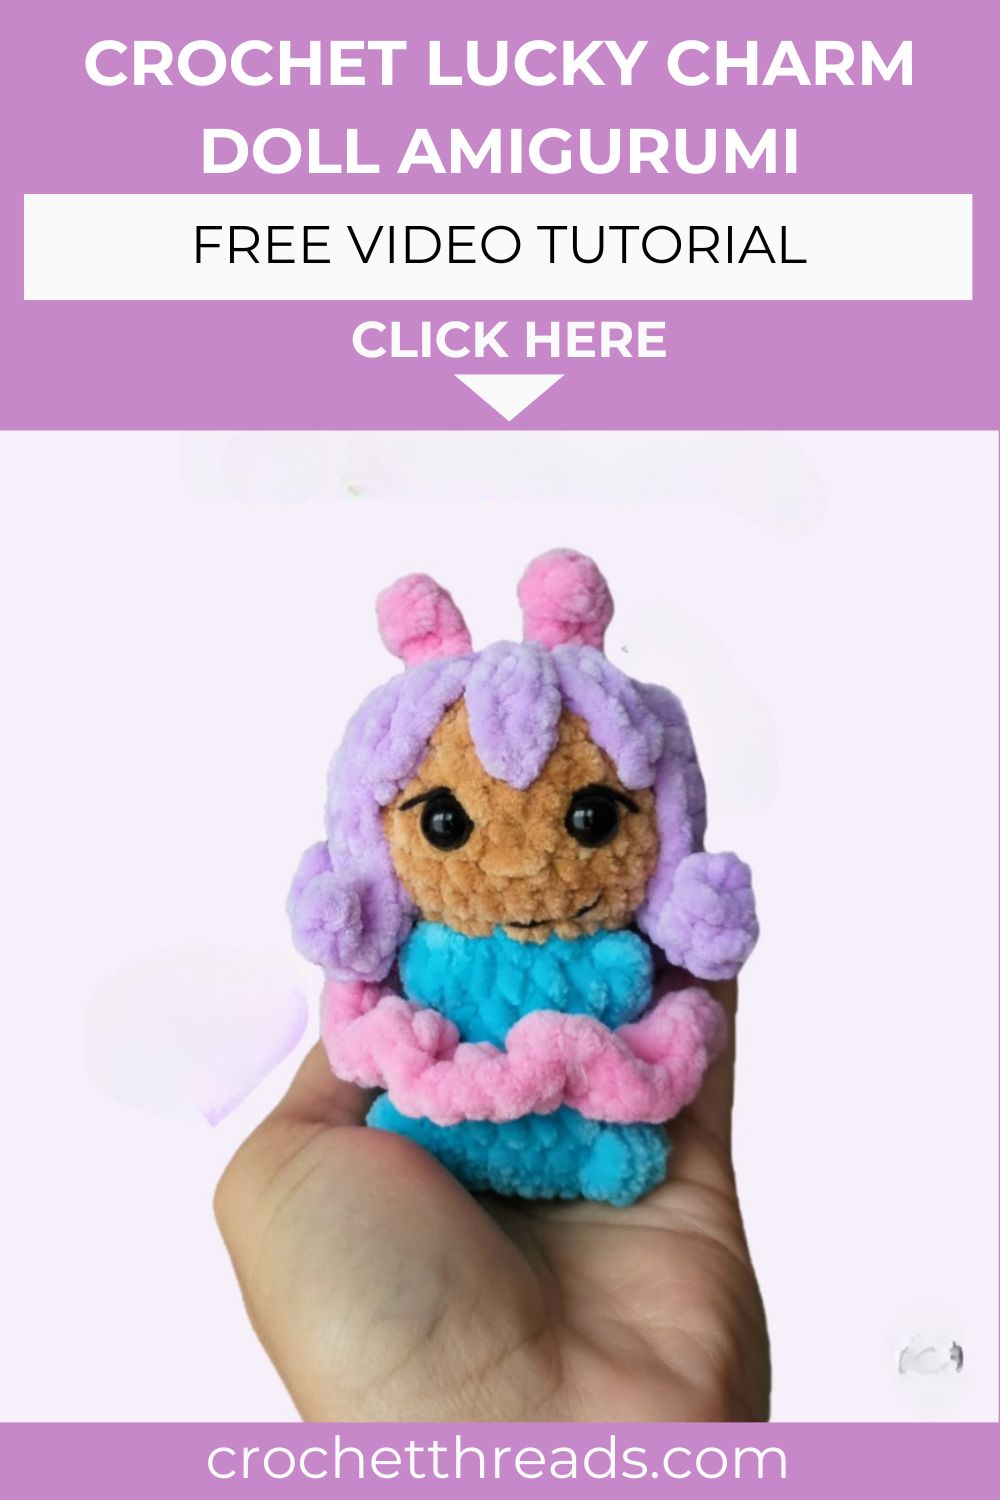
Charm Crochet Lumi Doll Amigurumi Pattern for Home
Some dolls just feel like a hug. But Crochet Lumi Doll Amigurumi is one of them. She has a sweet face, soft hair, and a cute little skirt. This free crochet pattern is quick and beginner-friendly. Make one for home, or one for a friend.
Every home feels warmer with a handmade friend on the shelf. Lumi Lucky is exactly that kind of friend. She works up in soft chenille yarn. The body and head are made in one piece. You stuff her as you go, so there’s no big finish at the end. Even new crocheters can make her. Let’s get started
Charm Crochet Doll Amigurumi Pattern for Home
Pattern Overview
- Lumi is made mostly in one piece. The body and head flow together. No tricky joining needed.
- You stuff her little by little as you crochet. This keeps her shape neat and firm.
- The arms and feet are formed with bobble stitches. They pop right out of the rounds.
- The skirt grows from the front loops of round 7. It flares out on its own.
- The hair is a separate cap with strands and bangs. You sew it on at the end.
- Tiny feelers, soft lashes, and a stitched mouth give her all her charm.
- She’s small and quick. One doll uses just a little yarn.
Why You’ll Love This Pattern
- She’s beginner-friendly. The stitches are all basic.
- She’s cozy decor. Perfect for a shelf or desk.
- She’s a great gift. Kids and adults both love her.
- She’s quick to make. You can finish her in an evening.
- She’s easy to customize. New colors make a brand new doll.
Skill Level
This Crochet Lumi Doll Amigurumi pattern suits beginners with a little practice. You’ll use a magic ring, single crochet, increases, decreases, bobbles, and slip stitches. Know these? Then Lumi is fun to make.
Materials
- A Crochet Lumi Doll Amigurumi hook to suit your chenille yarn (I use a 4mm hook)
- Chenille yarn (I use Himalaya Dolphin Baby or Yarnart Dolce 100g / 120m)
- Black cotton yarn (for the face)
- 10mm safety eyes
- Fiberfill stuffing
- Yarn needle
- Stitch marker
- Scissors
- Pin needles
Abbreviations
- R — round
- MR — magic ring
- INC — increase
- SC — single crochet
- DEC — decrease
- SlSt — slip stitch
- BLO — back loop only
- FLO — front loop only
- CH — chain
- BO — bobble stitch
- DC — double crochet
- HDC — half double crochet
Special Techniques
- Magic ring (MR): Both the body and hair start here. It closes the center with no hole.
- Bobble stitch (BO): Clusters of double crochets form the arms and feet. They pop out of the fabric.
- Back loops only (BLO): Working in the back loops makes clean ridges and shaping lines.
- Front loops only (FLO): The skirt grows from the free front loops of round 7.
- Color change: You swap to the body color at round 10. This gives Lumi her two-tone look.
- Embroidery: The eyes, nose, lashes, and mouth are all added by hand at the end.
The Pattern
Lumi Lucky (Body & Head)
Stuff with fiberfill gradually as you crochet.
- R1: 8 SC in a MR (8)
- R2: (INC) × 8 (16)
- R3: (1 SC, INC) × 8 (24)
- R4: BLO 8 SC, BO (5 DC), BLO 6 SC, BO (5 DC), BLO 8 SC (24)
- R5: 24 SC (24)
- R6: (1 SC, DEC) × 8 (16)
- R7: BLO 16 SC (16) mark the FLO for the skirt later
- R8: 16 SC (16)
- R9: 6 SC, BO (4 DC), 4 SC, BO (4 DC), 4 SC (16) the arms (BO) align with the feet; adjust SC if needed
- R10: (2 SC, DEC) × 4 (12) change to body color; cut 15cm for the nose first
- R11: BLO (INC) × 12 (24)
- R12–R16: 24 SC (5 rounds) (24) attach the eyes and nose (see Face)
- R17: (4 SC, DEC) × 4 (20)
- R18: (3 SC, DEC) × 4 (16)
- R19: (2 SC, DEC) × 4 (12)
Leave a long tail for sewing. Insert the yarn needle through the front loops of the 12 SC. Pull tight to close. Fasten off.
Face
- Place the eyes between rounds 14 and 15, with 4 stitches between them.
- Embroider the nose between rounds 13 and 14, 2 stitches wide, and pull the yarn through once.
- Then close the head and come back for the details below.
Lashes
- Pull the yarn through point 1. Insert at point 2.
Mouth
- Pull the yarn through point 1.
- Insert at point 2 (3 stitches and 1 round between the two points).
- Pull out at point 3 (1 stitch between points 1 and 3).
- Make sure the yarn runs behind the loop, then insert again at point 3.
Skirt
Work into the FLO from round 7:
- (3 CH, 2 DC) into one stitch, (3 DC) × 15, SlSt to close, fasten off.
Hair
- R1: 6 SC in a MR (6)
- R2: (INC) × 6 (12)
- R3: (1 SC, INC) × 6 (18)
In round 4, crochet the hair strands and the bangs. After making each chain, always start in the second chain from the hook.
- Hair strands: 7 × (SlSt, 11 CH, (INC-SC) × 3, 7 HDC, skip 1 stitch)
- Then: 1 × (SlSt, 11 CH, (INC-SC) × 3, 7 HDC)
- Bangs: 3 × (SlSt, 5 CH, 4 SC)
- SlSt to close, fasten off.
Feelers
Leave a tail at the start and end for sewing.
- R1: 4 CH (start in the second chain from the hook)
- R2: BO (3 DC), 2 SC
Assembly & Finishing
- Attach the eyes between rounds 14 and 15. Keep 4 stitches between them.
- Embroider the nose between rounds 13 and 14. Make it 2 stitches wide.
- Add the lashes with a couple of simple stitches.
- Stitch the mouth using the three points. Keep the yarn behind the loop.
- Close the head and pull the top tight to finish it.
- Sew the hair cap onto the head. Spread the strands and bangs evenly.
- Sew the feelers in place using the tails you left.
- Weave in all the loose ends neatly.
Beginner Tips
- Use a stitch marker every round. The spiral is easy to lose.
- Stuff in small amounts often. It gives a smoother shape.
- Keep your tension even. Tight stitches make shaping hard.
- Pin the hair before sewing. Then check it sits straight.
- Work the face in good light. Small details matter here.
Common Mistakes to Avoid
- Stuffing too late. Add the fiberfill as you go. It’s hard to reach once she narrows.
- Skipping the FLO marker. Mark the front loops on round 7. You’ll need them for the skirt.
- Misplacing the bobbles. The arms must line up with the feet. Adjust your stitches if needed.
- Wrong eye placement. Measure the rounds first. Crooked eyes change her whole face.
- Forgetting the color change. Switch to the body color at round 10. Cut the nose yarn first.
- Loose hair. Sew the hair cap down well. Loose strands tend to flop around.
Conclusion
And there she is your very own Crochet Lumi Doll Amigurumi She’s small, soft, and full of charm. Don’t worry if your first doll looks a little quirky. That’s the magic of handmade. Her face comes alive the moment you add the eyes. Try her in different colors and yarns. Give each doll her own little look. Sit her on a shelf. Pop her on a desk. Or wrap her up as a gift. Either way, you just made a sweet new friend from yarn.