Crochet Nintendo Switch Case Pattern Console in Style
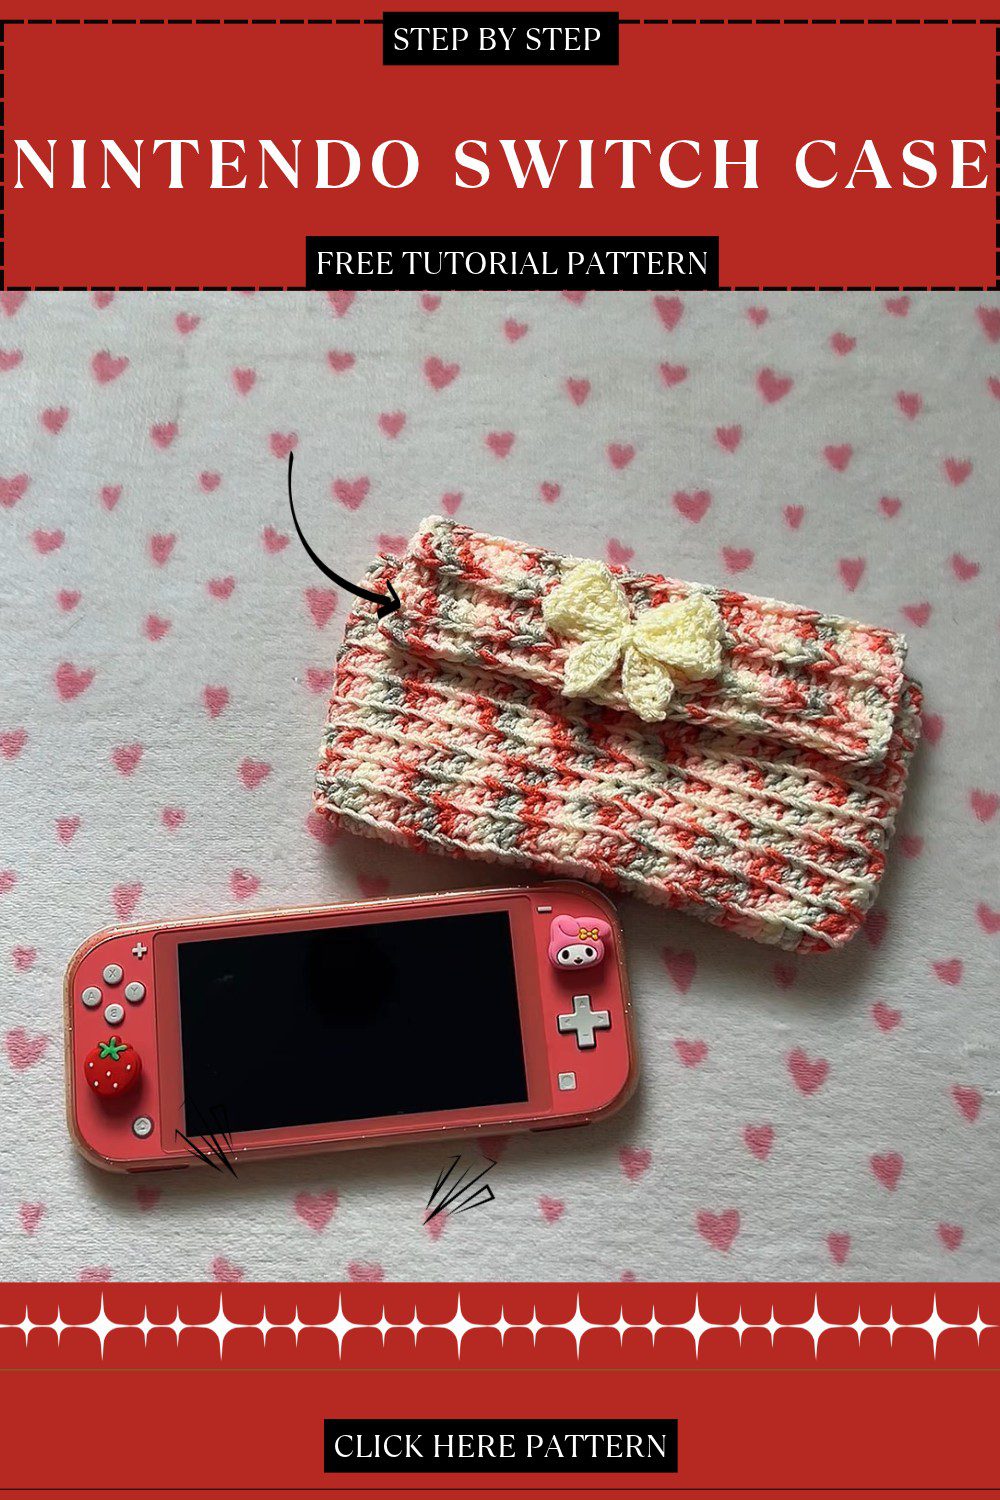
Picture your Switch tucked inside a snug little pouch you made yourself. This crochet Nintendo Switch case pattern uses simple stitches and two yarn colours, so it works well for beginners. The adjustable chain fits any model, and the cute bow on the flap makes it one of the sweetest handmade gaming gifts and cozy gamer accessories.
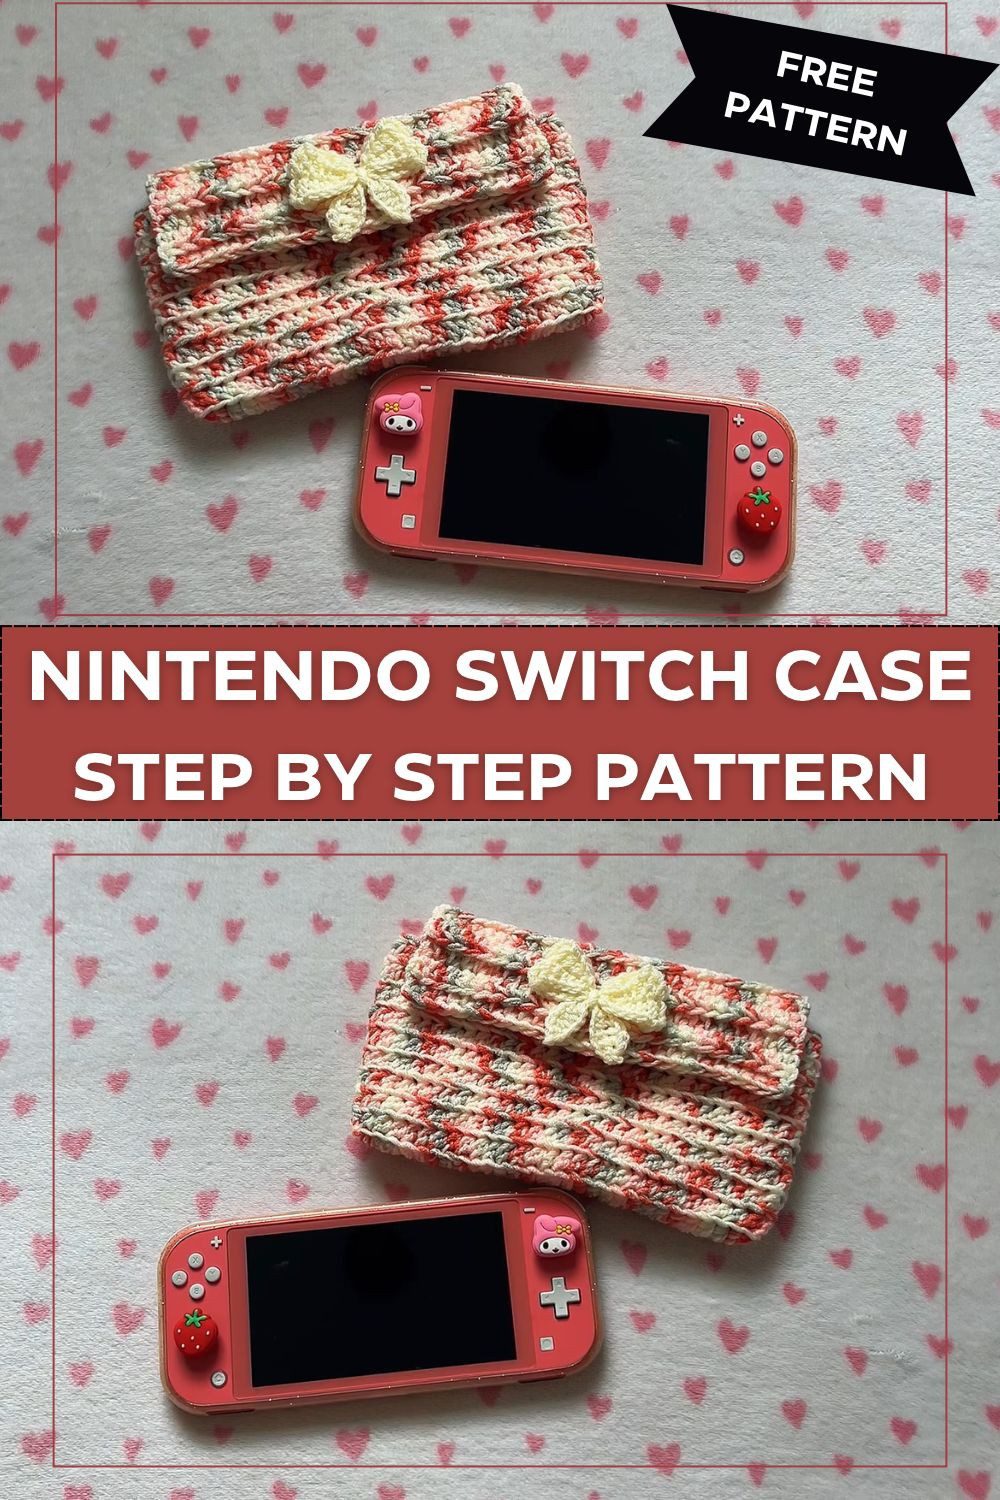
Crochet Nintendo Switch Case Pattern Overview
Skill level: Absolute beginner
Finished size: About 7 to 8 inches wide and 4 inches tall (estimated, changes with your starting chain)
This pattern uses US crochet terms. First, the case is worked in rounds, starting with a chain that you can make longer or shorter to match your console. Besides that, you only need basic stitches, turning, and working into the back loops.
Materials for Your Crochet Switch Case
- Two colors of weight 3 (DK) yarn
- 4.5mm crochet hook
- Darning needle
- Scissors
- Magnetic buttons
- Hot glue gun (optional, for attaching the bow)
Stitch Abbreviations
- CH: Chain
- SC: Single Crochet
- HDC: Half Double Crochet
- DC: Double Crochet
- SL ST: Slip Stitch
Quick Fit Check Before You Start
Before you commit to a full case, hold your foundation chain against the console. If the chain reaches the full length of your Switch, you are good to go. However, if it falls short or runs long, add or remove a few chains, then follow the same steps. In fact, that one small check saves you from redoing the case later.
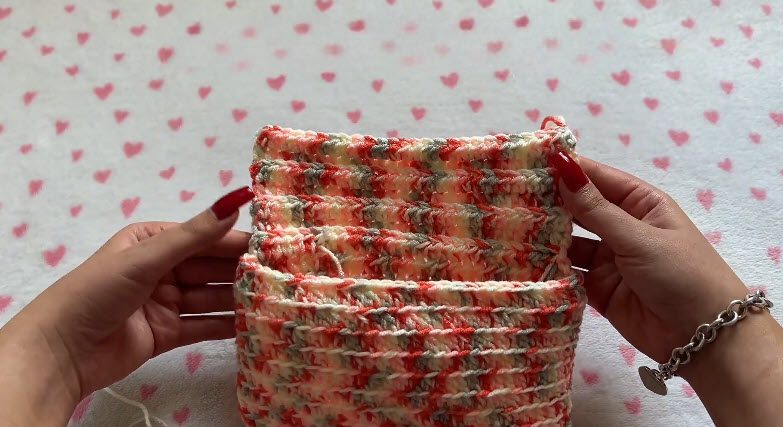
Step 1: Crochet the Main Body of the Switch Case
The main body is the pouch that holds the console. Because it is a basic part of this beginner-friendly project, its size is easy to adjust to fit any model.
Foundation
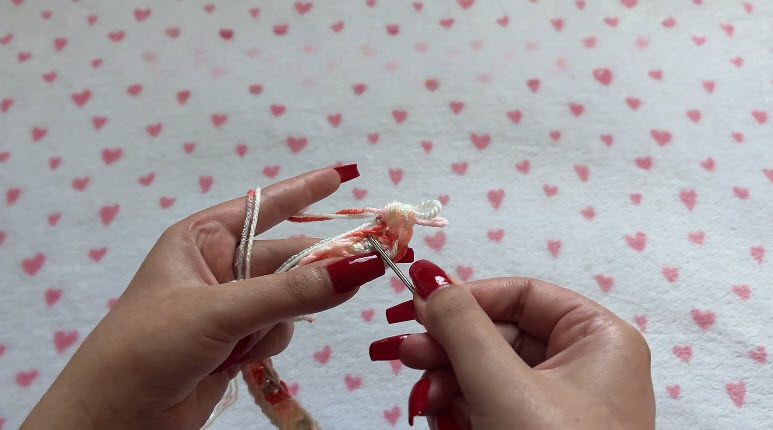
- First, start with a slip knot.
- Then, make a foundation chain in a custom length so the pouch fits your specific console.
Base and Walls
- Next, work half double crochet (HDC) stitches in rounds.
- After that, build the base by working along both sides of the starting chain.
- Also, add increases at the ends to turn the work.
Stitch Technique
- The walls are formed with HDC stitches.
- For the first round, work into the back loops only. As a result, the edge gets a more structured look.
Progression
- Finally, work the pouch upwards for a total of 10 rows.
- This way, the case gets the height it needs.
Step 2: Add the Flap to Your Crochet Switch Case
The flap is the top portion of the case. Basically, it folds over to close the pouch and keep the console inside.
Construction
- The flap is a direct extension of the final rows of the main body.
- Once the pouch reaches its 10 rows, keep working back and forth to form the flap.
Function
- The flap is the closing part of the case.
- In addition, a magnetic button holds it in place.
Decoration
- After the flap is done, it becomes the spot where the bow is attached.
- Likewise, the bow gives the front of the case a decorative finish.
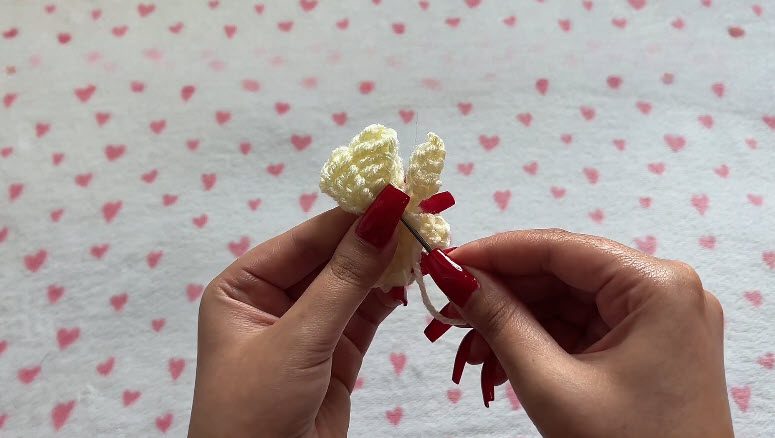
Step 3: Make the Crochet Bow
The bow is a decorative crochet accessory that adds a finishing touch to the case. Since it is made separately from the main pouch, you attach it to the front flap afterwards.
Foundation
- To begin, start with a chain of 25.
Finishing Your Crochet Nintendo Switch Case
First, weave in all loose ends with your darning needle so the case looks clean and neat. Next, check that the magnetic buttons line up and close well. Then your case is ready to use.
Also, weave in every end before you add the button and bow. After that, test the closure with the buttons in place. If they don’t meet cleanly, move them before you sew them down for good.
If you plan to glue the bow, press it flat on the center of the flap and let the glue set. However, sewing is the better choice if you may want to remove the bow later.
Pro Tips for a Neater Crochet Switch Case
- First, do the fit check. Holding the chain against your Switch takes ten seconds, so it saves a lot of frogging.
- Also, keep your tension even through all 10 rows so the sides stay smooth.
- Next, chain 2 at the start of each round and join into the top of the first HDC every time. In this way, a steady join keeps the edge tidy.
- Then, place the magnetic button on the 2nd or 3rd row of the flap, because that spot gives a secure hold.
- Finally, when you cinch the bow, wrap the tail tightly and pull it firm. Otherwise, a loose center makes a floppy bow.
Common Mistakes to Avoid in This Pattern
- Skipping the 2 HDC corners. Row 1 needs 2 HDC in the last chain and 2 HDC in the very last stitch. Otherwise, the case won’t turn the corner properly.
- Using both loops in Row 2. Remember, this round is worked in the back loops only.
- Forgetting to join. Every round ends with a slip stitch into the top of the first HDC.
- Guessing the chain length. If the chain is too short or too long, the case won’t fit. So, check it against the console first.
- Misaligned magnets. Sew one on the inside of the flap and one on the front panel, so they actually meet when the case is closed.
Uses and Benefits of a Crochet Nintendo Switch Case
- First of all, it gives your Switch a soft cover for everyday carrying.
- Also, it is quick and easy, so it works well as a first small project.
- Moreover, the chain length is flexible, so you can fit it to your console.
- Besides, two colors of yarn let you make it match your style.
- Finally, the magnetic closure keeps the flap shut without any fiddly fastenings.
Gift Ideas
This case makes a sweet handmade gift for a gamer friend, a sibling, a classmate or anyone who carries a console around. First, pick their favourite two colours. Then add the bow, and you have something personal that no store sells. Besides that, it also works as a small present for birthdays and holidays.
Frequently Asked Questions About the Crochet Switch Case
Is this crochet Nintendo Switch case pattern beginner-friendly?
Yes, it is. The skill level is absolute beginner, so you only need basic stitches, turning, and working into the back loops.
Which stitches do I need to know?
You need CH, SC, HDC, DC and SL ST. Most of the time, it’s HDC. However, SC, DC, HDC and SL ST appear again in the bow.
How do I make the case fit my console?
Change the length of the foundation chain. First, hold it against your Switch before you begin. Then, if it falls short or runs long, add or remove a few chains and follow the same steps.
What yarn and hook do I need?
Two colors of weight 3 (DK) yarn and a 4.5mm crochet hook.
How big is the finished case?
It measures about 7 to 8 inches wide and 4 inches tall. However, this is an estimate, so it changes with your starting chain.
How does the case close?
It closes with magnetic buttons. First, sew one inside the flap. Then sew the other on the front panel. For the best hold, use the 2nd or 3rd row of the flap.
How do I attach the bow?
Sew it to the center of the front flap. Alternatively, use a hot glue gun if you prefer.
Do I have to use US crochet terms?
This pattern is written in US terms, so use the abbreviation list above as your guide.
Wrapping It Up, Just Like That
So that’s the whole case. Honestly, it’s not hard, because it’s mostly the same HDC stitch going round and round. First, make the chain fit your console. Then add the bow at the end, and you have something cute that actually protects your Switch. Also, make one for a friend too, because they’ll love it.