Crochet Peacock Keychain Amigurumi Pattern to Make
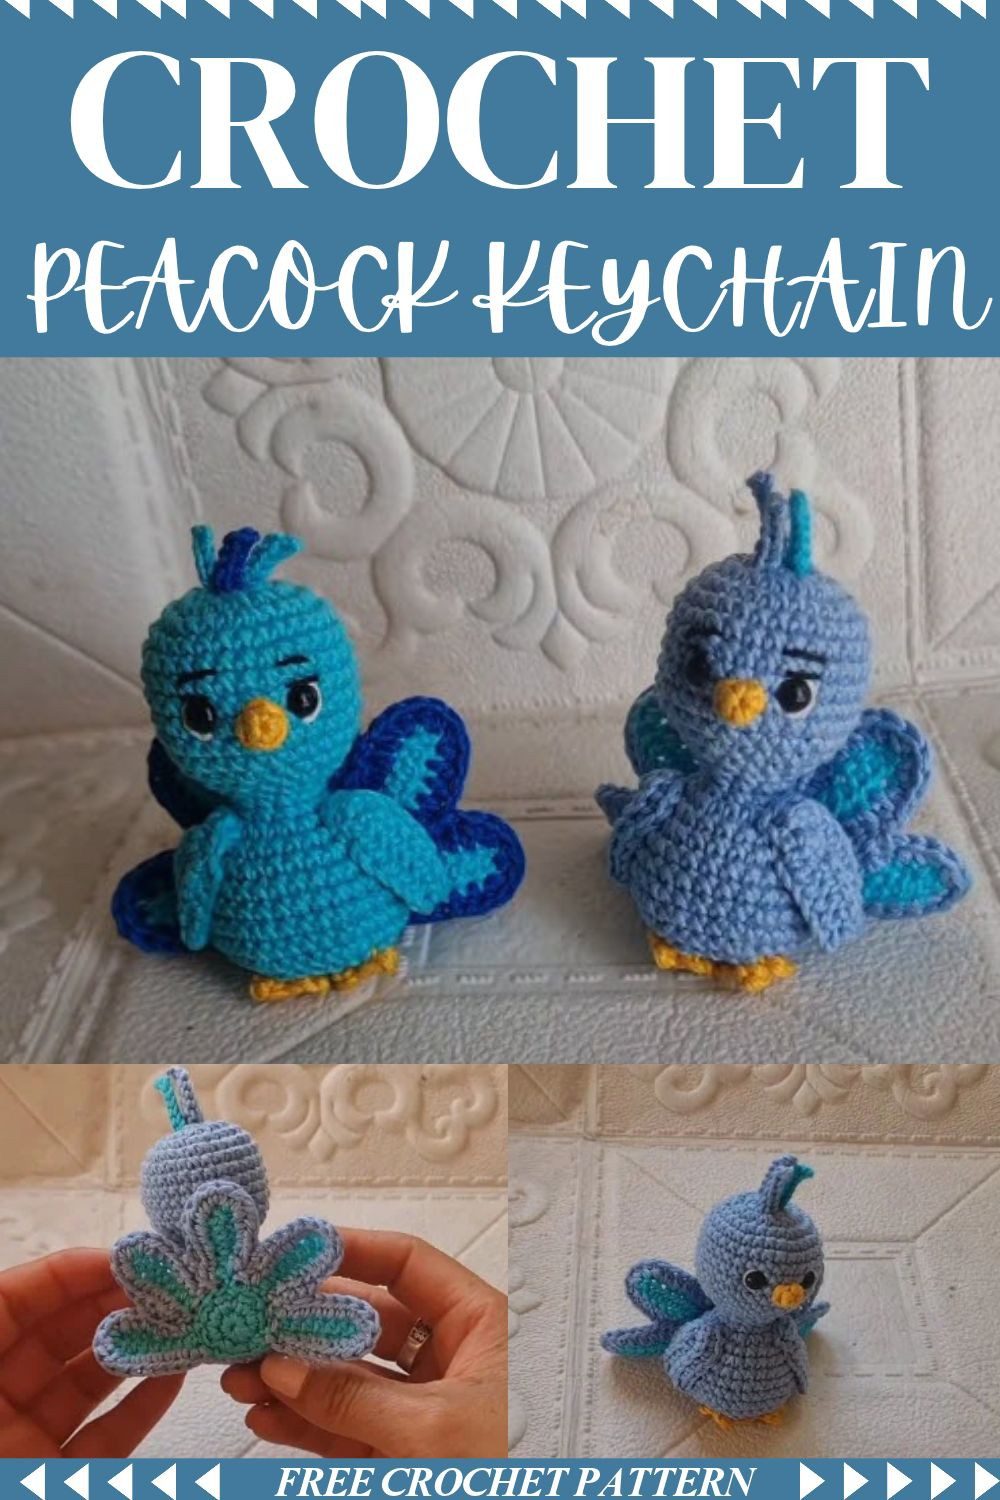
Tiny blue birds with big fan tails are so cute, and you can make one yourself. This crochet peacock keychain pattern explains each part in easy words, from the round head to the yellow feet, so beginners can follow along.
Crochet Peacock Keychain Pattern Overview
The Crochet Peacock Keychain is made by crocheting separate parts and then joining them together to create the finished design.
The head and body are crocheted as one continuous piece, starting with a Magic Ring. Next, the neck is shaped using decrease rounds, while the body is expanded with increase rounds to create its rounded shape.
The two wings are made separately using foundation chains and back-loop-only stitches. After that, the decorative tail is made from a circular base and five individual feather strips, finished with a contrasting blue colour around the edges.
Finally, the little yellow feet and small beak are crocheted separately and attached at the end.
Pattern Details
- Project: Peacock Keychain Amigurumi
- Skill level: Beginner-Friendly
- Finished size: Approximately 8.5 cm
- Crochet terms: US Terminology
- Yarn type: Thin Cotton Yarn
- Main colours: Two Shades of Blue
- Additional colour: Yellow for Feet
- Hook size: 2 mm
- Safety eyes: 6 mm
- Stuffing: Fiberfill
- Technique: Amigurumi
Crochet Peacock Keychain Pattern Materials and Tools
Prepare the following materials and tools before starting:
- Yarn: Thin cotton yarn in two shades of blue (one for the body and another for the tail and wings)
- Crochet hook: 2 mm
- Safety eyes: 6 mm
- Stuffing: Fiberfill
- Yellow yarn: For making the little feet
Crochet Peacock Keychain Pattern Abbreviations (US Terms)
MR: Magic Ring
Sc: Single Crochet
Inc: Increase (2 sc in the same stitch)
Dec: Decrease
Ch: Chain
Sl st: Slip Stitch
Hdc: Half Double Crochet
BLO: Back Loop Only
Crochet Peacock Keychain Pattern Instructions
Step 1: Head
First, start with the first shade of blue yarn. Make a Magic Ring and then crochet the head in continuous spiral rounds without joining at the end of each round.
R1: 6 sc in MR (6)
R2: 6 inc (12)
R3: 12 inc (24)
R4: (3 sc, 1 inc) × 6 (30)
R5–R11: 30 sc (30)
Inserting the Safety Eyes:
After completing Round 11, insert the 6 mm safety eyes between Rounds 8 and 9, leaving a separation of 4 stitches between the eyes. Secure them properly before continuing.
Step 2: Neck and Body
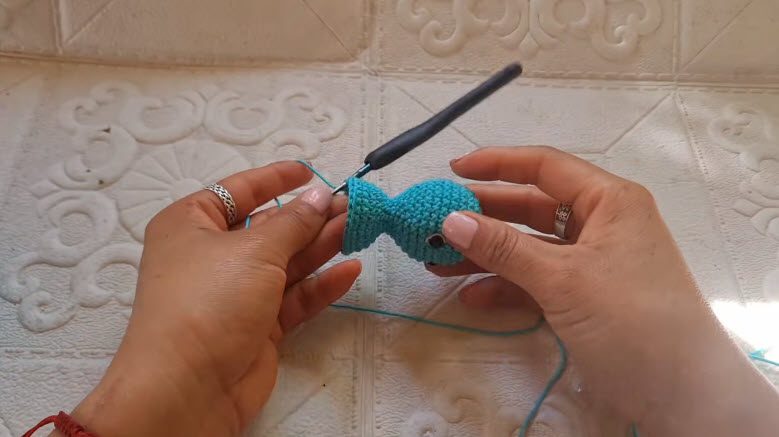
First, shape the peacock’s neck by gradually decreasing the stitches.
R12: (3 sc, 1 dec) × 6 (24)
R13: (2 sc, 1 dec) × 6 (18)
R14: (1 sc, 1 dec) × 6 (12)
R15–R16: 12 sc (12)
These decrease rounds create the narrow neck section, while Rounds 15 and 16 maintain the 12 stitches to establish the neck length.
After completing the neck, begin increasing stitches to form the rounded body.
R17: 12 inc (24)
R18: 24 sc (24)
R19: (3 sc, 1 inc) × 6 (30)
R20–R21: 30 sc (30)
R22: (4 sc, 1 inc) × 6 (36)
R23: 36 sc (36)
Next, start decreasing stitches to close the bottom of the body.
R24: (4 sc, 1 dec) × 6 (30)
R25: (3 sc, 1 dec) × 6 (24)
R26: 12 dec (12)
R27: 6 dec (6)
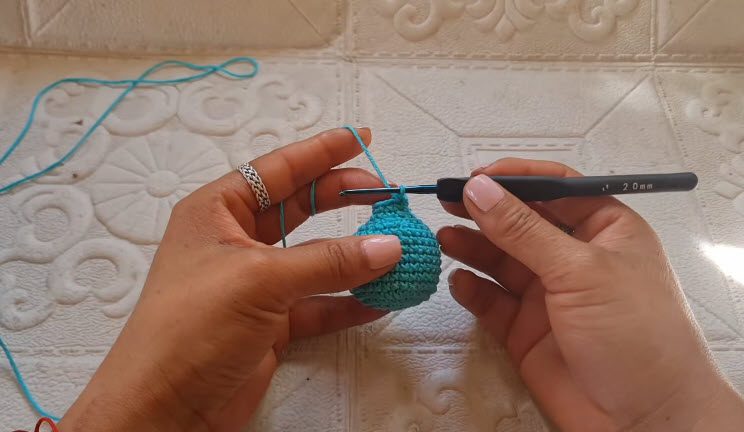
Gradually add fiberfill stuffing as you work the final decrease rounds. Also, make sure the head, neck, and body are firmly stuffed.
After completing Round 27, fasten off, leaving a yarn tail. Then use a yarn needle to close the remaining opening securely and weave in the loose yarn end.
Step 3: Wings (Make 2)
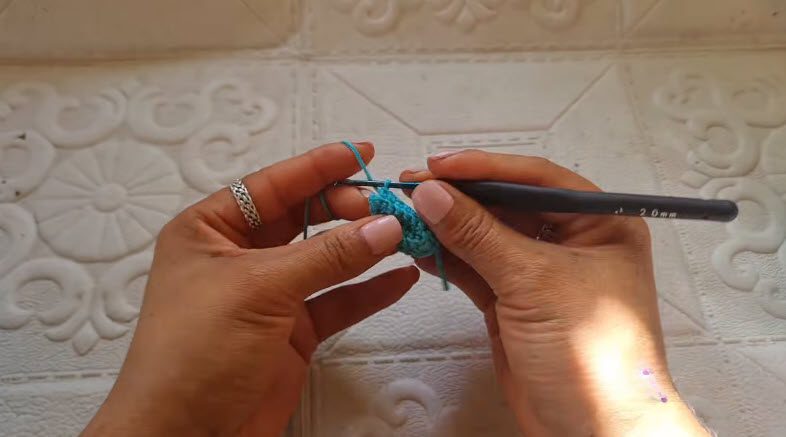
Use blue yarn, because the wings are crocheted separately, starting with a Magic Ring and a foundation chain. Then, back-loop-only stitches are used to create their shape and texture.
First, make a Magic Ring, but do not close it.
Ch 7.
R1 (Return Row):
Starting from the second chain from the hook, work 1 sc in each chain (6 sc).
Then, sl st into the original MR.
Ch 1 and turn.
R2:
Work 6 sc in BLO.
Ch 2 and turn.
R3:
Work 6 sc in BLO, returning towards the Magic Ring.
Then, sl st into the original MR.
Repeat the back-and-forth process as shown in the video to achieve the desired wing shape and width. Finally, finish by making a slip stitch into the original Magic Ring.
After that, fasten off, leaving a long yarn tail for sewing.
Also, make a second identical wing.
Step 4: Tail (Fan Shape)
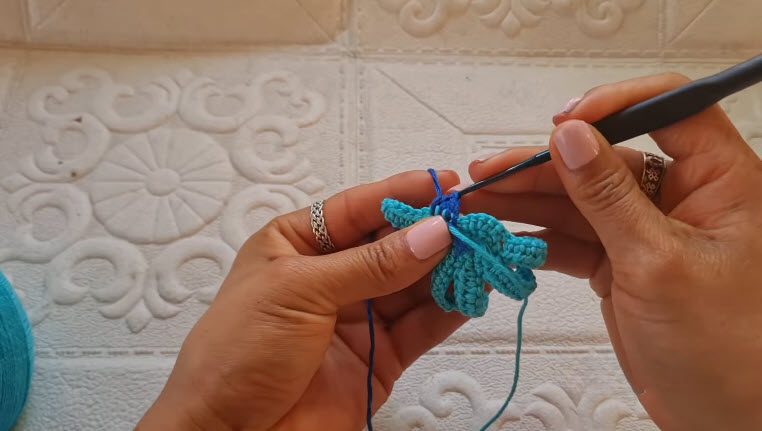
The fan-shaped tail is made using a circular base and then five individual feather strips. Also, use the blue yarn shades for the tail.
Tail Base:
Make a Magic Ring.
R1: 8 sc in MR (8).
R2: 8 inc (16).
Five Tail Strips:
For each strip:
- Chain 9 (Ch 9).
- Starting from the second chain from the hook, work 1 sc.
- Work 7 hdc along the remaining chains.
- After completing the strip, skip 1 stitch on the circular base.
- Then join the next strip with a sl st into the following stitch of the base.
Repeat these steps until you have completed all five tail strips.
Changing Yarn Colour:
Then change to the second shade of blue yarn at the colour-change point shown in the video.
Tail Edging:
Next, crochet around the outer edges of the five tail strips.
Then work increases at the tips to create a rounded fan shape.
Continue around the edges to finish the decorative tail.
Finally, fasten off, leaving a long yarn tail for attaching the tail to the body.
Step 5: Feet (Yellow Yarn)
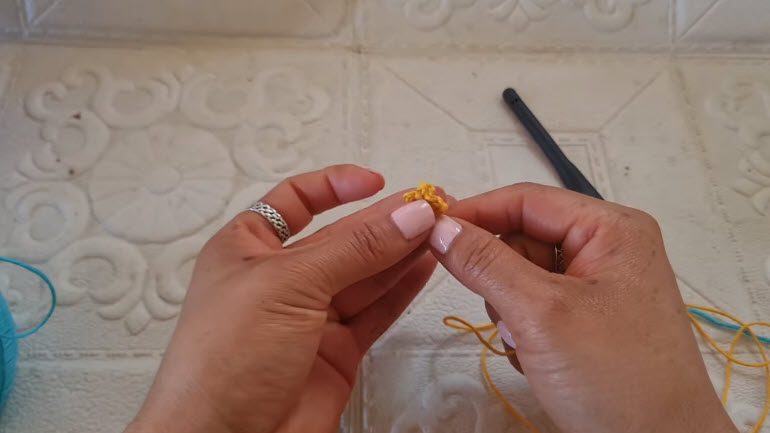
Next, use yellow yarn to create the little feet of the peacock.
Make a Magic Ring.
Then create 2-chain picots inside the Magic Ring to form the toes.
Then shape the feet as shown in the video.
Finally, fasten off, leaving a long yarn tail for sewing.
Step 6: Beak and Attaching the Feet
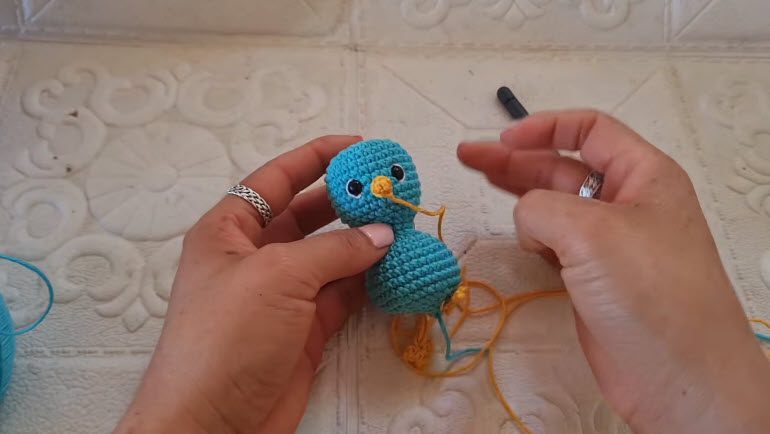
Finally, for the small beak, use the appropriate yarn colour.
Make a Magic Ring.
Work 4 sc into the MR.
Then fasten off, leaving a long yarn tail for attaching the beak.
After that, attach the small beak to the front of the face, between and slightly below the eyes.
Also, sew the yellow feet to the bottom of the body, making sure they are positioned evenly.
Finished Crochet Peacock Keychain Pattern
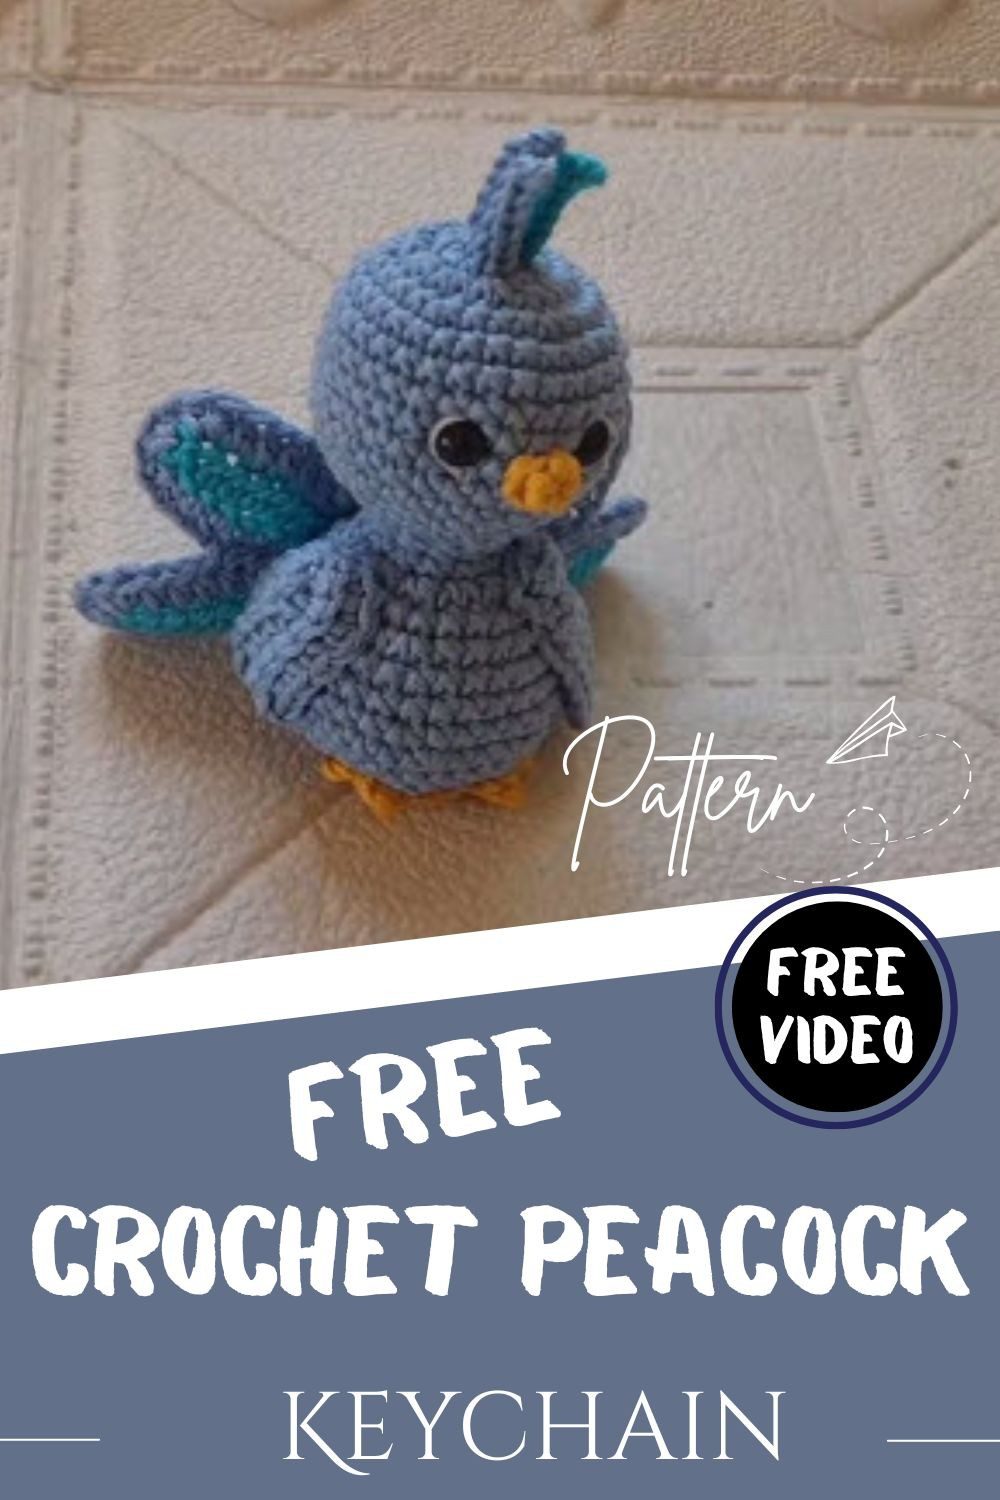
Congratulations! Your crochet peacock keychain pattern has now turned into an adorable little bird. This little peacock features a cute rounded body, decorative wings, a beautiful five-strip fan-shaped tail, tiny yellow feet, and a small beak. It makes a lovely handmade crochet keychain.
Enjoy making this beautiful crochet peacock!