Easy Crochet Bookmark Keychain Patterns for Beginners
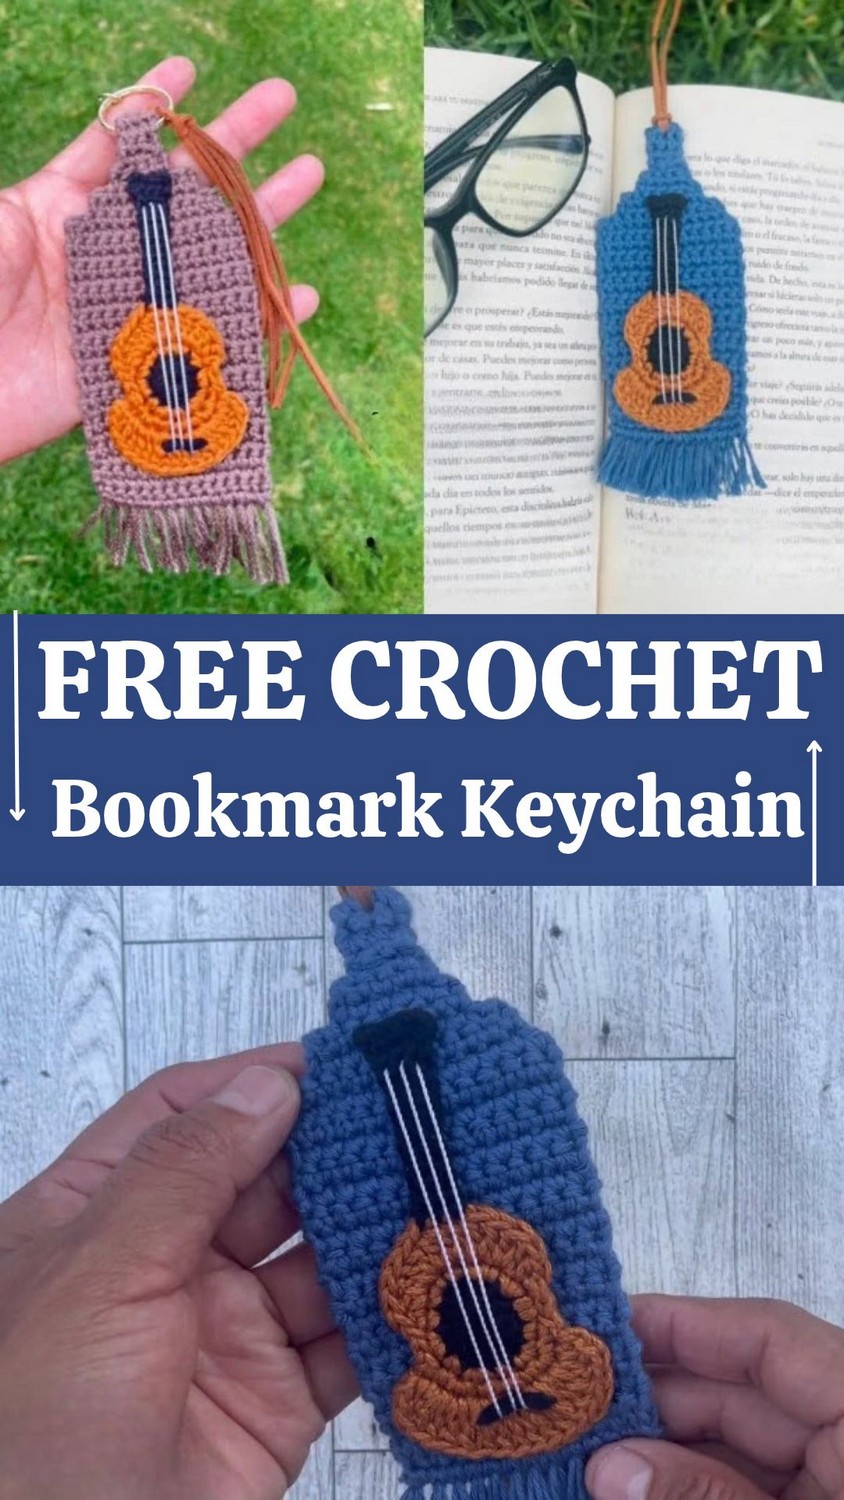
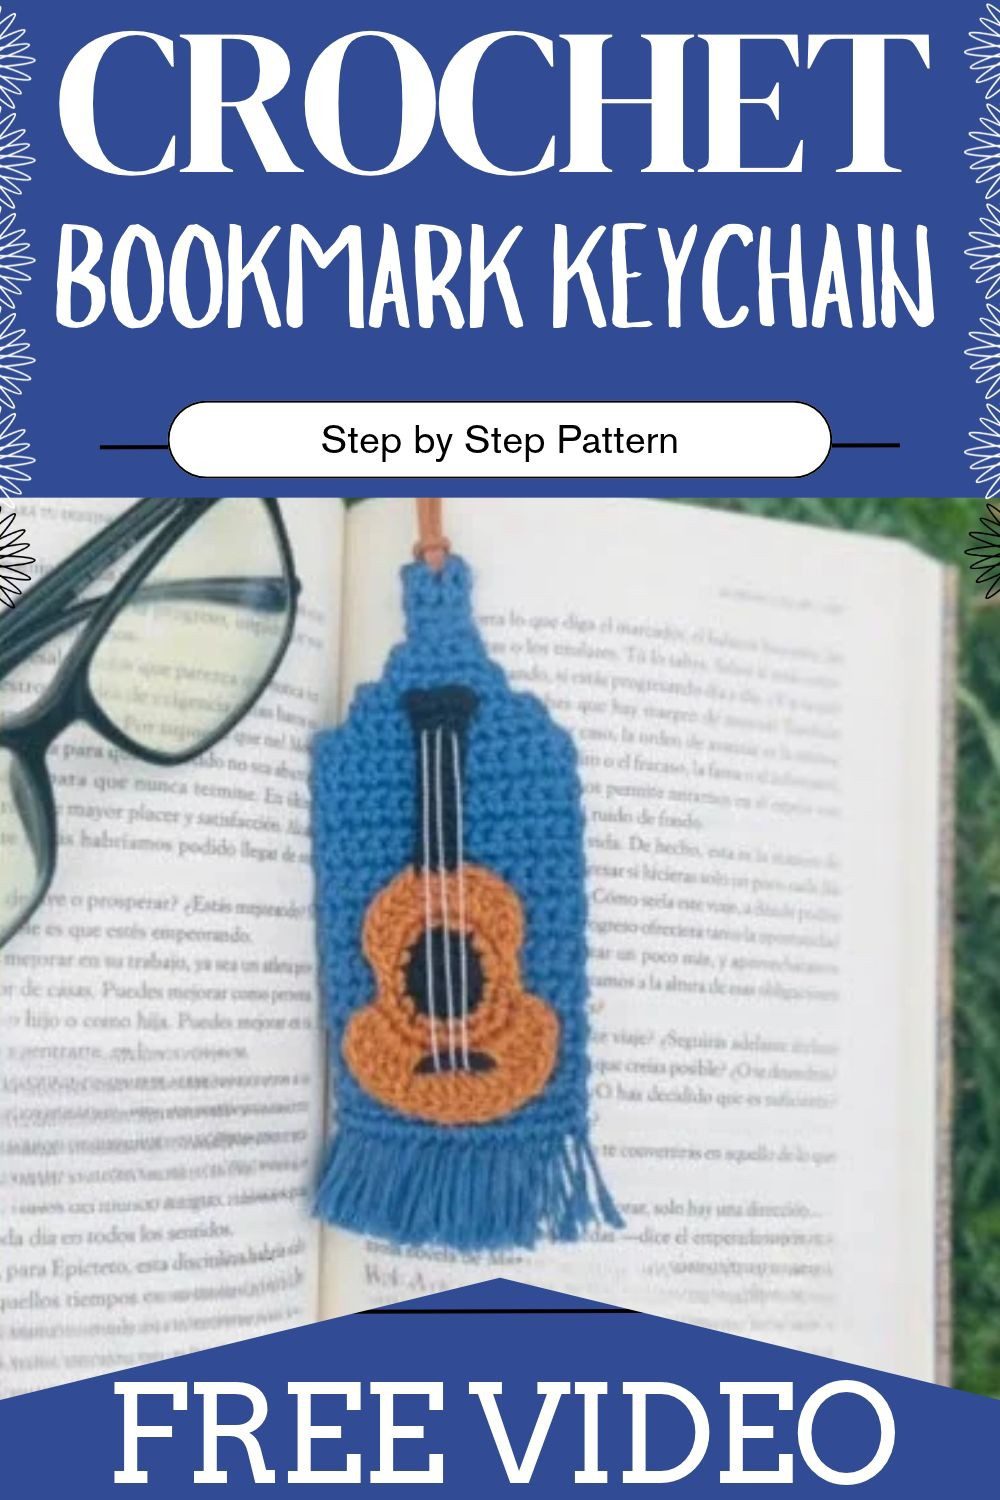
A tiny guitar you can crochet. Use it as a bookmark or as a keychain on your keys. These crochet bookmark keychain patterns show every part, from the front to the tassel. It is a nice handmade Father’s Day gift.
Overview of the Crochet Bookmark Keychain Patterns
Before you begin, the crochet bookmark keychain patterns split the project into four parts:
- Guitar-shaped front
- Rectangular base backing
- Strings
- Tassel
Skill level: Intermediate (magic ring, increases, decreases and joining)
Finished size: About 2.5 inches wide and 6 inches long, without fringe and tassel
Materials for the Crochet Bookmark Keychain Patterns
First, gather the yarn and cord. Then pick up both hooks and the other supplies.
Yarn and cord:
- 100% mercerised cotton in Moca for the base
- Black yarn for neck details
- White nylon cord for strings
Hooks:
- 2.25 mm hook
- 2.0 mm hook (size 4)
Other supplies:
- Permanent adhesive (gel)
- Keyring
- Imitation leather cord for tassel
Abbreviations
Keep this list close, because the pattern uses these short forms throughout.
- hdc = half double crochet
- sc = single crochet
- dc = double crochet
- inc = increase
- sl st = slip stitch
- sts = stitches
Special Technique: Elongated dc
An elongated dc is worked like a normal dc, but you pull up an extra loop during the stitch. It makes the stitch taller. You will use it in Rows 3 and 4. It is also used for the neck foundation.
Crochet Bookmark Keychain Patterns Instructions
Part 1: Guitar Body (Front)
Center
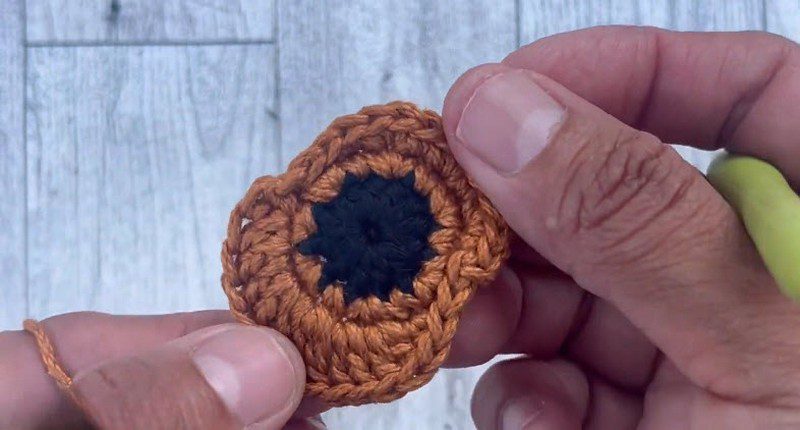
- First, make a magic ring.
- Next, work 12 hdc into the ring.
Starting Row 2
- First, chain 1.
- Then work 1 sc and 1 inc. Repeat 6 times.
- In total, you will have 18 sts.
Continuing with Row 3
- First, chain 1, then work 1 hdc in the same stitch.
- Next, work 2 inc of dc.
- Then work 1 inc of 3 elongated dc.
- After that, work 2 more inc of dc.
- Now work 1 hdc.
- Next, work 3 sl st.
- Then work 1 sc and 1 inc. Repeat 3 times.
- Finally, finish with 3 sl st. Join the last sl st into the first stitch of the row to close it.
Finishing with Row 4
- First, start at the first sc.
- Then work 1 hdc.
- Next, work 1 inc of dc.
- After that, work 6 inc of elongated dc.
- Then work 1 inc of dc.
- Next, work 1 hdc.
- Then chain 1.
- Finally, finish with a sl st.
Part 2: Guitar Neck
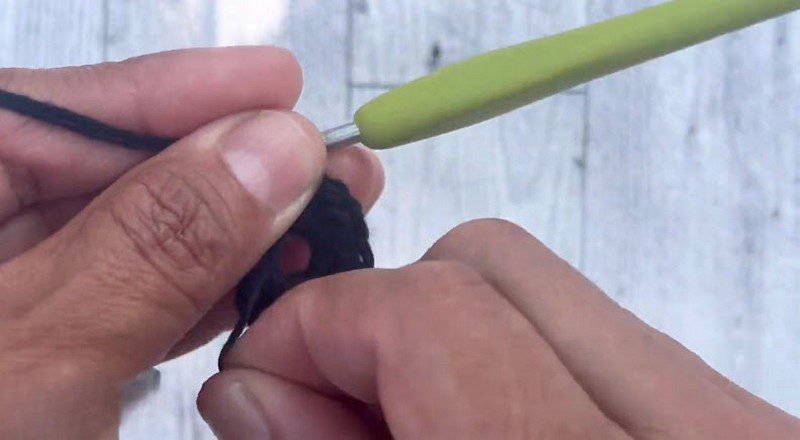
- First, attach black yarn to the 3 middle elongated stitches. This is the foundation.
- Next, work 3 sc, turn, and work back and forth for 11 rows. These are Rows 1–11.
- Then increase to 4 sc in Row 12.
- Finally, increase to 5 sc in Row 13.
Part 3: Base Piece (Backing)
Body
- First, chain 15.
- Next, work 14 sc across.
- Then continue in sc for 22 rows.
Shaping
- First, in rows 23–27, work slip stitch decreases at the row edges.
- Then keep decreasing until 4 sc remain.
Neck Base
- First, after the width is reduced, work 8 rows (rows 28–36).
- Then make each row 3 sc.
Part 4: Assembly
- Keyring: First, fold the top of the base around the keyring and sew it on securely.
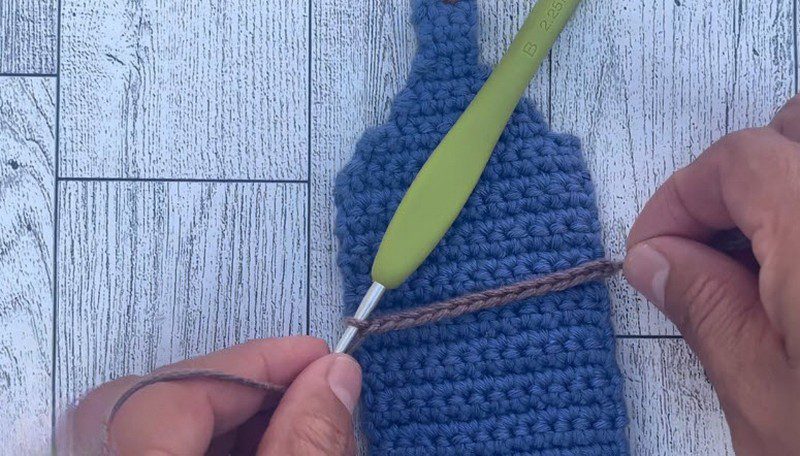
- Strings: Next, thread the white nylon cord vertically along the neck.
- Join: Then glue the guitar front onto the base.
- Fringe: After that, add 8 cm fringe strands along the bottom edge.
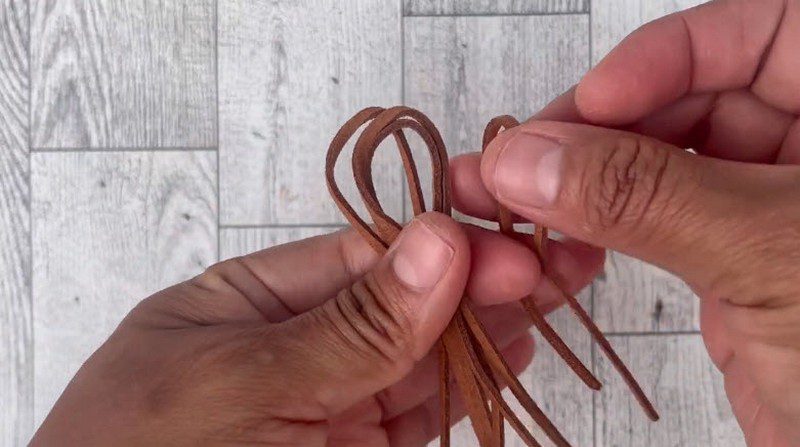
- Tassel: Finally, make a tassel with the imitation leather cord and attach it to the keyring.
Useful Tips for Crochet Bookmark Keychain Patterns
These tips will help you get a neat result from the crochet bookmark keychain patterns.
- First, read the elongated dc description, because you will use it in Rows 3 and 4 and again for the neck foundation.
- Also, keep the abbreviation list nearby while you work.
- Next, work the parts in the order given: front, neck, base, then assembly.
- At the end of Row 3, join the last sl st into the first stitch of the row to close it.
- Then attach the black yarn for the neck to the 3 middle elongated stitches.
- Finally, follow the assembly order as written. Sew the base to the keyring and thread the strings before you glue the front on.
Features of the Crochet Bookmark Keychain Patterns
In addition to the guitar shape, the project has these features:
- Two-part construction with a decorative guitar front and a sturdy backing
- Made with 100% mercerised cotton in Moca, with black yarn for the neck details
- White nylon cord strings threaded along the neck
- Keyring attached for use as a keychain
- Fringe along the bottom edge and a tassel on the keyring
- A handmade gift idea for Father’s Day
Special Notes for the Crochet Bookmark Keychain Patterns
However, a few points are worth knowing before you start.
- The pattern lists two hooks, 2.25 mm and 2.0 mm (size 4). It does not say which hook is used for which part.
- Also, the shaping in Part 3 ends with 4 sc remaining. The neck base rows are then given as 3 sc each. The pattern does not describe a step between the two counts.
- Finally, the finished size does not include the fringe and tassel.
Conclusion: Crochet Bookmark Keychain Patterns
So that is the whole guitar. Once the front, neck and backing are done, you glue them together and add the fringe and tassel. After that, these crochet bookmark keychain patterns give you a handmade Father’s Day gift that works as a bookmark or hangs from a keyring.