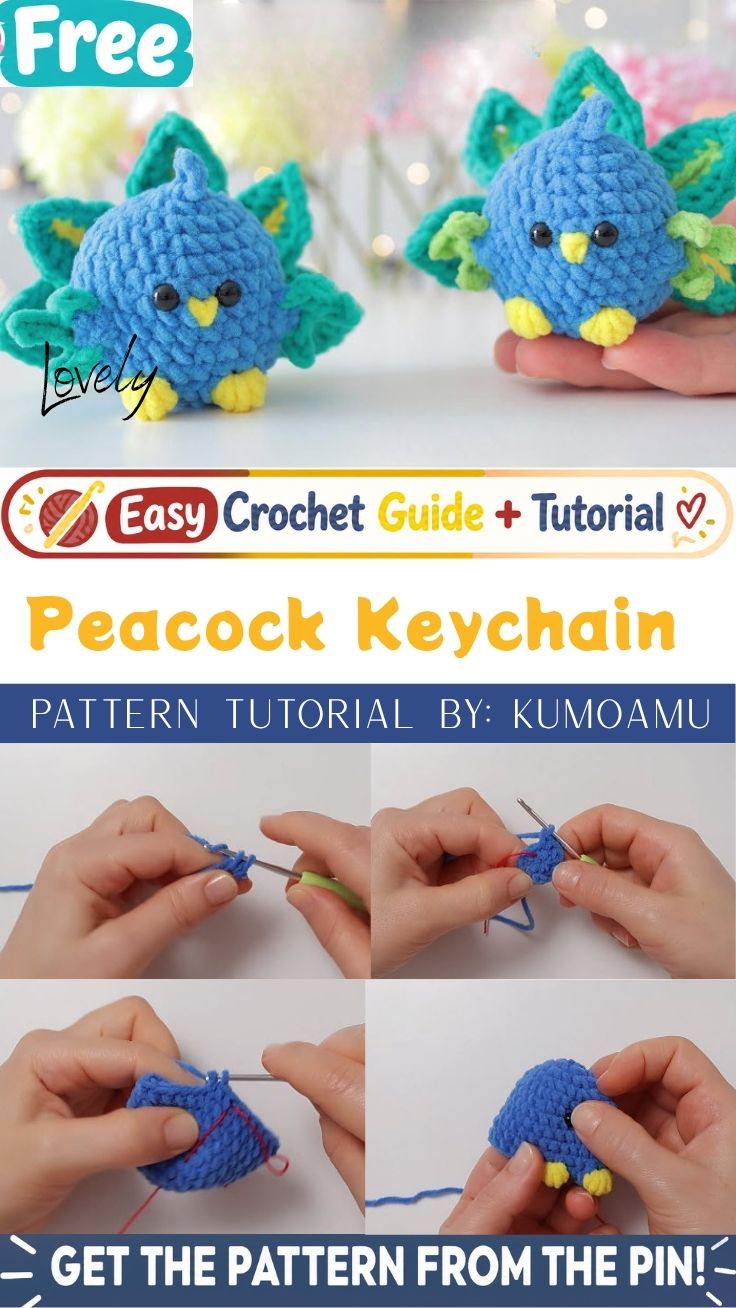
Vibrant Crochet Peacock Keychain Pattern with Smiling Face
Bright teal, blue, and gold yarn combine beautifully in the Vibrant Crochet Peacock Keychain Pattern with Smiling Face, a fan-tailed amigurumi bird sized to clip onto bags, backpacks, or keys. Its curved crest and cheerful expression give it instant charm on any strap or zipper pull.
What sets this design apart is the layered tail fan, which builds volume without adding bulk to the finished piece. Unlike a flat peacock applique, the keychain works up as a rounded little body with a face readers can personalize through eye placement and blush details. Because the pattern relies on basic stitches worked in short rounds, it suits crafters moving beyond simple amigurumi shapes. The piece exists mainly as a quick, giftable accessory, though it also makes a colorful backpack charm for kids and adults.
What You’ll Need
Materials:
- Worsted weight (4) cotton or acrylic yarn in peacock blue, teal, turquoise, and gold or mustard yellow
- Small amount of white and black yarn or embroidery floss for the face
- Polyester fiberfill stuffing
- Keychain ring or lobster clasp hardware
- Stitch marker
- Yarn needle for weaving ends and embroidery
Tools:
- 3.5mm or 3.75mm crochet hook (adjust to match yarn weight)
- Small scissors
- Safety eyes, 6mm, as an optional alternative to embroidered eyes
Materials Substitution Ideas
A lighter DK weight paired with a 3mm hook shrinks the peacock slightly, suiting a delicate charm. A chunkier weight with a 4.5mm hook builds a larger, huggable version, better suited to a bag than a keychain. Cotton yarn adds crisper stitch definition. Acrylic keeps the piece lightweight, and either suits this crochet peacock keychain pattern.
Skills You’ll Use
- Magic ring: forms a tight, gap-free center for the body and head
- Single crochet increases and decreases: shape the rounded body and taper the head
- Color changes: introduce the gold beak and teal tail sections without visible jog lines
- Surface embroidery: adds the smiling mouth and cheek details after stuffing
- Whip stitching: joins smaller pieces, such as wings and crest feathers, to the main body
What You’ll Learn
- How to shape a rounded amigurumi body using consistent increase rounds
- How to layer multiple fan-shaped pieces to build dimensional tail feathers
- How to embroider a simple, expressive face onto a stuffed crochet piece
Time Needed
- Prep: 10 minutes for gathering yarn colors and reading through the sequence
- Stitching: 90–120 minutes for the body, head, wings, and tail pieces
- Finishing: 20–30 minutes for stuffing, embroidery, and keychain hardware attachment
Step-by-Step Process
Work through this crochet peacock keychain pattern in order, since each piece builds directly on the last one.
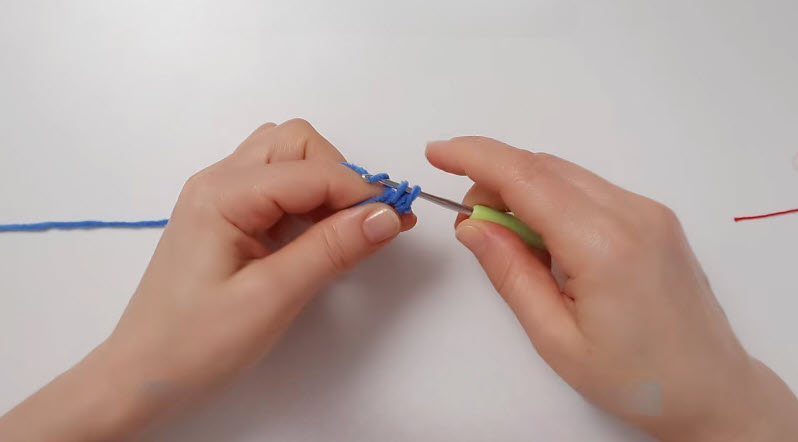
Step 1: Start the body with a magic ring.
Work six single crochets into the ring and pull it snug to close the center. A tight starting ring keeps the base from gapping once stuffing is added.
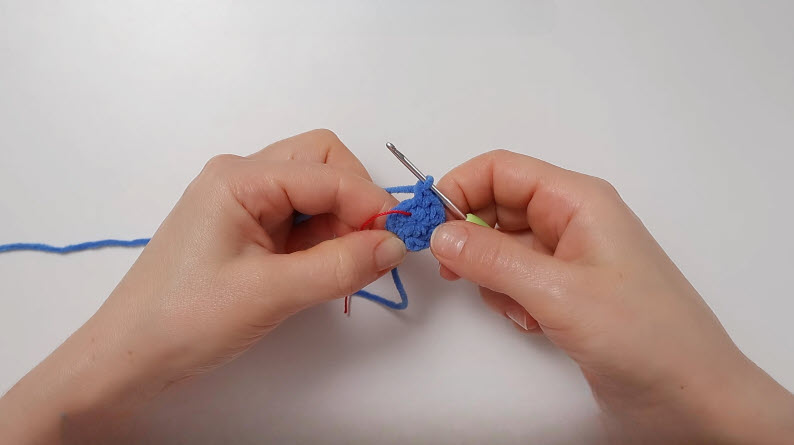
Step 2: Build the increase rounds.
Increase evenly around for the next two to three rounds until the body reaches roughly 18–24 stitches, depending on the desired size.
Step 3: Work even rounds for the body height.
Continue single crocheting without increasing for several rounds so the body forms a rounded, egg-like shape.
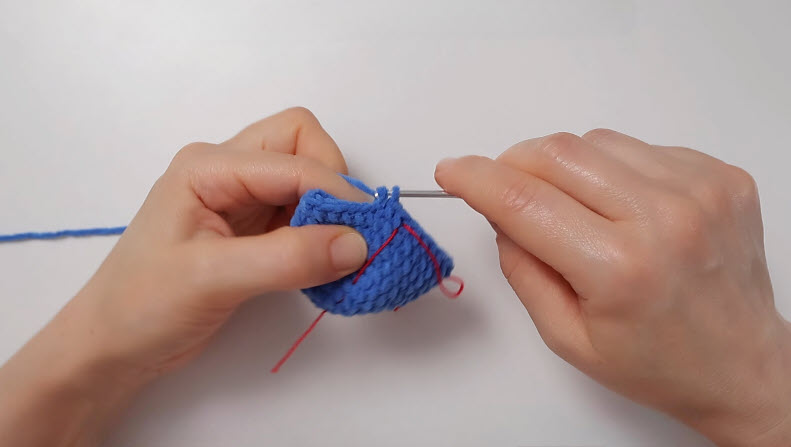
Stitch check: confirm the stitch count matches the pattern before beginning decreases.
Step 4: Begin the decrease rounds.
Decrease evenly to taper the body toward the neck, then stuff firmly before closing the opening.
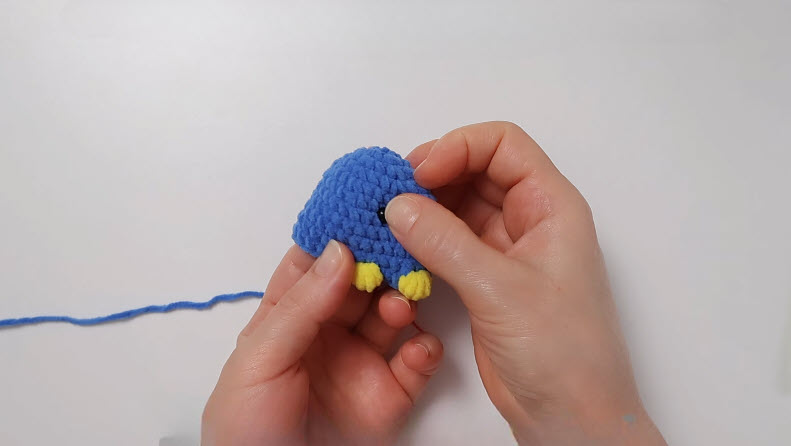
Step 5: Shape the head separately. Repeat a smaller version of the body’s increase-and-decrease sequence, then stuff and set the head aside temporarily.
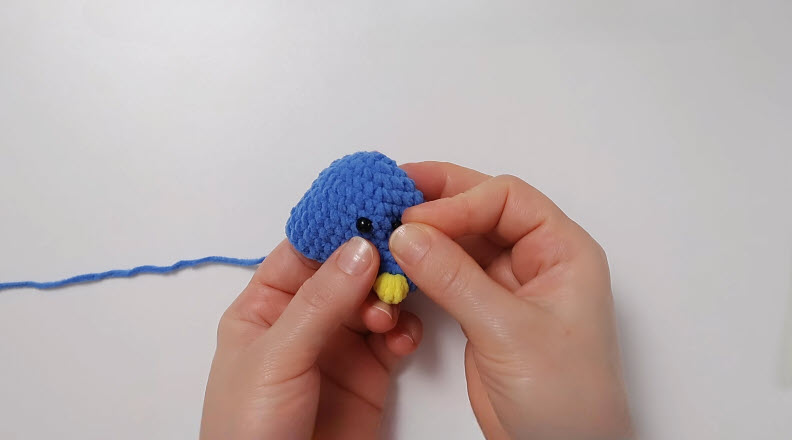
Step 6: Attach the head to the body. Whip stitch around the base of the head, tucking the seam so it sits smoothly against the neckline.
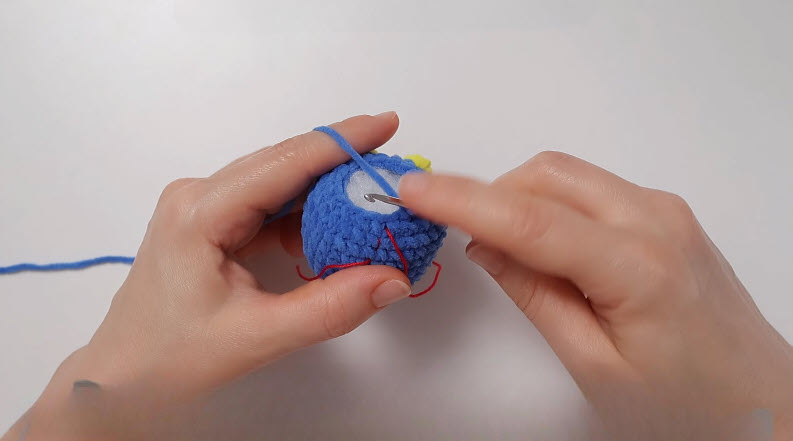
Step 7: Crochet the gold beak. Work a small triangular or teardrop shape in gold yarn, then fasten it just below where the eyes will sit.
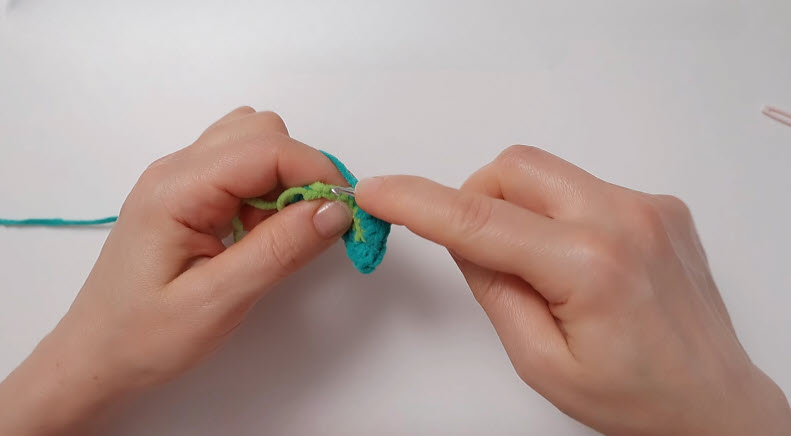
Step 8: Add the eyes and smiling mouth. Position safety eyes or embroider them symmetrically, then stitch a simple curved smile beneath the beak.
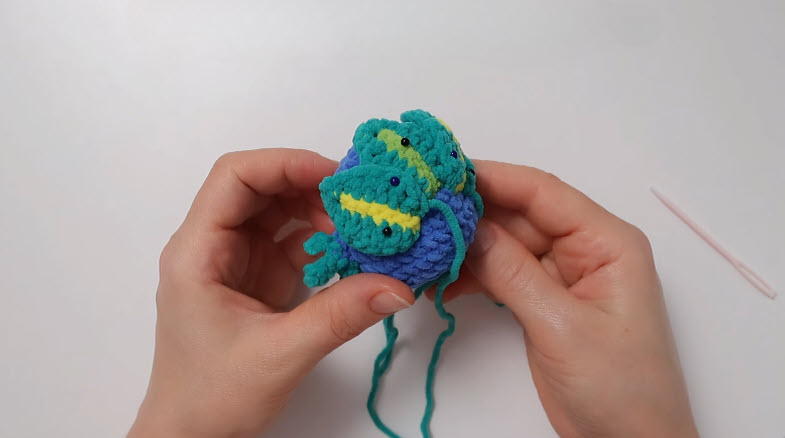
Shape check: step back and confirm both eyes sit level before securing them permanently.
Step 9: Build the crest feathers. Chain a short length for each feather, then single crochet back along the chain to form three or four thin spikes, and attach them above the eyes.
Step 10: Layer the tail fan. Crochet several fan-shaped pieces in alternating blue, teal, and gold, graduating them from smallest to largest, then stack and secure them behind the body.
Before moving on: confirm the tail pieces fan out evenly, not bunched together.
Step 11: Attach the wings. Crochet two small oval wing shapes and whip stitch them to either side of the body, angled slightly forward.
Step 12: Fasten the keychain hardware. Thread a keychain ring through a loop at the top of the head or through a small crocheted hanging tab, then secure it with a few tight stitches.
Signs You Did It Right
- The body holds a firm, rounded shape without lumps or visible gaps
- Both eyes sit level and symmetrical on the head
- The tail feathers fan outward smoothly rather than folding flat
- Color changes along the beak and tail show clean, jog-free transitions
Common Mistakes and Their Fixes
A few missteps show up often while building this crochet peacock keychain pattern, though each one has a simple fix.
The magic ring leaves a small hole at the center.
Fix: Pull the tail yarn firmly after the first round and weave it through the center stitches again before trimming.
The head looks lopsided compared to the body.
Fix: Recount stitches after each increase round and adjust placement before stuffing rather than after.
The tail feathers curl inward instead of fanning out.
Fix: Block the finished feathers lightly with a damp cloth and let them dry flat before attaching.
Stuffing shows through gaps between stitches.
Fix: Switch to a slightly smaller hook or add an extra strand of yarn for denser coverage.
Finishing and Assembly Tips
Weave in every loose end securely before attaching smaller pieces, since hidden ends work loose with handling over time. Pin the wings and crest in place first to check balance, then stitch each piece once positioning looks correct. Afterward, roll the whole piece gently between the palms to settle the stuffing evenly.
Creative Projects You Can Make With This Pattern
Once the tail-fan technique feels familiar, it adapts easily into other bird-themed projects, including a matching peacock ornament sized as a keyring-free display piece. The same layered fan shape also works well as a standalone bookmark or a decorative applique on a tote bag. Crafters who enjoy the rounded body shape often reuse it for other small amigurumi animals, swapping only the face and tail details.
Ways to Style or Display It
A finished piece can dangle from a backpack zipper, clip onto a diaper bag, or hang from a car mirror. Smaller versions tuck onto a keyring alongside house keys, while larger ones sit propped on a shelf as a standalone decoration.
Who This Pattern Is Great For
Crafters who already know basic increases and decreases will find plenty to practice in this crochet peacock keychain pattern. It also appeals to anyone building a stock of quick, colorful gifts, since each piece stitches up in a single sitting.
Why It’s Popular Right Now
Small, colorful amigurumi accessories continue trending across handmade marketplaces. The crochet peacock keychain pattern taps into that demand, since its shape photographs well for listings and social posts.
- Bright, multi-color designs perform well in craft fair and online shop photos
- Keychains and bag charms remain popular, low-cost handmade gifts
- The smiling face detail adds personality that plain feather-only patterns lack
FAQ
How much yarn does this pattern use?
A single peacock keychain typically uses small amounts of four to five colors, often leftover scraps from other amigurumi projects.
Can the smiling face be changed to a different expression?
Yes, the embroidered mouth and eye placement can shift to create a surprised, sleepy, or neutral expression instead.
What size hook works best for beginners?
A 3.75mm hook paired with worsted weight yarn offers the most control while learning the increase and decrease sequence.
Does the tail fan require special stitches?
No, the fan pieces rely on basic chains and single crochets, layered and stacked rather than worked in a single complex round.
How long does one keychain take to finish?
Most crafters finish a single piece in two to three hours, split across stitching, stuffing, and finishing steps.
Conclusion
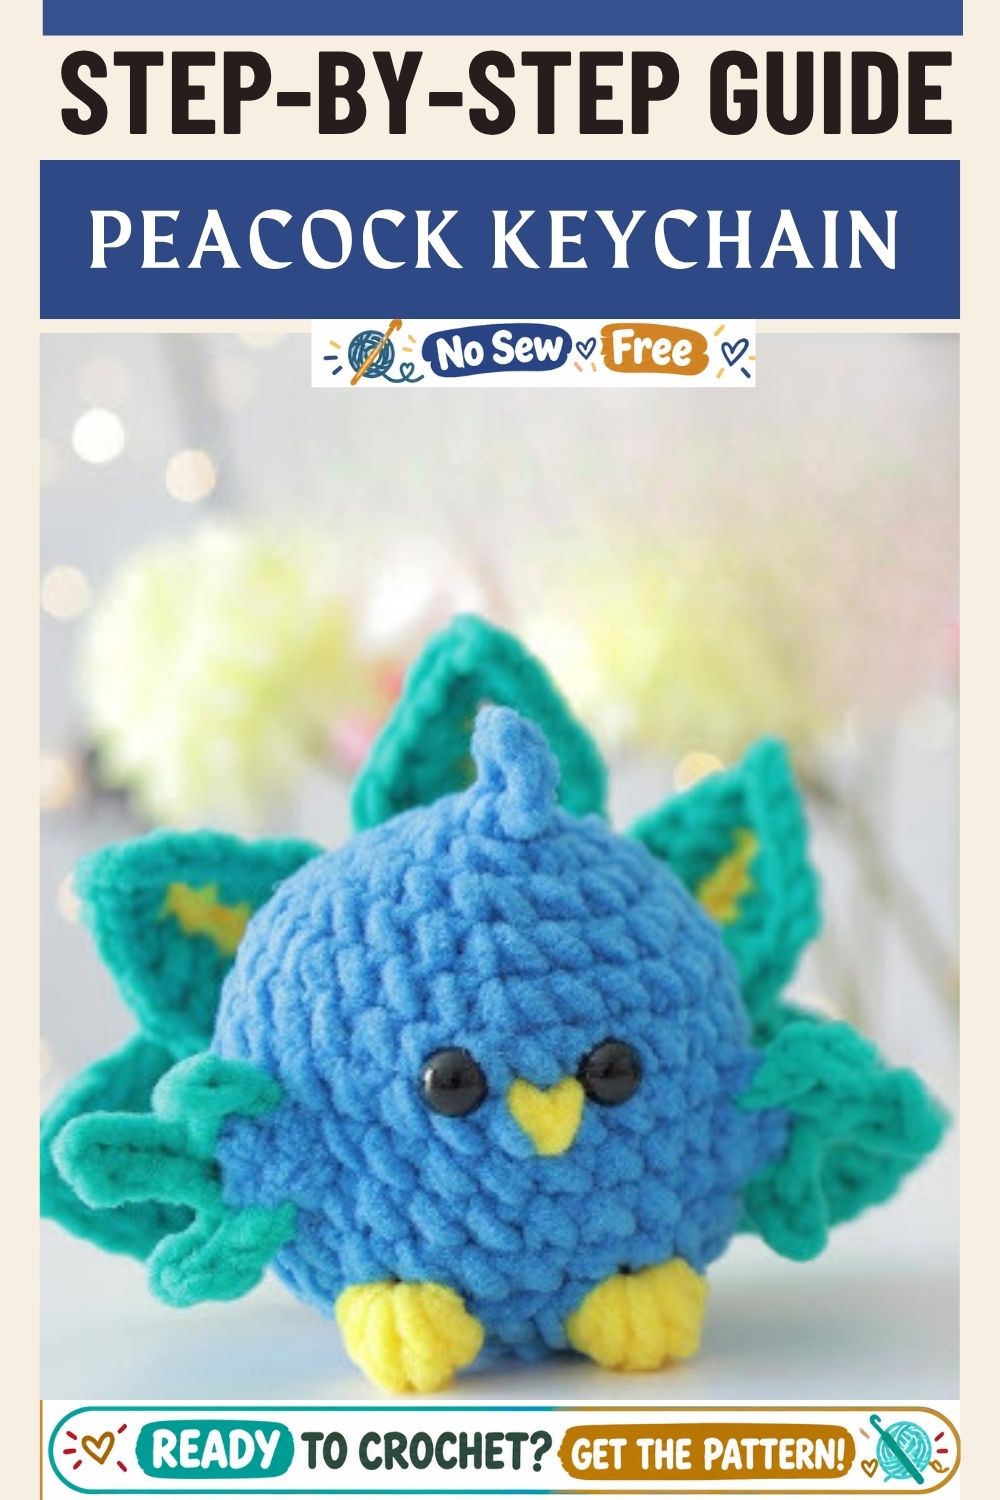
Between the layered tail fan, the embroidered face, and the compact size, the project offers plenty of room to practice shaping while producing a giftable result. Once the color sequence and feather technique are mastered, batches come together quickly.