Crochet Pumpkin Ghost Spider Pattern for Halloween Decor
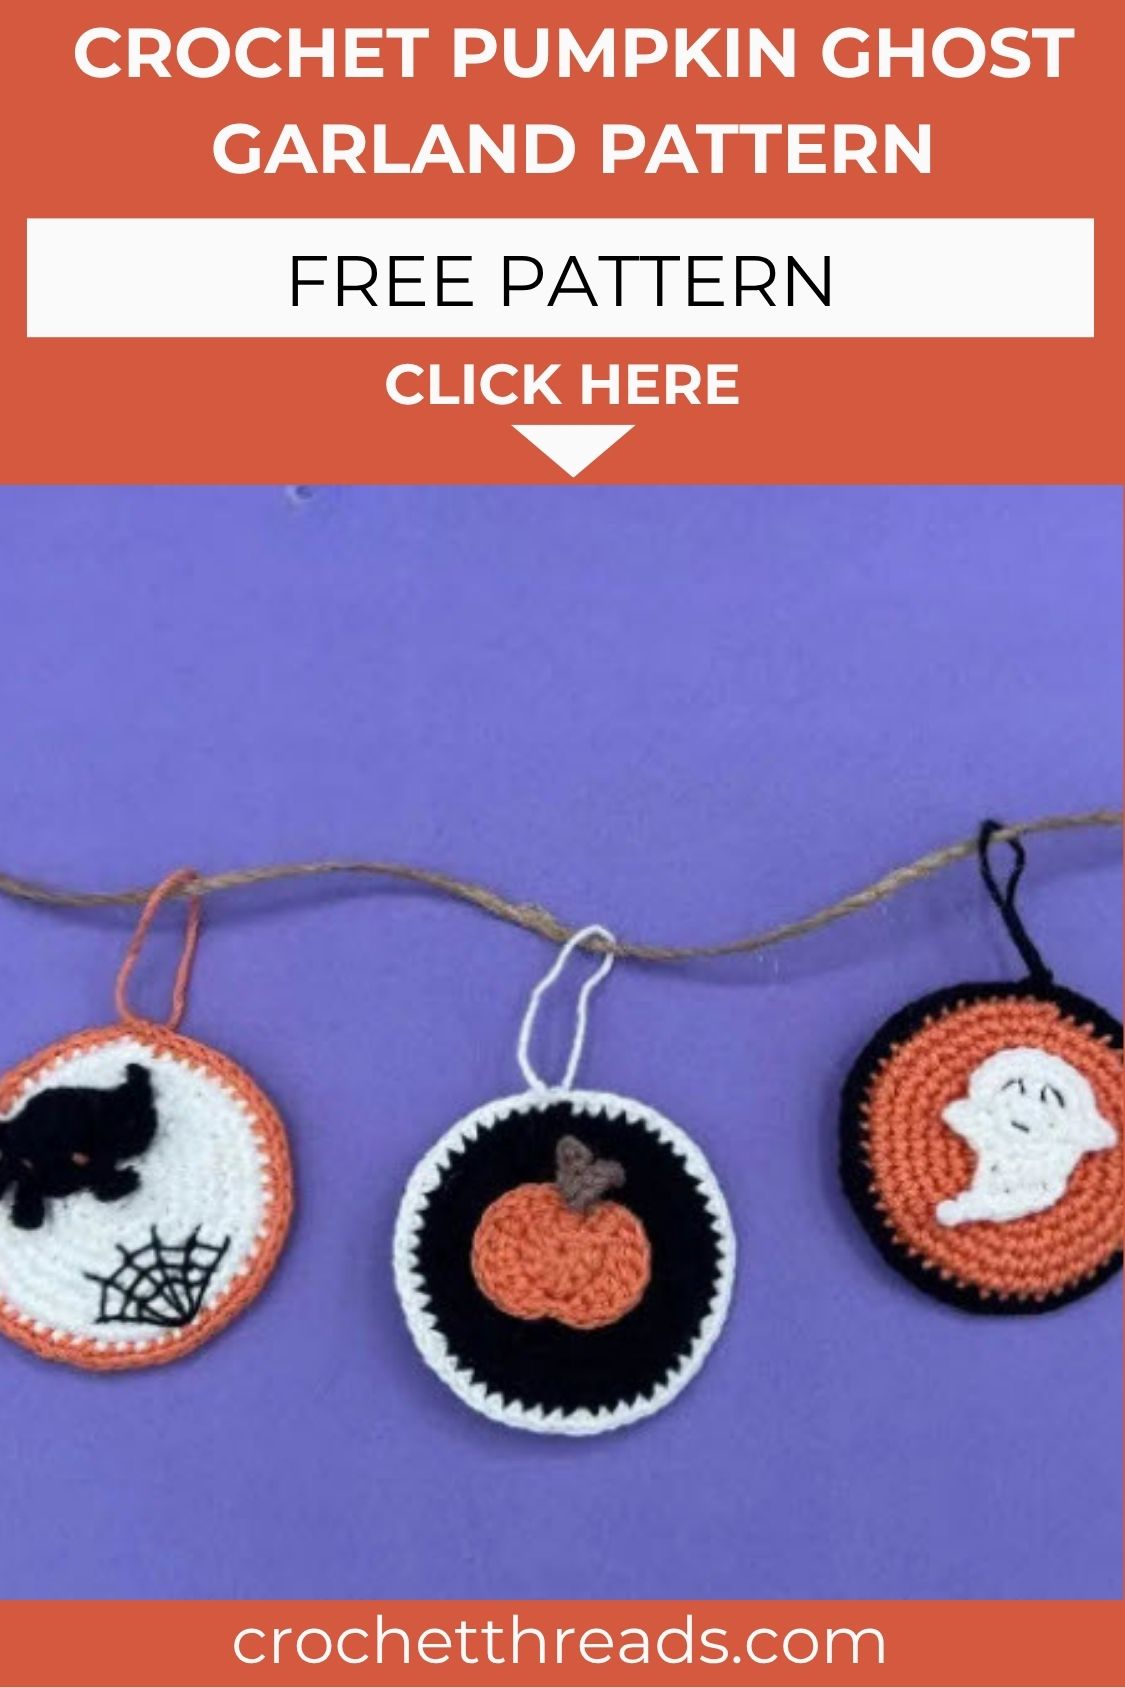
Halloween decor gets a unique twist with this crochet pumpkin, ghost, and spider garland an excellent choice for the season. Its adorable amigurumi design and easy steps make the project quick to finish, while the finished piece adds a delightful festive touch to any Halloween display.
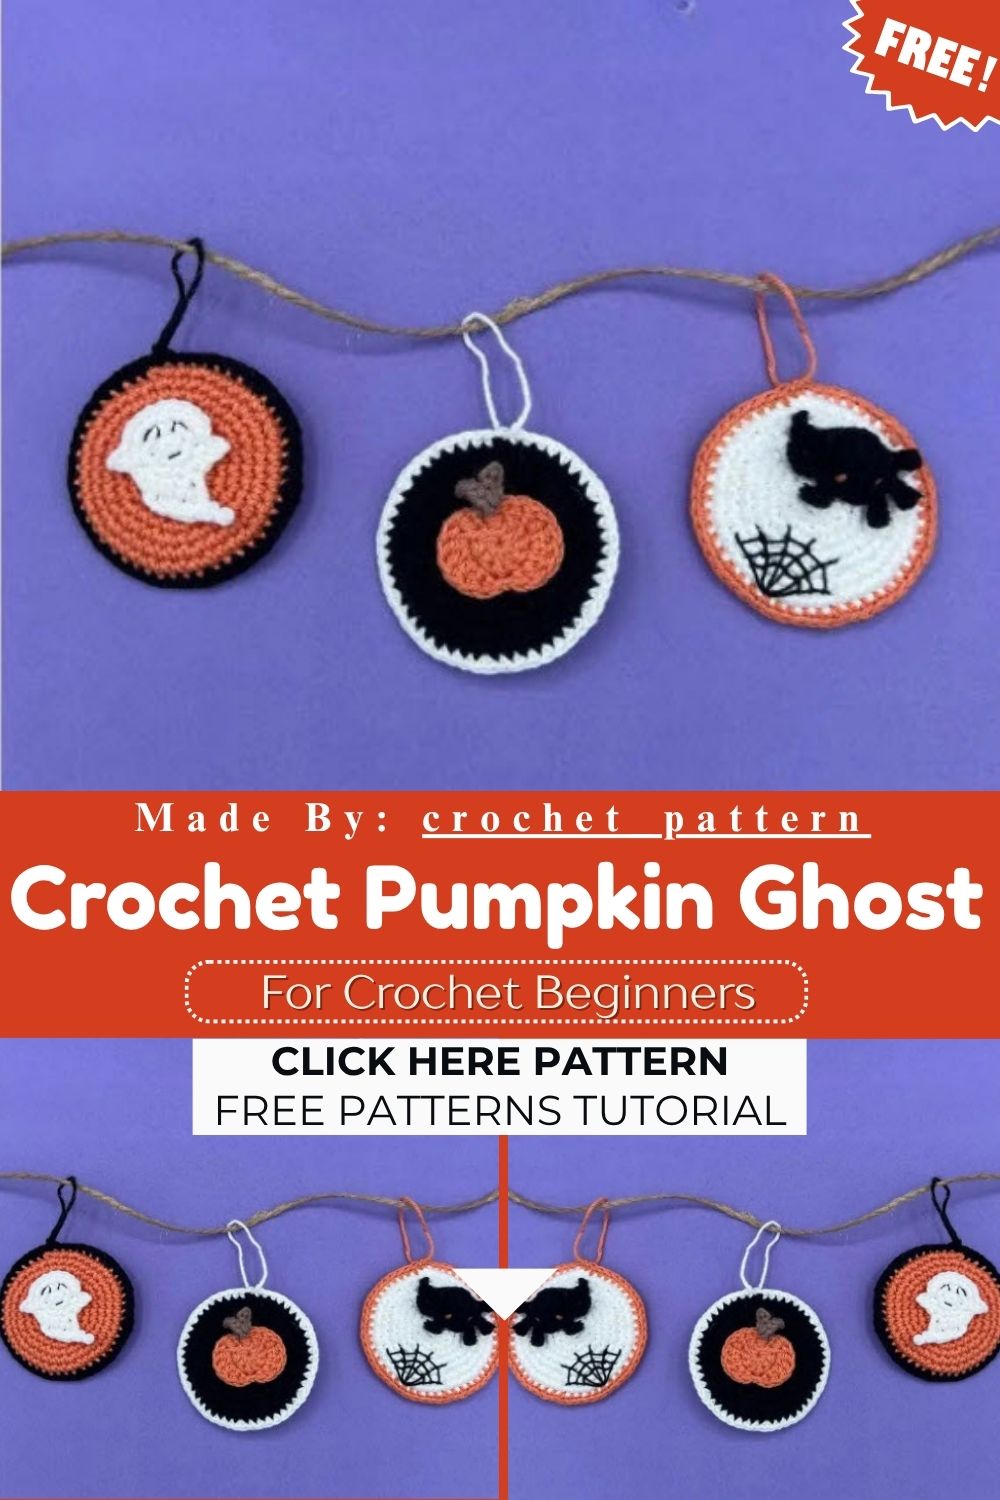
Spooky season deserves handmade charm, and this three-in-one amigurumi set delivers exactly that. Ghost, pumpkin, and spider shapes join a round hanging medallion, creating a garland fit for shelves, windows, or a mantel display. Ricorumi cotton keeps every stitch crisp, while a 2.5mm hook manages tiny details without frustration. Honestly, the construction stays approachable: magic rings, simple increases, and short chain loops shape most pieces. Each element finishes quickly, so a full garland comes together within one relaxed crochet session, no rushing required.
Pattern Overview
- Three signature Halloween shapes: ghost, pumpkin, and spider
- Round two-piece hanging medallion joins all shapes together
- Materials: Ricorumi yarn in white, black, orange, and brown
- 2.5mm crochet hook for tight, defined stitches
- Black embroidery thread for facial details and spider legs
- Yarn needle, stitch marker, glue gun, and scissors needed
- Written using US crochet terms with French translations included
- Combination of rounds and rows for the ghost shape
Materials Needed
- Ricorumi yarn in white, black, orange, and brown
- Crochet hook, 2.5mm
- Black embroidery thread
- Yarn needle
- Stitch marker
- Glue gun
- Scissors
Abbreviations (US/FR)
- Rnd: round / tour
- MR: magic ring / cercle magique
- Ch: chain / chaînette
- sl st: slip stitch / maille coulée
- sc: single crochet / maille serrée
- inc: increase / augmentation
- dec: decrease / diminution
- hdc: half double crochet / demi-bride
- dc: double crochet / bride
- FLO: front loop / brin avant
- ( )*: repeat till the end of round / répéter jusqu’à la fin du tour
- [ ]: total number of stitches in the round / nombre total de mailles du tour
Full Pattern Instructions
Ghost
- Rnd 1: MR, 6 sc [6]
- Rnd 2: (inc)* [12]
- Rnd 3: 4 sc, 1 sl st, (ch3: 1 sc, 1 sl st along the ch), 5 inc, 1 sl st, (ch3: 1 sc, 1 sl st), 1 sc
Continue in rows:
- Row 1: 4 sc, ch 1, turn
- Row 2: inc, 1 sc, dec, ch 1, turn
- Row 3: dec, 1 sc, inc, ch 2
Fasten off and hide the thread.
Pumpkin
- Rnd 1: MR, 10 dc, 1 sl st in first st
- Rnd 2: 2 dc in first st (same as sl st), (dc-inc) x 2, (1 hdc, 1 sl st in same st), (1 sl st in next st, 1 hdc in same st), (dc-inc) x 3, 1 hdc, 1 sl st in last st. Change to brown color.
- Stem: Ch 4, 1 sc, 2 sl st on the chain, 1 sl st in next stitch on the pumpkin, then ch 9, sl st in same st on pumpkin.
Spider
- Rnd 1: MR, 6 sc [6]
- Rnd 2: (inc)* [12]
- Rnd 3-4: 12 sc [12]
- Rnd 5: FLO – 2 sc, (1 sl st, ch4: 3 sl st on the ch, 1 sl st in same stitch) x 3, 2 sc, (1 sl st, ch4: 3 sl st on the ch, 1 sl st in same stitch) x 3, 2 sc
Fasten off, leaving a tail to sew.
Hanging Medallion
Make 2 parts in main color.
- Rnd 1: MR, 6 sc [6]
- Rnd 2: (inc)* [12]
- Rnd 3: (1 sc, inc)* [18]
- Rnd 4: (2 sc, inc)* [24]
- Rnd 5: (3 sc, inc)* [30]
- Rnd 6: (2 sc, inc, 2 sc)* [36]
- Rnd 7: (5 sc, inc)* [42]
- Rnd 8: (3 sc, inc, 3 sc)* [48]
Fasten off the first part, but leave the second part open, since both pieces join together next. Change to the border color, and crochet through both parts held together.
- Rnd 9: (7 sc, inc)* [54], 1 sl st.
Special Techniques
This Crochet Pumpkin Ghost Spider pattern layers a few techniques beginners rarely combine in one project. The ghost shape shifts from working in rounds to working in rows, shaping its wavy bottom edge. Chain loops built directly onto stitches form the ghost’s arms and the spider’s curled legs, each finished with a slip stitch return. Front loop-only stitching on the spider’s body creates a subtle ridge, separating the head from the leg row. The medallion joins two crocheted circles mid-round, blending them into a single thicker border for hanging.
Skill Level
This Crochet Pumpkin Ghost Spider pattern suits confident beginners comfortable with magic rings, increases, and basic chains. Intermediate crocheters will move through it quickly, appreciating the varied techniques packed into such small, fast-finishing amigurumi shapes.
Common Mistakes
- Losing stitch count during increase rounds on the medallion
- Forgetting to switch from rounds to rows on the ghost
- Skipping the front loop only instruction on the spider body
- Joining medallion halves with mismatched stitch counts
- Pulling chain loops too tight, flattening the spider legs
- Not using a stitch marker, leading to rounds that shift
Uses & Benefits
Small amigurumi shapes like these serve far beyond a single holiday display. Trust me, a finished garland works equally well strung across a doorway, tucked into a wreath, or clipped onto gift bags for a handmade touch. Each piece stitches up using minimal yarn, making this pattern budget-friendly for crafters testing new techniques. The mix of rounds, rows, and chain details also builds real skill, preparing beginners for more advanced amigurumi projects. Reusable and durable, cotton yarn pieces like these survive years of seasonal storage without losing shape.
Helpful Beginner Tips
- Count stitches after every round before moving forward
- Keep a stitch marker in the last stitch of each round
- Practice magic rings separately before starting the full pattern
- Use a smaller hook than usual for tighter, neater stitches
- Weave in tails as pieces finish, not all at once
- Pin pieces together before gluing to check placement first
Assembly
- Sew the ghost’s face details using black embroidery thread
- Attach the pumpkin’s brown stem and curling vine chains
- Curl spider legs gently, then glue them into a natural pose
- Stuff pumpkin and ghost lightly for a rounded, full shape
- Join both medallion halves while crocheting the final border round
- Glue or sew the ghost, pumpkin, and spider onto the medallion front
- Attach a hanging loop through the medallion’s top border stitch
Where Can You Use This?
Beyond typical mantel displays, this garland decorates classroom windows, office desks, and porch railings during the Halloween season, adding handmade charm anywhere store-bought decor feels impersonal.
Why Beginners Will Enjoy This Pattern
Newer crocheters gain confidence quickly here, since each shape finishes within minutes and mistakes stay easy to unravel without wasting much yarn or time.
Tips and Tricks for Success
- Block finished pieces lightly to smooth uneven stitches
- Match yarn tension by crocheting a quick test swatch first
- Store extra stuffing nearby for last-minute shape adjustments
- Photograph each stage for reference when making a second garland
- Swap colors for a non-Halloween version usable year-round
Why This Crochet Pattern Is Trending
Pastel and muted Halloween decor has taken over home feeds this year, replacing traditional bold orange and black palettes with softer, cottagecore-inspired tones. This pumpkin ghost spider set fits that shift perfectly, offering spooky imagery without overwhelming a neutral interior style.
- Soft color palette matches current cottagecore Halloween trends
- Small size fits modern minimalist seasonal decorating styles
- Quick finish time appeals to crafters short on free hours
Conclusion
Few Halloween projects balance charm and speed quite like this one. Ghost, pumpkin, and spider shapes each teach something new, from chain loops to front loop stitching, without demanding hours of work. No joke, a finished garland brings handmade warmth to any space, proving spooky season decor can still feel soft and personal. Keep the hook moving, and this project earns its spot on the shelf year after year.