
Free Crochet Rolling Pin Pattern for Your Play Kitchen Collection
Pretend kitchens feel much more complete with a tiny Crochet Rolling Pin Pattern. Kids instantly add it to their pretend play, while fans of unique handmade decor use it in farmhouse-style kitchens, coffee bars, or shelf displays. Its simple pattern makes it approachable for beginner crocheters too, and once it’s done, you’ll likely want to build out an entire crochet kitchen set to match.
This crochet rolling pin is intentionally kept simple in design, so you won’t run into any complicated shaping while making it. A long cylindrical body paired with matching handles on both ends gives it that classic shape. This simplicity makes it a great practice project for crocheters looking to build skill and confidence working in continuous rounds.
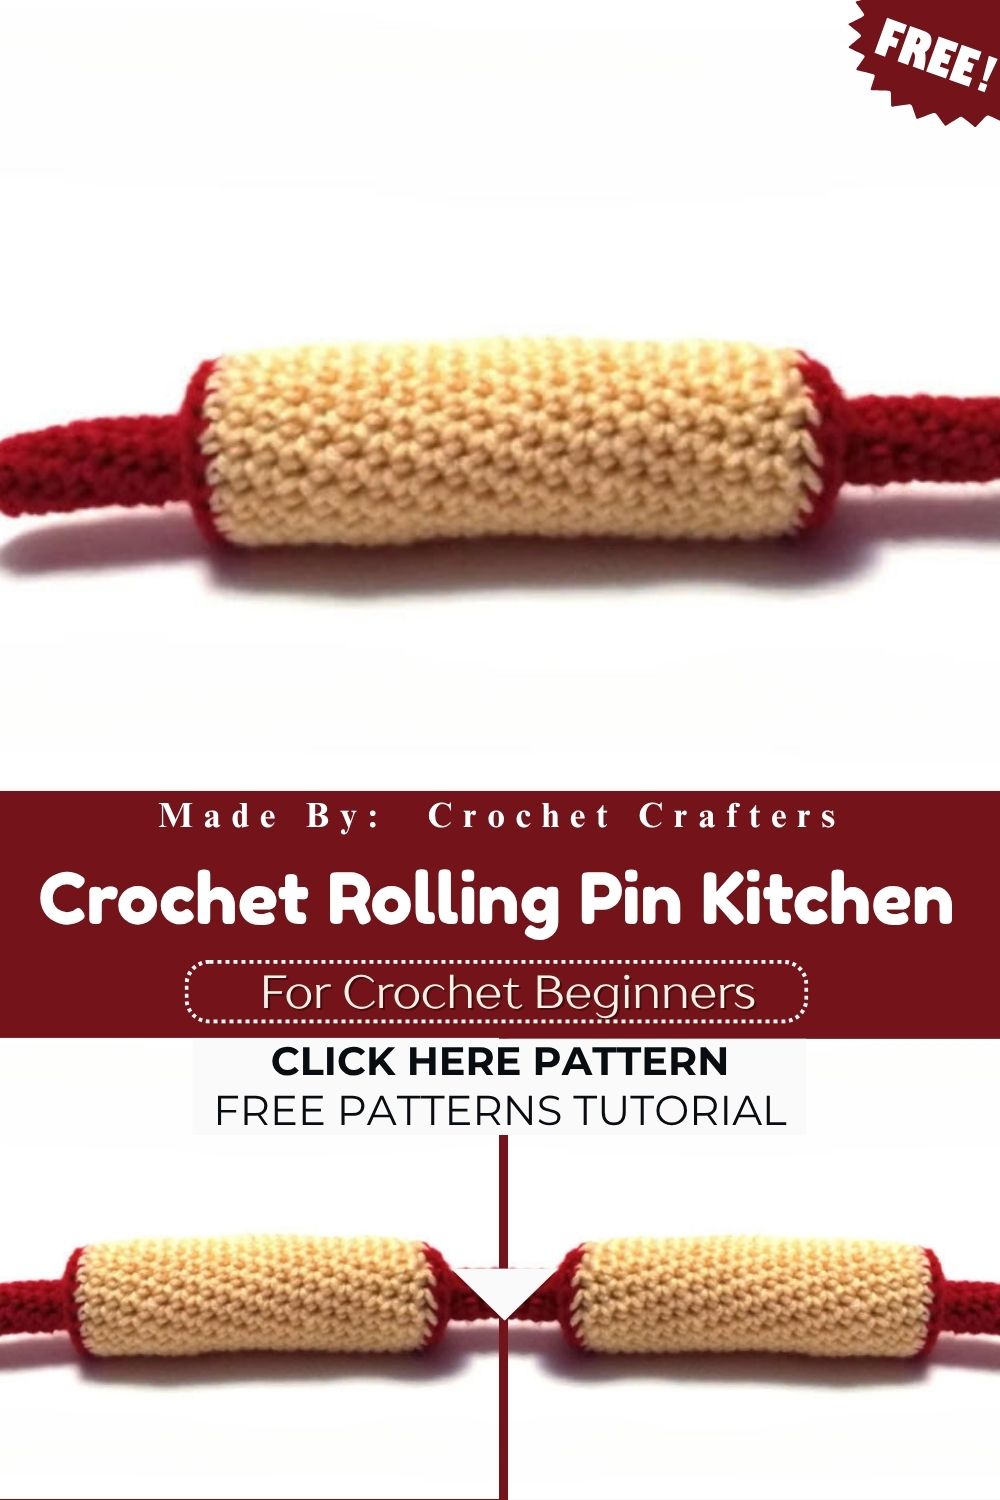
Soft neutral tones give the finished piece a realistic wooden look, though nothing stops a maker from going bold with color instead. Because the pattern relies on basic single crochet throughout, the texture stays firm enough to hold its shape once stuffed, giving the prop a satisfying weight in small hands.
Project Details
- Skill Level: Beginner
- Finished Size: Approximately 6 inches long, 1.5 inches in diameter
- Estimated Time Required: 2 to 3 hours
- Recommended Yarn Weight: Worsted weight (Medium, #4)
- Crochet Hook Size: 3.5mm (E-4)
Materials Needed
- Worsted weight yarn in tan or light brown (for a wood-toned finish)
- 3.5mm crochet hook
- Fiberfill stuffing
- Tapestry needle
- Stitch marker
- Scissors
- Optional: a small amount of contrasting yarn for painted-look accents on the handles
Crochet Stitches & Techniques
Getting comfortable with a short list of techniques makes this whole project run smoothly:
- Magic Ring – the starting point for every round piece in this pattern
- Chain Stitch (ch) – used briefly when starting the main roller body
- Single Crochet (sc) – the primary stitch throughout the pattern
- Increase (inc) – two single crochets worked into one stitch
- Invisible Decrease (invdec) – keeps shaping smooth without visible gaps
- Fastening Off – securing the last stitch before weaving in ends
- Sewing Pieces Together – attaching the handles to the roller body
Pattern Instructions
Crocheting the Handles (make 2)
Start each handle with a magic ring, then build outward in rounds.
Round 1: 6 sc in magic ring (6) Round 2: inc in each st around (12) Round 3: [sc 1, inc] repeat around (18) Round 4–7: sc in each st around (18) – work 4 rounds even Round 8: [sc 1, invdec] repeat around (12) Round 9: invdec around (6)
Stuff the handle firmly, then fasten off, leaving a long tail for sewing.
Crocheting the Main Roller Body
Chain 8 to begin the long cylindrical section, then join to work in the round.
Round 1: sc in 2nd ch from hook and each ch across, then continue around the opposite side of the foundation chain (16). Round 2–14: sc in each st around (16). This builds the long, even barrel shape. Round 15: [sc 2, invdec] repeat around (12). Round 16: sc in each st around (12)
Leave the body open at this stage rather than closing it, since the handles will be joined directly to each end.
Joining the Pieces
Position one stuffed handle against each open end of the roller body, matching stitch for stitch around the circle. Whip stitch the pieces together using the tapestry needle, keeping tension even so the seam disappears into the surrounding stitches. Add extra stuffing to the main body through the small gap that remains before closing the last few stitches completely.
Final Assembly
Weave in every loose end using the tapestry needle, pulling each one through several stitches before trimming. Roll the finished piece between your palms to settle the stuffing evenly, which also helps smooth out any lumps left over from the joining process. A light steam from a distance (never direct contact) can help relax stubborn stitch definition if the surface looks uneven.
Tips for Success
- Count stitches at the end of every round, especially during increase and decrease rows
- Use a stitch marker to track the start of each round rather than guessing
- Stuff a little at a time instead of packing everything in at once, which prevents lumpy sections
- Keep tension consistent across all pieces so the handles match in size
- Pull yarn ends through the work at an angle to hide them more effectively
- Block the roller body gently against a straight surface to help it hold its cylindrical shape
Personalization Ideas
- Swap tan yarn for a painted-wood look using cream with light brown speckling
- Crochet a mini version for a keychain or bag charm
- Make a jumbo rolling pin as a kitchen decor piece using bulky yarn and a larger hook
- Add a strip of contrasting color at each handle tip to mimic painted wood accents
- Pair it with a matching crochet cutting board or dough set for a full play kitchen bundle
- Turn a finished rolling pin into a Christmas ornament with a small loop of ribbon at one end
Common Mistakes to Avoid
Skipping the stitch count check at the end of a round tends to cause the most trouble, since a single missed increase can throw off the whole shape by the time stuffing begins. Loose tension around the handle joins is another common issue, often leaving a visible gap where stuffing peeks through. Overstuffing the barrel section before joining the handles can also distort the cylinder, so it helps to leave a little room for adjustment during final assembly.
Frequently Asked Questions
What yarn works best for a realistic wood look?
Tan, camel, or light brown worsted weight yarn gives the closest match to natural wood tones.
Does the pattern require safety eyes or any face details?
No facial features are needed here, since a rolling pin is a functional kitchen prop rather than a character amigurumi.
Can cotton yarn replace worsted weight acrylic?
Cotton works fine and actually holds its shape a little better, though the stitches may look slightly more defined than acrylic.
How much stuffing does one Crochet Rolling Pin Pattern need?
A small handful is usually enough for the barrel, plus a pinch for each handle; overstuffing can distort the cylinder shape.
Is this pattern suitable for a first amigurumi project?
Absolutely, since it only uses single crochet, basic increases, and simple decreases throughout.
Can the rolling pin double as a teething toy?
Only with food-safe, washable materials and secure stitching, and always under adult supervision.
How long does one Crochet Rolling Pin Pattern take to finish?
Most makers finish the whole project, including assembly, within 2 to 3 hours.
Conclusion
Small projects like this one prove that a play kitchen doesn’t need hours of work to feel complete. Grab a spare skein of tan yarn, work through the handles and barrel in an evening, and watch how quickly this little Crochet Rolling Pin Pattern becomes a favorite prop. Share a photo once it’s finished; seeing everyone’s color choices and finishing touches is half the fun of a pattern like this.


