Crochet Rose Corset Top Pattern with Leaf Halter Ties
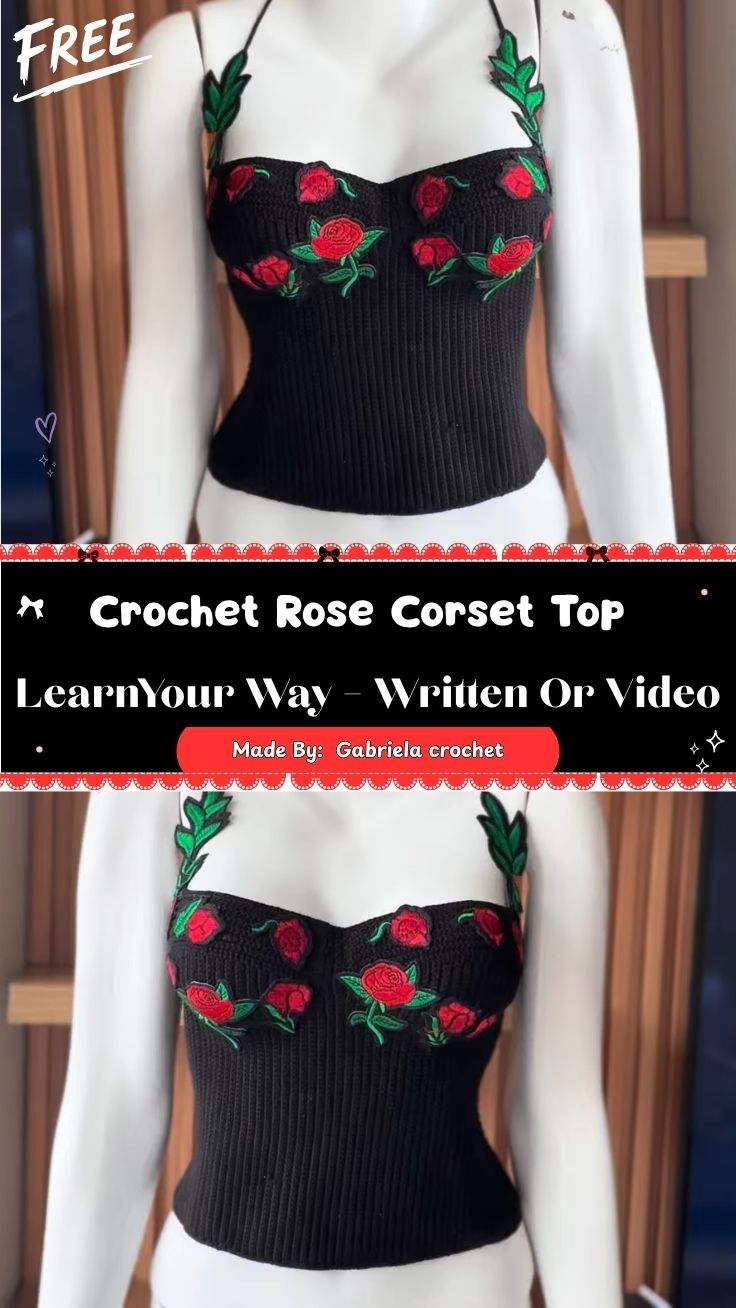
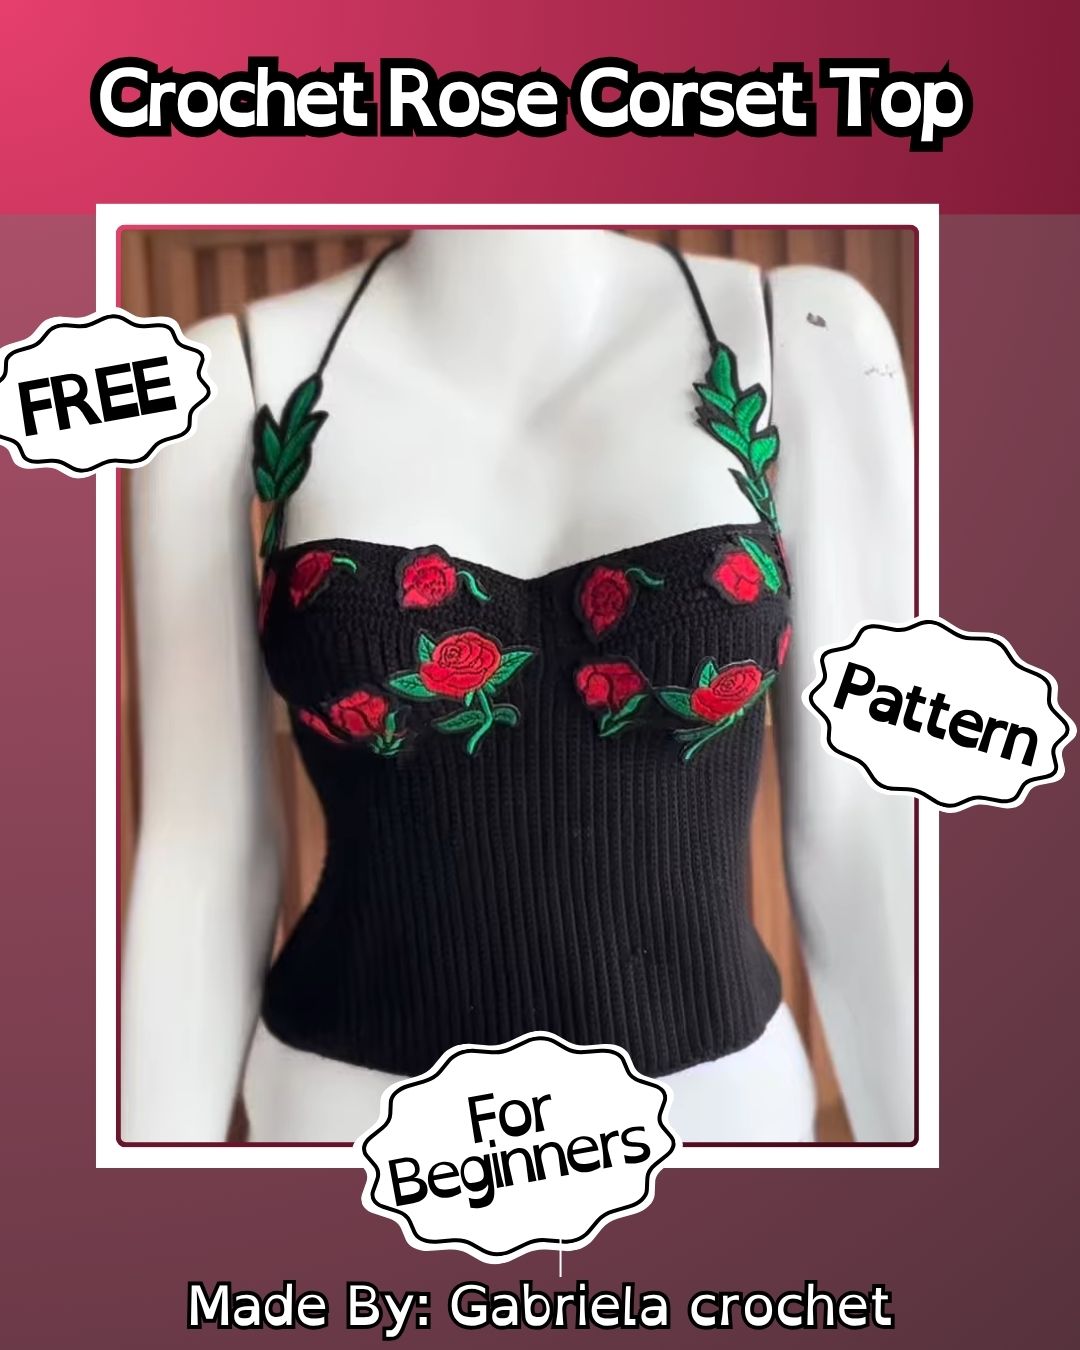
A fitted top with delicate, nature-inspired details always stands out, and this crochet rose corset top pattern brings exactly that kind of charm to your handmade wardrobe. Featuring a snug ribbed bodice paired with soft leaf-shaped halter ties, this corset top pattern blends structure and romance into one beautifully wearable piece.
Crochet Flower Corset Top Pattern uses a ribbed stitch technique to shape a fitted, supportive bodice that hugs the body comfortably. Its ribbed structure gives the piece a corset-like look, while the soft, stretchy texture keeps it comfortable to wear. Leaf-shaped halter ties add a lovely botanical detail to the design, drawing attention to the neckline. The design suits summer outings, music festivals, beachwear, or a bold, distinctive festival outfit especially well.
Skill Level
This pattern is rated Intermediate. Comfort with basic ribbing stitches, panel shaping, and simple seaming will help you complete this corset top with confidence.
Materials You Will Need
- Medium-weight cotton or cotton-blend yarn in your main color (such as black)
- A crochet hook sized to match your yarn (4mm or 4.5mm is a common choice)
- A yarn needle for weaving in ends and seaming
- Scissors
- A tape measure for checking fit
- Stitch markers to track your rows
- Optional: fabric lining or boning for extra corset-style support
Key Features and Techniques
Understanding these techniques will help your corset top come together smoothly:
Foundation Chain
Each panel begins with a simple starting chain, setting the width for the bodice and tie sections.
Ribbed Stitch Pattern
Working stitches into the back or front loops only across each row creates the textured, stretchy ribbing that gives the corset its fitted structure.
Panel Shaping
Careful increases and decreases along the panel edges help the bodice curve naturally to fit the body.
Leaf-Shaped Ties
Simple increases and decreases worked in a pointed pattern form the leaf shapes used for the halter ties.
Step-by-Step Instructions
Step 1: Start Your Foundation Chain
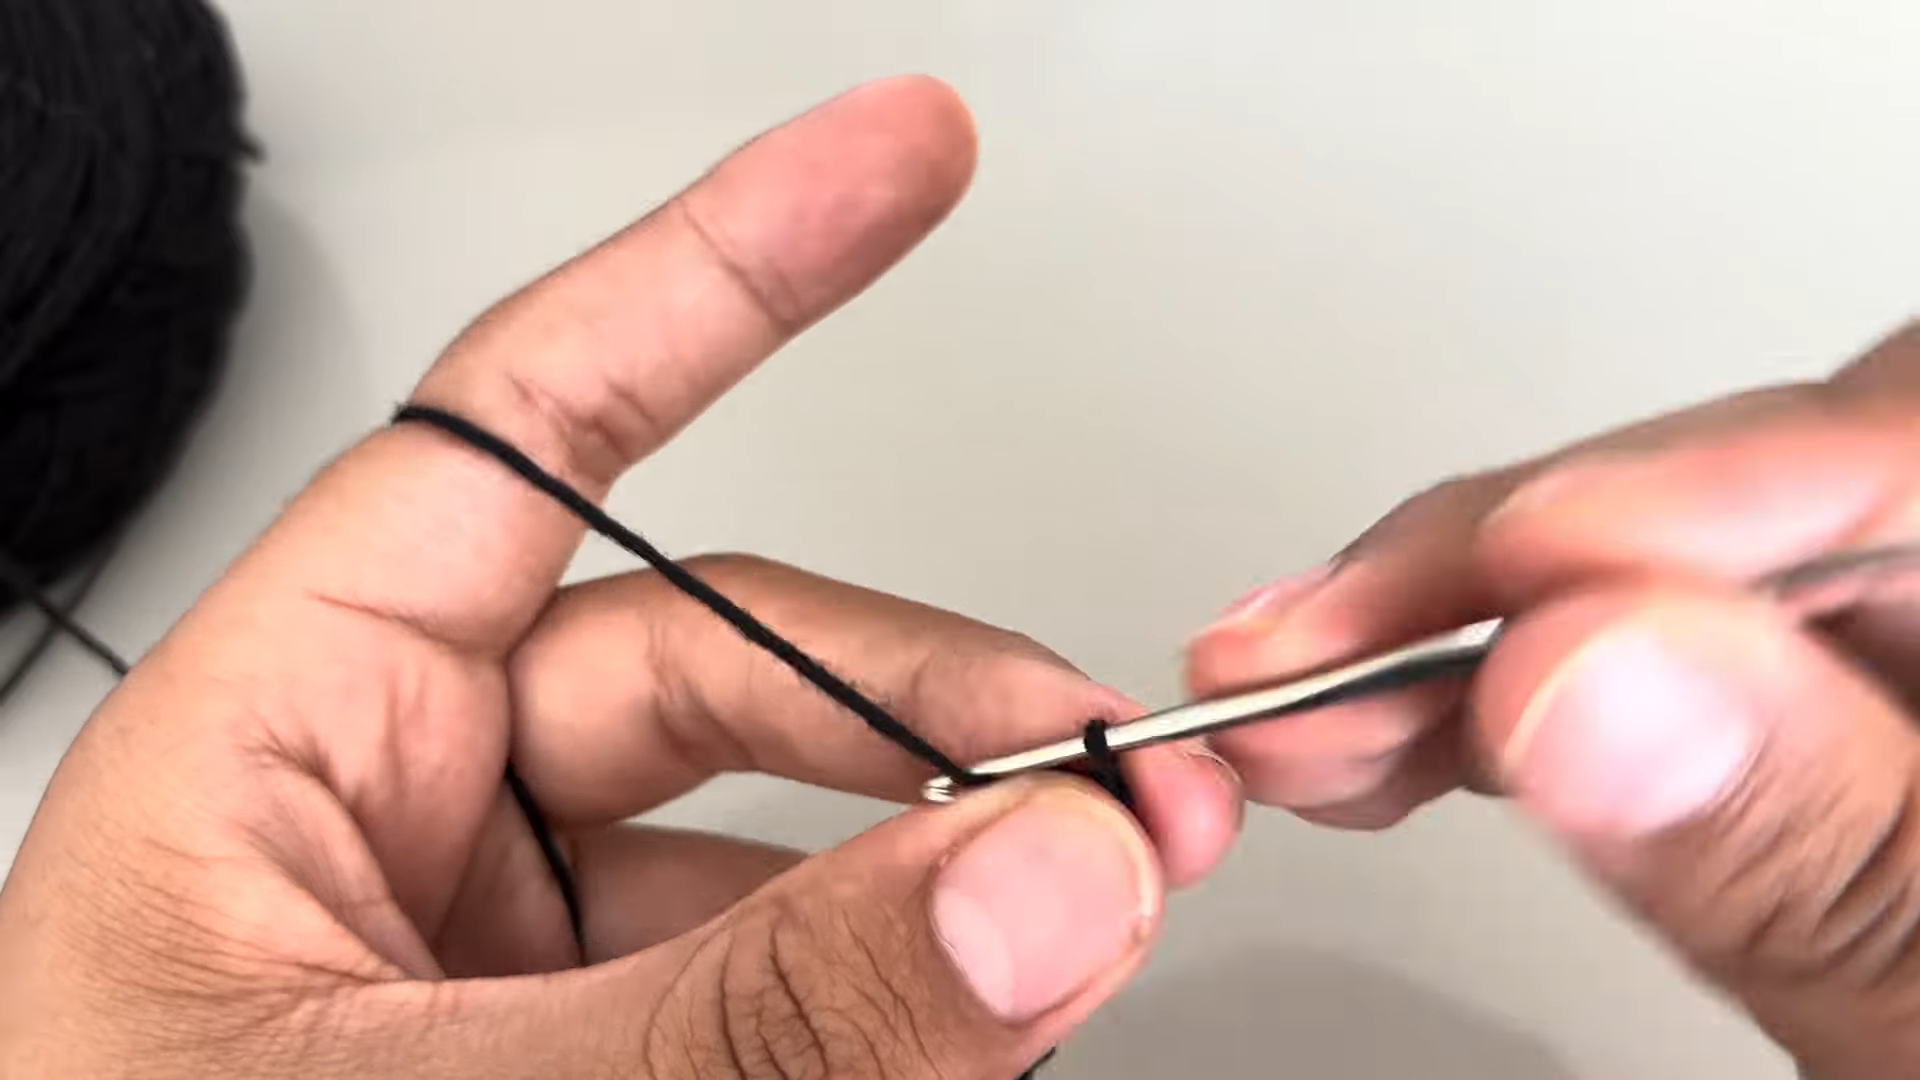
Begin with a slip knot on your hook, then chain the number of stitches needed for your first panel width. Keep your tension relaxed but even, since a tight starting chain makes the first row difficult to work into.
Step 2: Work Your First Row
Insert your hook into the chain and begin working your first row of ribbed stitches across the full length. This sets the foundation for the textured ribbing that will run throughout the bodice, so keep your stitch count consistent from row to row.
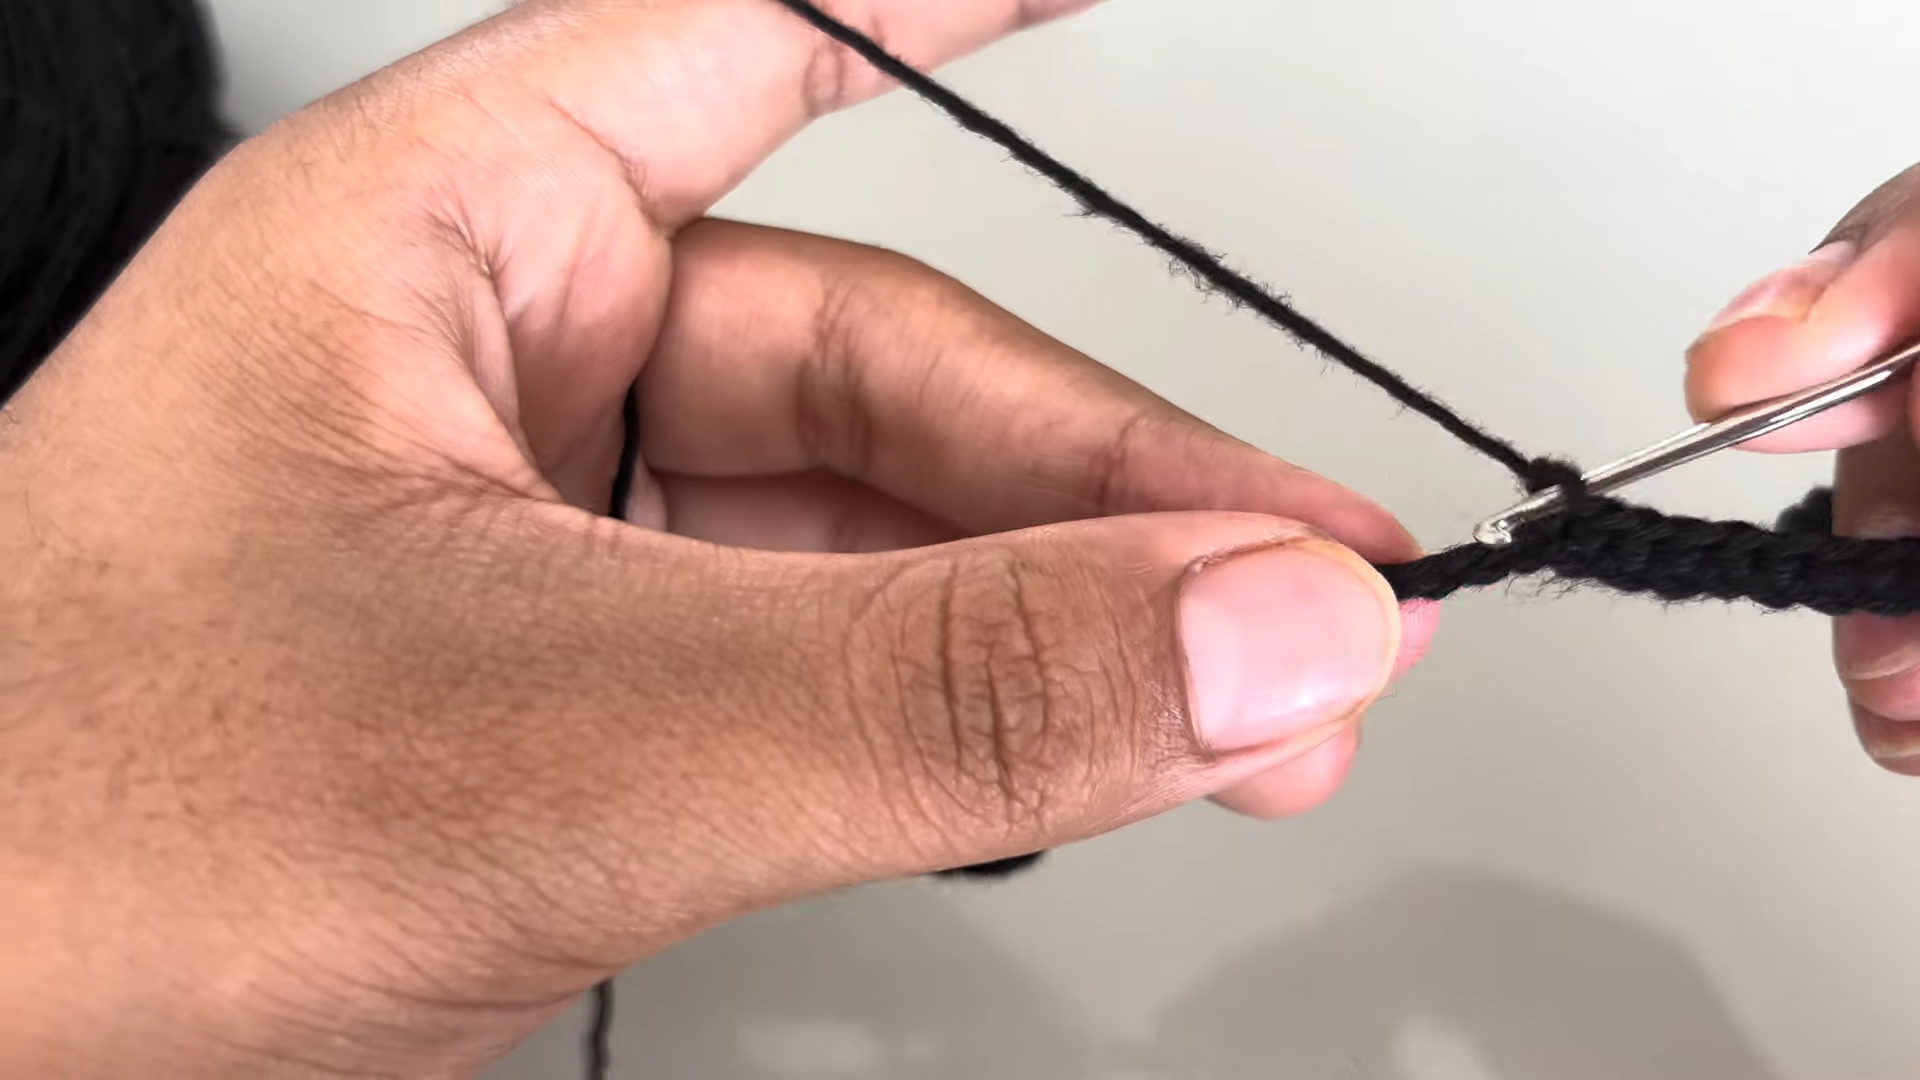
Step 3: Build the Ribbed Panel
Continue working rows back and forth, turning your piece at the end of each row to grow the ribbed texture upward. As the rows stack up, you will see the fitted, stretchy ribbing pattern forming clearly across the panel. Keep an even tension throughout so the ribbing lies flat and smooth.
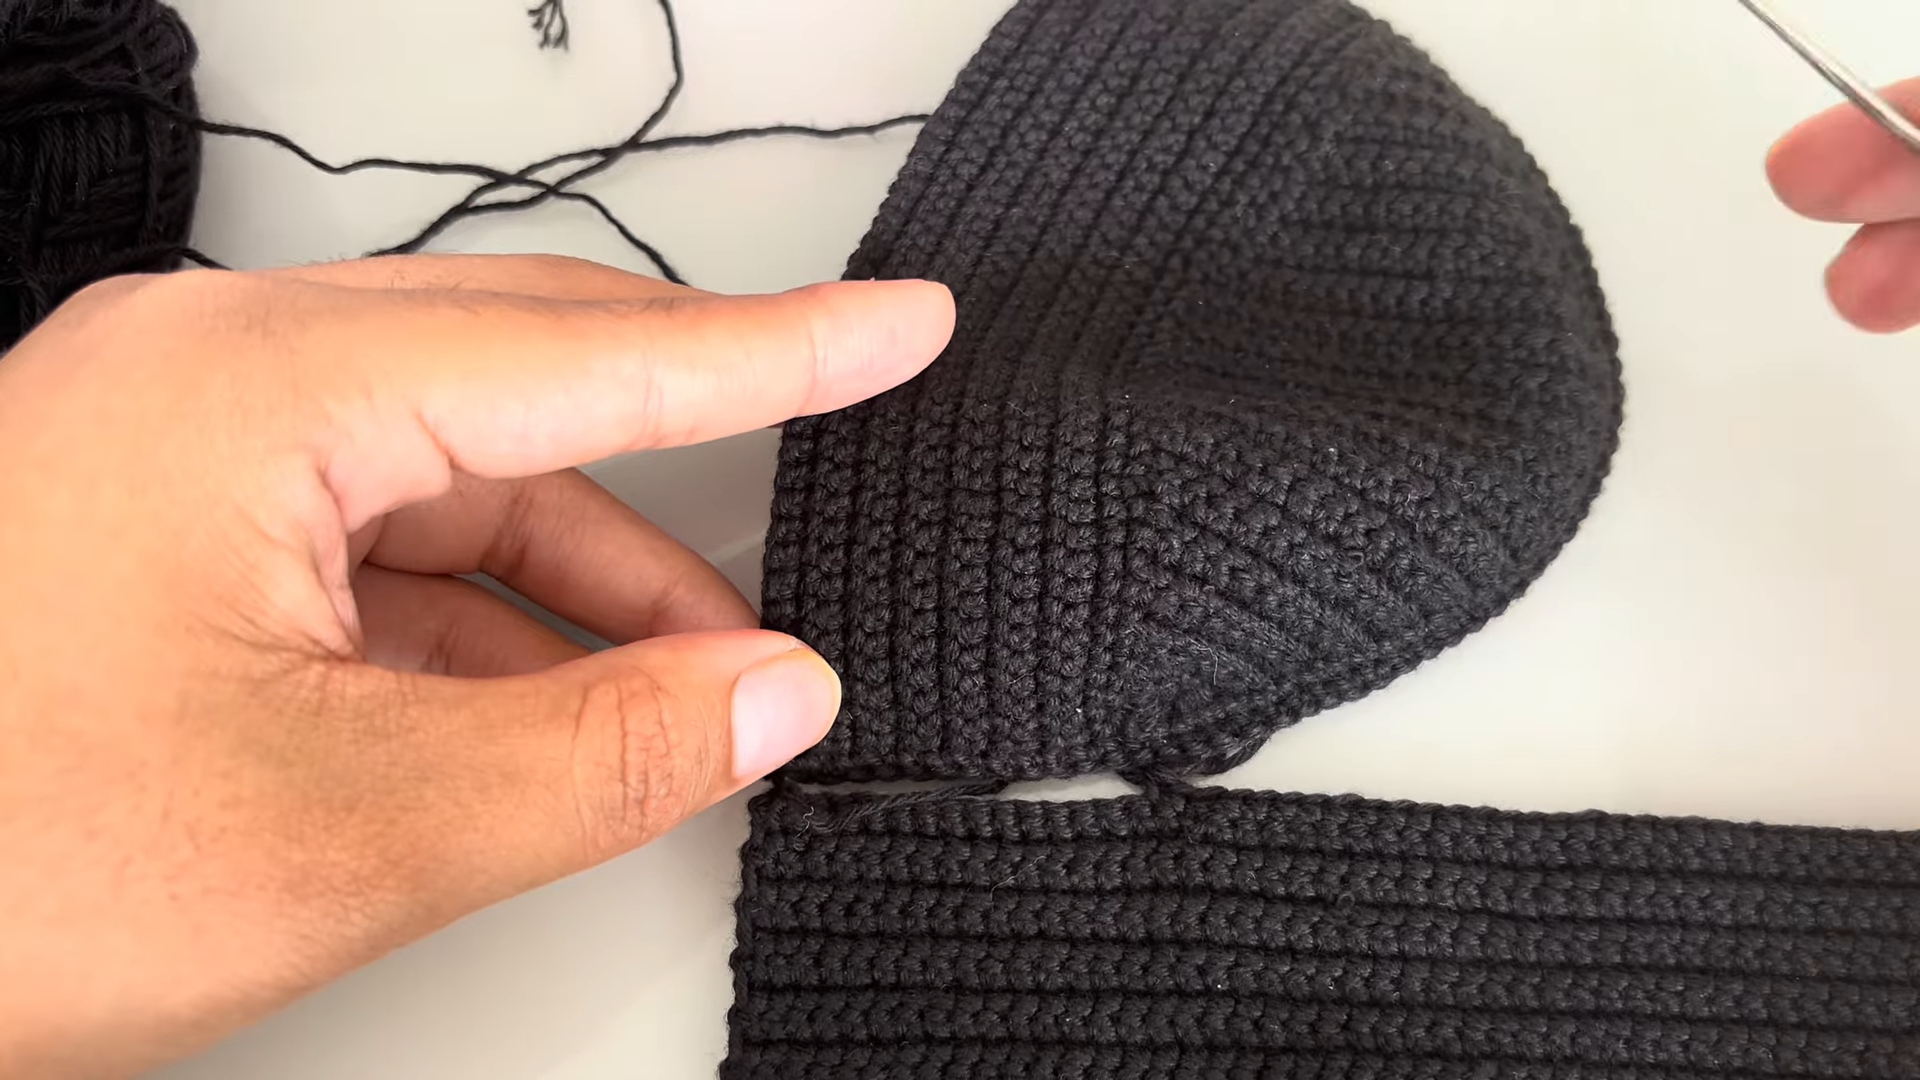
Step 4: Shape the Bodice Panels
Once your ribbed panel reaches the right length, work gentle increases or decreases along the edges to shape the curve of the bodice. Repeat the same process to create a matching second panel for the other half of the corset top.
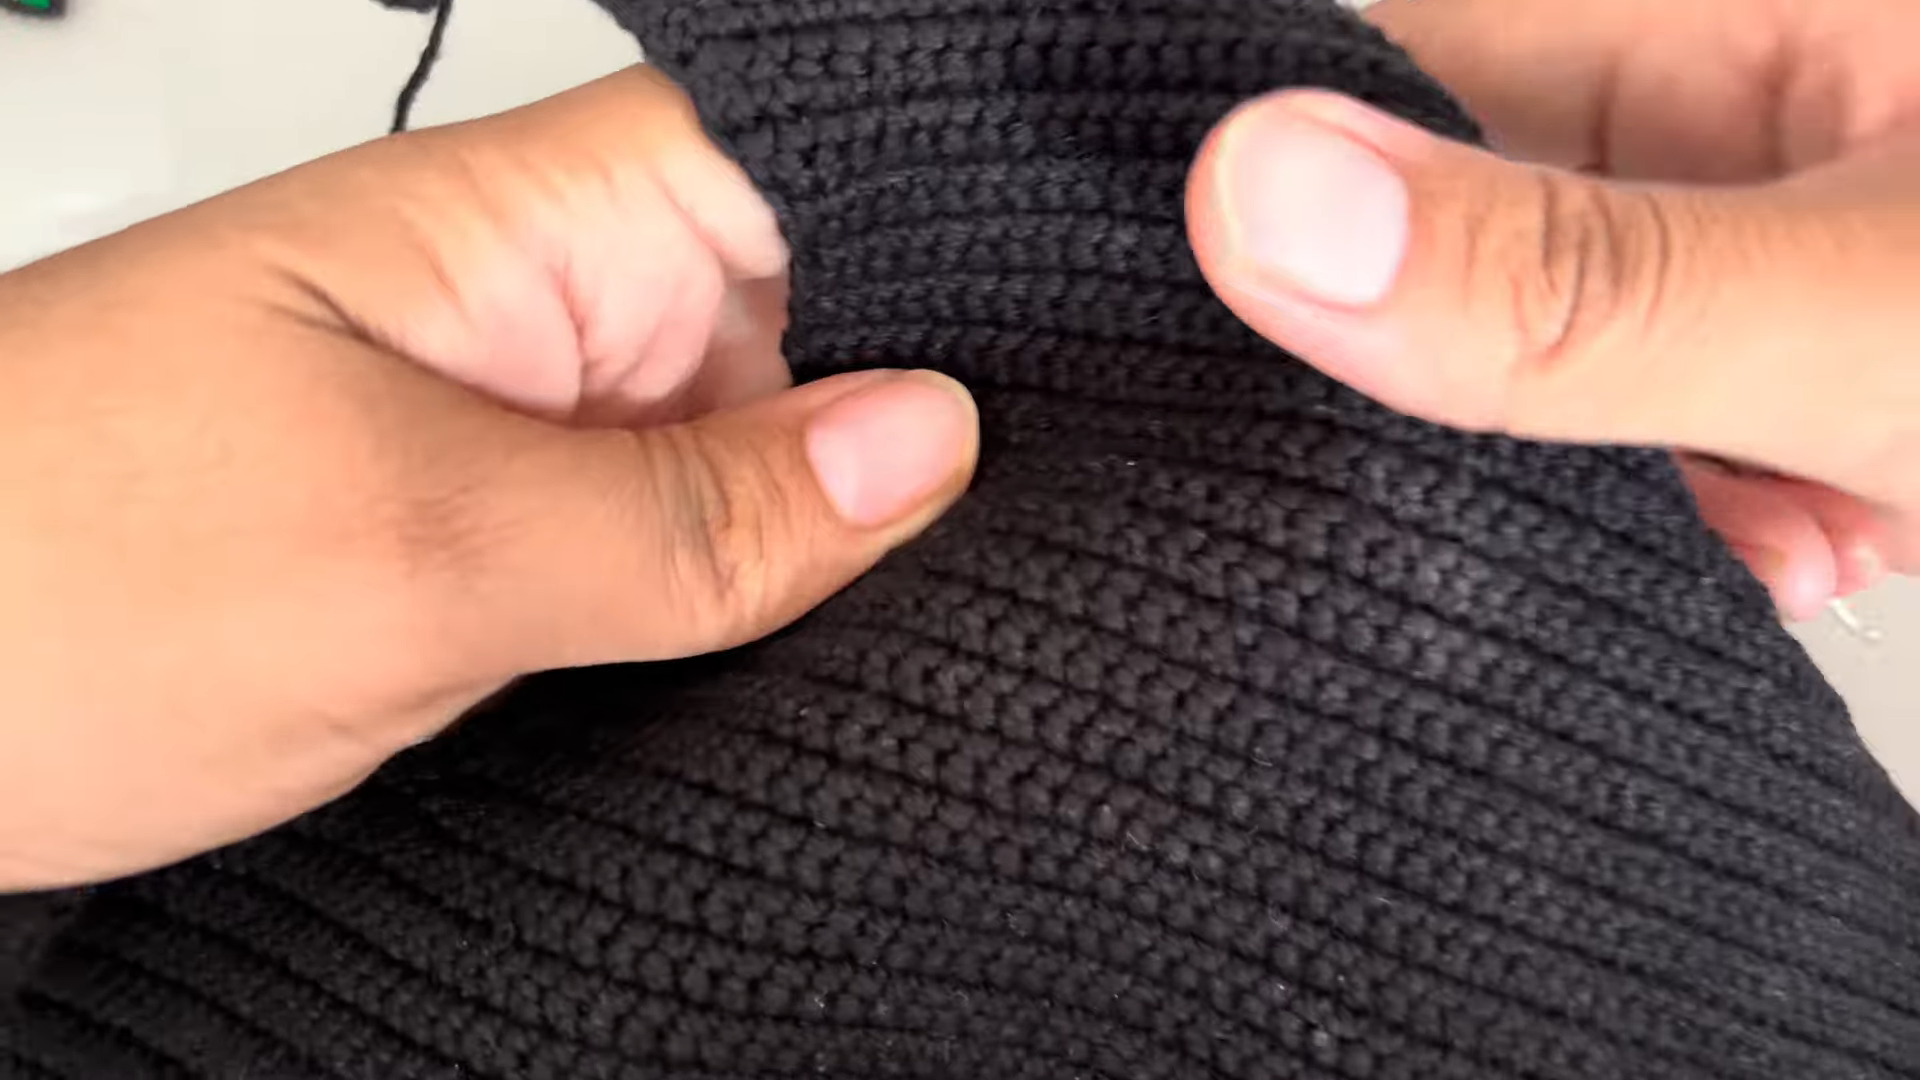
Step 5: Seam the Panels Together
Lay both panels together at the side seams and join them using slip stitches or a whip stitch with your yarn needle. Take your time here, since even seaming keeps the ribbed texture aligned and the corset shape smooth and supportive.
Step 6: Create the Leaf Halter Ties
Using a separate length of yarn, work a small foundation chain and build outward with increases and decreases to form a pointed leaf shape. Repeat this process to make a matching pair of leaves for the halter ties, then attach them securely to the top corners of the bodice.
Step 7: Finish and Weave In Ends
Weave in all remaining yarn tails securely with your yarn needle, trimming any excess close to the fabric. Try on the finished top to check the fit and tie placement before giving it a final light steam or gentle blocking.
Helpful Tips for Beginners
- Always check your gauge swatch before starting to ensure the ribbing fits snugly but comfortably.
- Use a slightly stretchy cotton-blend yarn for the best fitted feel without losing shape.
- Count your stitches at the end of every row to keep both bodice panels identical.
- Try the panel on as you go to check the fit around your torso.
- Block your finished leaves gently so they hold a smooth, natural shape.
Common Mistakes to Avoid
- Skipping the gauge swatch, which can result in a bodice that is too tight or too loose.
- Using yarn with too much stretch, which can cause the ribbing to lose its structured look over time.
- Rushing the seaming step, leading to an uneven or twisted fit.
- Making the two leaf ties different sizes, which affects the overall symmetry.
- Forgetting to weave in ends securely, which can loosen with wear and washing.
Customization Ideas
- Swap the leaf tie color for a contrast shade to make the detail pop.
- Add a small crochet rose motif at the center front for extra floral detail.
- Adjust the bodice length to create a cropped or longer corset silhouette.
- Use a variegated or ombre yarn for a subtle color-shifting effect.
- Add adjustable ties at the back for a more customizable fit.
Frequently Asked Questions
Is this pattern suitable for an intermediate crocheter?
Yes, this pattern is a great fit for those comfortable with basic ribbing and simple shaping techniques, even if corset-style garments are new to you.
How much yarn do I need for this top?
This depends on your size, but most designs use one to two skeins of medium-weight cotton yarn for the bodice and ties combined.
Can I make this top without the leaf ties?
Absolutely. You can use simple chain ties or a solid strap instead of the leaf shapes for a more minimal look.
What size hook works best for this Crochet Rose Corset Top pattern?
A 4mm to 4.5mm hook typically works well with medium-weight cotton yarn, but always confirm with a gauge swatch first.
Do I need extra support like boning for the corset shape?
Support is optional. The ribbed stitch pattern already provides a fitted structure, though boning can be added for extra definition if desired.
Can I resize this pattern for different body types?
Yes, you can adjust the starting chain length and number of rows to customize the fit for your specific measurements.
Conclusion
This crochet rose corset top pattern with leaf halter ties proves that a fitted, structured piece can still feel soft and romantic. From the very first foundation chain to the finished leaf ties, every step builds toward a top that feels custom-made and beautifully detailed. With approachable ribbing techniques and a touch of botanical charm, this pattern is a rewarding project for anyone ready to grow their crochet skills. Give it a try, personalize the colors, and enjoy wearing a handmade corset top that is completely your own.