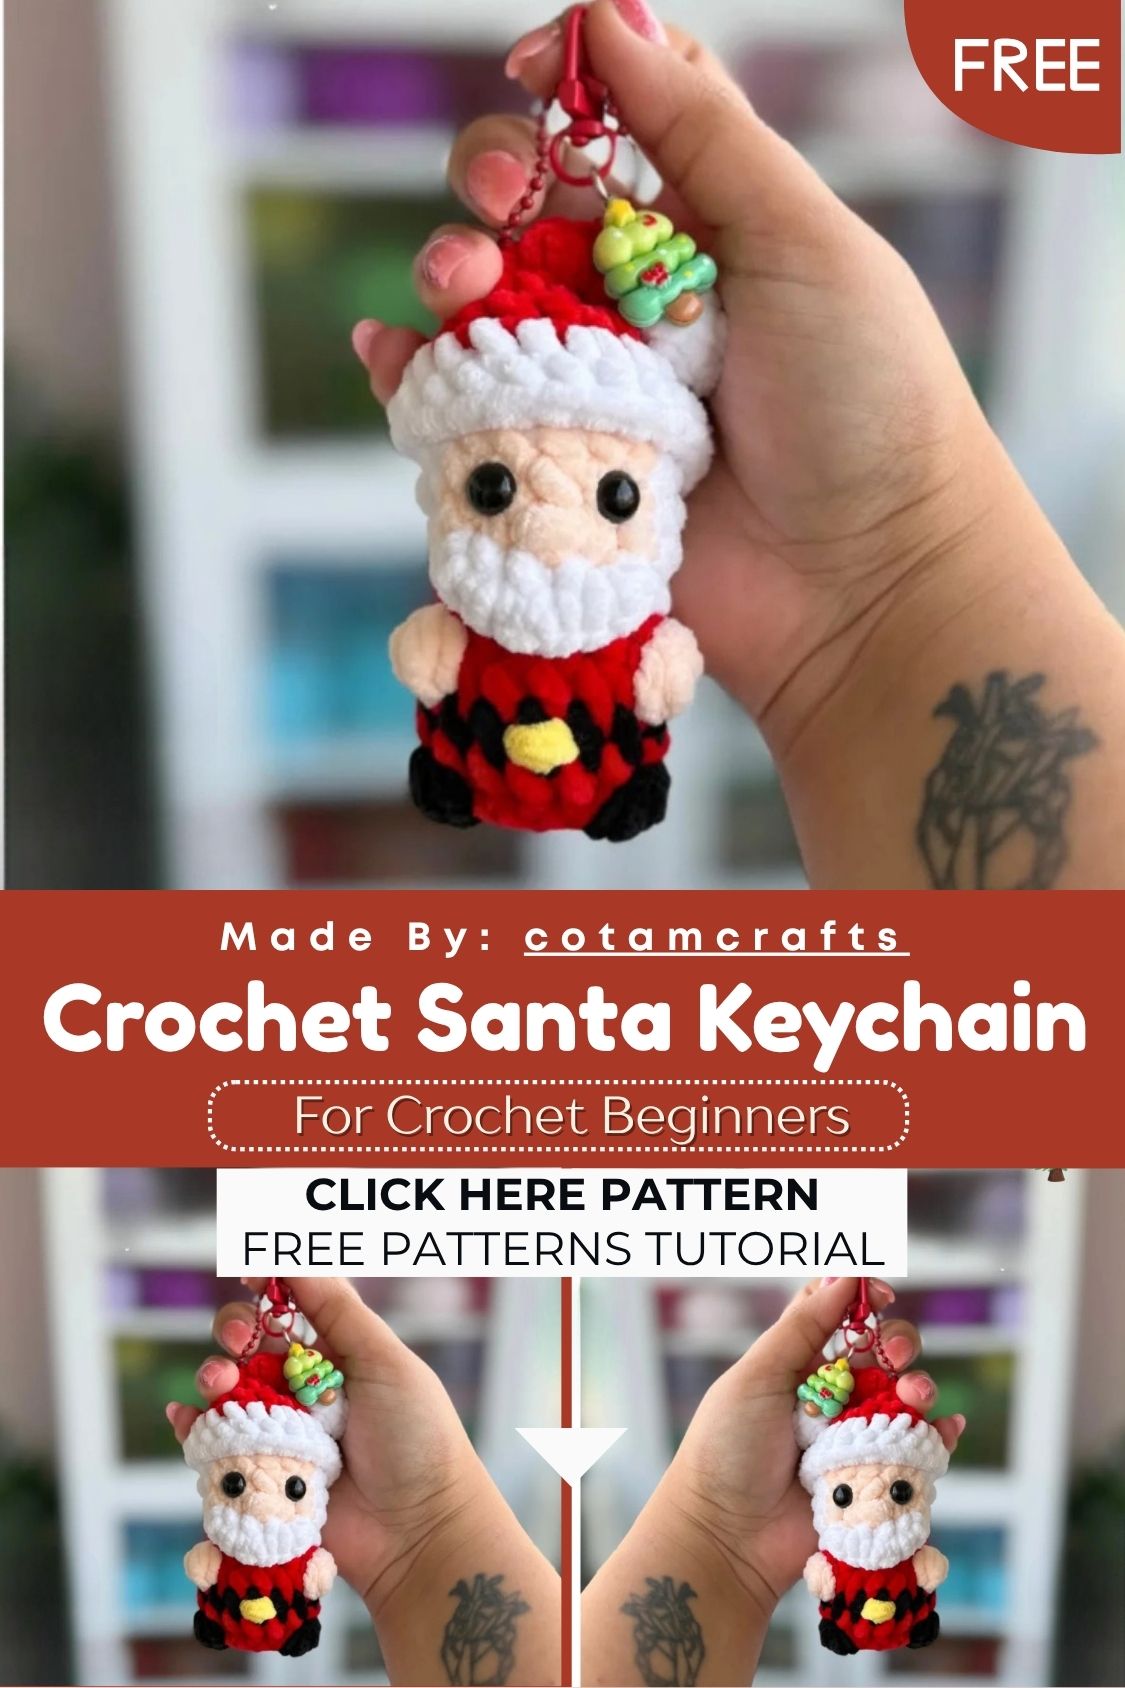
Adorable Crochet Santa Keychain – Free Christmas Amigurumi Pattern
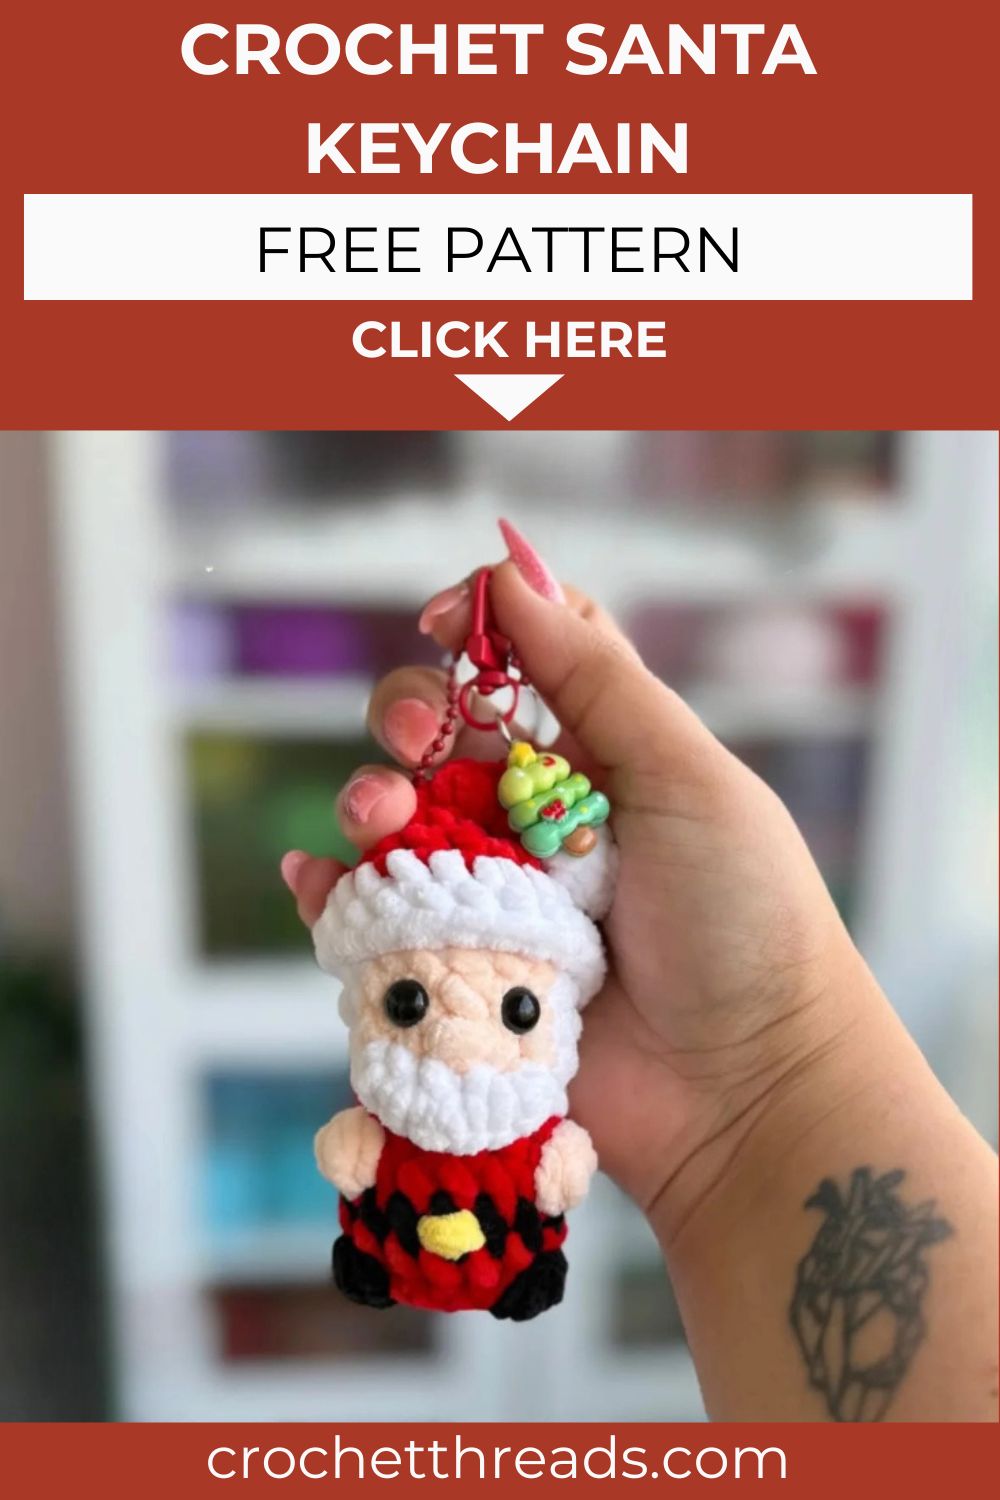
Round, rosy-cheeked, and dressed in classic red and white, this little Santa amigurumi is the quickest way to bring holiday cheer to your hook!
There is nothing quite like a tiny handmade Santa to set the festive mood. This low-sew pattern keeps construction refreshingly simple, with the head, body, and belt all worked in one continuous piece. Only the hat and beard require separate attachment, making this an ideal project for crafters who want a polished holiday character without hours of finishing work. The skin-tone face panel, worked through a clever back-loop color-change technique, creates Santa’s signature rosy face shape, while the bobble-stitch fur trim on both the hat and coat adds genuine texture. Whether displayed as a shelf decoration, hung as an ornament, or turned into a tiny keychain, this Santa brings instant warmth to any holiday collection.
Skill Level
Beginner to intermediate. This is a low-sew pattern with most construction worked in continuous rounds. Additionally, the bobble stitch trim and back loop color change introduce simple new techniques that are easy to master.
Materials You Will Need
Yarn Weight 6 super bulky yarn:
- White for the head base, belt trim, and pompom
- Tan or skin tone for the face panel and fur bobbles
- Red for the body and hat
- Black for the belt section
- Yellow for embroidered belt buckle detail
Other Supplies:
- Crochet hook — 5mm or size recommended for your yarn
- Safety eyes — 9mm
- Polyfill stuffing
- Stitch marker
- Scissors
- Tapestry needle
Abbreviations
- MR — Magic Ring
- SC — Single Crochet
- DEC — Decrease (invisible, front loops of 2 stitches together)
- INC — Increase (2 sc into one stitch)
- FO — Fasten Off
- SLST — Slip Stitch
- CH — Chain
- STS — Stitches
- BLO — Back Loops Only
- BO — Bobble Stitch (BO4DC)
- HDCINC — 2 half double crochets into one stitch
- CC — Change Color
- () — Total stitches at the end of the round
Important: This pattern is worked in continuous rounds and written in US terminology. Read through the entire pattern before beginning and prepare all tools in advance.
Pattern: Head and Body
The head and body are crocheted together as one continuous piece, starting with the head.
Starting with white yarn
R1: 6 sc into MR (6) R2: 6 inc (12) R3: (2sc, inc) x4 (16)
R4: 5sc, CC to tan working BLO; 5sc, CC to white working both loops; 6sc (16)
R5–6: 5sc tan, 5sc white, 6sc for 2 rounds (16)
R7: 5sc BLO, 5sc both loops, 6sc (16)
Insert safety eyes between rounds 5 and 6, approximately 3 stitches apart, centered on the tan face panel.
Stuff the head firmly.
R8: (2sc, dec) x4 (12)
R9: CC to red, (2sc, inc) x4 (16)
Switch to tan yarn for the next bobble round.
R10: 5sc, BO4dc, 5sc, BO4dc, 4sc (16)
R11: CC to black, 16 sc around (16)
R12: CC to red, 16 sc around (16)
Switch to black yarn for the next bobble round.
R13: 6sc, BO4dc, 4sc, BO4dc, 4sc (16)
Stuff the body firmly and shape the bottom so it sits flat.
R14: 8 dec (8)
Fasten off and leave a tail. Thread the tail through the front loops of the remaining stitches using a yarn needle. Pull tight to close completely and weave in the end.
Pattern: Beard
Hold the finished plushie upside down. Using white yarn, insert your hook into the 6th front loop of round 6.
R1: Ch 1, 3 sc into the next 3 stitches, ch 1, slst into the last stitch. Chain 1 and turn your work.
R2: 2 sc, hdcinc, 2 sc, slst into the first chain of R1.
Weave in all ends. The beard sits naturally below the tan face panel, framing it on both sides.
Belt Buckle Detail
Using yellow yarn, embroider a small belt buckle shape between rounds 11 and 12. The finished buckle should span approximately 1 stitch in width. Weave in the ends securely.
Nose Detail
Embroider a small round nose between rounds 6 and 7 of the head, centered on the tan face panel. The nose should span approximately 1 stitch in width. Weave in the ends.
Pattern: Hat
Starting with white yarn
R1: 4 sc into MR (4) R2: (sc, inc) x2 (6) R3: 6 sc around (6)
Switch to red yarn.
R4–5: 6 sc around for 2 rounds (6) R6: (2sc, inc) x2 (8) R7: 8 sc around (8) R8: (3sc, inc) x2 (10) R9: (sc, inc) x5 (15) R10: (2sc, inc) x5 (20)
Switch to white yarn.
R11: (9sc, inc) x2 (22) R12: 22 sc around (22)
Slip stitch into the next stitch. Fasten off and weave in all ends.
If desired, secure a small white pompom between rounds 10 and 11 of the hat for the classic Santa hat tip detail.
Sew the completed hat onto the head, positioning it to frame the face naturally above the eyes and beard.
Customization and Variation Ideas
- First, swap the red and white color scheme for green and white for a festive elf variation using the same construction throughout.
- Additionally, use a metallic or sparkly red yarn for the body to create a more glamorous, ornament-ready finished piece that catches light beautifully on a tree.
- Moreover, add tiny embroidered snowflakes onto the red sections using white thread for extra wintery detail without any structural changes to the pattern.
- Furthermore, attach a small keyring loop to the top of the hat before sewing it on for an instant handmade keychain that doubles as a stocking stuffer.
- Also, try making the beard slightly longer by adding one extra row before fastening off for an even more textured, traditional Santa look.
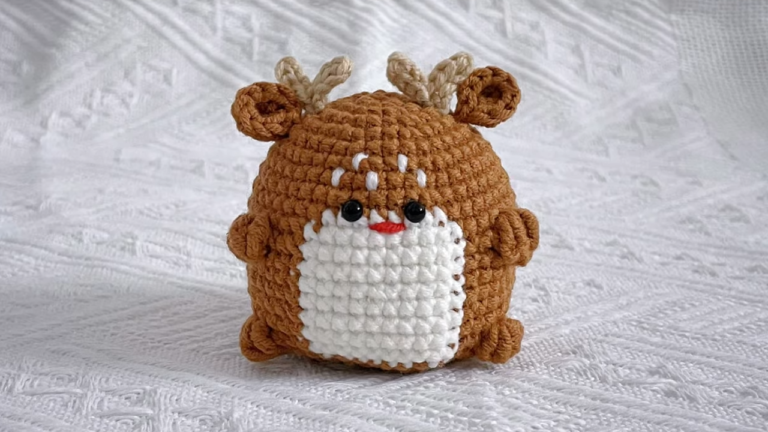
- Finally, make a whole set including a matching tiny reindeer or snowman using the same body base techniques for a complete holiday character collection.
Common Mistakes to Avoid
- First, confusing the BLO and both-loops sections in R4: The tan section must be worked in back loops only, while the white section continues in both loops. Mixing these up disrupts the clean face panel shape entirely.
- Additionally, placing safety eyes incorrectly: Eyes must sit centered on the tan face panel between rounds 5 and 6. Placing them too high or too low moves them off the face panel and makes them visually off.
- Also, skipping the stitch marker: With multiple color changes and bobble placements throughout, losing track of the round count is easy without consistent marking from R1 onward.
- Furthermore, pulling bobble stitches too tight: Each BO4dc should sit raised and rounded. Overly tight tension flattens the bobble and removes the fur trim texture effect.
- Moreover, stuffing the bottom unevenly: The body bottom must sit flat for the finished Santa to stand upright on a shelf. Take extra care shaping the stuffing at R13–14 before closing.
- Finally, attaching the beard before completing the face details: Always embroider the nose first, then attach the beard around it. Working in the wrong order makes nose placement far more difficult.
Finishing Tips
- First, when closing the body at R14, weave the tail through the front loops only for the cleanest, most invisible closure at the base.
- Additionally, after attaching the beard, gently shape it forward with your fingers so it sits slightly raised away from the body rather than flat against it.
- Moreover, use a single strand of yellow yarn for the belt buckle embroidery to keep the detail crisp and proportional against the bulky base yarn.
- Furthermore, when sewing the hat onto the head, anchor it at the front, back, and both sides for a secure, evenly balanced attachment that won’t shift with handling.
- Also, trim the pompom into a neat round shape after securing it for the most polished, finished look on the hat tip.
- Finally, photograph the finished Santa against a deep green or red background for the most festive, holiday-ready presentation shots.
Gifting Ideas
- First, attach a small keyring to the finished Santa for an instant stocking stuffer that doubles as a functional accessory throughout the year.
- Additionally, tie several Santas together with twine and hang them along a mantel or shelf edge for a handmade holiday garland.
- Moreover, these little Santas make charming teacher or coworker gifts when paired with a small treat or gift card during the holiday season.
- Furthermore, attach a loop to the top of the hat and use the finished piece as a tree ornament for a personal, handmade addition to holiday decor.
- Also, make a set of several in different sizes and display them together as a Santa family on a mantel or windowsill.
- Finally, these sell exceptionally well at holiday craft markets where the quick construction time means you can produce a generous stock before the season begins.
Conclusion
This little Santa amigurumi is the perfect blend of quick construction and genuine holiday charm. The continuous round body keeps the project moving steadily, while the bobble fur trim and beard details add just enough texture to make the finished piece feel special. Therefore, keep your color changes tidy, mark your bobble placements carefully, and take your time shaping the face panel for the cleanest finished look. In conclusion, this cheerful little Santa is ready to spread holiday joy from your hook to someone’s hands.
Happy crocheting! Cannot wait to see your little Santa come to life.