Crochet Snowman Ornament Amigurumi Pattern with Pom Pom Hat
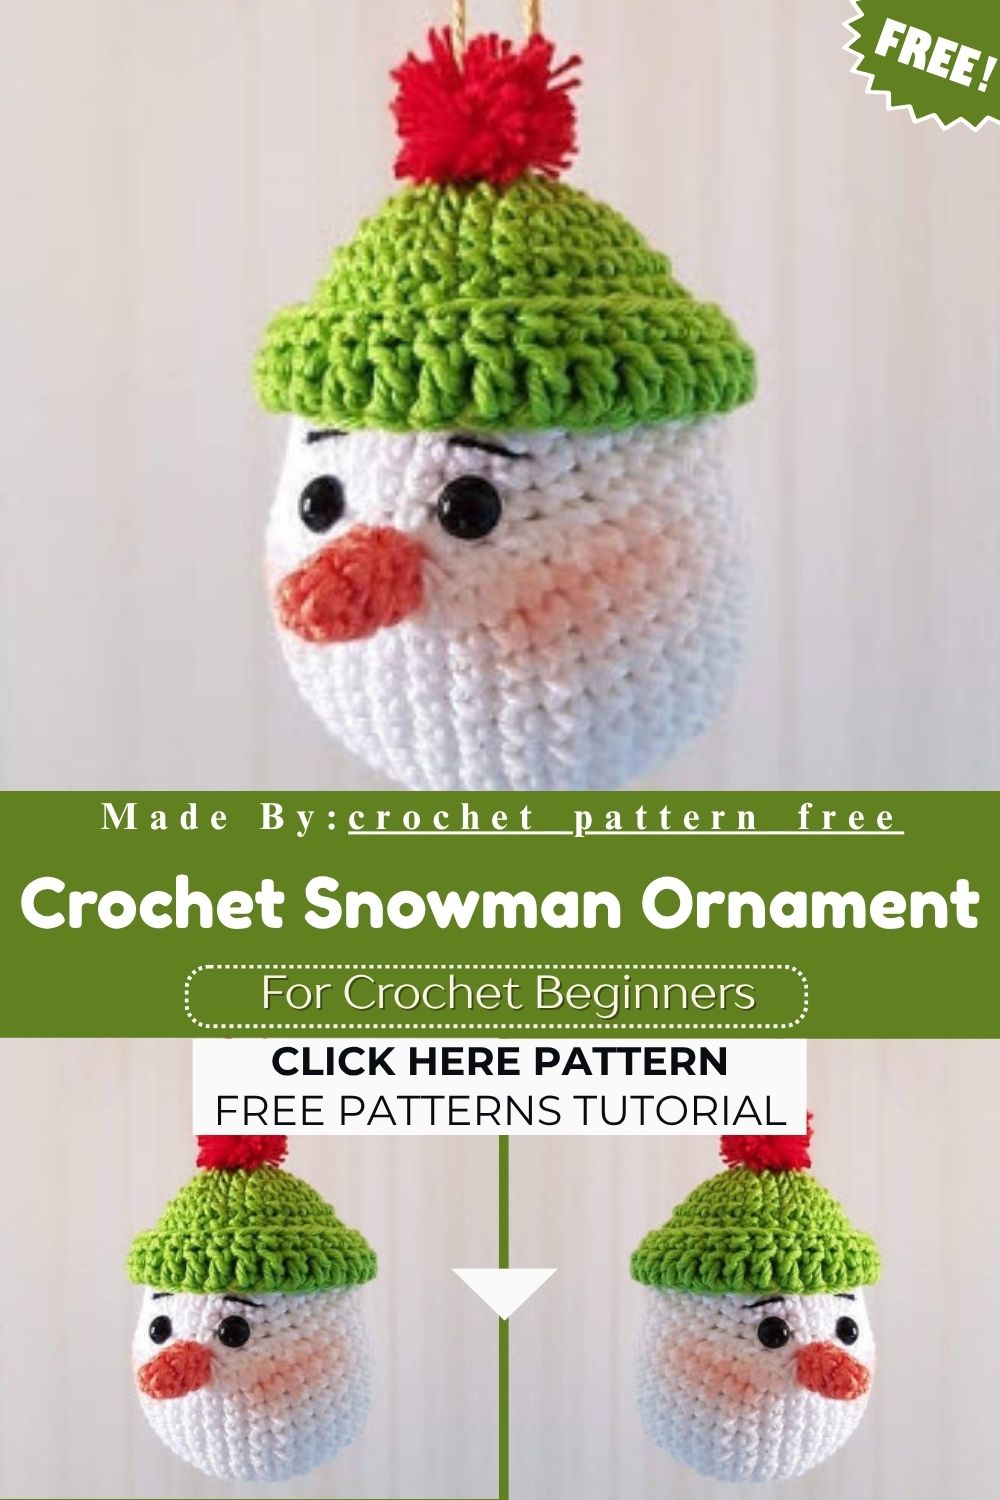
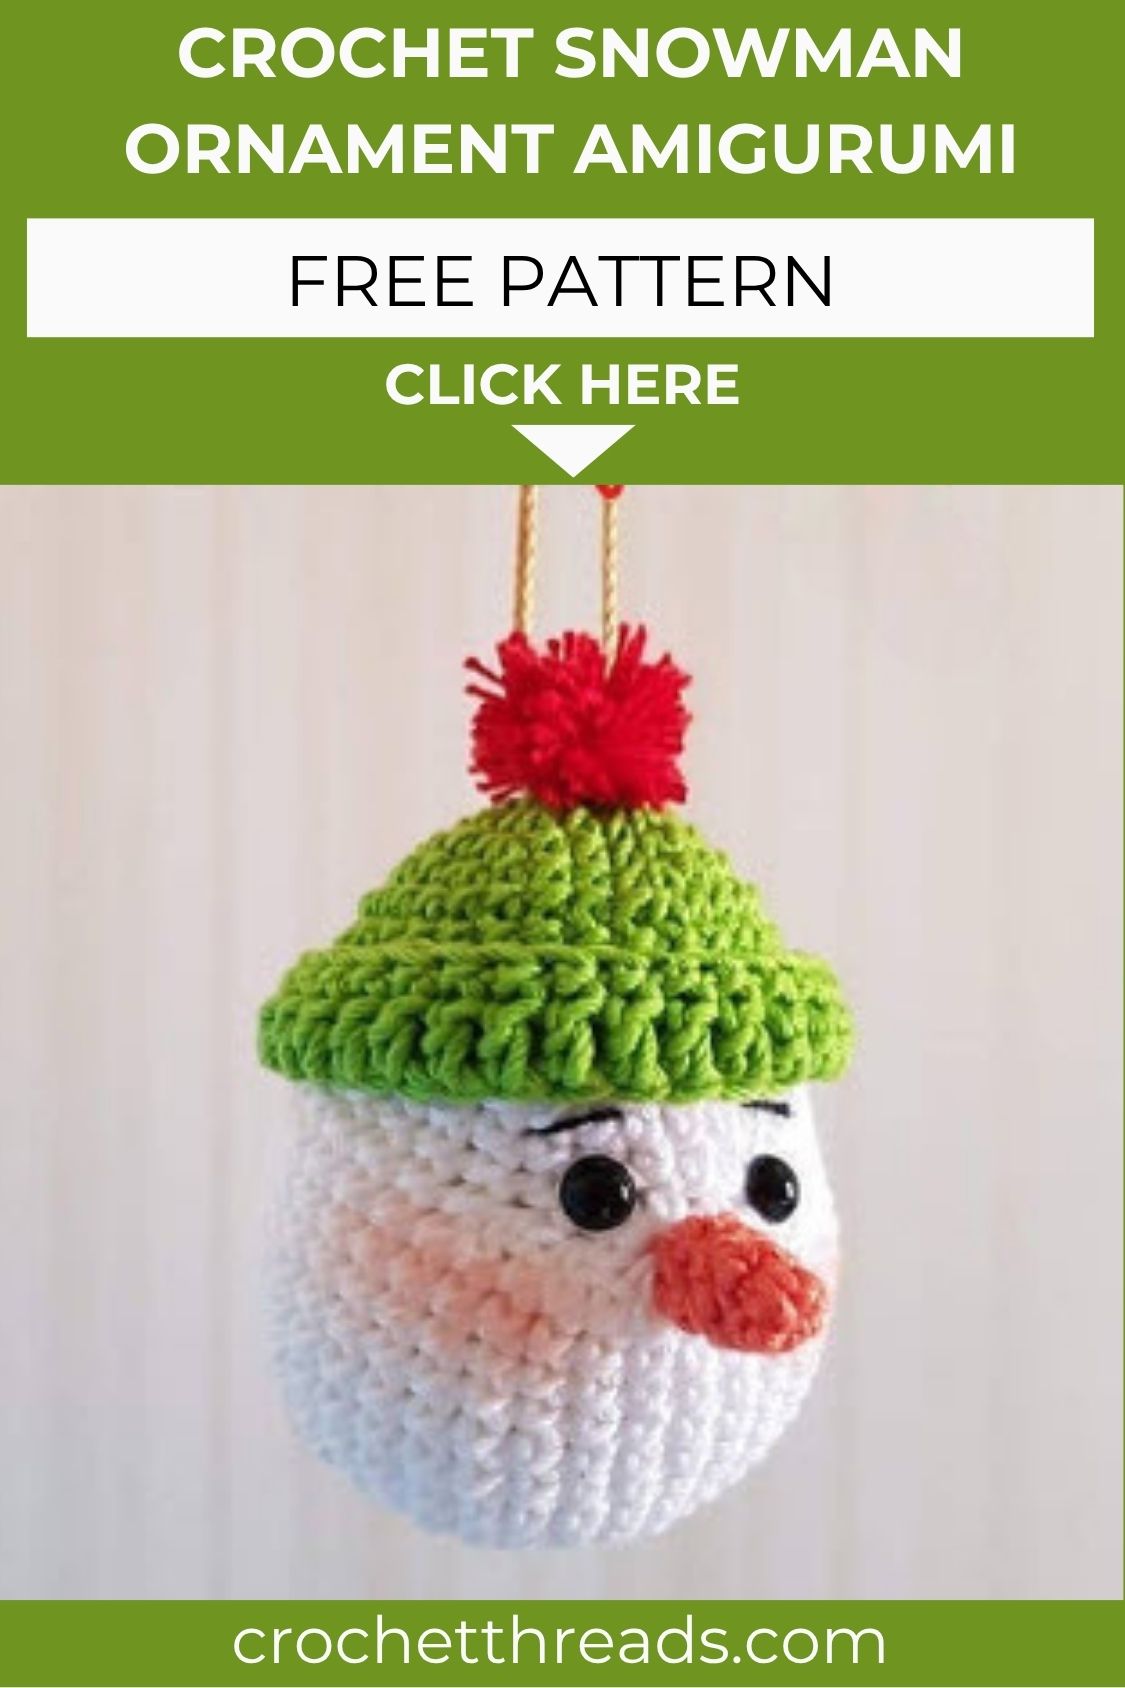
A tiny snowman always brings back the joy of winter, and this Crochet Snowman Ornament Amigurumi with its pom-pom hat captures that charm beautifully in yarn. It’s a charming, quick-to-complete project, making it a perfect choice for Christmas decor and handmade gifts.
Skill Level
Beginner-friendly with basic amigurumi techniques required. Comfortable with single crochet, increases, and decreases is enough. No joke, if you’ve made one amigurumi before, you’re fully ready for this snowman.
Materials
- Crochet hook 3mm
- Needle for sewing
- Safety eyes size 8mm
- Fiberfill
- Black embroidery thread
- Yarn in the colors: White, green and orange
- Lace or super fine yarn in the color Red
Abbreviations
- ch – chain
- mr – magic ring
- sc – single crochet
- inc – increase
- dec – decrease
- dc – double crochet
- sl st – slip stitch
- flo – front loop only
Pattern Overview
This Crochet Snowman Ornament Amigurumi comes together from three separate pieces: a rounded head, a tiny carrot-style nose, and a beanie topped with a pom-pom. Each section works up quickly using standard amigurumi shaping, and assembly is straightforward once the pieces are stuffed and joined. Low-key, the trickiest part is just placing the eyes evenly, and even that gets easier with practice.
HEAD (White Yarn)
- 6 sc in the mr (6)
- 6 inc (12)
- (1 sc, 1 inc) 6x (18)
- (2 sc, 1 inc) 6x (24)
- (3 sc, 1 inc) 6x (30)
- (4 sc, 1 inc) 6x (36) 7-14. sc in each stitch around (36)
- 12 sc, 6 dec, 12 sc (30) 16-18. sc in each stitch around (30)
- (3 sc, 1 dec) 6x (24)
- sc in each stitch around (24)
- (2 sc, 1 dec) 6x (18)
Place the eyes between the decreases. Place the eyes between rows 16 and 17, leaving 3 holes between them.
- (1 sc, 1 dec) 6x (12)
- 6 dec (6)
Fasten off. Take some black thread and add eyebrows. Add some blush on the cheeks if you would like.
NOSE (Orange Yarn)
- 4 sc in the mr (4)
- sc in each stitch around (4)
- (1 dec, 1 sc) 2x (6)
- sc in each stitch around (6)
BEANIE (Green Yarn)
- 6 in the mr (6)
- 6 dec (12)
- (1 sc, 1 dec) 6x (18)
- (2 sc, 1 dec) 6x (24)
- (3 sc, 1 dec) 6x (30)
- (9 sc, 1 dec) 6x (33) 7-10. sc in each stitch around (33)
- flo in all stitches: 2ch, 1 dc in each stitch around 32x, end the row with 1 sl st
- 1 ch, 1 sc in each stitch around 32x, end the row with 1 sl st
Fasten off. Turn up the brim of your hat. Make a small pom pom with lightweight red yarn. Attach the pom pom to the beanie. Sew the beanie onto the snowman’s head.
Special Techniques
Working the flo (front loop only) round on the beanie creates a visible ridge that mimics a folded brim. This small detail elevates the whole hat, giving it that knitted-look texture without any extra effort. For real, this one technique is what makes the beanie look store-bought instead of homemade.
Common Mistakes
- Skipping the front loop-only instruction on round 11, which flattens the brim texture
- Placing safety eyes too close together or too far apart, throwing off the snowman’s expression
- Understuffing the head, leading to a lumpy or collapsed shape
- Forgetting to leave the 3-hole gap between eyes before placement
- Rushing the pom pom size so it looks disproportionate to the beanie
Customization and Variation
- Swap the green beanie for red or blue to match different holiday palettes
- Use a fine black yarn instead of embroidery thread for bolder eyebrows
- Add a small scarf using leftover yarn scraps for extra detail
- Attach a loop of ribbon at the top for easy ornament hanging
- Try a striped beanie by alternating colors every couple of rounds
- Give the snowman stick arms using brown pipe cleaners for a rustic look
Finishing Tips
- Weave in all loose ends before stuffing to keep the inside tidy
- Stuff firmly but avoid overstuffing, which can distort the round shape
- Use a whip stitch to attach the nose securely at the center of the face
- Steam or lightly block the beanie brim so it holds its folded shape
- Trim the pom pom evenly with small scissors for a neat, rounded finish
Assembly
Start by stuffing the head firmly, leaving enough give at the opening to close it neatly. Sew the nose onto the center front of the face, positioning it between the eyes for a balanced look. Once the beanie is complete with its pom pom attached, place it over the top of the head and pin before stitching. Sew around the base of the beanie snugly, tucking in any stray fibers as you go. Finish by adding a small hanging loop at the top if you plan to display this piece on a tree.
Where Can You Use This Piece?
- As a hanging ornament on a Christmas tree
- Attached to a gift bag or wrapped present as a decorative topper
- Displayed on a holiday mantel or shelf alongside other winter décor
- Clipped onto a stocking for a festive accent
- Used as a keychain charm during the winter season
Care Instructions
Keep this ornament away from direct heat sources, as fiberfill and yarn can warp near warmth. Spot clean gently with a damp cloth if needed, avoiding full submersion in water. Store in a breathable box during the off-season to prevent dust buildup and yarn matting. Reshape the pom pom by hand if it gets compressed during storage.
Gifting Ideas
- Pair with a matching mug or hot cocoa set for a cozy winter gift
- Attach to a wrapped present as a reusable, decorative gift tag
- Bundle three or four in different colors for a stocking stuffer set
- Include in a holiday care package alongside handwritten cards
- Offer as a teacher or coworker gift during the festive season
Conclusion
This Crochet Snowman Ornament Amigurumi proves that a few simple shapes can turn into something genuinely festive. Honestly, between the pom pom hat and the rosy-cheeked face, it’s hard not to smile while making one. Whether you’re decorating your own tree or putting together thoughtful handmade gifts, this pattern delivers charm without demanding hours of your time. Grab your yarn and give this little guy a home this season.