Whip Up a Crochet Vampire Pumpkin – Free Amigurumi Pattern
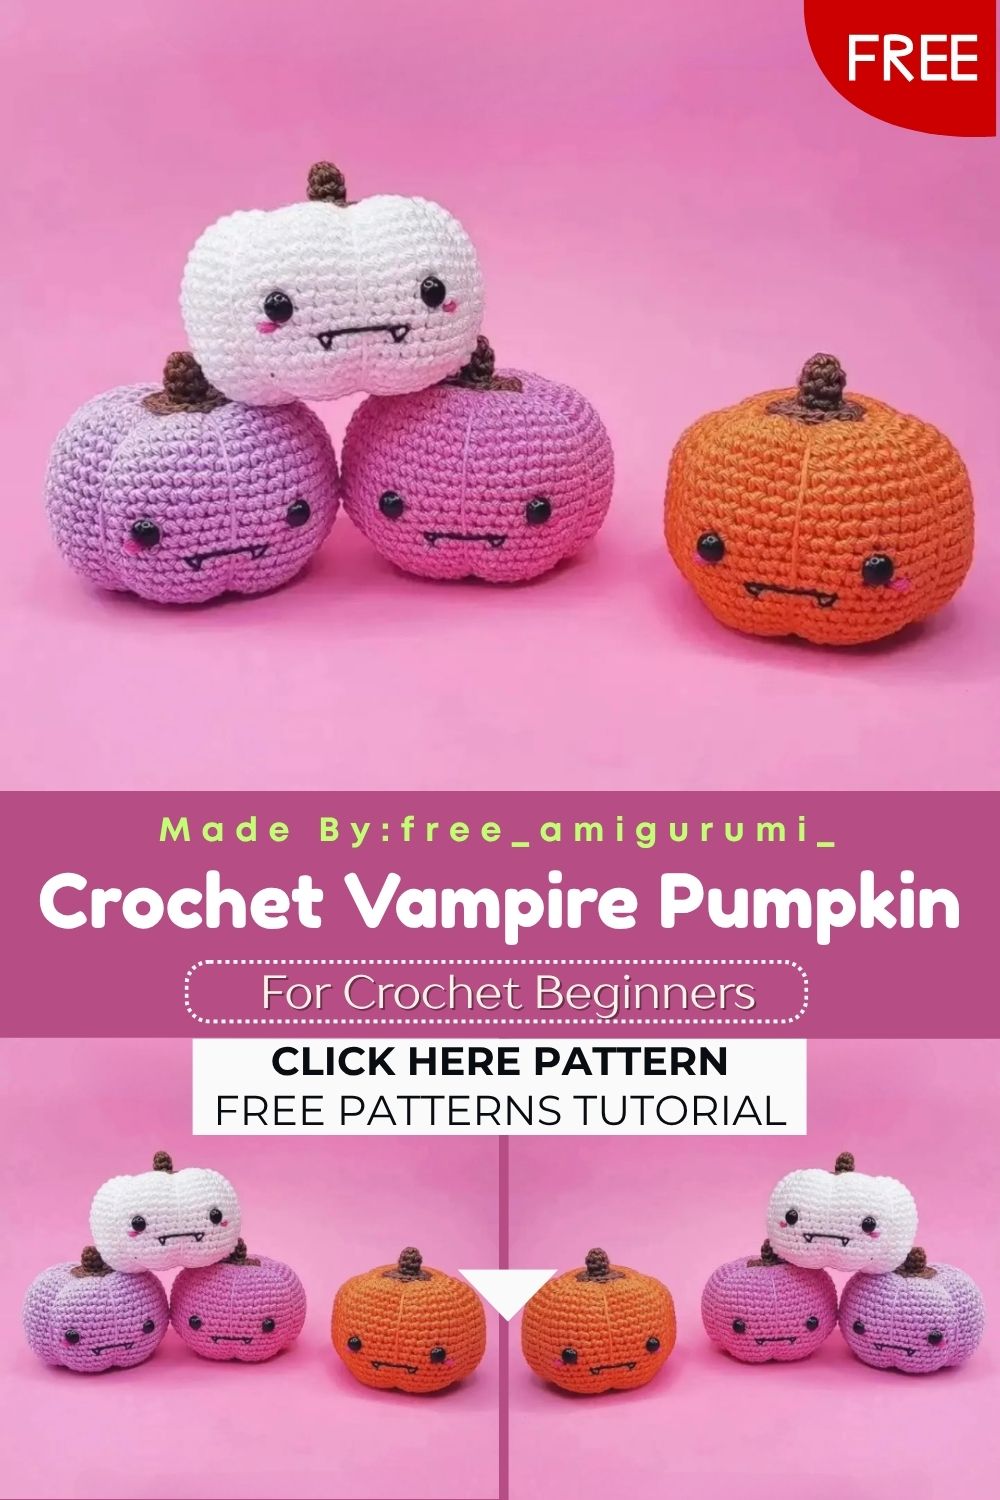
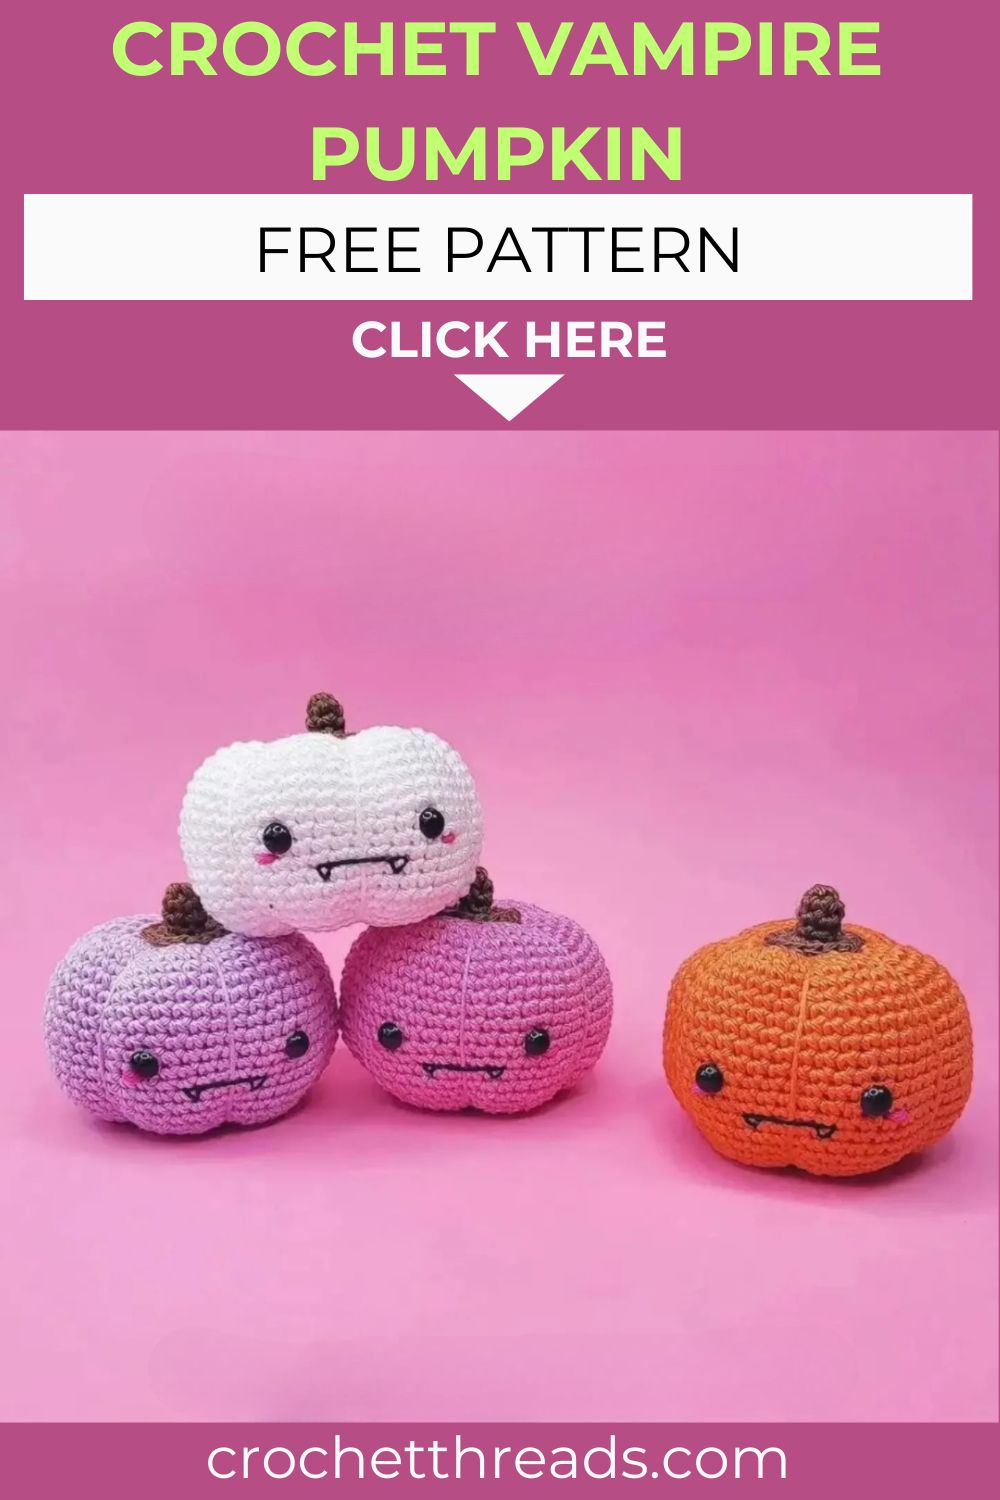
Round, rosy-cheeked, and wearing the sweetest little embroidered smile, this pumpkin amigurumi is autumn’s most irresistible handmade decoration!
Worked in fingering weight yarn with a fine hook, this little pumpkin achieves its classic ridged silhouette through a simple but genius yarn tail technique applied after the body is closed. Rather than changing the stitch pattern throughout, the finished sphere is transformed into a recognizable pumpkin shape by pulling the long yarn tail through the center repeatedly, cinching in the sides to create natural vertical ribs. A separately crocheted stem flares slightly at the base before being sewn directly onto the top, completing the whole piece with minimal assembly. Add safety eyes, a black embroidered mouth, and pink felt cheeks, and this little pumpkin becomes a full character ready for any Halloween or harvest season display.
Skill Level
Beginner-friendly. Single crochet, increase, and decrease are all that is needed throughout the entire body and stem construction. Additionally, the yarn tail shaping technique introduces a satisfying finishing skill that requires no extra tools.
Materials You Will Need
Yarn:
- Yarn A — Fingering weight in orange or any pumpkin color (Scheepjes Catona recommended) for the body
- Yarn B — Fingering weight in green or brown for the stem
Other Supplies:
- Crochet hook — 2.5mm for the body
- Crochet hook — 2.2mm for the stem
- Tapestry needle
- Polyester stuffing
- Safety eyes — 7mm
- Thin black yarn or embroidery floss for the mouth
- Pink yarn or felt for the cheeks
Abbreviations
- CH — Chain
- SC — Single Crochet
- INC — Increase (2 sc in same stitch)
- DEC — Decrease
- ST — Stitch
- SL — Slip Stitch
- R — Round
Pattern: Pumpkin Body
Using Yarn A and a 2.5mm hook
R1: 6 sc into MR (6) R2: (inc) x6 (12) R3: (1sc, inc) x6 (18) R4: 1sc, inc, (2sc, inc) x5, 1sc (24) R5: (3sc, inc) x6 (30) R6: 2sc, inc, (4sc, inc) x5, 2sc (36) R7: (5sc, inc) x6 (42) R8: 42 sc (42) R9: 3sc, inc, (6sc, inc) x5, 3sc (48) R10–19: sc in each stitch for 10 rounds (48) R20: 3sc, dec, (6sc, dec) x5, 3sc (42) R21: 42 sc (42)
Attach the safety eyes now between rounds 14 and 15, with approximately 6 stitches apart between them.
R22: (5sc, dec) x6 (36) R23: 2sc, dec, (4sc, dec) x5, 2sc (30) R24: (3sc, dec) x6 (24)
Begin stuffing the pumpkin firmly at this point.
R25: 1sc, dec, (2sc, dec) x5, 1sc (18) R26: (1sc, dec) x6 (12) R27: (dec) x6 (6)
Sew the remaining hole closed. Fasten off, leaving a very long yarn tail. This tail will be used for the pumpkin shaping technique below.
Shaping the Pumpkin
This is the step that transforms a plain sphere into a recognizable pumpkin. Thread the long yarn tail onto your tapestry needle.
Pull the needle through the center of the pumpkin from bottom to top. Wrap the yarn around one side of the pumpkin and pull back through the center from top to bottom. Pull gently to create a single vertical rib.
Repeat this same process five more times, spacing each rib evenly around the circumference. After all six ribs are created, knot and hide the remaining yarn tail inside the body.
The finished pumpkin should have six distinct vertical sections that look exactly like a real pumpkin when viewed from above.
Face Details
Embroider a small curved or jagged black mouth onto the front of the pumpkin using black yarn or embroidery floss between rounds 11 and 13.
Add pink cheeks on either side of the face between rounds 12 and 14, using a small circle of pink felt or a few embroidered satin stitches in pink yarn.
Pattern: Stem
Using Yarn B and a 2.2mm hook
R1: 6 sc into MR (6) R2–4: 6 sc for 3 rounds (6) R5: (inc) x6 (12) R6: (1sc, inc) x6 (18)
Finish with 2 slip stitches. Fasten off, leaving a tail of approximately 10cm.
The stem flares naturally at the base, creating a proportionally wider attachment point that sits securely against the top of the pumpkin body.
Sew the finished stem onto the very top center of the pumpkin using the remaining tail.
Customization and Variation Ideas
- First, make the pumpkin in cream or white yarn for a ghost pumpkin variation that looks equally charming, displayed alongside the classic orange version.
- Additionally, try deep purple yarn for a witchy pumpkin that pairs perfectly with Halloween color schemes.
- Moreover, embroider triangle eyes and a jagged carved mouth in black yarn for a classic jack-o-lantern face instead of the sweet embroidered expression.
- Furthermore, add a tiny crocheted bat, star, or moon shape attached to the top of the stem for an extra festive seasonal character detail.
- Also, make a whole patch of pumpkins in different sizes by adding or removing shaping rounds, then display them together as a miniature harvest scene.
- Finally, use variegated autumn-toned yarn for the body to create a naturally mottled, hand-dyed pumpkin effect without any extra technique.
Common Mistakes to Avoid
- First, not leaving a long enough yarn tail before closing: The yarn tail is the essential tool for the entire pumpkin shaping technique. A tail shorter than 60cm will not be long enough to complete all six ribs without running out of yarn partway through.
- Additionally, adding the safety eyes too late: Eyes must be inserted between rounds 14 and 15 during the decrease section, before the body closes too tightly to access the inside comfortably.
- Also, pulling the ribs too tightly: Each rib should create a gentle indent rather than a deep cinch. Overpulling distorts the stuffing inside and makes the ribs look uneven and forced.
- Furthermore, uneven rib spacing: Mark six evenly spaced points around the pumpkin circumference with pins before beginning the shaping technique. Even spacing is the key to a symmetrical finished pumpkin shape.
- Moreover, skipping the stem flare rounds: Rounds 5 and 6 of the stem are essential for the wider base. Skipping them creates a narrow stem that sits awkwardly on top of the body and is difficult to sew securely.
- Finally, stuffing too late: Begin stuffing firmly at R24 before the opening becomes too small to add sufficient filling through the remaining stitches.
Finishing Tips
- First, when completing the rib shaping, pull each pass of yarn through the exact center of the pumpkin from bottom to top for the most symmetrical and evenly distributed ribs.
- Additionally, after completing all six ribs, fluff and reshape the pumpkin by hand before the stuffing settles permanently, encouraging a round, even form between each ridge.
- Moreover, sew the stem on with a circular stitch pattern around its entire base rather than just a few anchor stitches for a secure, natural-looking attachment.
- Furthermore, use a single strand of black embroidery floss for the mouth embroidery to keep the detail crisp and proportional against the fine fingering weight yarn body.
- Also, trim the pink cheek felt or felt circles with small, round scissors for the cleanest possible edges before gluing or sewing them onto the face.
- Finally, photograph the finished pumpkin from slightly above and at an angle to show off both the ridged sides and the sweet embroidered face in one balanced, appealing image.
Gifting Ideas
- First, place the finished pumpkin inside a small basket lined with dried leaves or faux autumn foliage for a harvest-themed gift presentation that requires very little extra effort.
- Additionally, make a set of three pumpkins in different colors: orange, cream, and purple, and gift them together as a complete seasonal display collection.
- Moreover, these little pumpkins make charming additions to a gift basket alongside autumn candles, teas, or seasonal treats for a fully themed fall gift.
- Furthermore, attach a small ribbon loop to the top of the stem for a hanging ornament version perfect for a Halloween tree or seasonal wreath.
- Also, pair a finished pumpkin with a handwritten recipe card for a pumpkin-themed baked treat for a playful, cohesive autumn gift concept.
- Finally, these pumpkins sell exceptionally well at autumn craft markets, where their clean, ridged shape, cheerful face, and small size create an appealing and affordable seasonal display piece.
Conclusion
This little pumpkin amigurumi proves that the most satisfying finishing techniques are often the simplest ones. The yarn tail rib shaping method is one of those rare techniques that feels almost magical the first time it works, transforming a plain round ball into an instantly recognizable seasonal character in just a few minutes. Therefore, leave that long yarn tail, mark your rib spacing carefully, and pull each pass of yarn through the true center of the body for the most even and satisfying result. In conclusion, this sweet little pumpkin is ready to decorate, delight, and bring handmade autumn warmth to any space it sits in.
Happy crocheting! Cannot wait to see your pumpkin patch come to life.