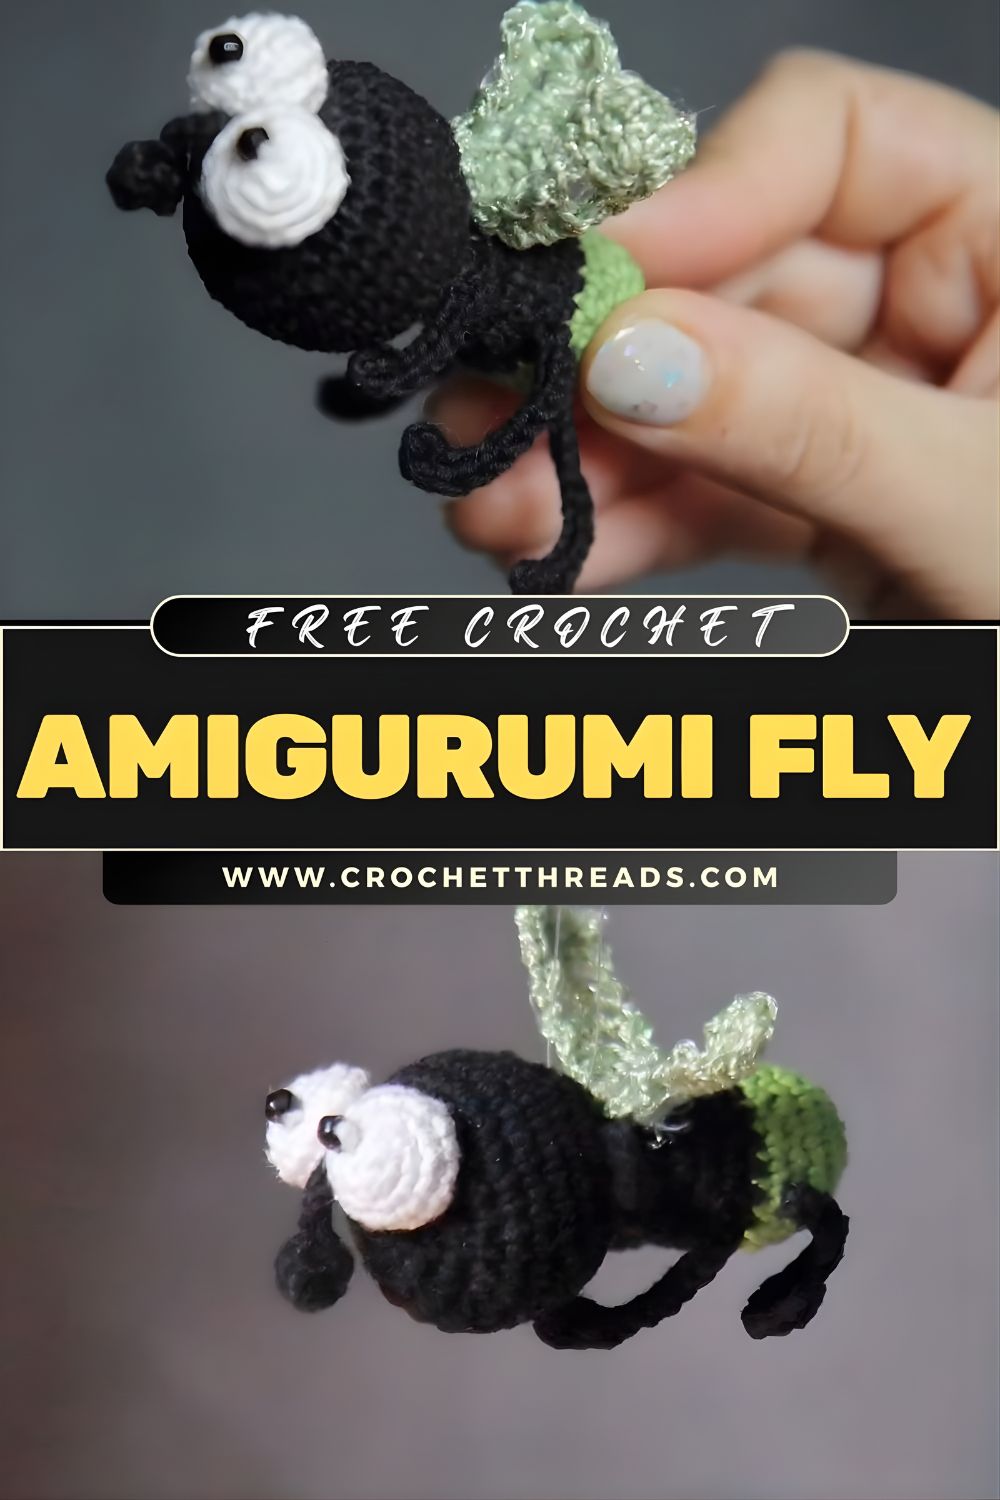
Free Crochet Amigurumi Fly Pattern Bug Toy Idea
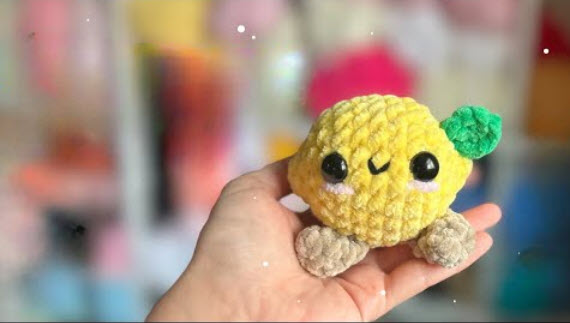
Looking for a quick, cute project? This crochet amigurumi fly is a fun, beginner-friendly make with a black body, big white eyes, a pop of green tail, and light transparent wings. It’s small, fast to finish, and perfect for practicing classic amigurumi shaping. If you love crochet insect toys or need a quirky handmade gift, this little fly will be a favorite!
Amigurumi crochet toys are popular because they’re made from simple shapes that build up into characters full of personality, usually with just single crochet, increases, decreases, and basic sewing. Insect designs are especially fun: a crochet fly looks adorable rather than creepy, and the oversized eyes and tiny legs give it an expressive, cartoon style. Plus, insect amigurumi projects are great for using small yarn scraps and experimenting with texture,s like adding translucent wings for a realistic touch.
This pattern is written for beginners to confident beginners, with clear rounds and easy parts (head, body, eyes, legs, wings, and tail). Expect about 1.5 to 3 hours total, al depending on your speed and sewing comfort. It’s also easy to customize into a keychain, plush, or different color “bug” character.
3) Materials Needed
Yarn (recommended DK/#3 or Worsted/#4):
- Black (main head + body)
- White (eyes)
- Green (tail/back segment)
- Translucent yarn (wings) — options:
- clear/“icy” novelty yarn
- very light gray or pale blue
- white yarn held with a strand of clear sewing thread for a sheer look
Tools & Notions:
- Crochet hook: 2.75 mm–3.5 mm (use smaller hook for tighter stitches)
- Stitch marker
- Yarn needle
- Safety eyes (optional) or small black beads/embroidery thread
- Fiberfill stuffing
- Scissors
- Optional: thin craft wire (to pose wings), fabric glue (to stiffen wings lightly)
4) Abbreviations
- MR – Magic Ring
- sc – single crochet
- inc – increase (2 sc in same st)
- dec – decrease (invisible decrease recommended)
- sl st – slip stitch
- ch – chain
- st / sts – stitch/stitches
- hdc – half double crochet
- dc – double crochet
- BLO – back loop only
- FLO – front loop only
5) Finished Size
Using DK yarn and a 3.0 mm hook: approx. 3.5–5 in (9–13 cm) long including tail.
Using worsted yarn and a 3.5 mm hook: approx. 5–6.5 in (13–16 cm) long.
6) Step-by-Step Crochet Pattern
Pattern Notes
- Work in continuous rounds unless stated otherwise.
- Use a stitch marker for the first stitch of each round.
- Stuff firmly but smoothly—avoid overstuffing the head so the eyes sit nicely.
- Color changes: switch yarn on the last pull-through of the previous stitch.
A) Head (Black)
Round 1: MR, 6 sc (6)
Round 2: inc around (12)
Round 3: (sc, inc) x6 (18)
Round 4: (2 sc, inc) x6 (24)
Round 5: (3 sc, inc) x6 (30)
Rounds 6–8: sc around (30) — 3 rounds
Round 9: (3 sc, dec) x6 (24)
Round 10: (2 sc, dec) x6 (18)
Start stuffing the head.
Round 11: (sc, dec) x6 (12)
Add a bit more stuffing.
Round 12: dec x6 (6)
Fasten off, close the hole, weave in.
B) Body (Black) + Tail Base
The body is an oval/teardrop shape that tapers toward the tail.
Round 1: MR, 6 sc (6)
Round 2: inc around (12)
Round 3: (sc, inc) x6 (18)
Round 4: (2 sc, inc) x6 (24)
Rounds 5–8: sc around (24) — 4 rounds
Round 9: (2 sc, dec) x6 (18)
Round 10: (sc, dec) x6 (12)
Stuff the body firmly.
Round 11: sc around (12)
Fasten off, leaving a long tail for sewing tothe head.
C) Eyes (Make 2) — Big White Eyes
These are simple white circles sewn onto the head.
Round 1: MR, 6 sc (6)
Round 2: inc around (12)
Round 3: (sc, inc) x6 (18)
Round 4: sc around (18)
Fasten off, leaving a long tail.
Pupils (choose one)
- Option 1 (Safety eyes) Place 6–8 mm safety eyes through the eye circles before sewing them on (best if your circles are larger).
- Option 2 (Embroidery): U Useblack thread/yarn to stitch a small pupil (French knot or tiny filled circle).
- Option 3 (Beads): sew a small black bead in the center.
D) Legs (Make 4) — Small Black Legs
Short “nubby” legs to match the cute plush style.
Round 1: MR, 6 sc (6)
Round 2: sc around (6)
Round 3: sc around (6)
Lightly stuff (optional) or leave unstuffed.
Flatten and close with 3 sc through both layers.
Fasten off, leaving a long tail.
Want thinner legs? Make them as a tube: ch 6, sl st back down, fasten off.
E) Wings (Make 2) — Translucent / Sheer Look
Use translucent yarn (or pale gray/white). These wings are made in rows with simple stitches.
Wing Shape (worked in rows)
Row 1: ch 8
Row 2: sl st in 2nd ch, sc, hdc, dc, dc, hdc, sc (7 sts), ch 1 turn
Row 3: sc across (7), ch 1 turn
Row 4: (sc, hdc, dc, dc, hdc, sc, sl st) across to taper edges (7)
Fasten off, leaving a sewing tail.
Optional wing stiffness:
- Brush with a tiny amount of diluted white glue and let it dry flat, or
- Stitch a thin wire along the outer edge (advanced).
F) Tail / Back Part (Green)
This creates the green back segment/tail pop.
Round 1: MR, 6 sc (6)
Round 2: (sc, inc) x3 (9)
Rounds 3–5: sc around (9)
Lightly stuff.
Flatten slightly; close with 4 sc through both layers.
Fasten off, leaving a long tail for sewing onto the body’s back end.
G) Assembly (Head, Eyes, Legs, Wings, Tail)
1) Sew Head to Body
- Place the head on the wider end of the body.
- Sew using whip stitch in a circle.
- Add a little extra stuffing at the neck if it looks floppy, then close seams securely.
2) Attach Eyes
- Position the two white eyes on the front of the head, slightly angled outward for a cute “bug-eyed” look.
- Sew around the edges of each circle.
- Add pupils (if not already done).
3) Attach Legs
- Sew two legs on each side of the lower body, evenly spaced.
- Make sure the fly sits without tipping—adjust placement before tight sewing.
4) Attach Wings
- Place wings on the top-back area of the body, centered and slightly spread.
- Sew the inner straight edge of each wing securely.
- Add a few anchoring stitches into the body so they don’t flop too much.
5) Attach Tail
- Sew the green tail piece to the back end of the body.
- For a smoother transition, stitch around twice and lightly sculpt by pulling stitches snug.
Final Shaping
- Gently “massage” stuffing lumps.
- Pinch the body slightly to create a cute oval profile.
- If the head needs more structure, add a bit more stuffing through the neck seam before fully tightening.
7) Tips for Beginners
- Use a smaller hook than your yarn label recommends—tight stitches keep stuffing hidden.
- Count stitches every round to avoid accidental increases/decreases.
- Invisible decreases make the fabric smoother (great for black yarn where lumps show).
- Pin parts before sewing (especially eyes and wings) to get symmetry.
- If black yarn is hard to see, work undera bright light and use a light-colored stitch marker.
8) Customization Ideas
- Different colors: Make a blue fly, neon “cartoon bug,” or realistic brown/gray fly.
- Keychain version: Use sport yarn + 2.25 mm hook; add a small chain loop on top.
- Bigger plush version: Use blanket/chenille yarn and a larger hook; keep the same stitch counts.
- More realistic legs: Crochet 6 legs as thin chains with tiny feet.
- Sparkly wings: Use metallic thread carried with white yarn for a shimmer effect.
9) FAQs
Q1: Is this crochet amigurumi fly pattern beginner-friendly?
Yes. If you can single crochet in the round and sew pieces together, you can make this. The wings are simple rows with basic stitches.
Q2: What yarn is best for amigurumi insects?
Smooth DK or worsted yarn (cotton or acrylic) gives clean stitch definition. Cotton holds shape well; acrylic is soft and budget-friendly.
Q3: Can I use safety eyes instead of crocheted/embroidered pupils?
Absolutely. Safety eyes are quick and neat—just keep the size proportional to your eye circles.
Q4: How do I make the wings look “transparent”?
Use translucent novelty yarn, very pale yarn, or white yarn held together with clear sewing thread. You can also lightly stiffen wings with diluted glue.
Q5: Can I sell finished flies made from this pattern?
Yes, you can typically sell finished items you personally make. If you publish this pattern on your site, add your own seller note (and avoid copying any tutorial wording verbatim).
10) Conclusion
This crochet amigurumi fly is a fast, adorable project with huge eyes, tiny legs, and pretty translucent wings,s perfect for scrap yarn and quick gifting. Try changing the wing style or tail color to create your own little “bug family,” and don’t forget to save your notes so you can make matching minis later!