Free Crochet Chick Bag Pattern with Easy Instructions
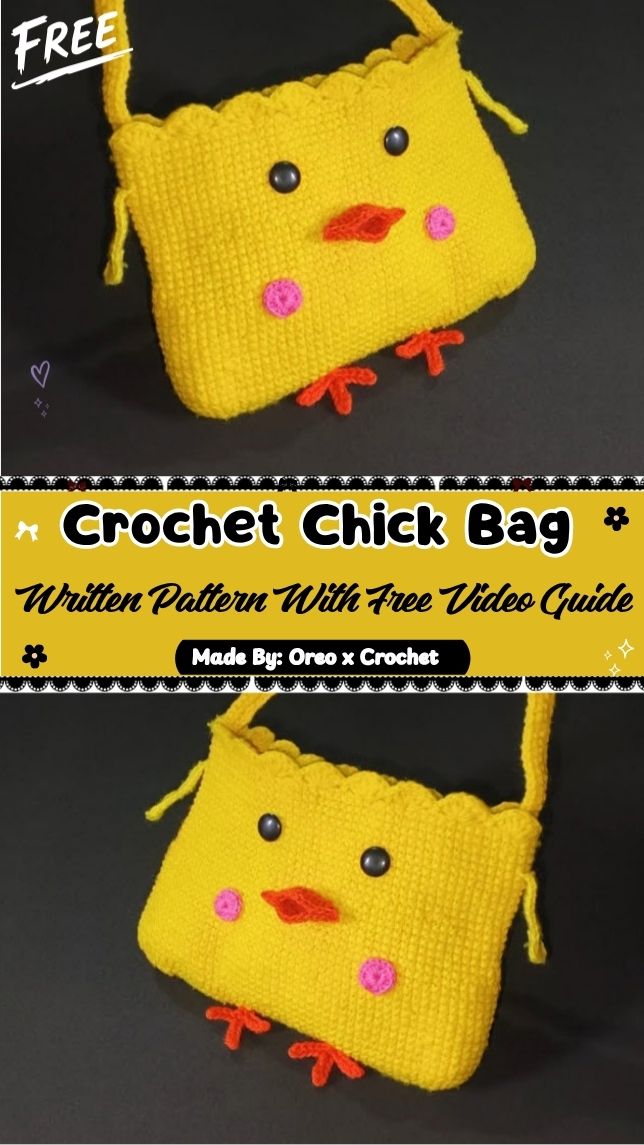
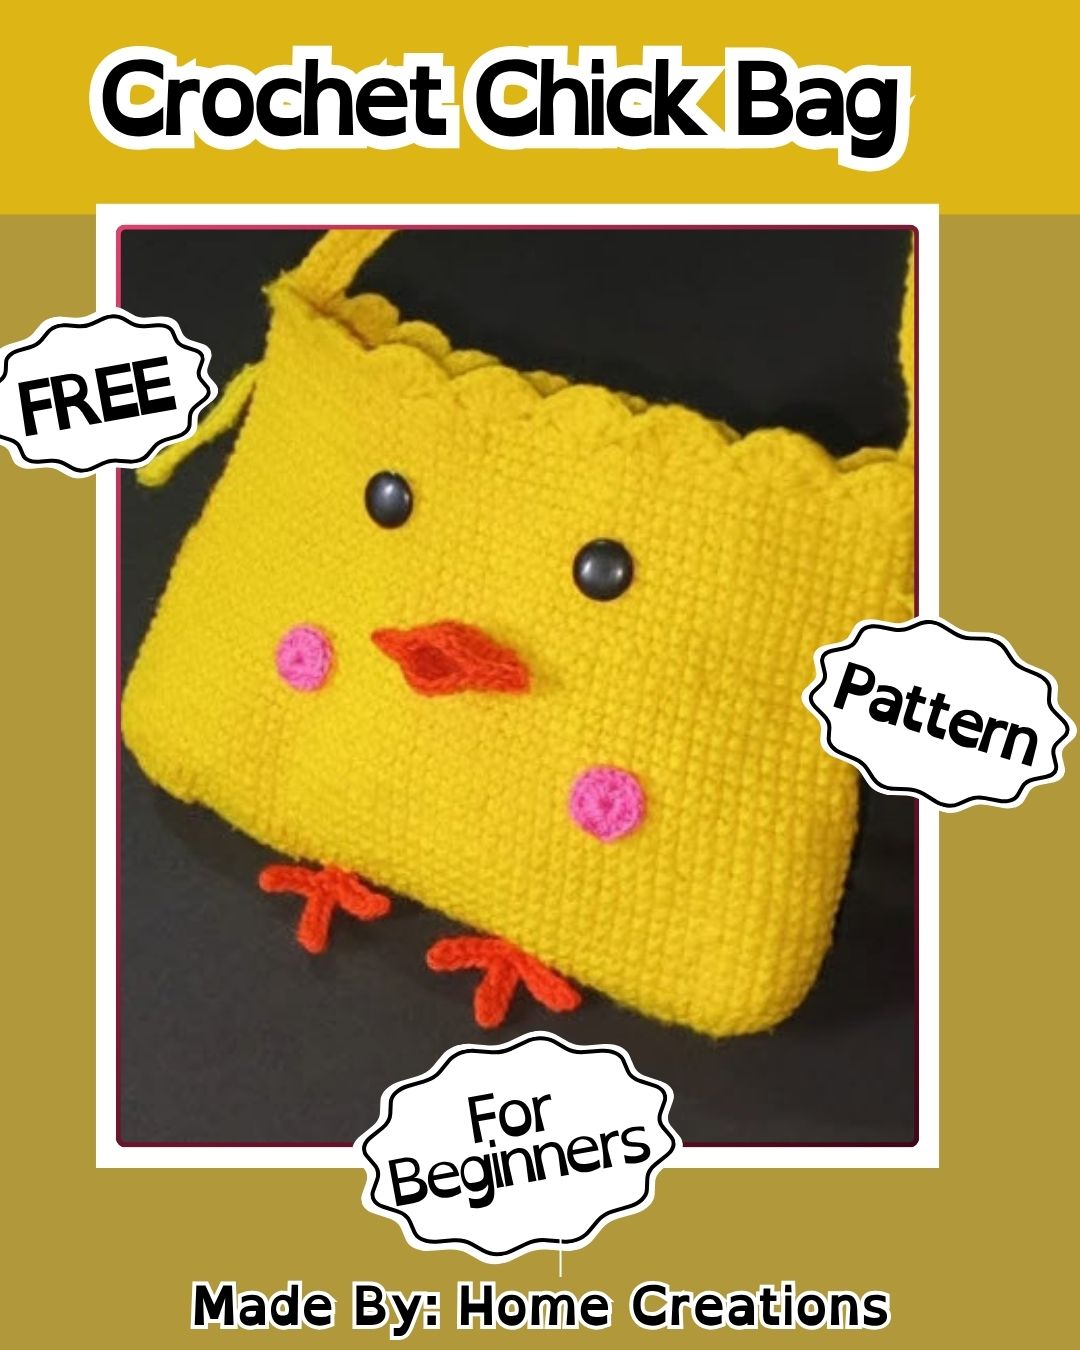
Worked in sunny yellow, this Free Crochet Chick Bag Pattern makes a lovely, playful handmade project; its oval base shapes row by row into an adorable pouch form. Built with easy instructions, this bright bag finishes off with a soft scalloped edge, giving it a charming, distinctive accessory feel.
This Crochet Chick Bag Pattern builds from a simple oval base worked in continuous rounds, gradually shaping into a soft, rounded pouch. A scalloped edge added at the end gives it a lovely, playful look, while the bright yellow colour brings out that adorable little-chick charm throughout the bag. This design makes a cute pick especially for kids’ small essentials, everyday items, or Easter decor. Its simple construction and easy stitch counting make it an enjoyable, beginner-friendly crochet project.
Pattern Overview
- Free crochet chick bag built from an oval base worked up into a rounded pouch
- Finished with a soft scalloped edge trim around the opening
- Bright yellow color gives the bag its cheerful, chick-inspired look
- Beginner-friendly project with easy, repeatable stitch instructions
Special Techniques
- Slip knot and magic ring start: creates a tight, adjustable center for the base
- Oval base shaping: working increases evenly around a foundation chain to form the flat bottom
- Continuous rounds worked upward to build the sides of the pouch
- Scalloped edge finishing: adding a decorative wavy trim around the top opening
Time Box
- Prep time (yarn prep, gauge check): 10 minutes
- Stitching time (oval base and body rounds): 2 to 2.5 hours
- Edging time (scalloped trim): 20 to 30 minutes
- Finishing time (weaving ends, strap if added): 15 to 20 minutes
Common Mistakes to Avoid
- Skipping increases evenly around the oval base, which causes the bottom to curl or ripple
- Losing count of rounds while building the sides, resulting in an uneven pouch shape
- Working the scalloped edge too tightly, which pulls the opening in and distorts the trim
- Forgetting to weave in ends securely, especially around the decorative edging
Uses and Benefits
A free crochet chick bag is a fun, cheerful accessory that works well for spring outings, Easter-themed gifting, or simply as an everyday pop of color. The scalloped trim adds a decorative touch without requiring any embroidery or extra embellishments, making this an easy way to practice edging techniques. This pattern is also a great confidence-building project for beginners moving from flat pieces into shaped, rounded bag bodies.
Helpful Beginner Tips
- Count your base stitches carefully before starting the oval increases
- Use a stitch marker to track the start of each new round as the pouch grows
- Keep your tension relaxed when working the scalloped edge so it lies flat
- Choose a soft, bright yellow yarn for the most cheerful, chick-like finish
Assembly
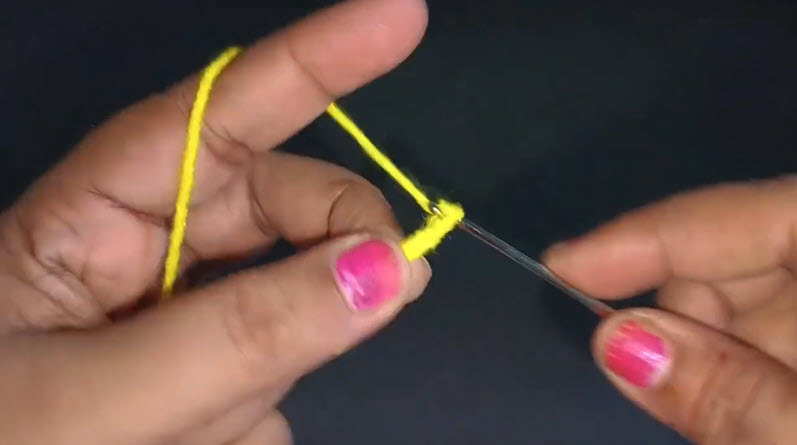
Step 1: Start With a Slip Knot
Begin with a slip knot on your hook using your yellow yarn, keeping a comfortable tension around your fingers. This first loop is the starting point for the oval base you’ll build in the next steps.
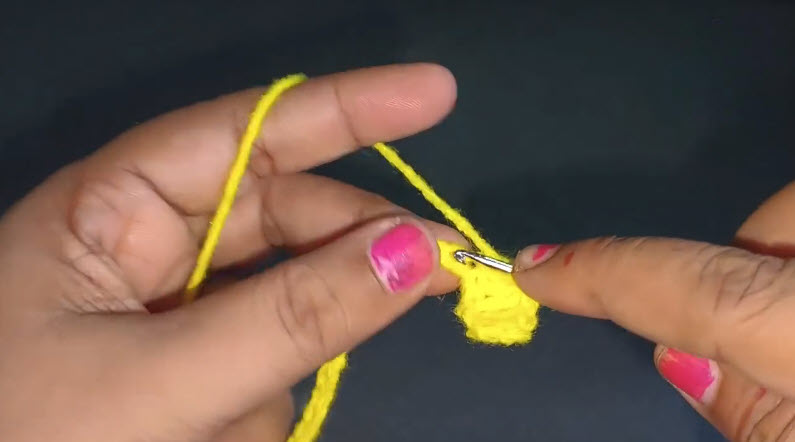
Step 2: Close Your Ring and Work the First Stitches
Close your starting loop and work your first round of stitches into it, keeping the center snug and gap-free. This forms the foundation that the oval base will expand from.
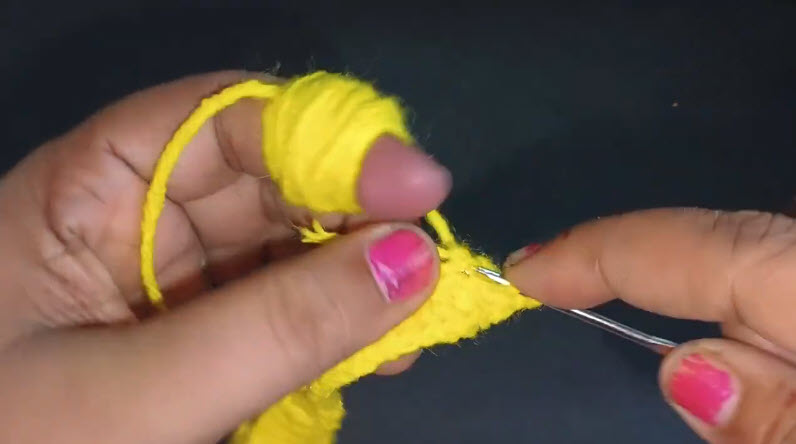
Step 3: Build the Base Rounds
Continue working rounds around your base, keeping your tension steady as you wrap the yarn for even stitches. This stage grows the flat bottom that will support the rest of the bag.
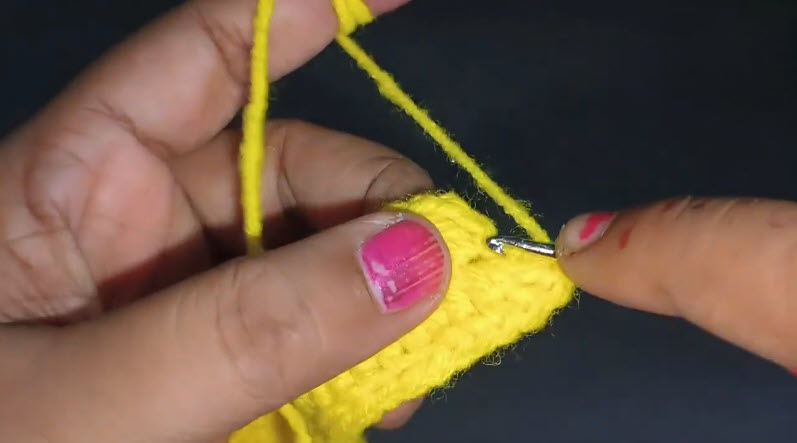
Step 4: Continue Growing the Panel
Keep working your rounds upward, checking your stitch count regularly to keep the shape even on all sides. This is where the pouch really starts to take form.
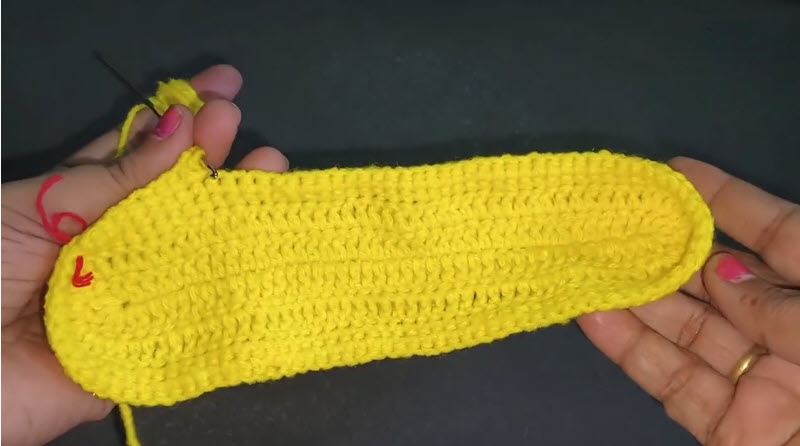
Step 5: Complete the Oval Base Shape
Finish your increases so the oval base lies flat and even, then begin working straight rounds upward to form the sides of the bag. Check the shape by laying it flat before continuing.
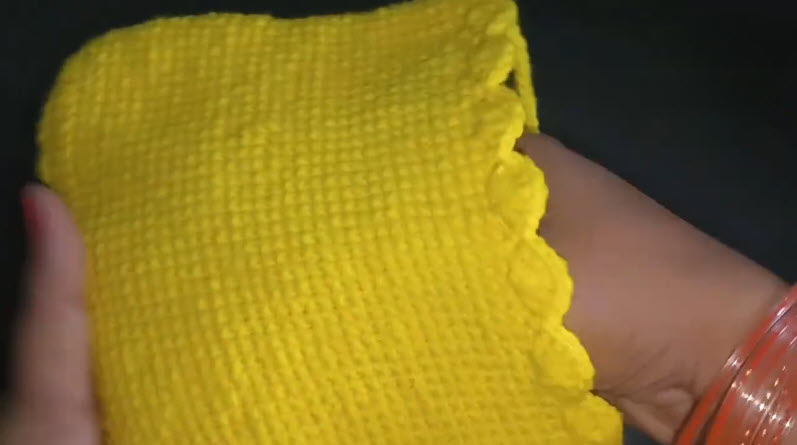
Step 6: Add the Scalloped Edge Finish
Once your bag body reaches your desired height, work a round of scalloped stitches around the top opening for the decorative finishing touch. Weave in all loose ends once the edging is complete.
Where Can You Use This
This crochet chick bag works well as a spring or Easter accessory, a cheerful everyday pouch, or a handmade gift for kids and adults who love bright, playful accessories. It also makes a sweet addition to a spring-themed gift basket.
Why Beginners Will Enjoy This Pattern
Beginners will enjoy how approachable this pattern feels, since the oval base and body rounds use simple, repeatable stitches. The scalloped edging adds just enough of a new technique to feel rewarding without becoming overwhelming.
Tips and Tricks for Success
- Block the finished oval base lightly to help it lie perfectly flat
- Try adding small orange felt or crochet details for a beak and feet if you want a full chick look
- Use a lightweight cotton yarn for a bag that holds its shape without feeling heavy
- Keep notes on your increase rounds so you can recreate the oval base in other sizes later
Why This Crochet Pattern Is Trending
Character-inspired bags in bright, cheerful colors have grown popular among crocheters looking for playful alternatives to plain, solid-color designs.
- Spring and Easter-themed crochet accessories see a seasonal rise in popularity every year
- The scalloped edge detail is trending across handmade bag and accessory patterns
- Bright yellow, character-inspired pieces photograph well for handmade shops and social media alike
Cute Add-On Ideas for This Chick Bag
- Add small orange felt triangles for a simple beak detail on the front
- Sew on two small button eyes for a friendlier, more character-driven look
- Attach a thin crochet strap in the same yellow shade for a cohesive finish
- Add a small pom-pom on top for a soft, fluffy chick-inspired detail
Frequently Asked Questions
Can I make this bag in a different color?
Yes, while yellow gives the most chick-like look, this pattern works well in any color if you prefer a different themed bag.
What yarn works best for this pattern?
A soft worsted weight cotton or acrylic yarn works well, giving the bag enough structure while keeping it lightweight and easy to carry.
How do I keep my oval base from rippling?
Make sure your increase stitches are spaced evenly around the base rounds, since uneven increases are the most common cause of rippling or curling.
Can I add a strap to this bag?
Yes, a simple crochet chain or single crochet strap can be added and attached securely to both sides of the finished bag.
Is the scalloped edge difficult for beginners?
No, the scalloped edge uses a simple repeated stitch pattern, making it an approachable first decorative edging technique for newer crocheters.
How big is the finished bag?
The size depends on how many rounds you work for the base and body, but most versions finish as a small to medium handheld pouch.
Conclusion
This free crochet chick bag pattern turns a simple oval base and a few rounds of stitching into a cheerful, character-inspired accessory anyone can make. From the very first slip knot to the finished scalloped edge, every step builds toward a bright, playful bag that’s just as fun to carry as it was to create. Whether you are making this for a spring gift, an Easter basket, or simply to add a pop of color to your everyday carry, this pattern offers easy instructions with a genuinely fun result. Grab your yellow yarn and give this pattern a try.