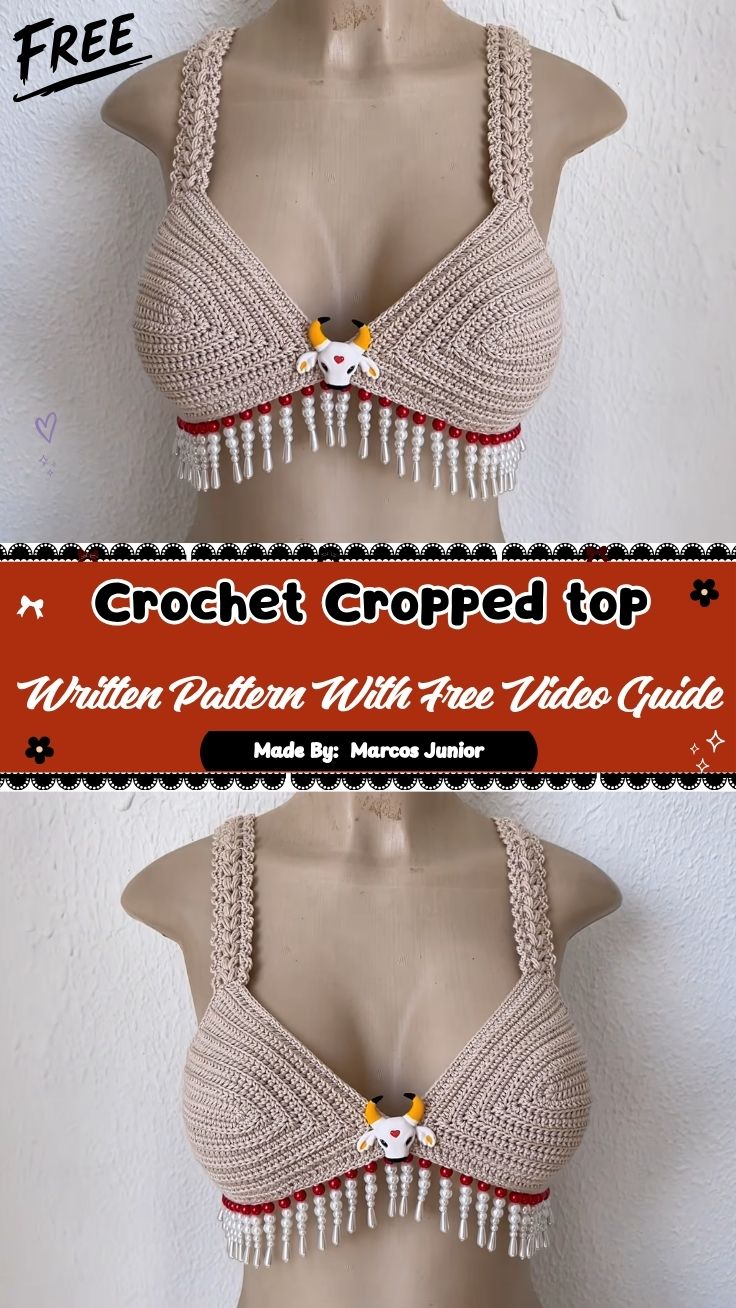
Free Crochet Cropped top Pattern with pearls
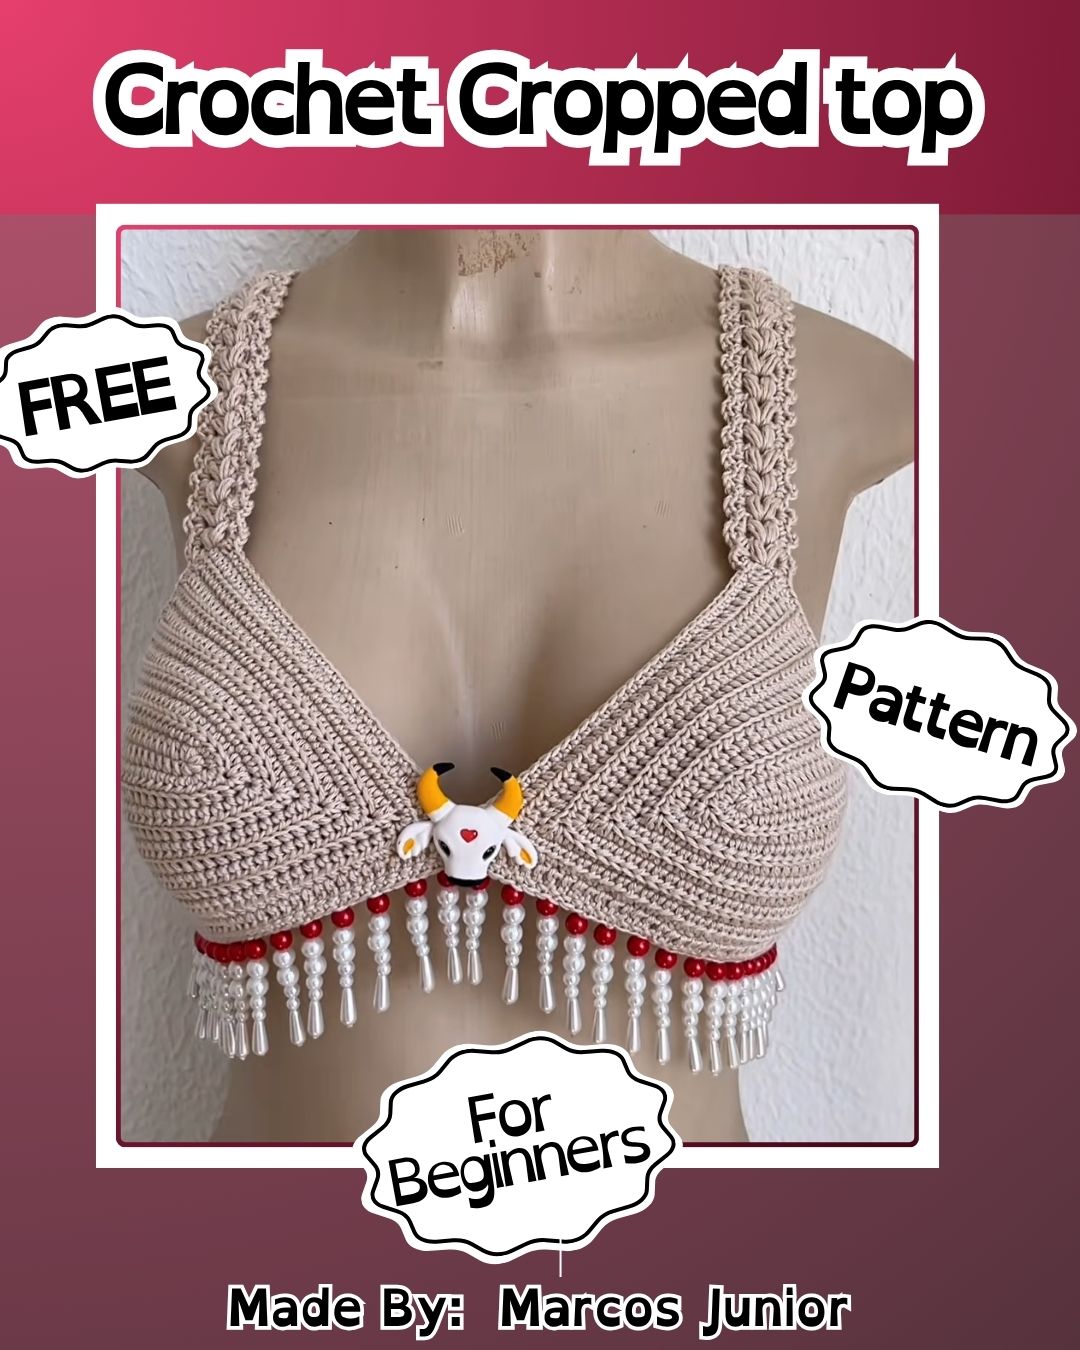
Simple stitches meet delicate detailing in the Free Crochet Cropped Top Pattern with Pearls, a project that turns a basic crochet panel into a piece that feels special enough for a night out yet easy enough for a first-time maker.
What sets this cropped top apart is the way it pairs a straightforward row-by-row construction with a pearl-trimmed finish, giving the piece a refined, boutique-style look without adding real difficulty. Each panel begins with a simple foundation chain, builds up in neat rows, and finishes with a shaped top edge and tie straps. Once the base is complete, sewn-on pearls along the edges or straps turn a plain crochet top into something that feels genuinely elevated.
Pattern Overview
- Two matching panels are worked flat in simple rows from a foundation chain
- Rows build a soft, structured rectangle or slight triangle shape for each panel
- A finishing border rounds off the top edge of each piece
- Chain-stitch ties are added at the corners to secure the straps
- Pearls or beads are sewn along the top edge or straps for the finishing detail
- Panels are joined at the sides once both pieces match in size
Special Techniques
- Foundation chain and slip knot start
- Single crochet and half double crochet rows
- Border/edging round for shaping
- Chain-stitch tie straps
- Hand-sewing pearls or beads onto finished fabric
Skill Level
This pattern is friendly for beginners who know how to chain, work basic rows, and finish an edge. The pearl detailing is added by hand afterward, so it never affects the actual crochet difficulty.
Common Mistakes
- Starting with a foundation chain that’s too tight, which pulls the whole panel out of shape
- Losing count of rows and ending up with two mismatched panel sizes
- Skipping a stitch marker, causing uneven edges along the sides
- Attaching pearls with weak thread, which can loosen after a few wears
- Making the chain ties too short to tie comfortably
Uses & Benefits
This cropped top works beautifully as a going-out piece, a layering top under jackets, or a handmade addition to a summer capsule wardrobe. The row-based construction makes it quick to memorize once you get past the first few rows, and the pearl trim means you can dress the same simple pattern up or down depending on the occasion. It’s also a lovely small-batch item to sell, since the beading detail makes each piece feel unique even when the base pattern stays the same.
Helpful Beginner Tips
- Keep tension even across every row so both panels come out the same size
- Use a stitch marker to track row starts, especially on longer panels
- Lay both panels side by side often to check they’re growing evenly
- Choose a sturdy sewing thread for attaching pearls so they stay secure
- Block the finished panels lightly before adding beads for a smoother base
Assembly
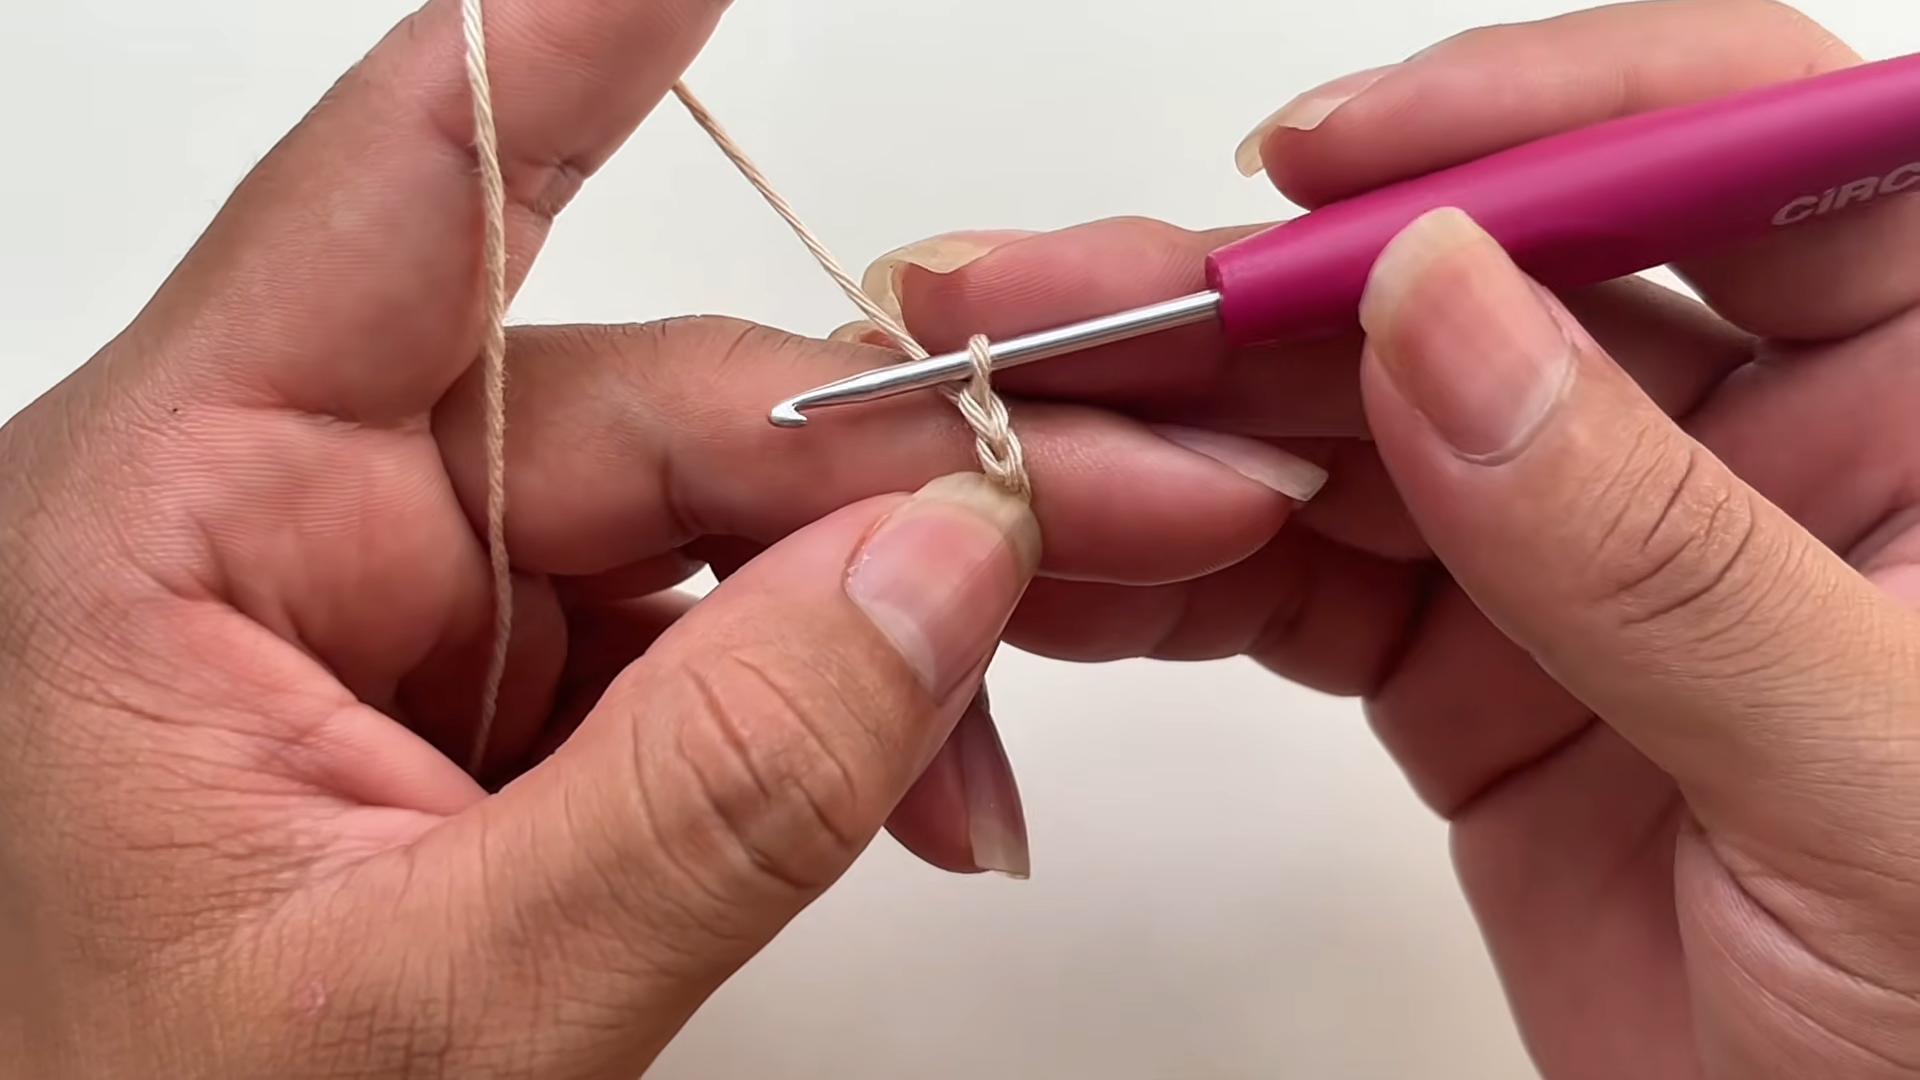
- Step 1: Start with a slip knot on your hook and begin the foundation chain, holding the working yarn steady between your fingers as you build the base length.
- Step 2: Work your first rows into the foundation chain, keeping stitches even and snug as the panel begins to take shape row by row.

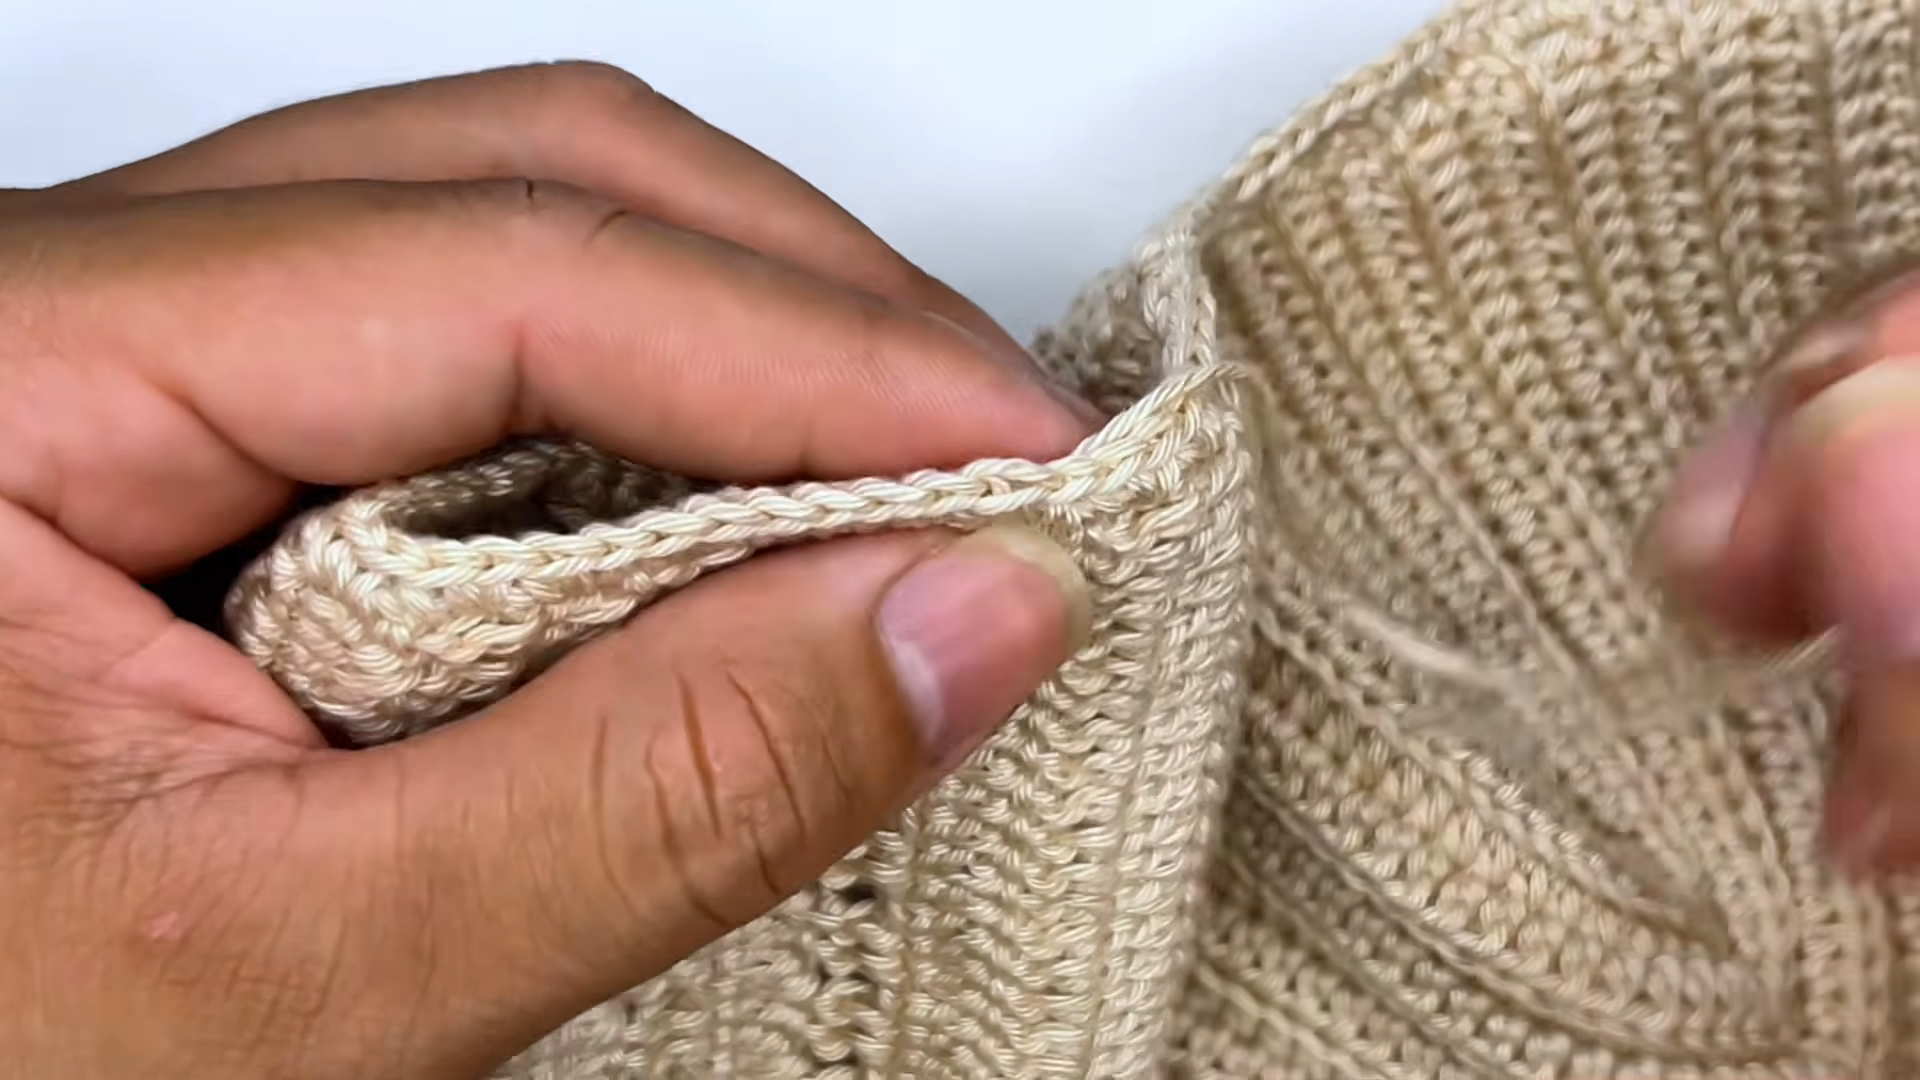
- Step 3: Once the panel reaches the right size, work a finishing border round along the top edge to shape and neaten the panel’s silhouette.
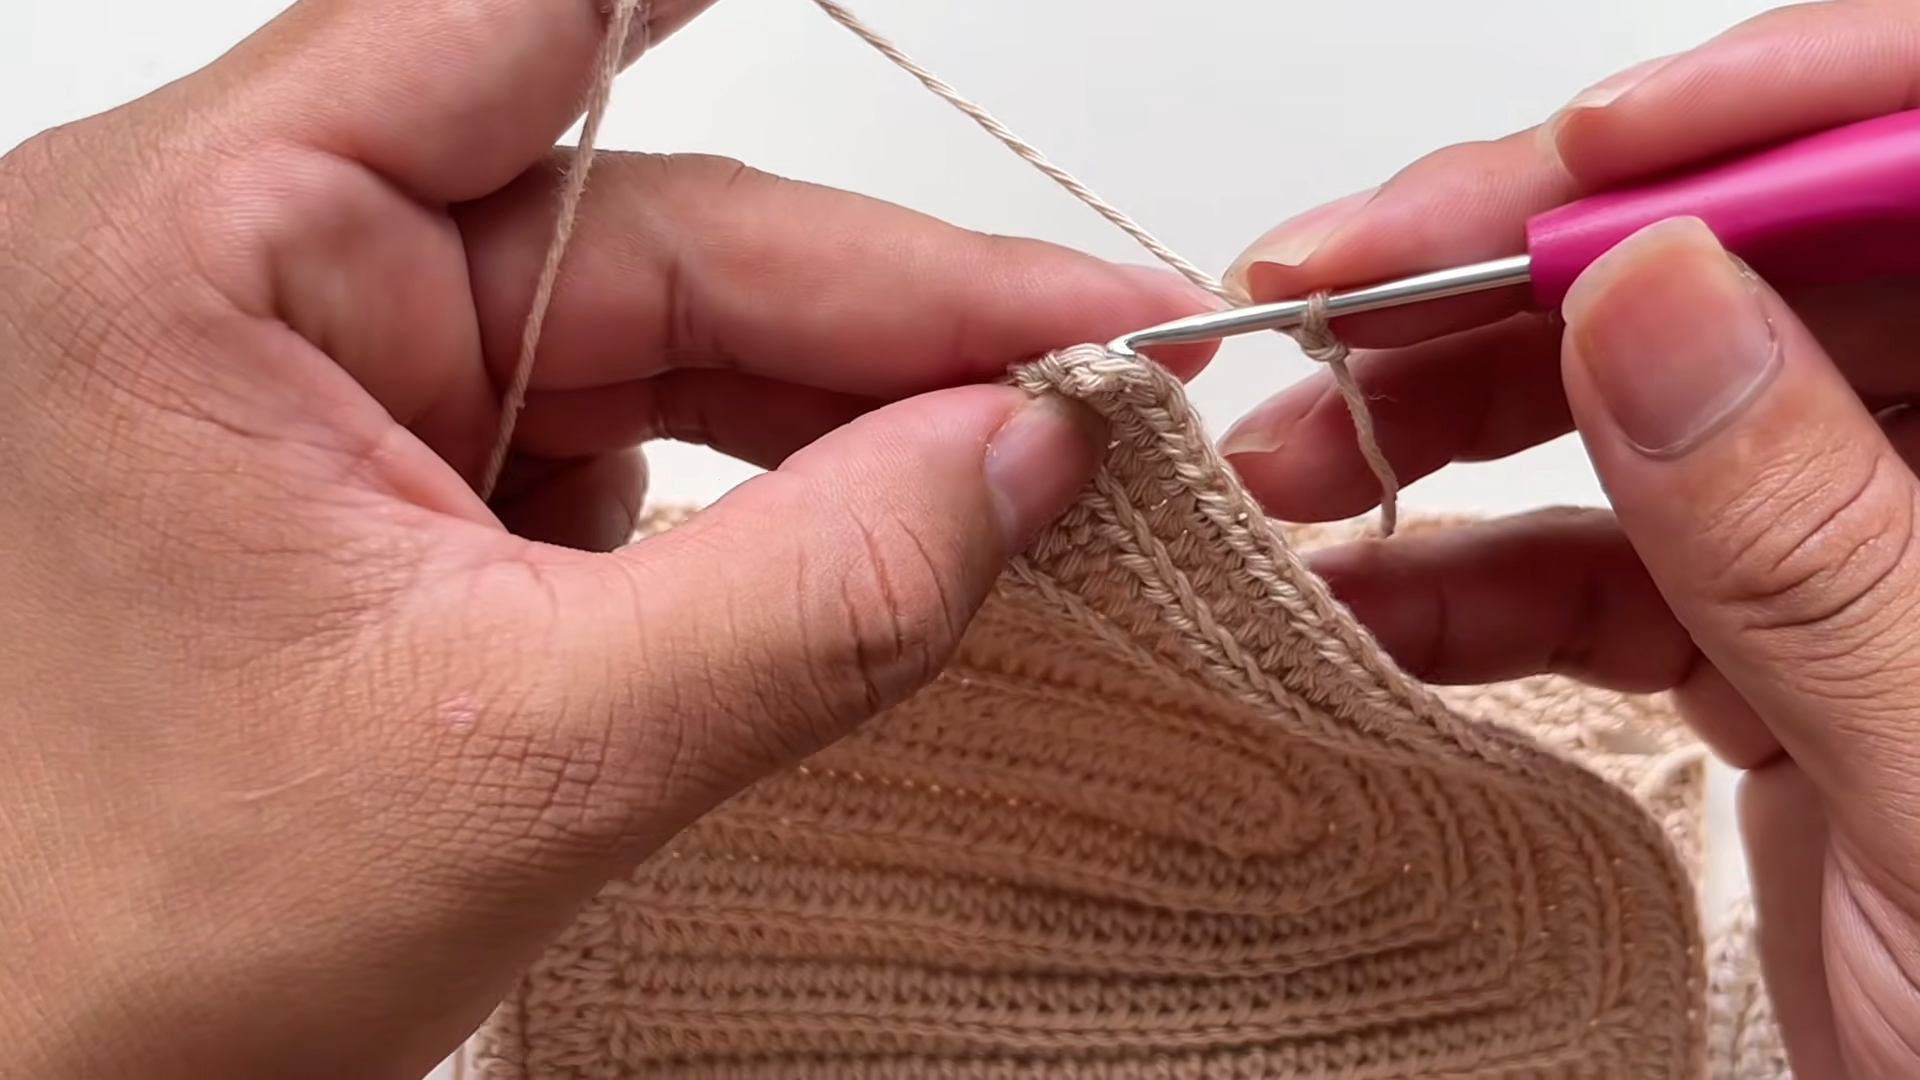
- Step 4: Add a chain-stitch tie at the corner of the panel, securing it firmly to the edge so it can be tied comfortably at the shoulder or neck.
Where Can You Use This?
Beyond everyday wear, this pattern suits beach cover-ups, festival outfits, or dressed-up evening looks, and it also makes a thoughtful handmade gift for a friend who loves delicate details.
Why Beginners Will Enjoy This Pattern
Since the panels only require basic rows and a simple border, beginners get comfortable with consistent tension and edging, while the pearl detail lets them feel proud of a genuinely elegant finished result.
Tips and Tricks for Success
- Try a smooth cotton yarn for the best stitch definition and pearl placement
- Space pearls evenly by marking their positions with pins before sewing
- Keep both panels blocked to the same measurements before joining the sides
- Use a slightly smaller hook if you want a firmer, more structured fabric
Why This Crochet Pattern Is Trending
Beaded and pearl-trimmed crochet pieces have been appearing everywhere lately. They combine the current love for handmade textures with a polished, dressed-up look. The result feels fresh while still keeping the charm of crochet.
- Pearl detailing adds a trend-forward touch without extra crochet skill
- The simple panel construction makes it easy to recreate in any color
- It bridges casual handmade style with elevated, going-out fashion
Design Customization Ideas
Playing with Color
Try the panels in a soft neutral like cream or blush, or go bold with a solid jewel tone to make the pearls stand out even more.
Pearl Placement Ideas
Cluster pearls along the top edge for a necklace-like effect, or scatter them lightly across the straps for a subtler shimmer.
Mini and Layered Variations
Shorten the panels slightly for a bralette-style crop, or lengthen them a few rows for a fuller cropped tank silhouette.
FAQ
What is the best yarn for a crochet cropped top like this?
A smooth cotton or cotton-blend yarn works well, since it holds its shape, drapes nicely, and gives a clean surface for sewing on pearls.
How do I keep the Free Crochet Cropped Top firm and structured?
Use a slightly smaller hook than usual, keep your tension consistent, and block the finished panels so the stitches sit evenly before joining.
How long does this Free Crochet Cropped Top project take to finish?
Most crocheters complete both panels, the border, and the pearl detailing within a weekend, depending on how much beading detail they add.
Conclusion
This Free Crochet Cropped Top Pattern with Pearls shows how a simple row-based design can become something truly special. A few delicate beads add an elegant touch to the finished top. Pick up your hook and a strand of pearls. Give this stylish little project a try.