Adorable Fun Crochet Little Lion Amigurumi Pattern
Adorable Fun Crochet Little Lion Amigurumi Pattern
 Creating amigurumi animals and dolls is a delightful and accessible craft! You can make a wide variety of charming creations, including amigurumi cats, dolls, dogs, unicorns, lambs, dinosaurs, foxes, bears, giraffes, pigs, birds, penguins, pandas, llamas, bunnies, clowns, elephants, hippos, and monkeys.
Each project offers its own unique appeal, making it easy to find something that sparks your creativity.
The materials needed are minimal—typically just some yarn and a crochet hook—so you can dive right in without a lot of preparation. The joy of seeing your creations come to life stitch by stitch is truly rewarding.
Happy crocheting!
Amigurumi Lion Free Pattern
Abbreviations:
- R: round
- mr: magic ring
- sc: single crochet
- inc: increase (2 sc in the next stitch)
- dec: decrease (join the next 2 stitches into 1)
- sl st: slip stitch
- st: stitch
- ch: chain
- dc: double crochet
- tr: treble crochet
- hdc: half double crochet
- F.O: finish off
- BLO: back loop only
- FLO: front loop only
- [ ]: number of stitches at the end of the round/row
- () x6: repeat what’s inside the brackets the specified number of times
Materials:
- Yarn: Cotton Milk yarn (180m/100g) in orange, yellow, black, and bright brown
- Crochet hook: 2.5mm
- Fiberfill for stuffing
- Sewing needle, scissors, and a button
Legs (Make 2)
Leg 1:
- Start with yellow yarn.
- R1: mr with 6 st [6]
- R2: (1 sc, inc) x 3 [9]
- R3: (2 sc, inc) x 3 [12]
- R4: (3 sc, inc) x 3 [15]
- Stuff with fiberfill. Cut yarn and hide the tail.
Leg 2:
- With the same yarn, don’t cut the yarn from Leg 1. Join Leg 1 with sl st.
- R5: 15 sc (Leg 1), 12 sc (Leg 2) [30]
- Continue crocheting the body using stitches from both legs.
Body:
- Start with yellow yarn.
- R6: (4 sc, inc) x 6 [36]
- R7-12: 36 sc (6 rounds) [36]
- R13: (4 sc, dec) x 6 [30]
- R14: 30 sc [30]
- R15: (3 sc, dec) x 6 [24]
- R16: 24 sc [24]
- R17: (2 sc, dec) x 6 [18]
- R18-21: 18 sc (4 rounds) [18]
- Sl st. Stuff with fiberfill. Cut the yarn, leaving a long tail for sewing.
Head:
- Start with yellow yarn.
- R1: mr with 6 st [6]
- R2: inc x 6 [12]
- R3: (1 sc, inc) x 6 [18]
- R4: (2 sc, inc) x 6 [24]
- R5: (3 sc, inc) x 6 [30]
- R6: (4 sc, inc) x 6 [36]
- R7: (5 sc, inc) x 6 [42]
- R8: (6 sc, inc) x 6 [48]
- R9: (7 sc, inc) x 6 [54]
- R10: 54 sc [54]
- R11: (8 sc, inc) x 6 [60]
- R12-19: 60 sc (8 rounds) [60]
- R20: (8 sc, dec) x 6 [54]
- R21: 54 sc [54]
- R22: (7 sc, dec) x 6 [48]
- R23: (6 sc, dec) x 6 [42]
- R24: (5 sc, dec) x 6 [36]
- R25: (4 sc, dec) x 6 [30]
- R26: (3 sc, dec) x 6 [24]
- R27: (2 sc, dec) x 6 [18]
- Sl st. Stuff with fiberfill. Cut yarn and hide the tail.
Ears (Make 2):
- Start with orange yarn.
- R1: mr with 6 st [6]
- R2: inc x 6 [12]
- R3-4: 12 sc (2 rounds) [12]
- Do not stuff. Fold the top of the ear flat and crochet sc through both sides (6 sc). Cut the yarn, leaving a long tail for sewing.
Arms (Make 2):
- Start with yellow yarn.
- R1: mr with 6 st [6]
- R2: (1 sc, inc) x 3 [9]
- Change to orange yarn.
- R3-7: 9 sc (5 rounds) [9]
- Fasten off, stuff halfway. Cut yarn, leaving a long tail for sewing.
Tail:
- Start with yellow yarn, chain 5. Attach a pom-pom of orange yarn at the end. Cut yarn, leaving a long tail for sewing.
Lion’s Mane:
- Use orange yarn to make a circle of 44 sc around the head.
- (Skip 1 st, 6 dc into 1 st, skip 1 st, 1 sc) x 11.
Scarf:
- Start with green yarn, make 49 chains.
- From the 4th chain from the hook, crochet 39 dc. Cut the yarn.
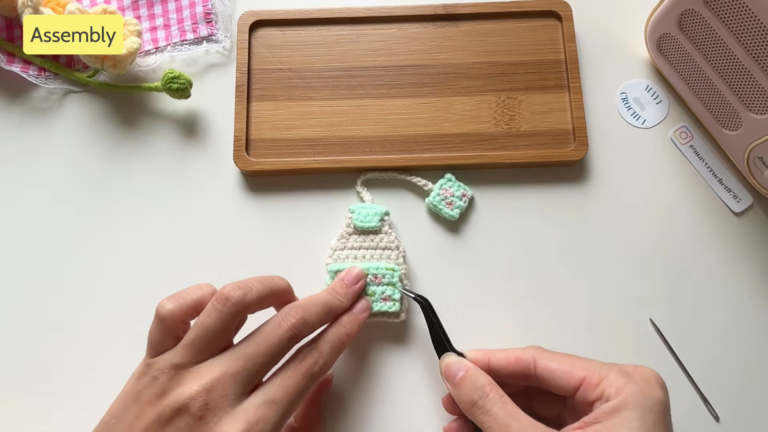
Assembly:
- Sew the ears onto the head.
- Attach the head and arms to the body.
- Embroider the mouth and eyebrows.
- Use crayon, blush, or pink yarn for rosy cheeks.
Congratulations! Your amigurumi lion is complete!
DIY Crochet Little Lion Amigurumi Tips and Tricks