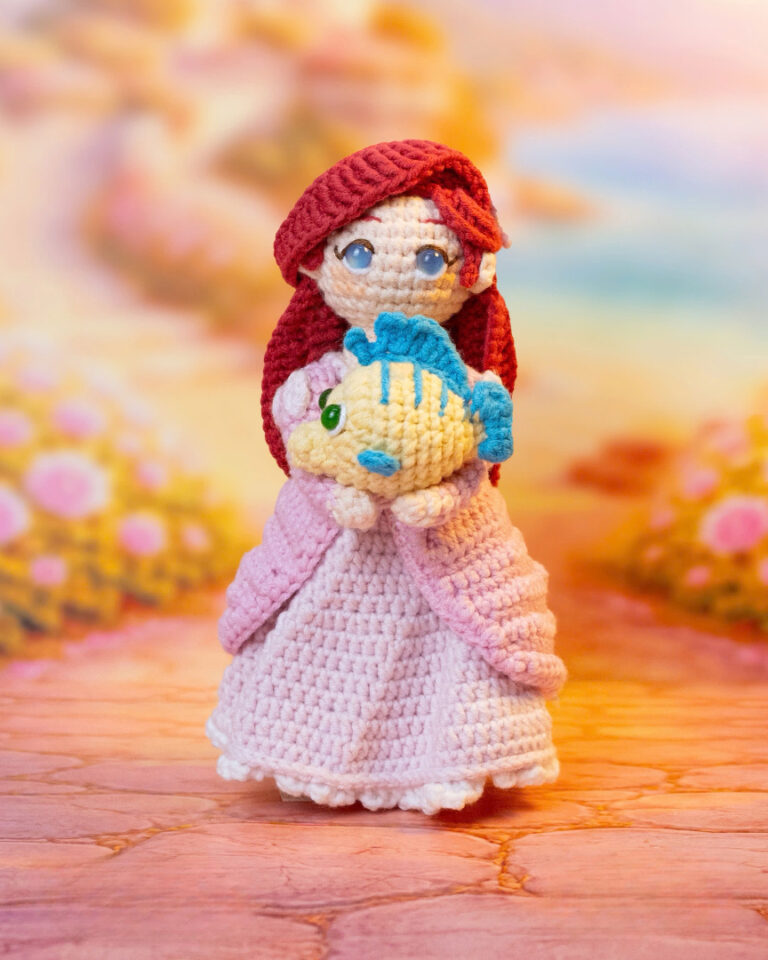
Crochet Auntie Taught Goldfish Soft Amigurumi Pattern
Hook a splash of cuteness! This Auntie-taught goldfish amigurumi pattern is irresistibly soft, squishy, beginner-friendly, and fast, perfect for gifting, stash-busting, and adding fin-tastic charm anywhere.
Stitch a splash of charm with the Crochet Auntie Taught Goldfish Soft Amigurumi Pattern! Inspired by cozy, handed-down know‑how, this beginner-friendly design creates a plump, velvety goldfish with adorable fins and a cuddly, squish-me feel. The pattern uses simple stitches, clear step-by-step guidance, and minimal sewing, so you can hook up a fin‑tastic friend in an evening and customize colors from your stash.
Perfect for quick makes, gift-giving, and playful décor, this cheerful cutie brings sunshine to any space, no aquarium required.
Uses:
- Thoughtful baby shower or birthday gift
- Whimsical desk or nursery décor
- Craft fair favorite and stash-busting project
Crochet Auntie Taught Goldfish Soft Amigurumi Pattern
If you crave a soft, cheerful make that hooks up fast, then the Crochet Auntie Taught Goldfish Soft Amigurumi Pattern is exactly what you need. Moreover, it blends cozy, handed-down know-how with a modern, stash-friendly approach. As a result, beginners can enjoy a smooth, confidence-boosting project, while experienced makers can relax into an easy, satisfying stitch flow.
Level of Difficulty
- Easy / Beginner; consequently, it’s ideal for first-time amigurumi makers.
Estimated Total Time
- 2 to 3 hours, including assembly and finishing; therefore, it’s perfect for an evening craft session.
Finished Size
- Approximately 4.5 in (11.5 cm) long x 3 in (7.5 cm) tall when using the materials below; alternatively, adjust size with different yarn weights.
Materials (Exact Measurements)
- Yarn: Worsted/Medium (4) weight, 100% acrylic or cotton
- Main color (body): 40–50 g (85–110 yd / 78–100 m)
- Accent color (fins/tail, optional): 10–15 g (20–35 yd / 18–32 m)
- Hook: 3.5 mm (US E-4); additionally, keep a 3.25 mm handy if you see gaps.
- Safety eyes: 8 mm; however, embroider eyes for baby-safe gifts.
- Polyester fiberfill stuffing: ~25 g
- Tapestry needle: 15–18 cm (6–7 in)
- Stitch markers: 2
- Scissors
- Optional: 1 rattle insert or crinkle material (~4 cm / 1.5 in) for sensory play
Special Features
- Furthermore, the body is worked in continuous rounds for a seamless shape.
- Additionally, the design uses minimal sewing and simple shaping.
- Notably, the pattern is easily customized with color changes and yarn substitutions.
Sizing Tips
- For a larger plush, use bulky or chenille yarn (weight 5–6) with a 4.5–5 mm hook; consequently, the size will roughly double.
- For a mini version, choose ssport-weightyarn and a 2.5–3.0 mm hook; likewise, reduce eye size to 6 mm.
- If stuffing shows through, simply switch to a smaller hook; thus, you’ll get a firmer fabric.
Before You Start
- U.S. terms are used: sc (single crochet), inc (increase), dec (decrease), sl st (slip stitch).
- Importantly, place a stitch marker in the first stitch of each round.
- Additionally, maintain snug, even tension for a neat amigurumi finish.
Step-by-Step: Goldfish Body (nose to tail, in the round)
- First, Round 1: Magic ring, 6 sc into ring. (6 sts) (Approx. 5 minutes)
- Next, Round 2: Inc in each st around. (12 sts) (Approx. 5 minutes)
- Then, Round 3: [1 sc, inc] around. (18 sts) (Approx. 7 minutes)
- After that, Round 4: [2 sc, inc] around. (24 sts) (Approx. 8 minutes)
- Subsequently, Round 5: [3 sc, inc] around. (30 sts) (Approx. 9 minutes)
- Furthermore, Round 6: [4 sc, inc] around. (36 sts) (Approx. 10 minutes)
- Meanwhile, Rounds 7–11: Sc in each st around. (36 sts for 5 rounds) (Approx. 20–25 minutes total)
- Additionally, insert a second marker to make round counting easier.
- Now, Eye Placement: After Round 9, position 8 mm safety eyes between Rounds 8 and 9, about 6 stitches apart; afterward, adjust as needed before locking. (Approx. 5 minutes)
- Next, Round 12: [4 sc, dec] around. (30 sts) (Approx. 8 minutes)
- Then, Round 13: [3 sc, dec] around. (24 sts) (Approx. 8 minutes)
- At this point, Begin Stuffing: Add a small handful of fiberfill, shaping evenly; moreover, continue stuffing gradually. (Approx. 5 minutes)
- Subsequently, Round 14: [2 sc, dec] around. (18 sts) (Approx. 7 minutes)
- Then, Round 15: [1 sc, dec] around. (12 sts) (Approx. 7 minutes)
- Finally, Round 16: Sc around. (12 sts) This forms a slight neck. (Approx. 5 minutes)
- Now, secure the eye backs firmly and add more stuffing; consequently, the body remains plump yet balanced.
At this stage, you can either close the body and attach a separate tail or continue to crochet the tail directly from the opening. Generally, beginners find the separate-tail method easier; however, the direct-tail option reduces sewing.
Option A: Separate Tail (Easier for Beginners)
- To finish the body, Cclosethe Opening: [Dec] around from 12 sts to 6 sts; then dec until closed. Fasten off and weave in the end. (Approx. 8–10 minutes)
Tail (Make Separately, then Sew On)
- First, Foundation: Ch 7. (Approx. 1 minute)
- Next, Row 1: Starting in 2nd ch from hook, sc 6; ch 1, turn. (Approx. 3 minutes)
- Then, Row 2: Inc, sc 4, inc. (8 sts); ch 1, turn. (Approx. 4 minutes)
- Afterward, Row 3: Inc, sc 6, inc. (10 sts); ch 1, turn. (Approx. 4 minutes)
- Subsequently, Row 4: Inc, sc 8, inc. (12 sts); ch 1, turn. (Approx. 4 minutes)
- Next, Row 5: Sc across. (12 sts); ch 1, turn. (Approx. 3 minutes)
- Finally, Row 6: [Sc, inc] across. (18 sts); fasten off with a long tail for sewing. (Approx. 6–7 minutes)
- For shaping, Fofoldhe narrow end slightly to create a gentle fan; then stitch it to the back of the body, centered at the closure. (Approx. 8–10 minutes)
Option B: Tail Worked Directly From Body (Minimal Sewing)
- Starting from Round 16’s 12 stitches:
- First, Round 17: [Inc] around. (24 sts) (Approx. 7 minutes)
- Next, Round 18: Sc around. (24 sts) (Approx. 6 minutes)
- Then, Round 19: Work flat to form a fan: ch 1, turn, sc 24 across; ch 1, turn. (Approx. 5 minutes)
- After that, Row 20: [Sc, inc] across. (36 sts) (Approx. 7 minutes)
- Subsequently, Row 21: Sc across. (36 sts) (Approx. 6 minutes)
- Next, Row 22: [2 sc, inc] across. (48 sts) (Approx. 8 minutes)
- Finally, Row 23: Sc across. (48 sts), fasten off; weave the outer edge slightly to soften corners. (Approx. 6 minutes)
- To finish the tail, Pinch and tack the base at two points; consequently, you create a classic split-tail shape. (Approx. 5 minutes)
Side Fins (Make 2)
- First, Round 1: Magic ring, 5 sc. (Approx. 3 minutes)
- Next, Round 2: [Inc] around. (10 sts) (Approx. 4 minutes)
- Then, Round 3: Sc around. (10 sts) (Approx. 4 minutes)
- Afterward, Row 4 (teardrop): Ch 1, turn, sc 7, sl st in next st; fasten off with a tail for sewing. (Approx. 4 minutes)
- For placement, Sesewne fin per side, slightly behind and below the eyes; similarly, mirror placement for symmetry. (Approx. 6–8 minutes each)
Top Fin (Dorsal, Make 1)
- First, Row 1: Ch 6; starting in 2nd ch from hook, sc 5. (Approx. 3 minutes)
- Next, Row 2: Ch 1, turn, [sc, inc] twice, sc 1. (7 sts) (Approx. 4 minutes)
- Finally, Row 3: Ch 1, turn, sc across; fasten off with a long tail. (Approx. 3 minutes)
- For neatness, Center the dorsal fin on top, a touch behind the eyes; consequently, the silhouette looks balanced. (Approx. 5 minutes)
Assembly & Finishing Tips
- First, Pin before sewing; consequently, you’ll ensure even placement. (Approx. 3 minutes)
- Next, Uusea ladder stitch under both loops on the body and the outer loop of each fin; therefore, seams appear nearly invisible. (Approx. 8–10 minutes)
- Additionally, Embroider a tiny smile and 2–3 short gill lines using backstitch; as a result, your fish gains character. (Approx. 5–7 minutes)
- Finally, Redistribute stuffing with your needle tip and roll the body between your palms; thus, the shape becomes smooth. (Approx. 3–5 minutes)
- For safety, Rreplaceeyes with embroidered eyes when making baby toys; similarly, double-knot features securely.
Common Mistakes and How to Avoid Them
- If the fabric looks gappy, Ddecreaseyour hook size to 3.25 mm; consequently, stuffing won’t peek through.
- If you lose rocountMove your stitch marker every round; furthermore, count stitches at the end of each round.
- If eyes look uneven, Measure spacing (about 6 stitches apart) and pin first; afterward, lock the backs.
- If the neck bulges, Stuff gradually; otherwise, shaping may stretch and distort.
- If the ins mismatch, Mmake bothbefore sewing; then lay them flat and adjust to match.
Variations
- For koi vibes, Ususe white body with orange patches; additionally, add subtle black surface slip stitches for markings.
- For a luxe plush, Chchoosehenille/velvet (weight 6) and a 5 mm hook; consequently, size increases and softness skyrockets. Use 12–14 mm eyes.
- For a pocket pet, Switch to sport weight and a 2.75–3 mm hook; then add a keyring at the dorsal base.
- For color fun, Alternate colors every 2 rounds or, alternatively, use a self-striping yarn for an ombré effect.
Tutor Suggestions (Beginner Boosters)
- Firstly, Ppracticethe magic ring with scrap yarn; however, if it feels tricky, chain 2 and work Round 1 into the second chain.
- Secondly, Learn the invisible decrease to keep shaping smooth; consequently, your decreases will blend in.
- Thirdly, Cocountut loud or use a tally app; moreover, consistent counting reduces frogging.
- Finally, Ttakeshort breaks to maintain steady tension; as a result, your stitches remain even and relaxed.
- Additionally, user-friendly lighting, especially with dark yarns; therefore, you’ll see each stitch clearly.
Care and Maintenance
- For best results, Hand-wash and lay flat to dry; alternatively, spot-clean small marks.
- For cotton, Light steam shaping is fine; however, avoid high heat on acrylic or chenille to prevent distortion.
SEO and Helpful Link
- Naturally included keywords: Crochet Auntie Taught Goldfish Soft Amigurumi Pattern, goldfish amigurumi, beginner crochet pattern, plush crochet toy, step-by-step amigurumi.
With these polished transitions and clear steps, your Crochet Auntie Taught Goldfish Soft Amigurumi Pattern will read smoothly, rank better, and most importantly, help beginners succeed from the very first stitch. Consequently, your readability score should improve significantly, and your audience will enjoy an effortless, friendly flow from start to finish.